Everything you need to know about Nginx 🚀
 Akash Prasad
So, what is Nginx? 🤔
Nginx is software that works as a web server and offers features of a proxy server. This means that Nginx can provide both web server and reverse proxy functionality, which is very useful.
Server 🌐

A web server or a server is software that accepts web requests and serves the respective response to the request. So, if you want your server to connect with the web, you can use nginx as a middleware between your server and the internet. In other words, nginx will forward the requests coming from the internet to your server.
Reverse Proxy
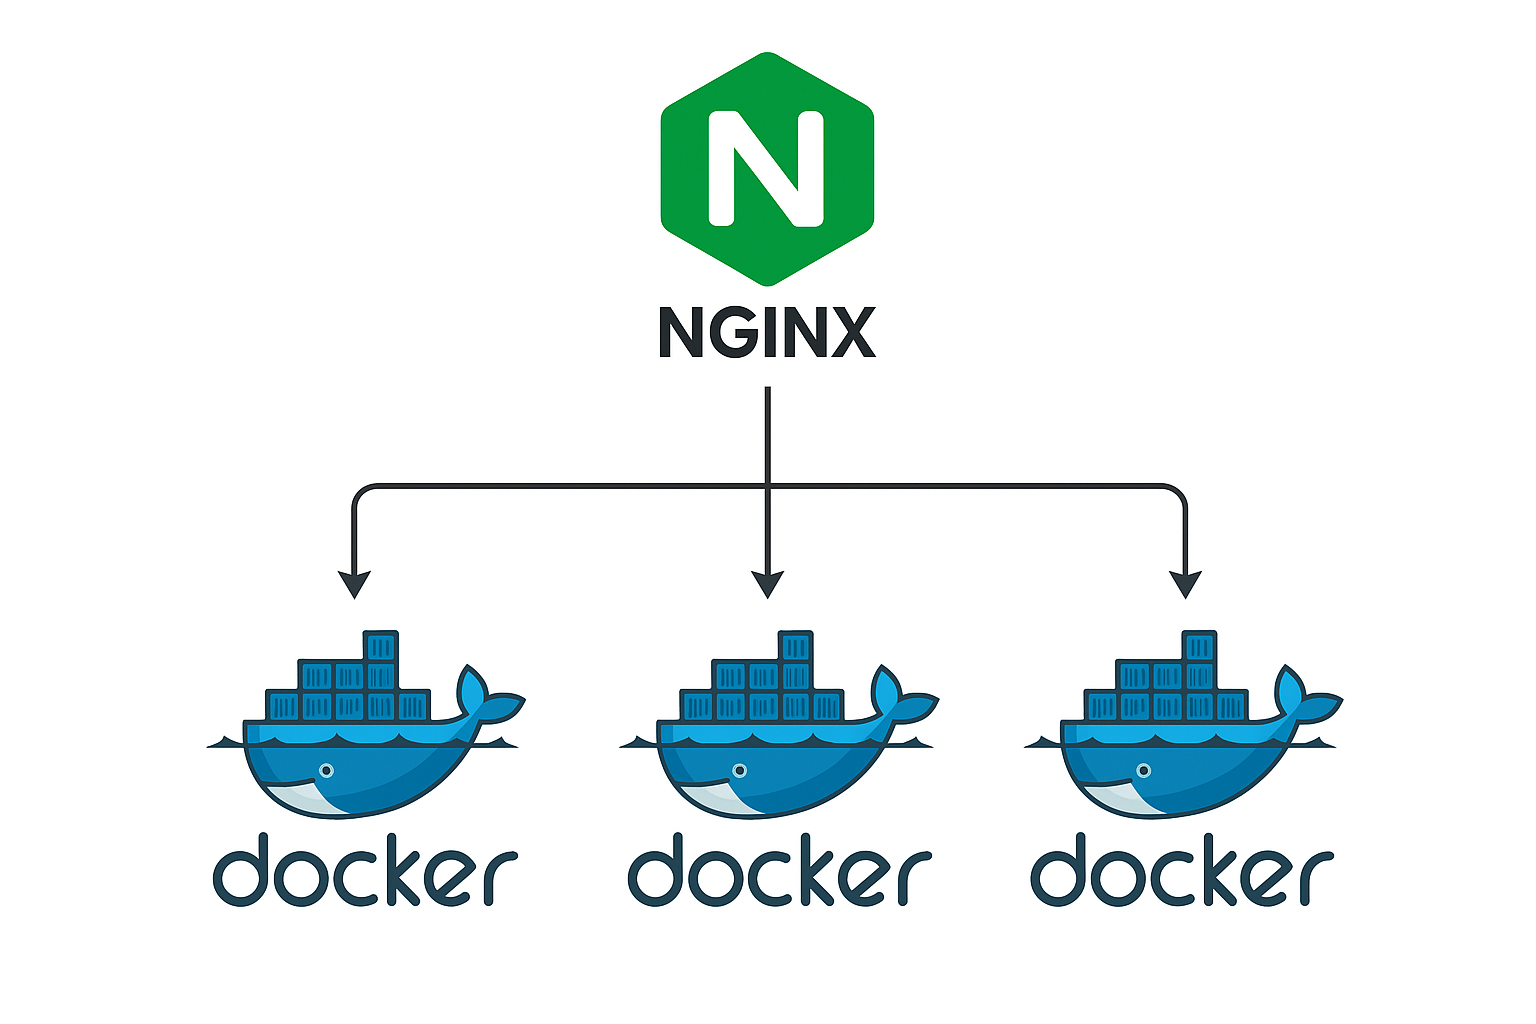
Reverse proxy server on the other hand works in the same way but can perform various other tasks while doing so, like for example if have have multiple instance of your server and you want to distribute all the incoming requests equally to all you instances so that the single instance does not face incredible load, you can use a proxy server which you can configure as a load balancer to distribute load equally.
Apart from this a proxy server can also be used for caching some static files, which will increase the server response time overall. Also most useful thing about the nginx proxy server is that it also manages SSL/TLS-based connections for your server, which is beneficial for security over the internet. It also supports data compression for large data, like video files.

Let’s see how it works 💀
First, let’s create a simple Node.js server with multiple instances, and then we will use nginx to distribute requests among these instances. For creating multiple instances, I’m gonna use Docker.
server.js file
const express = require("express");
const app = express();
const port = 3000;

const appName = process.env.APP_NAME;
// Route to serve the HTML page with a heading
app.get("/", (_, res) => {
  res.send(`
    <!DOCTYPE html>
    <html>
      <head>
        <title>NginX</title>
      </head>
      <body>
        <h1>Hi mom! from (${appName})</h1>
      </body>
    </html>
  `);
});

// Start the server
app.listen(port, () => {
  console.log(`Server running at http://localhost:${port}`);
});
package.json
{
  "name": "nginx-tutorial",
  "version": "1.0.0",
  "main": "server.js",
  "scripts": {
    "start": "node server.js",
    "test": "echo \"Error: no test specified\" && exit 1"
  },
  "keywords": [],
  "author": "",
  "license": "ISC",
  "description": "",
  "dependencies": {
    "express": "^5.1.0"
  }
}
Now, create a Docker file
FROM node:18-alpine

# Create app directory
WORKDIR /WORKDIR

# Copy package.json and package-lock.json
COPY package*.json ./

# Install dependencies
RUN npm install

# Copy app source code
COPY . .

# Expose the port the app runs on
EXPOSE 3000

# Command to run the application
CMD ["npm", "start"]
Now create docker-compose.yml Three instances of the app
version: "3"

services:
  express-app-1:
    build:
      context: .
      dockerfile: Dockerfile
    ports:
      - "3001:3000"
    environment:
      - APP_NAME=Instance-1

  express-app-2:
    build:
      context: .
      dockerfile: Dockerfile
    ports:
      - "3002:3000"
    environment:
      - APP_NAME=Instance-2

  express-app-3:
    build:
      context: .
      dockerfile: Dockerfile
    ports:
      - "3003:3000"
    environment:
      - APP_NAME=Instance-3
To start, run cmd docker-compose up It will create three instances of your app; you can verify it by going to
htttp://localhost:3001, 3002, and 3003 to view each instance running separately.
Nginx Setup 🔥
Locate and Edit the nginx.conf file
#Syntax
# Directives{
#    Contexts;
#}

#Directives;- The actual instructions or commands
#             that tell Nginx what to do.

#Contexts;- The context in which the directive
#           Groups of related directives that apply to
#           a certain part of the configuration


worker_processes  1;
# Controls how many parallel processes Nginx spawns to handle client requests

# Whats is Worker Process?
# Instead of using a new process for every incoming connection, Nginx uses worker processes
# that handle many connections using a single-threaded event loop

events {  # Context that controls how Nginx handles connection

    worker_connections  1024;
    # Controls how many connections each worker process can handle at once
}

http { # Context that contains all the HTTP-related directives

    include mime.types;
    # Tells Nginx to include the mime.types file,
    # which contains the mapping of file extensions to MIME types

    upstream nodejs_servers{ # Defines a group of servers that Nginx can pass requests to
        least_conn; # Tells Nginx to pass requests to the server with the fewest active connections/ Default is round-robin
        server 127.0.0.1:3001;
        server 127.0.0.1:3002;
        server 127.0.0.1:3003;
    }

    server{
        listen 8080;
        # Tells Nginx to listen on port 8080
        server_name localhost;
        # Tells Nginx to respond to requests for the localhost domain

        location / { #The root (/) URL, will apply to all requests unless more specific location blocks are defined

        proxy_pass http://nodejs_servers;
        # Tells Nginx to pass requests to the upstream nodejs_servers
        proxy_set_header Host $host;
        # Tells Nginx to set the Host header to the value of the $host variable
        proxy_set_header X-Real-IP $remote_addr;
        # Tells Nginx to set the X-Real-IP header to the value of the $remote_addr variable
        }
    }
}
Now, run the Docker containers docker-compose up and start the nginx server command start nginx for Windows and nginx for Linux/Mac. Now, when you visit http://localhost:8080, you will see

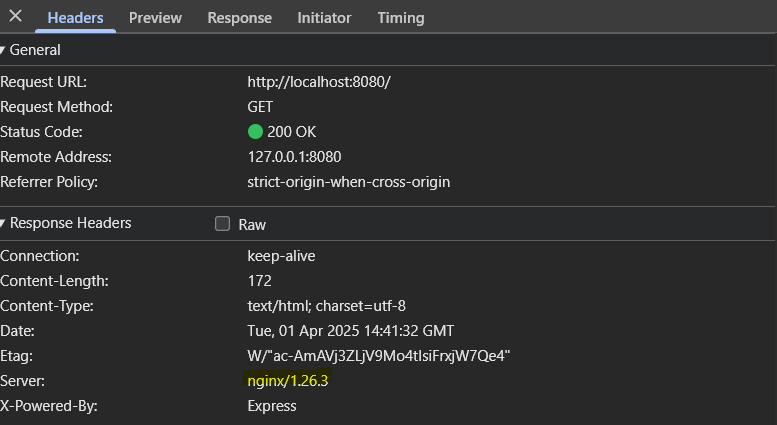
And, if you refresh, it will serve through different instances. If you look into the browser’s network tab, you will find that it’s an nginx server.

🎉 Congrats, your nginx server is running! 🎉🔥🔥
Now let’s add SSL/TLS to our server

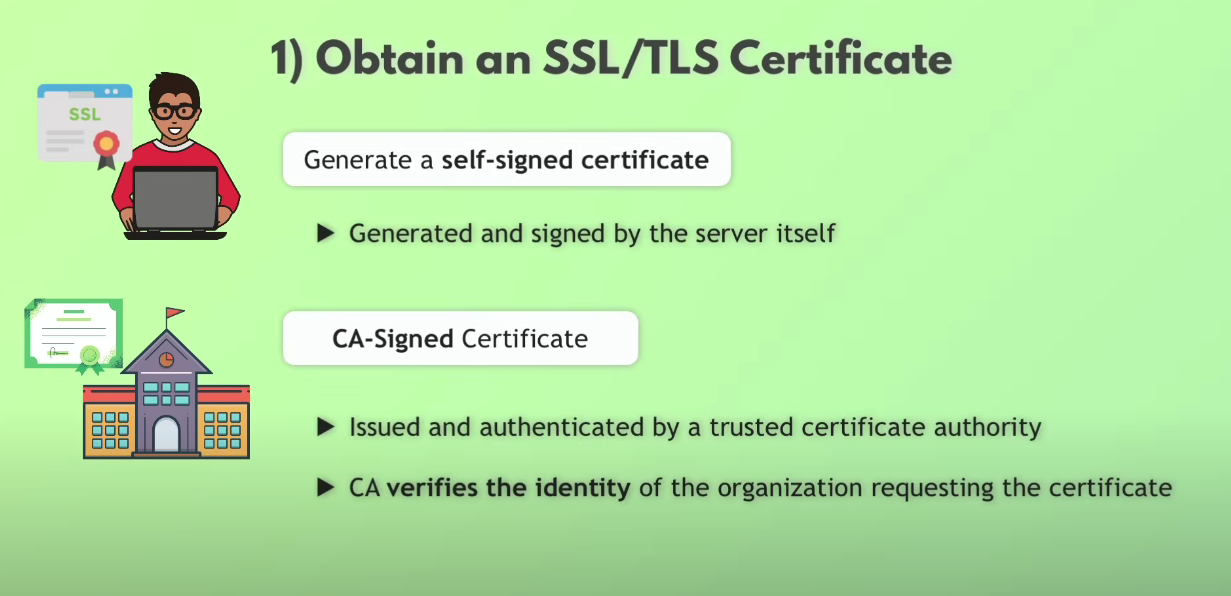
We can create our own SSL/TSL certificate and use it for our server. Let’s see how

Command to generate certificates
mkdir nginx-cert #create directory to save certificates
cd nginx-cert
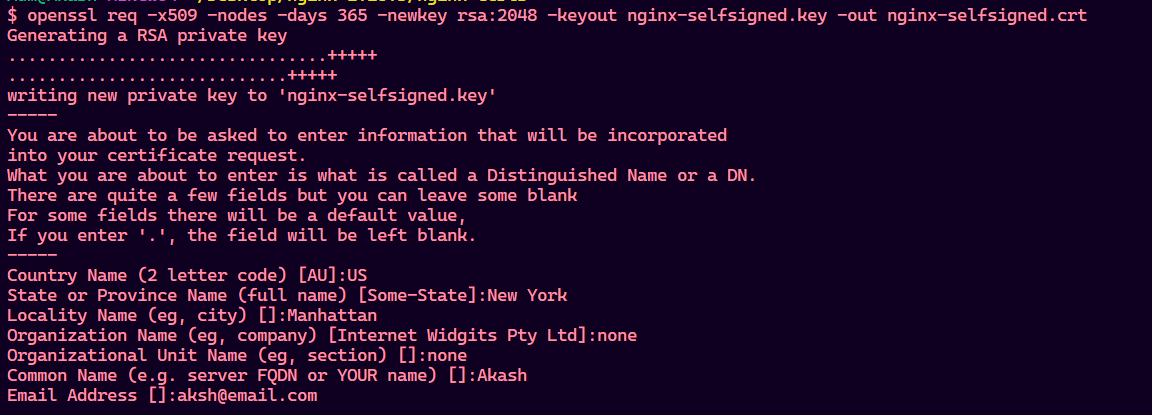
openssl req -x509 -nodes -days 365 -newkey rsa:2048 -keyout nginx-selfsigned.key -out nginx-selfsigned.crt

# openssl req - Initiates a certificate request generation process
# -x509 - Tells OpenSSL to output a certificate in this standard certificate format
# -nodes - Tells OpenSSL not to encrypt the private key with a passphrase
# -days-365 - Tells OpenSSL not to encrypt the private key with a passphrase
# -newkey rsa:2048 - Creates a 2048-bit RSA key pair, RSA = most common public-key encryption aigorithm
It will prompt you with some configs

Now make changes to nginx.conf file and restart the server
 server{
        listen 443 ssl;
        server_name localhost;

        ssl_certificate path-to-key; #public key
        ssl_certificate_key path-to-key; #private key

    location / {
        proxy_pass http://nodejs_servers;
        proxy_set_header Host $host;
        proxy_set_header X-Real-IP $remote_addr;
    }
    }
Now, when you visit https://localhost, you will see

It’s showing not secure because we have generated this certificate by ourselves and its not recognised by any authority. Now let’s also redirect request coming HTTP to https.
 server{
        listen 443 ssl;
        server_name localhost;

        ssl_certificate path-to-key; #public key
        ssl_certificate_key path-to-key; #private key

    location / {
        proxy_pass http://nodejs_servers;
        proxy_set_header Host $host;
        proxy_set_header X-Real-IP $remote_addr;
    }
    }
  server {
        listen 8080;
        server_name localhost;
        location / {
            return 301 https://$host$request_uri;
            # 301 = Redirects the client (browser) to HTTPS using 301
            # status code, which indicates a permanent redirect
        }

    }
Conclusion
Nginx is a powerful and efficient web server that excels in handling concurrent connections, load balancing, caching, SSL termination, and compression. Its ability to act as a reverse proxy makes it an essential tool for optimizing web applications. By setting up Nginx with Docker and SSL/TLS, you can ensure high performance, security, and scalability for your applications. 🚀🔥
Subscribe to my newsletter
Read articles from Akash Prasad directly inside your inbox. Subscribe to the newsletter, and don't miss out.
Written by

Akash Prasad
Akash Prasad
I am a Full Stack Developer and an AI enthusiast!