Shopify Checkout UI Extension Confidence Builder
 Ryan Pitts
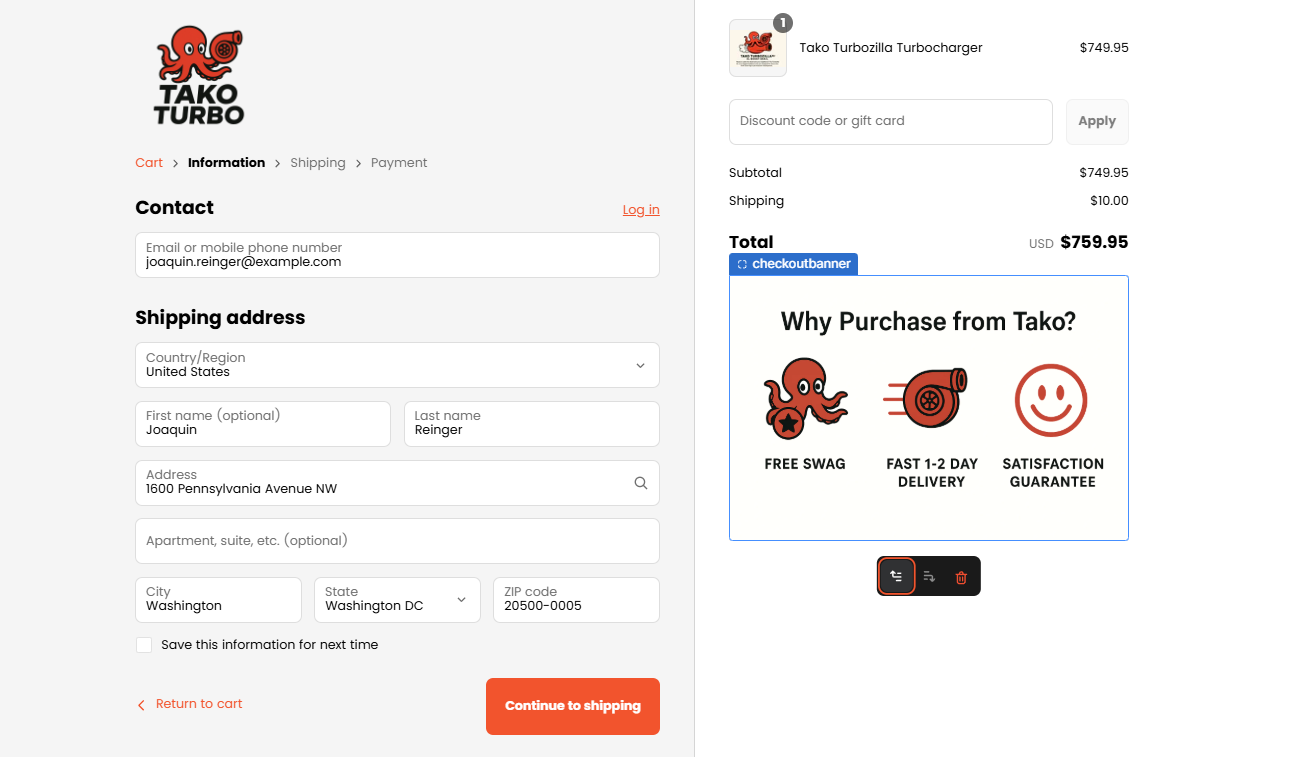
Looking to insert an image or confidence builder in your checkout flow? If so I have outlined the steps and code to implement yourself.
Create a local directory for your checkout extension app
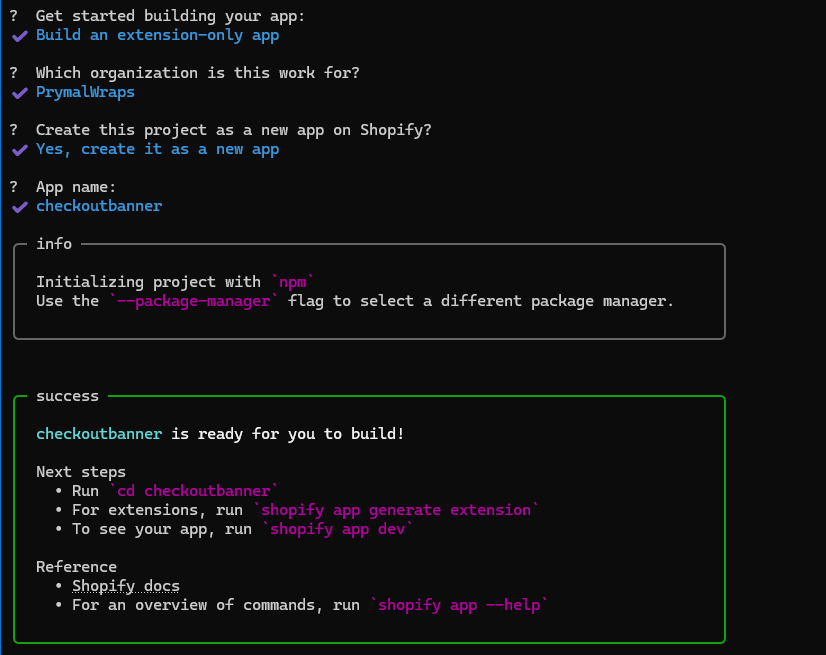
Open up your terminal and build the scaffolding for your custom app.
npm init @shopify/app@latest
After the initialization, you will have several options. Fill out the fields with the information below if unsure what to do. Choose your organization. If you are not seeing your organization you can use the command:
shopify login —store mystore.myshopify.com (replace mystore with your shopify store name)

In the terminal, cd into your newly created app. Replace ‘cd your-app’ with the app name. For example use the name ‘checkoutbanner’ like the example we will show.
cd your-app
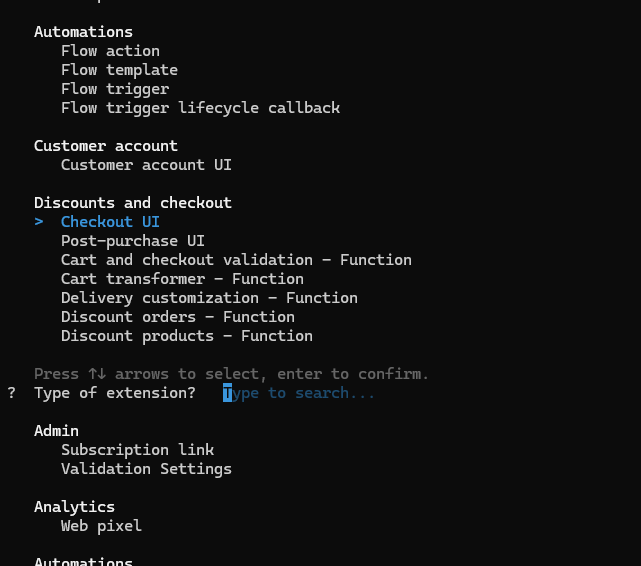
npm run shopify app generate extension
You will be presented with a list of checkout extension types. You will need to navigate to the ‘Discounts and checkout’ area and select ‘Checkout UI’.

You will need to now update the following files in your newly created folder.
Checkout.jsx file. Replace with the code below
import {
  reactExtension,
  useSettings,
  Image
} from "@shopify/ui-extensions-react/checkout";

export default reactExtension('purchase.checkout.block.render', () => <CheckoutBanner />);

function CheckoutBanner() {
  const { bannerImage } = useSettings();

  if (!bannerImage) return null;

  return <Image source={bannerImage} description="Checkout banner image" />;
}
Shopify.app.toml. You will need to replace your client_id with the client_id generated.
# Learn more about configuring your app at https://shopify.dev/docs/apps/tools/cli/configuration

client_id = "replace with your client_id information"
name = "checkoutbanner"
handle = "checkoutbanner-extension"
application_url = "https://shopify.dev/apps/default-app-home"
embedded = true

[build]
include_config_on_deploy = true

[webhooks]
api_version = "2025-04"

[access_scopes]
# Learn more at https://shopify.dev/docs/apps/tools/cli/configuration#access_scopes
scopes = ""

[auth]
redirect_urls = [ "https://shopify.dev/apps/default-app-home/api/auth" ]

[pos]
embedded = false
Shopify.extension.toml
name = "checkoutbanner"
type = "checkout_ui_extension"
api_version = "2025-01"

[[extensions]]
name = "checkoutbanner"
handle = "checkoutbanner"
type = "ui_extension"

[[extensions.targeting]]
module = "./src/Checkout.jsx"
target = "purchase.checkout.block.render"

[extensions.capabilities]
api_access = true

[extensions.settings]

# 🖼️ Image URL (merchant must paste a full image URL)
[[extensions.settings.fields]]
key = "bannerImage"
type = "single_line_text_field"
name = "Checkout banner image URL"
description = "Paste the full image URL to display at checkout"

# 📝 Alt Text for Accessibility
[[extensions.settings.fields]]
key = "bannerAlt"
type = "single_line_text_field"
name = "Image alt text"
description = "Accessibility text for screen readers"

# 📏 Max Width (pixels)
[[extensions.settings.fields]]
key = "maxWidth"
type = "number_integer"
name = "Max Width (px)"
description = "Optional: Set a maximum image width"

# 🧭 Alignment
[[extensions.settings.fields]]
key = "alignment"
type = "single_line_text_field"
name = "Banner alignment"
description = "Type left, center, or right"

# 🔀 Checkout Step Visibility
[[extensions.settings.fields]]
key = "showOnStep"
type = "single_line_text_field"
name = "Show on checkout step"
description = "Type all, information, shipping, or payment"
After you save your changes, you can now run the command to run the app in a development environment. You will have the option to preview the checkout extension and see any potential errors.
shopify app dev
When ready for deployment you can use the command
shopify app deploy
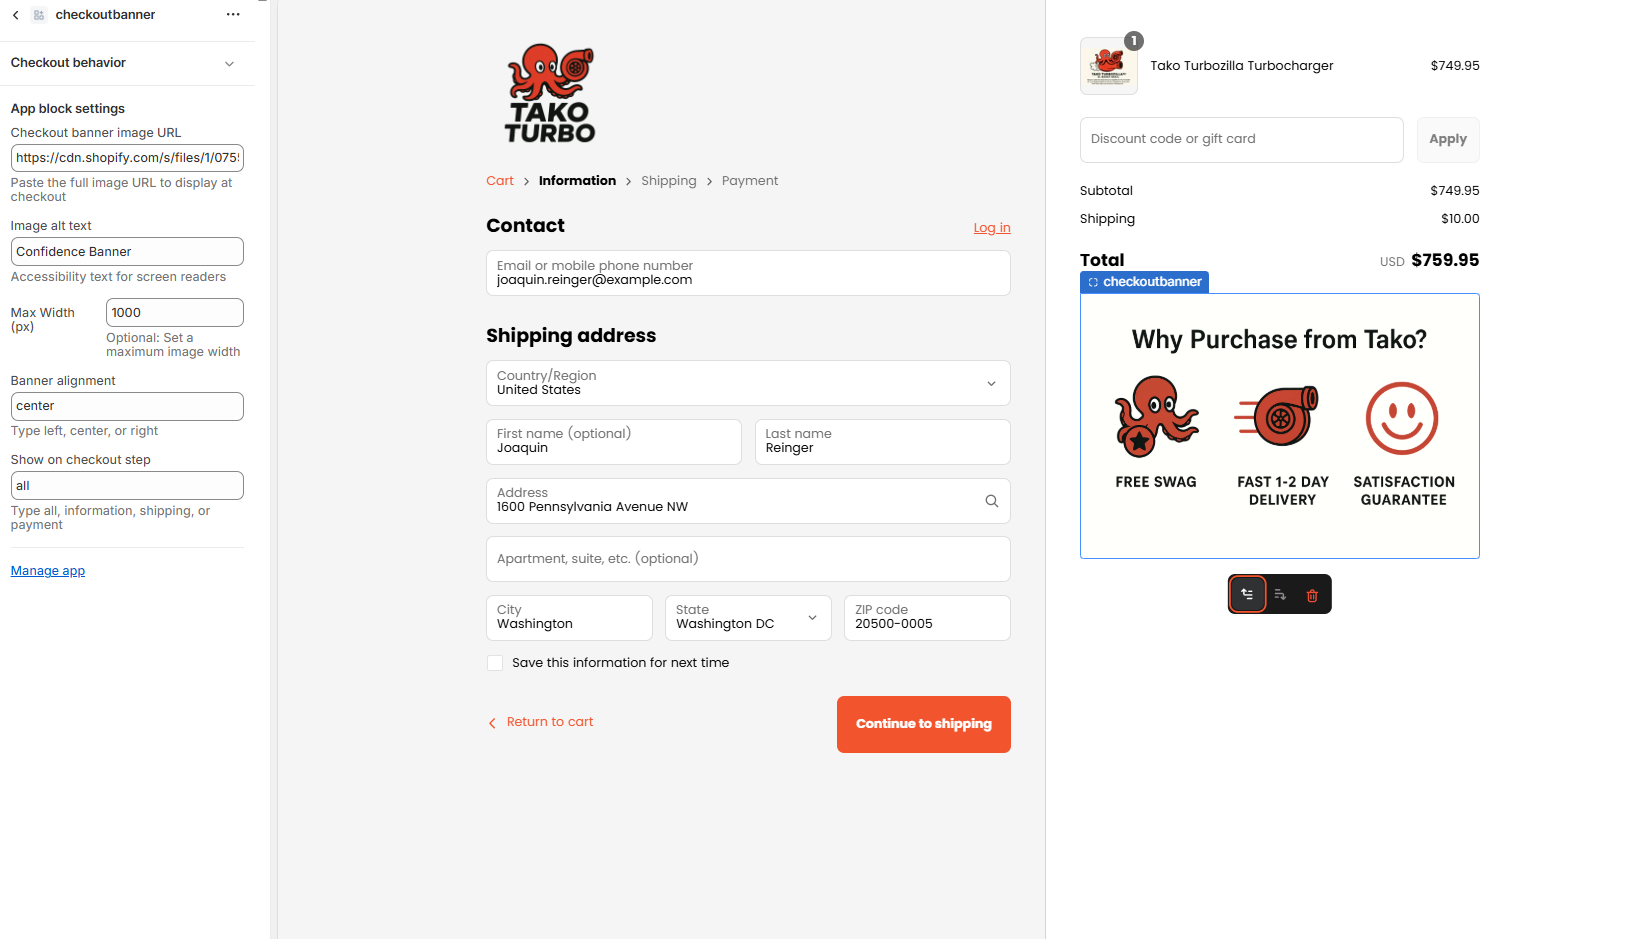
Now go to your store’s checkout settings and hit the Customize button. In the checkout section, you will see the ability to add an image banner along with settings or the image.

Subscribe to my newsletter
Read articles from Ryan Pitts directly inside your inbox. Subscribe to the newsletter, and don't miss out.
Written by
