02 Setting Environment
 Yash Maini
Before discussing into the implementation, we need to set up our working environment properly. This includes creating a virtual environment, installing dependencies, and configuring essential filees
1. Creating a Virtual Environment
Using a virtual environment ensures that dependencies remain isolated and do not interfere with other projects. To create and activate a virtual environment using Conda:
# Create a conda environment
conda create --name venv python=3.12 -y

# Activate the environment
conda activate venv
2. Installing Dependencies
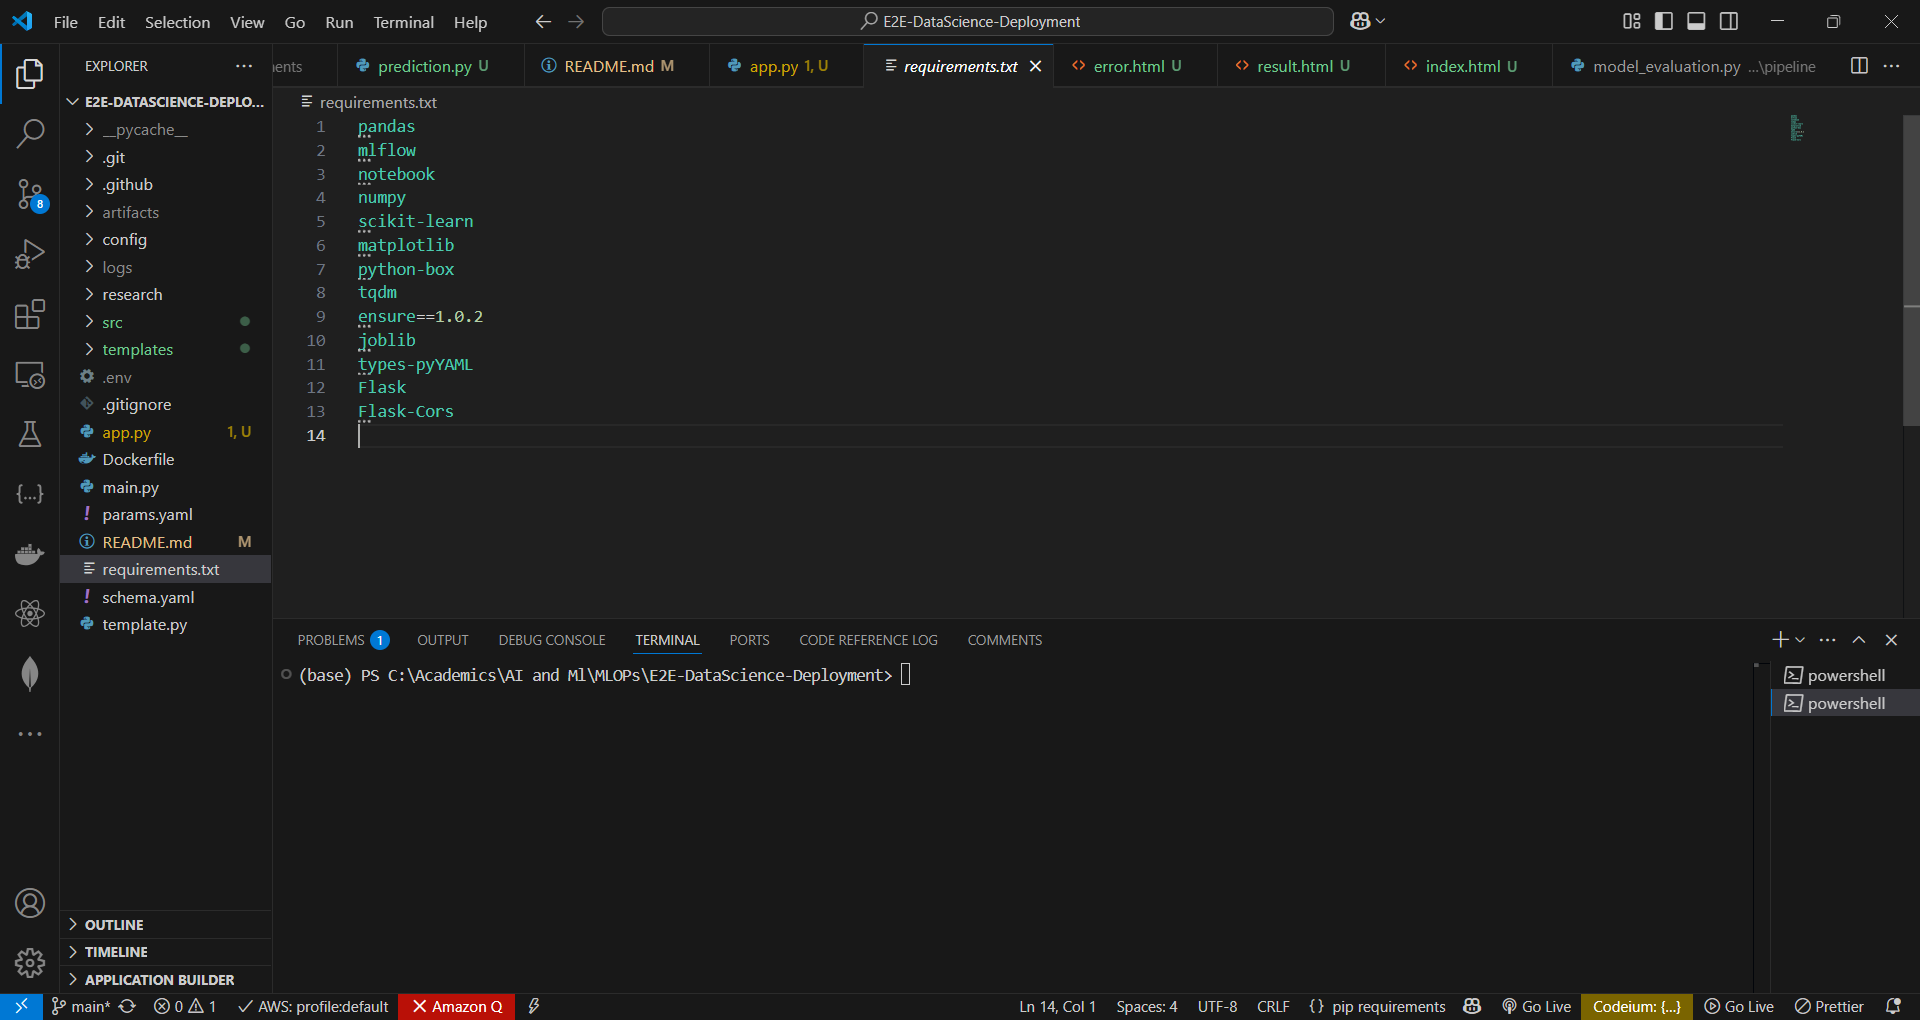
Predict-Pipe relies on various machine learning, MLOps, and DevOps libraries. Install them using the requirements.txt file:
pip install -r requirements.txt
This installs all necessary packages, including:
pandas,numpy,scikit-learn(for data processing and model training)MLflow(for experiment tracking)notebook(for Jupyter Notebook support)matplotlib(for data visualization)python-box(for structured configuration handling)tqdm(for progress tracking)ensure==1.0.2(for type safety)joblib(for model serialization)types-pyYAML(for YAML parsing and type safety)Flask&Flask-Cors(for API deployment)

3. Configuring Environment Variables
Certain tools, such as MLflow and DagsHub, require authentication credentials. Set up environment variables in a .env file:
# .env file
MLFLOW_TRACKING_URI=<your-mlflow-uri>
MLFLOW_TRACKING_USERNAME=<your-username>
MLFLOW_TRACKING_PASSWORD=<your-password>
Note: here MLFLOW_TRACKING_USERNAME, MLFLOW_TRACKING_PASSWORD are dagshub username and access key
Then, load the .env file in your script for chevking using:
from dotenv import load_dotenv
import os

load_dotenv()
MLFLOW_TRACKING_URI = os.getenv("MLFLOW_TRACKING_URI")
Now, our environment is ready, and we can start implementing the pipeline components.
Subscribe to my newsletter
Read articles from Yash Maini directly inside your inbox. Subscribe to the newsletter, and don't miss out.
Written by
