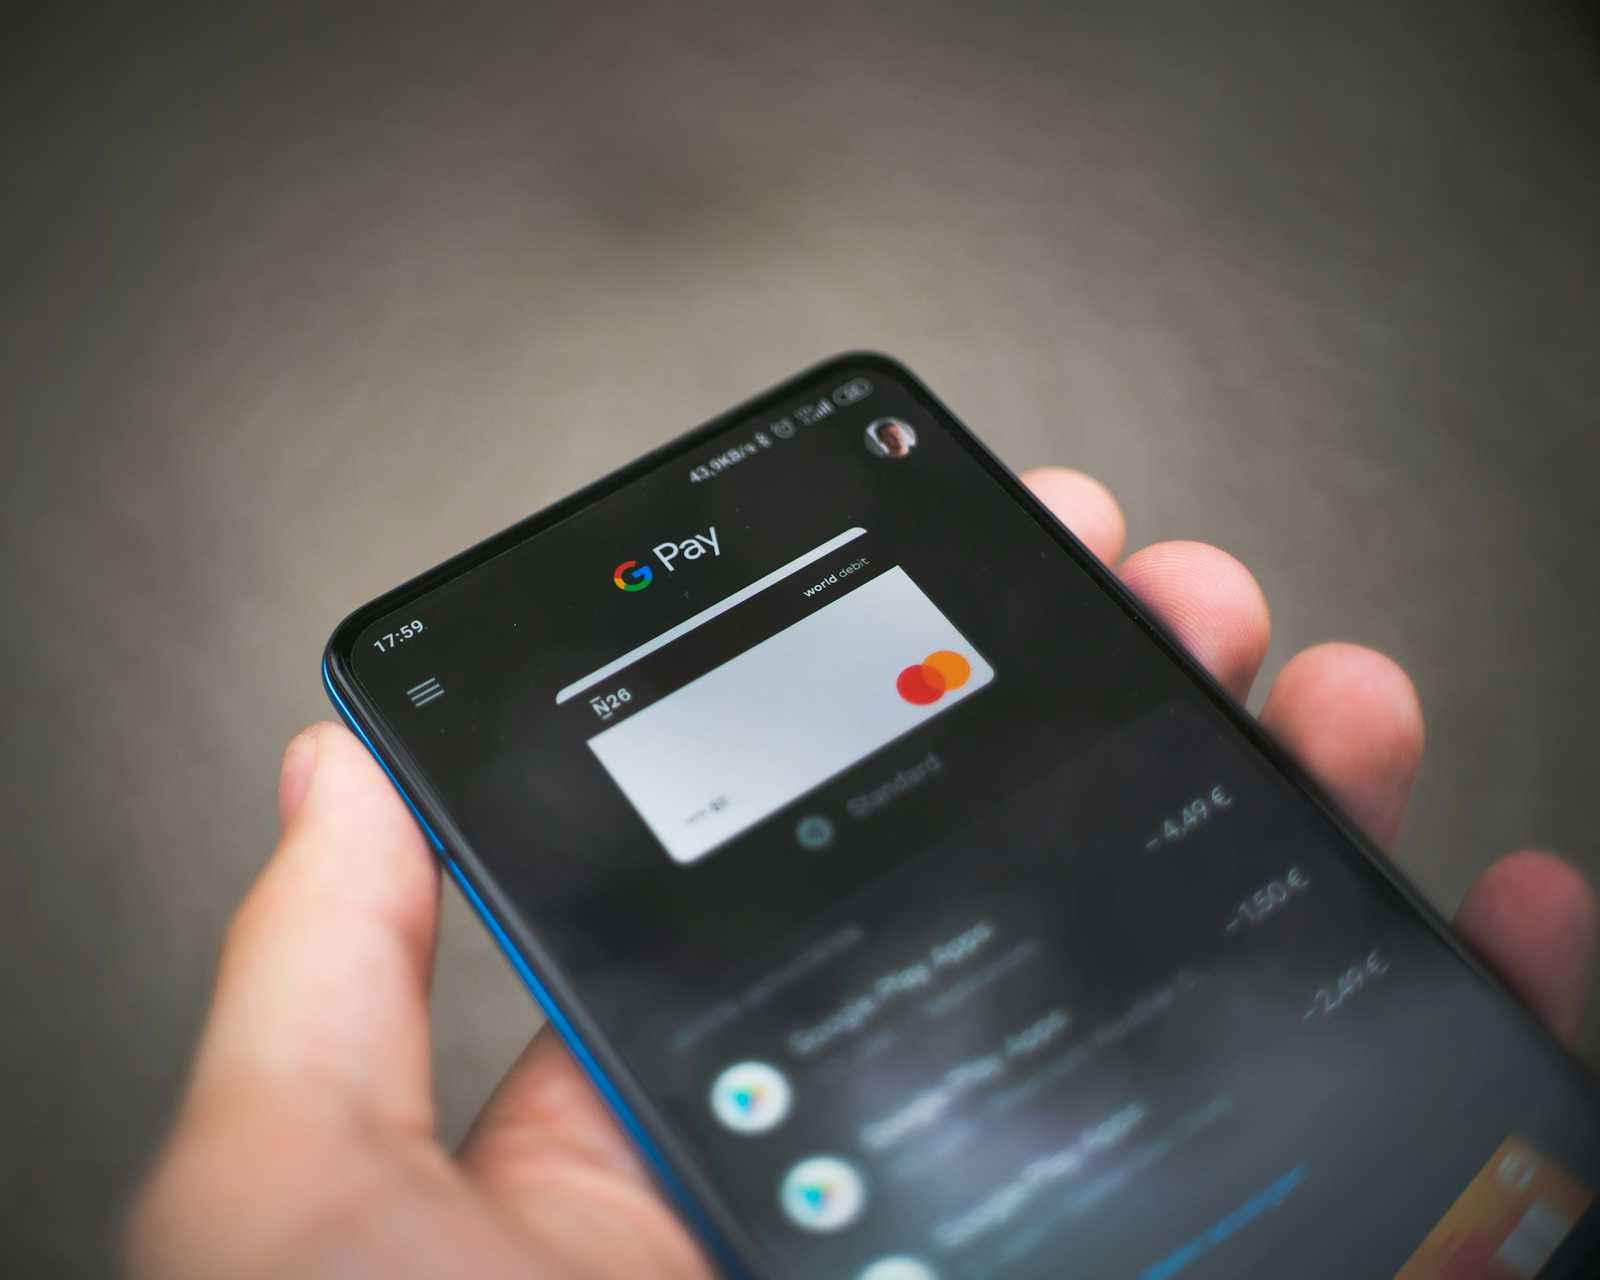
UPI Payments on mWeb: A Complete Guide
 Naman Shankhydhar
Introduction
In this blog post, I'll explain the process of enabling UPI payments on mobile web (mWeb). We want to make payments seamless, particularly for users who are flowing in from marketing campaigns. In native apps, we can call payment applications directly; however, web applications struggle to trigger UPI apps such as PayTM, Google Pay, and Cred and also deal with various payment statuses such as success, failure, and pending.
We had already handled this issue in our Android application by using the system-level permissions to launch payment apps. Now, let's understand how we can do the same on the web.
The Challenge
Web apps have access only to browser APIs, which themselves don't grant system-level permission to launch a given payment app. This poses the question: how do we ensure seamless UPI payments with a strong means to track success, failure, and pending? The primary goal is to enhance user experience and reduce drop-offs to boost successful transactions.
Architecture
UPI Intent Flow
The user journey begins when they sign in to the web application and go on to pay for subscribing to a TrueID.
Payment Listing Page: After starting payment, the user is redirected to a page listing various UPI payment modes.
A
GETAPI is called to fetch metadata for available payment apps.A
PUTAPI (createOrder) is triggered to create a draft order. The response contains:Order ID
Order amount
Order status
Order type
User metadata
The
orderIDis stored in local state for further use.
Displaying Available Payment Apps: The available UPI apps are listed on the listing page, each tagged by:
Package Name (Android) – an app-specific unique identifier to start the app.
App Prefix (iOS) – a URL-based identifier to launch the app.
Initiating Payment:
When a user chooses a payment app, a POST API (createPayment) is called with packageName (Android) or upiName (iOS).
The backend then makes the payment through Juspay and returns critical information such as:
merchant_nameamountmcc(Merchant Category Code)merchant_vpatid(Transaction ID)
Generating UPI URI: The parameters returned are utilized to generate a UPI URI, which enables users to launch their desired UPI app with pre-filled transaction information.
For Android:
intent://pay?tr=${sdkParams.tr}&tid=${sdkParams.tid}&pa=${sdkParams.merchant_vpa}&mc=${sdkParams.mcc}&pn=${sdkParams.merchant_name}&am=${sdkParams.amount}&cu=INR&tn=Saathi-Purchase#Intent;scheme=upi;package=${packageName};end;
Supported Package Names:
com.phonepe.app(PhonePe)com.google.android.apps.nbu.paisa.user(Google Pay)net.one97.paytm(PayTM)in.org.npci.upiapp(BHIM)com.dreamplug.androidapp(Cred)com.postpe.app(BharatPe)
For iOS:
${appPrefix}?pa=${sdkParams.merchant_vpa}&pn=${sdkParams.merchant_name}&mc=${sdkParams.mcc}&tid=${sdkParams.tid}&tr=${sdkParams.tr}&tn=Saathi-Purchase&am=${sdkParams.amount}&cu=INR
Supported App Prefixes:
phonepe://pay(PhonePe)tez://upi/pay(Google Pay)paytmmp://upi/pay(PayTM)bhim://upi/pay(BHIM)credpay://upi/pay(Cred)bharatpe://upi/pay(BharatPe)
Handling Payment Status:
The UPI link opens the chosen payment app, and users can finalize the transaction.
The payment screen goes into a pending state with a 5-minute timeout.
Long polling is utilized to poll for updates:
If success, the user is redirected to the success screen.
If pending, a
createOrderAPI is triggered again to retrieve status updates.If
validTill(payment expiry) is received, long polling continues until the validTill > current time.The user is redirected based on the final status (success/failure).
UPI Collect Flow
In this flow, the users manually input their VPA (Virtual Payment Address) to make a payment. This is beneficial for those who would like to manually initiate payments from their UPI app rather than deep linking.
Verifying VPA:
A
POSTAPI (verifyVPA) checks whether the provided VPA is valid.If valid,
createPaymentis called withorderIDandVPA.The backend sends a payment request to the specified VPA.
Handling Payment Status:
The pending payment state follows the same process as the UPI Intent Flow.
Long polling continues until the transaction is completed.
Conclusion
Enabling UPI payments on mWeb has its own set of challenges because of browser limitations. But by using deep linking, UPI URIs, and long polling, we can provide a seamless and trustworthy payment experience. This method provides seamless app redirection, strong payment processing, and fewer transaction drop-offs.
Let me know your thoughts or if you have any questions!
Subscribe to my newsletter
Read articles from Naman Shankhydhar directly inside your inbox. Subscribe to the newsletter, and don't miss out.
Written by

Naman Shankhydhar
Naman Shankhydhar
I’m an experienced frontend engineer with an impressive track record in several cutting-edge startups, including Byjus Exam Prep, Attentive, and Snazzy (YC W21). Currently, I am building captivating products at Saathi. I love solving complex UI challenges, optimising frontend performance, and delivering seamless user experiences. I’m currently exploring backend development to expand my skill set and build end-to-end solutions. My expertise spans NextJS, ReactJS, Redux, GraphQL, JavaScript, and TypeScript.