Create a Shopify Product Page Email Capture with an Instant Discount
 Ryan Pitts
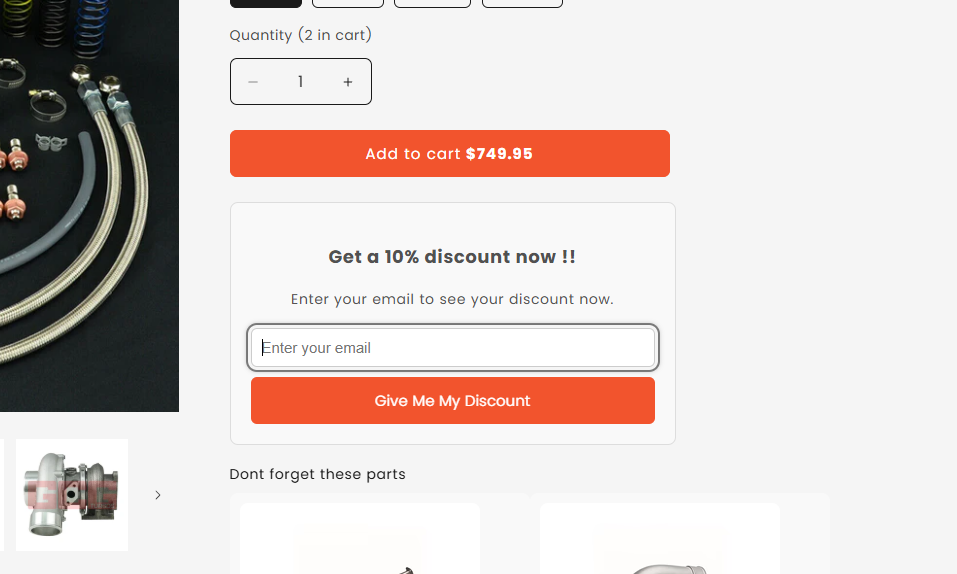
Ive been playing around with the idea of an email capture widget on the product page for about 1-2 weeks now. I finally decided to take a couple of hours to build out the idea; below is the widget's first draft. This pretty straightforward widget can be customized more extensively if wanted.
Features
Discount code will automatically apply to the shopping cart of the user
The widget is ready to connect with an email automation platform like Klaviyo to send the discount code email
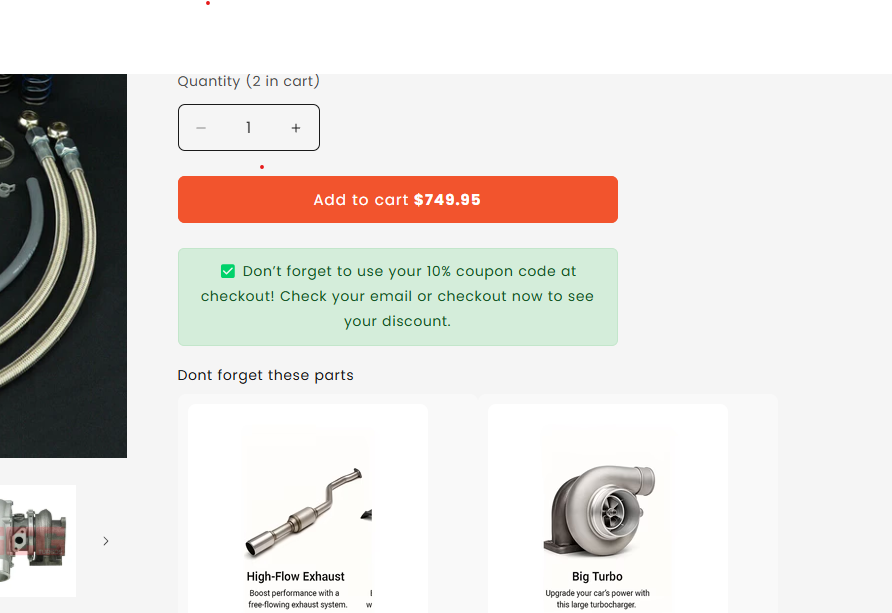
The widget will disappear once the user interacts with it. A banner will be in its place for the user to remind them to check out or check their email
After finishing this code I start work on making the widget a section or block for the product page along with customizer functionality.
I’m using the Dawn theme for the build but most themes should work as intended
Create a snippet file called ‘email-discount-widget.liquid’
In the liquid file paste the code below
 <div id="email-discount-widget" class="email-discount-widget" style="display: none;">
   <div class="discount-card">
     <p class="discount-headline"><strong>Get a 10% discount now !!</strong></p>
     <p class="discount-subtext">Enter your email to see your discount now.</p>
     <div class="discount-form">
       <input
         type="email"
         id="discount-email"
         class="discount-input"
         placeholder="Enter your email"
         required
       >
       <button type="button" id="get-discount-btn" class="discount-button">Give Me My Discount</button>
     </div>
     <p id="discount-message" class="discount-message"></p>
   </div>
 </div>
 <p id="discount-reminder" class="discount-reminder" style="display: none; margin-top: 1rem;">
   ✅ Don’t forget to use your 10% coupon code at checkout! Check your email or checkout now to see your discount.
 </p>

 <style>
   #email-discount-widget {
     display: none;
     opacity: 0;
     transition: opacity 0.5s ease;
   }

   .email-discount-widget {
     margin: 2rem 0;
   }

   .discount-card {
     background-color: #f9f9f9;
     border: 1px solid #ddd;
     padding: 2rem;
     border-radius: 8px;
     max-width: 446px;
     text-align: center;
   }

   .discount-headline {
     font-size: 1.8rem;
     margin-bottom: 0.5rem;
   }

   .discount-subtext {
     font-size: 1.4rem;
     color: #555;
     margin-bottom: 1.5rem;
   }

   .discount-form {
     display: flex;
     flex-direction: column;
     gap: 1rem;
   }

   .discount-input {
     padding: 1rem;
     font-size: 1.5rem;
     border: 1px solid #ccc;
     border-radius: 6px;
     width: 100%;
   }

   .discount-button {
     display: inline-flex;
     justify-content: center;
     align-items: center;
     padding: 1rem 3rem;
     border: 0;
     border-radius: var(--buttons-radius, 8px);
     background-color: rgba(var(--color-button), var(--alpha-button-background));
     color: rgb(var(--color-button-text));
     font: inherit;
     font-size: 1.5rem;
     text-decoration: none;
     cursor: pointer;
     appearance: none;
     -webkit-appearance: none;
     transition: box-shadow var(--duration-short) ease;
     box-shadow: var(--buttons-shadow, none);
   }

   .discount-button:hover {
     box-shadow: 0 0 0 0.2rem rgba(var(--color-button), 0.2);
   }

   .discount-message {
     margin-top: 1rem;
     font-size: 1.4rem;
     color: green;
   }

   .discount-reminder {
     margin-top: 1rem;
     padding: 1rem;
     font-size: 1.4rem;
     color: #155724;
     background-color: #d4edda;
     border: 1px solid #c3e6cb;
     border-radius: 6px;
     max-width: 440px;
     text-align: center;
   }
 </style>
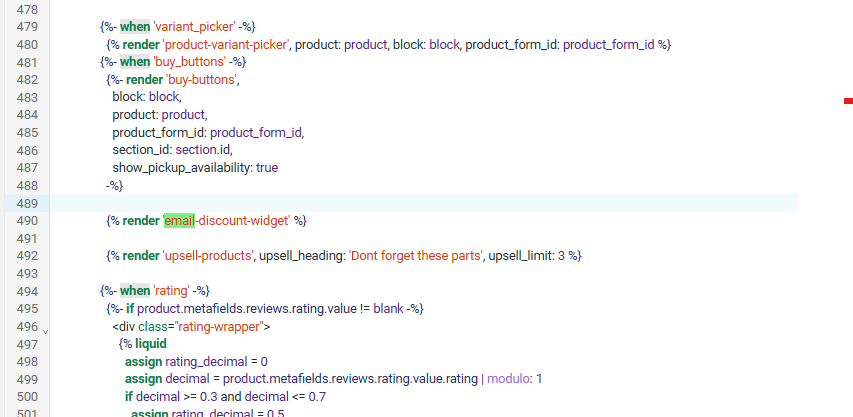
Navigate to the ‘main-product.liquid’ file and insert your snippet. I placed the snippet below the ‘buy buttons’ to encourage interaction and conversion.
{% render ‘email-discount-widget %}
Also in the ‘main-product.liquid’ file attach the following javascript code or src from another file/asset.
Now go to your discount settings and create a discount code labeled ‘test’. This will align with the code below.
```javascript ```
Here are a couple of example images of the widget in action on the product page.


Subscribe to my newsletter
Read articles from Ryan Pitts directly inside your inbox. Subscribe to the newsletter, and don't miss out.
Written by
