How to Make Your Local Svelte App Public with Pinggy
 Lightning Developer
Want to share your Svelte app on the internet without setting up a full-blown server? With Pinggy, you can securely expose your local Svelte development environment to the web using an SSH tunnel—making it super easy to share your app for testing or feedback.
What is Svelte?
Svelte is a modern JavaScript framework that compiles your code into super-fast vanilla JavaScript during the build process. Unlike React or Vue, which use a virtual DOM at runtime, Svelte removes that layer, leading to:
No Runtime Overhead – Lightning-fast performance.
Built-in Reactivity – No need for external state libraries.
Clean & Simple Syntax – Less boilerplate code.
Tiny Bundle Sizes – Efficient output by default.
Built-in Animation & State Tools – Everything you need in one package.
It’s a great fit for projects of all sizes due to its simplicity and speed.
Why Share a Local Svelte App?
When developing locally, your Svelte app usually runs on localhost:5173, only visible on your machine. But sometimes you may need to show it to others—for example:
To gather feedback
For live demos
For testing with teammates
But here’s the catch:
Firewalls and network rules often block external access.
Cloud hosting is time-consuming for a quick demo.
You just need temporary access, not full deployment.
This is where Pinggy helps. It creates a secure SSH tunnel so you can easily and safely share your local Svelte app via a public URL—no server setup needed.
What You Need
Make sure you have these ready:
Node.js & npm – Download here
SSH client – Pre-installed on Mac/Linux. Windows can use Git Bash or OpenSSH.
Pinggy account (Optional for advanced features)
Basic knowledge of using the terminal
Step 1: Create & Run Your Svelte App
If you're starting fresh, here’s how to set up your app:
npx sv create my-app
cd my-app
npm install
npm run dev
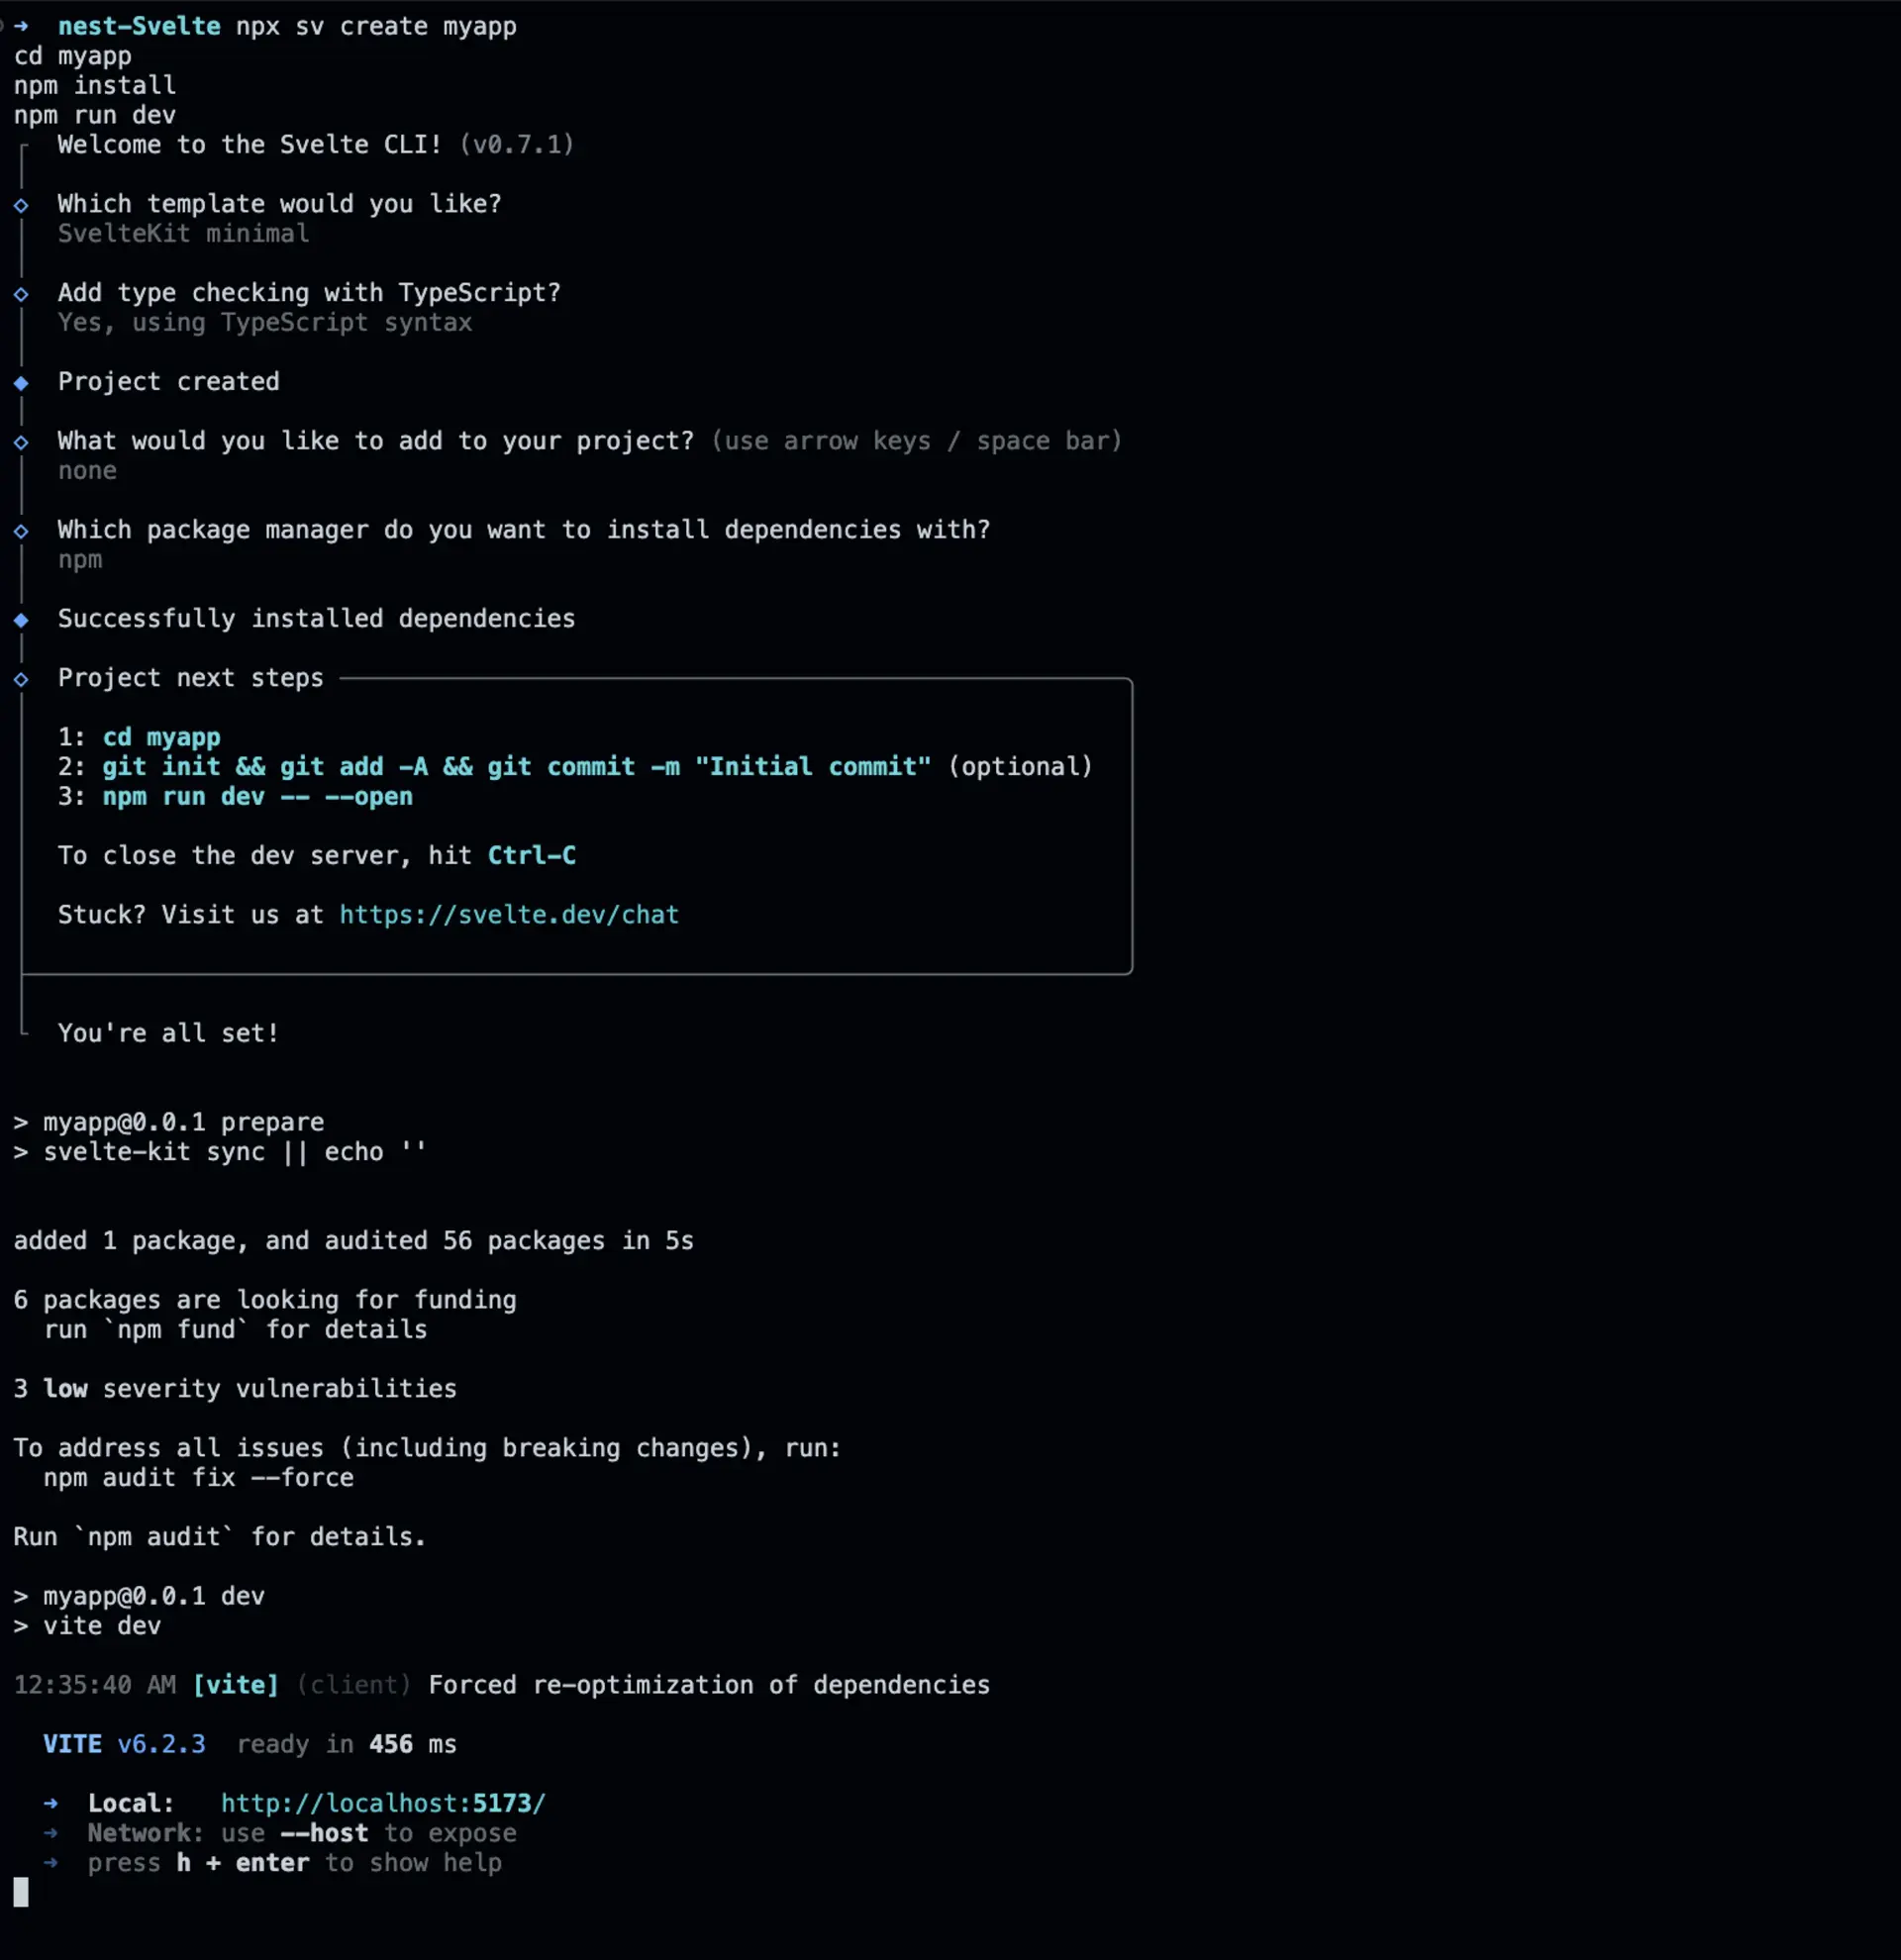
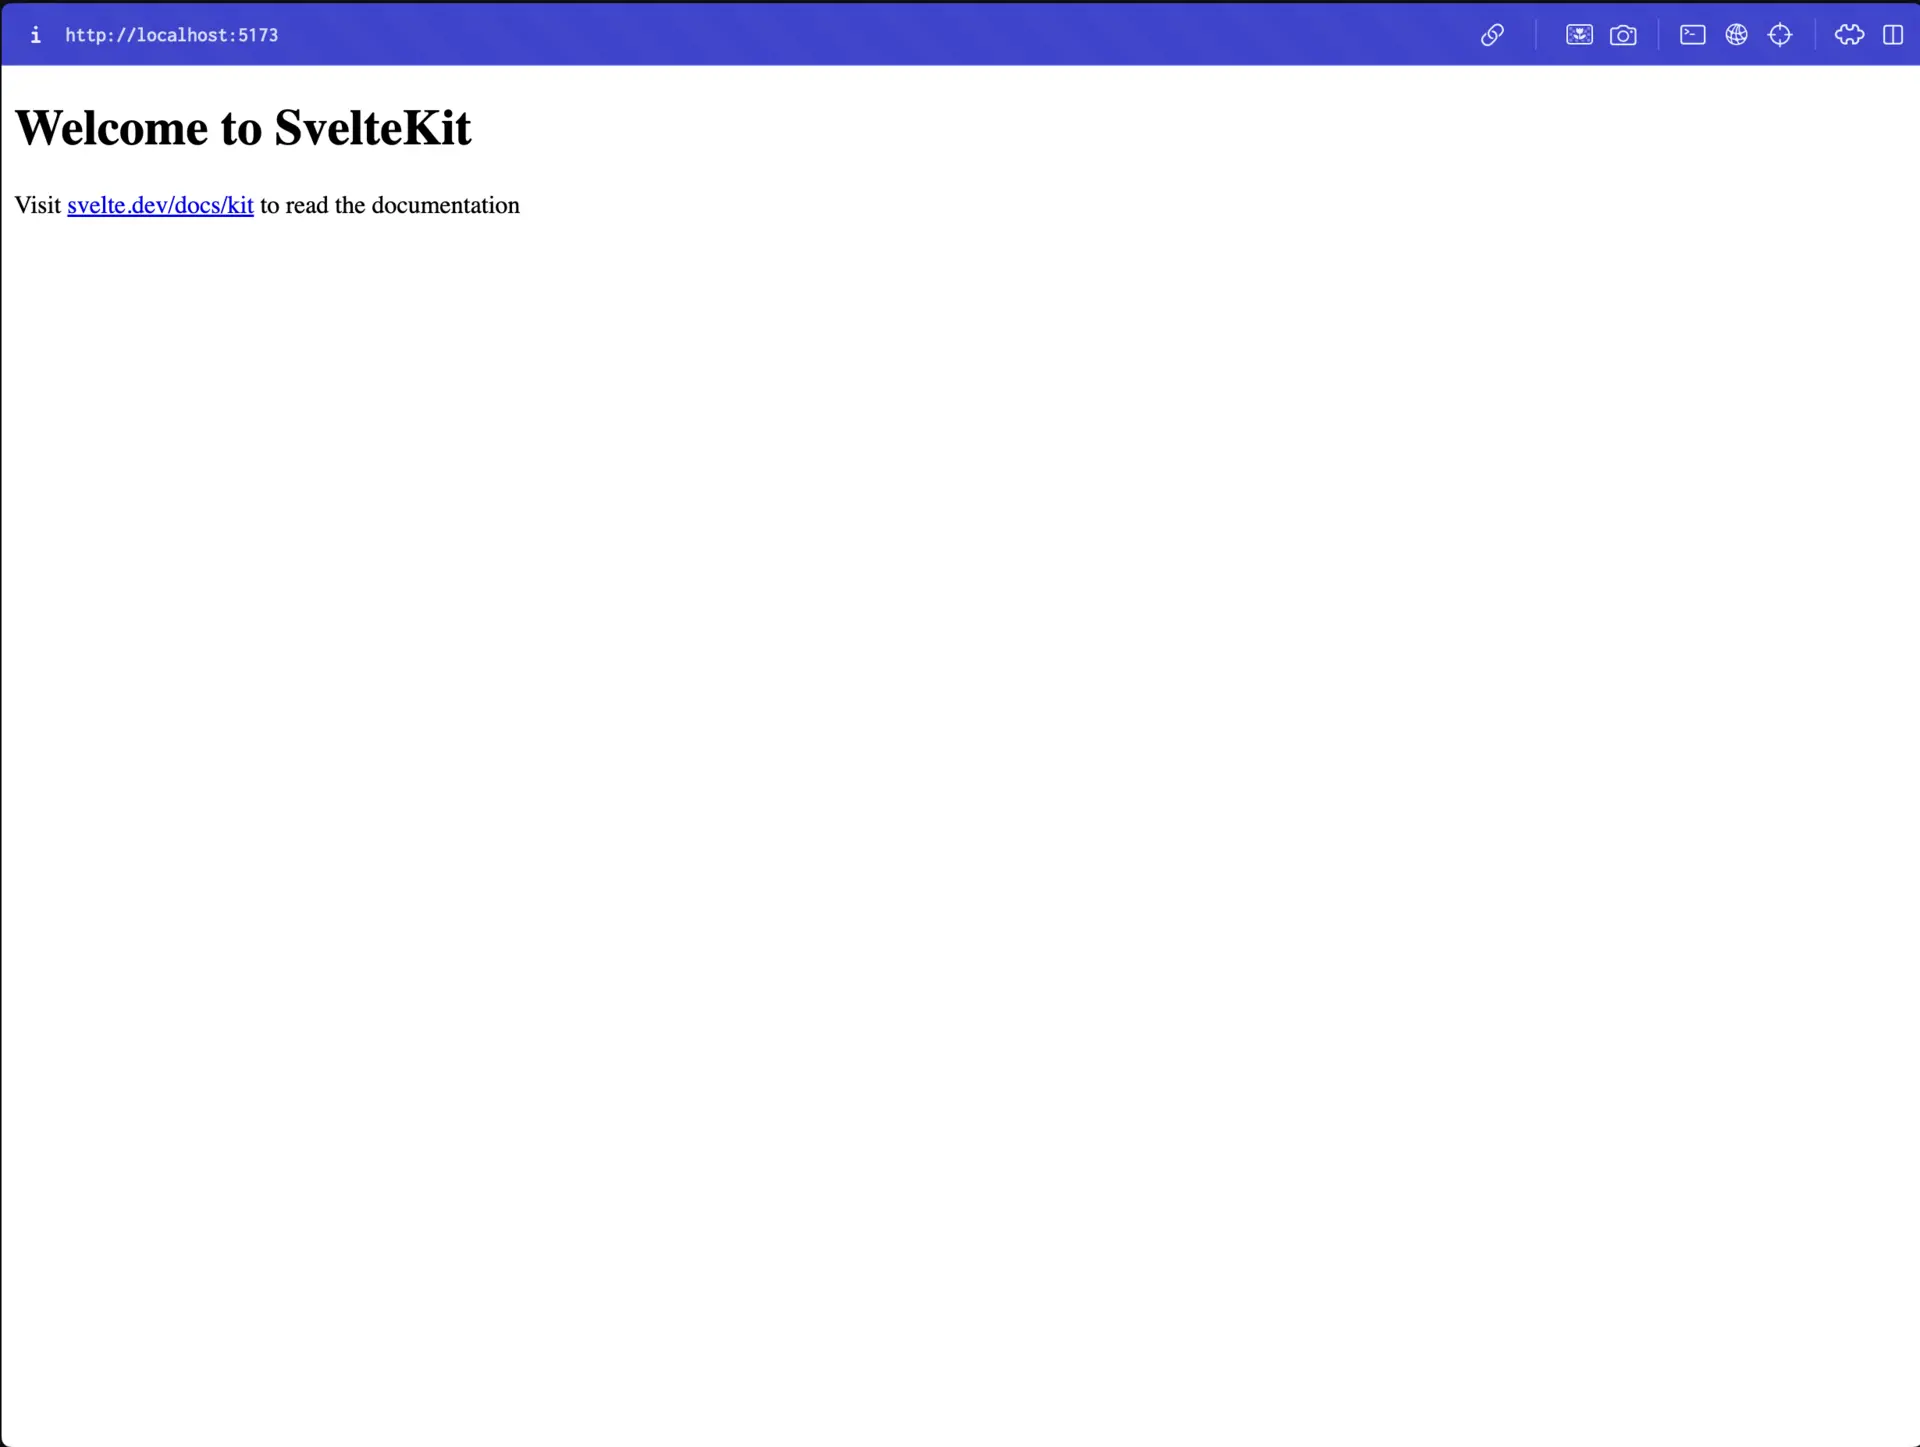
Once it’s running, visit http://localhost:5173 in your browser.
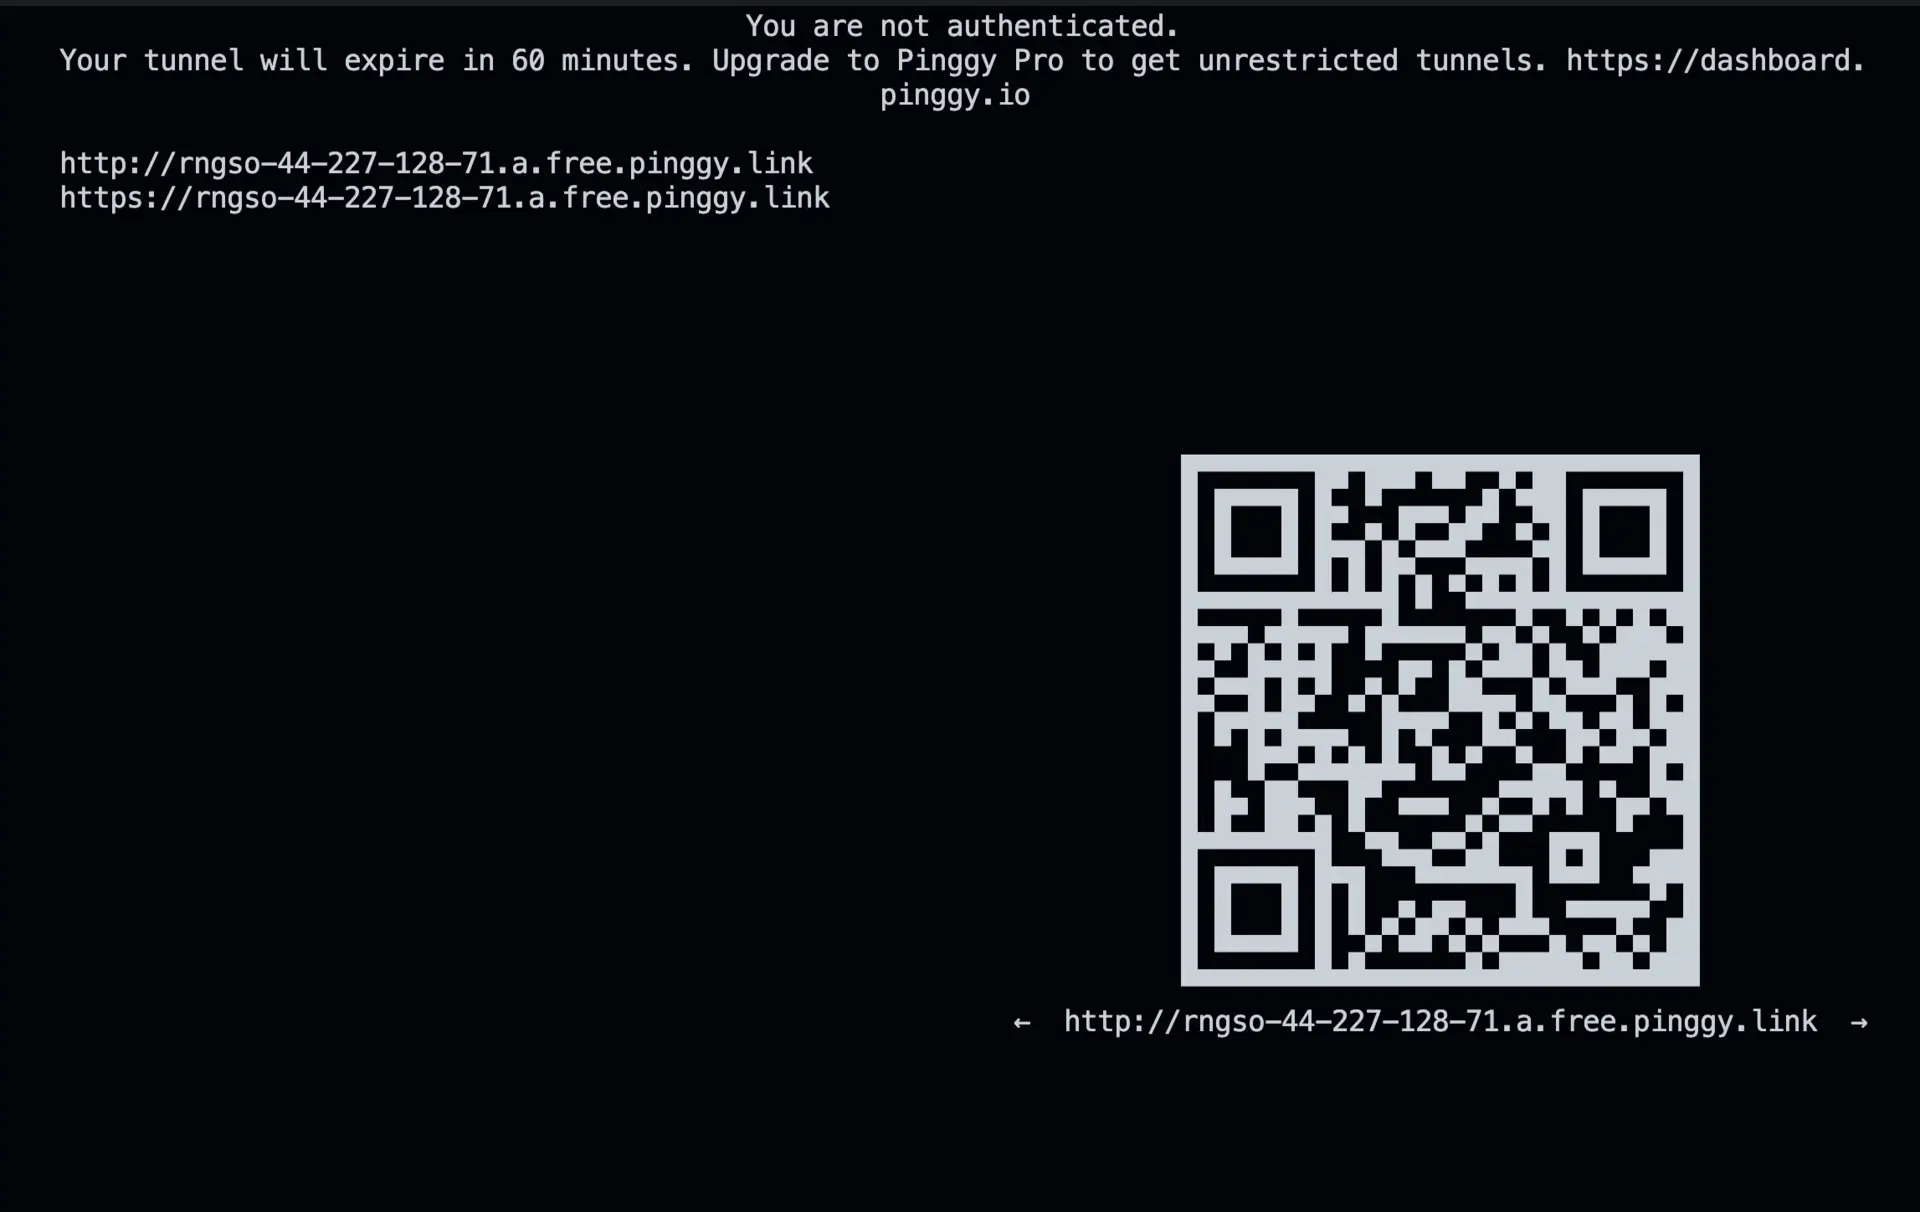
Step 2: Make It Public with Pinggy
Now let's expose your app using Pinggy. Run this command in your terminal:
ssh -p 443 -R0:localhost:5173 -t qr@a.pinggy.io "u:Host:localhost:5173"
Command Breakdown:
ssh -p 443– Connects securely via port 443.-R0:localhost:5173– Maps your local Svelte app port to the tunnel.a.pinggy.io– Pinggy’s public tunneling server.
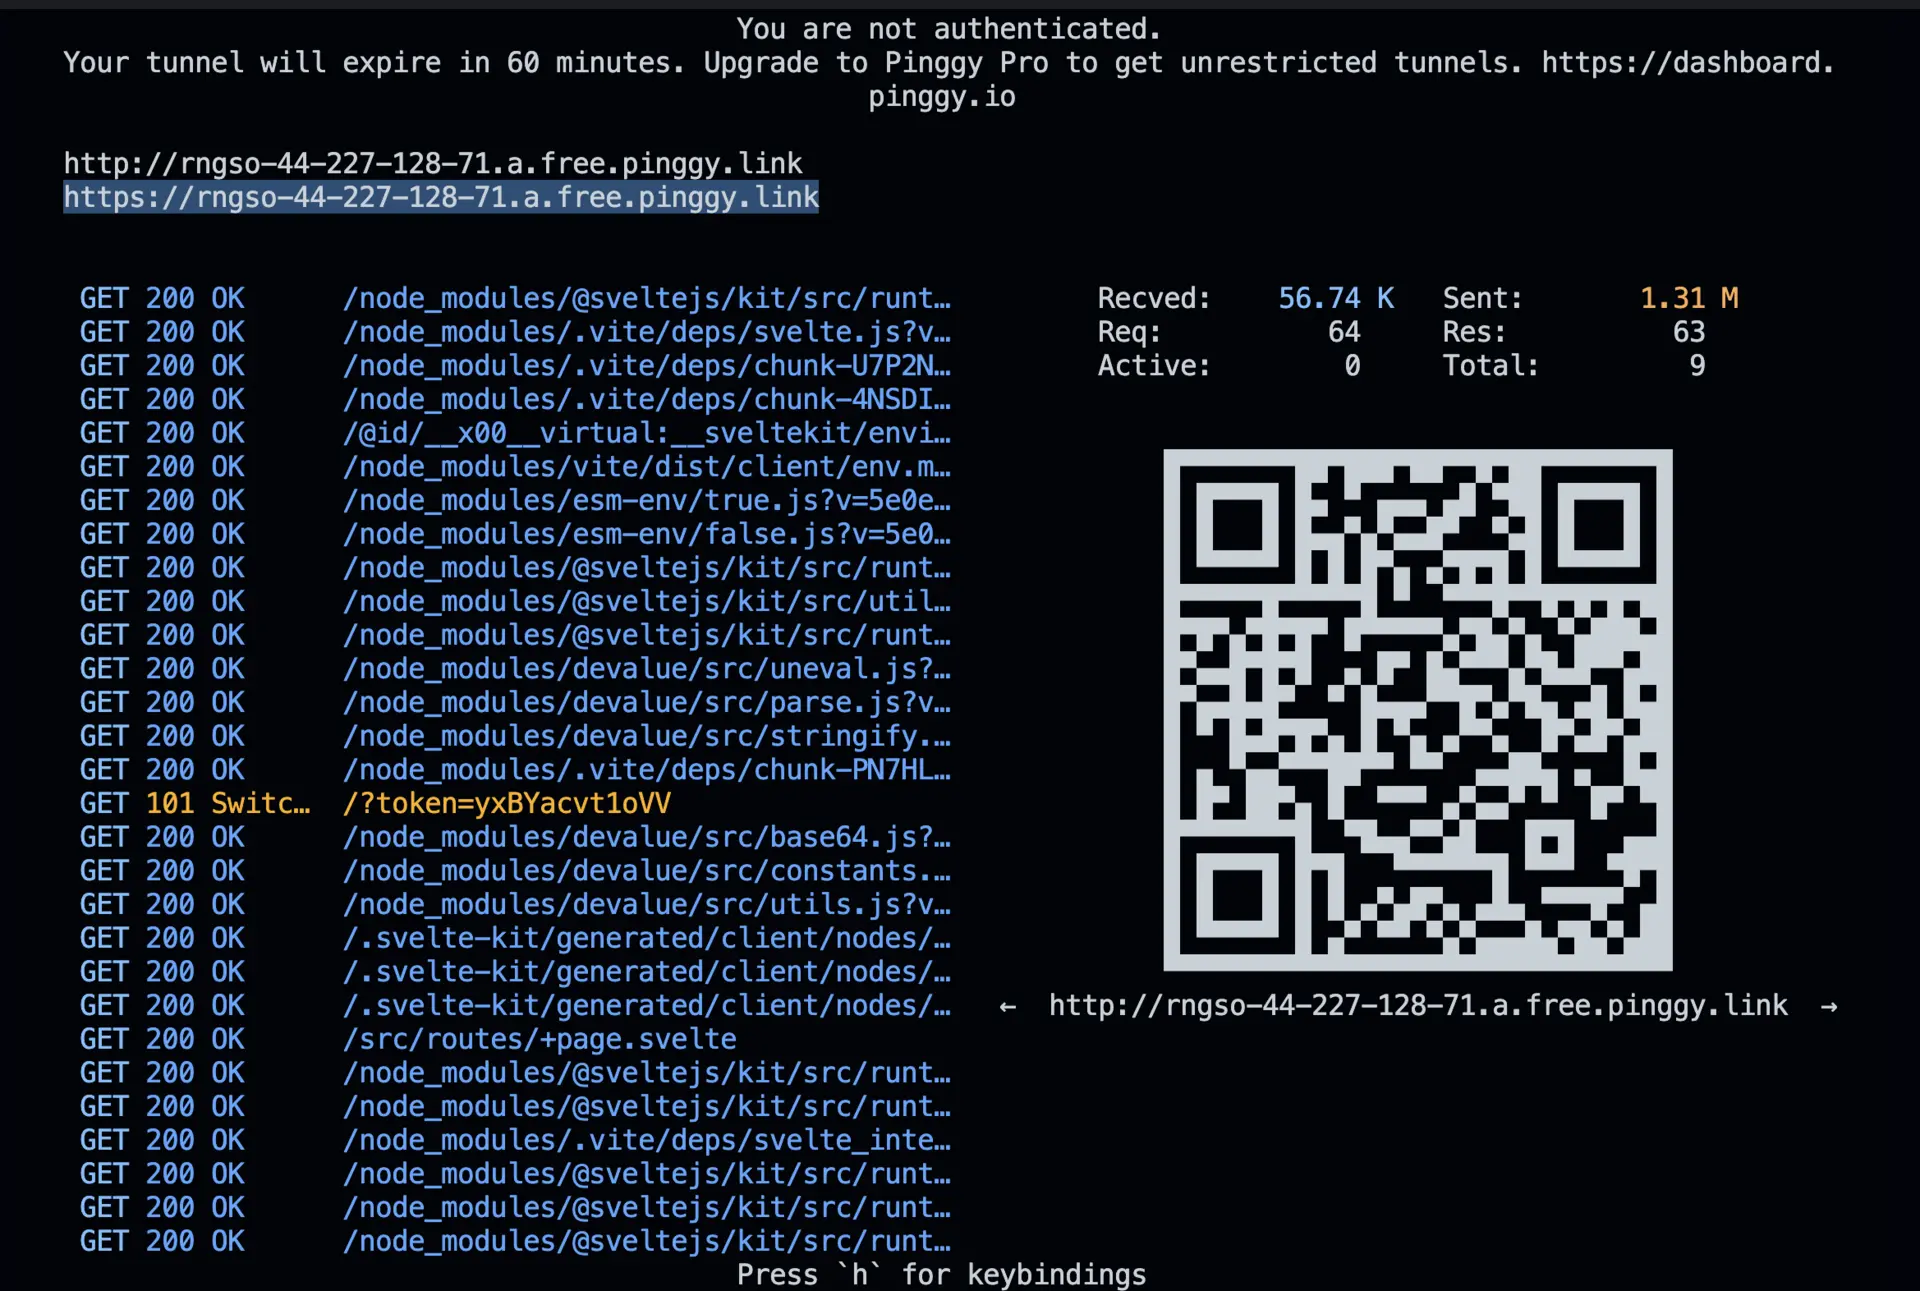
After running it, Pinggy gives you a public URL (like https://your-app.pinggy.link) that anyone can open in a browser!

Step 3: Customize Your Tunnel
Pinggy supports useful customization options:
Custom Domains – Use your own domain for a professional look.
Password Protection – Secure your tunnel from unauthorized access.
For more, check the Pinggy documentation.
Benefits of Using Pinggy with Svelte
No deployment hassles – No cloud config or hosting setup.
End-to-end encrypted SSH tunneling
Perfect for testing and collaboration
Fast and lightweight
Troubleshooting Tips
1. Port Issues
Problem: Tunnel won’t start.
Fix: Check that your Svelte app is on port
5173, or update the SSH command.
2. SSH Blocked
Problem: Connection errors or timeouts.
Fix: Make sure port
443is open on your network.
3. SSH Not Installed
Problem: Terminal says
ssh: command not found.Fix: Install an SSH client like OpenSSH (especially for Windows).
With Pinggy, you can easily share your Svelte app with anyone around the globe without any complex setup. In just a few steps, your local app becomes publicly accessible—great for testing, feedback, or live demos.
📚 References
Let me know if you want a shorter blog version or a version tailored for dev.to, Medium, or LinkedIn!
Subscribe to my newsletter
Read articles from Lightning Developer directly inside your inbox. Subscribe to the newsletter, and don't miss out.
Written by