How to Deploy a Node.js Application on AWS
 Ayush Chaurasia
Cloud platforms and infrastructure have revolutionized the way we deploy and host backend services and applications, offering flexibility and scalability. In this guide, we’ll walk you through the process of taking your Node.js/Express application from your local machine to the cloud, making it accessible globally. By leveraging the power of Amazon Web Services (AWS), you’ll learn how to seamlessly deploy your app and harness the full potential of cloud hosting.
But before we get started, here are some prerequisites for the tutorial:
An active AWS account
Basic beginner to intermediate knowledge of Node.js and Express
Knowledge of Linux/Cloud Basis
Introduction
Node.js is a server-side runtime environment that allows you to run JavaScript on the server, outside of a web browser. It is commonly used for building web servers, APIs, real-time applications, and backend services.
Here's the difference:
Frontend refers to the part of a web application that users interact with directly in the browser (HTML, CSS, JavaScript).
Backend refers to the server-side logic that handles data processing, database interactions, authentication, and serving the frontend content.
Where Node.js fits in:
Frontend: Uses JavaScript, HTML, and CSS to create the user interface. Frameworks like React.js, Vue.js, or Angular are used for building the frontend.
Backend: Node.js is used with libraries like Express.js or NestJS to handle requests, process data, interact with databases, and send responses to the frontend.
So, while Node.js is not used for the frontend itself, it enables full-stack JavaScript development by handling the backend and helping serve the frontend content.
How to Set Up AWS :-
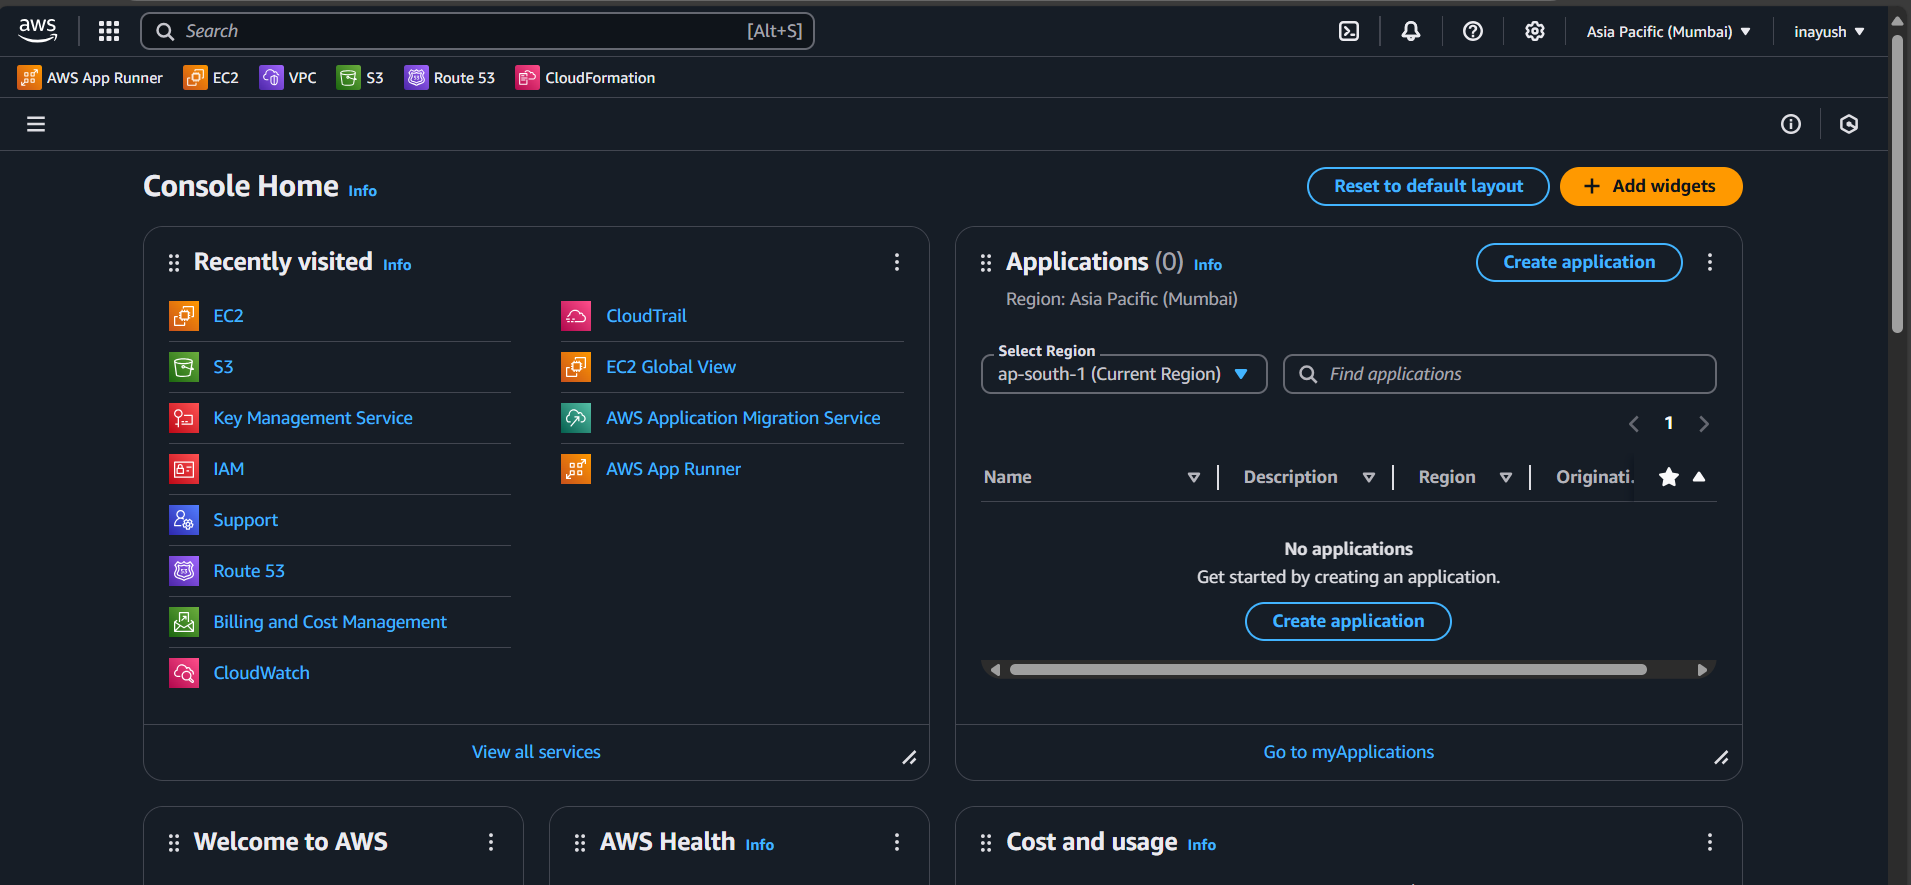
Firstly, I assume that you have an AWS account (minimum free tier).
Here’s a simple step-by-step guide to create an EC2 instance on AWS:
Log in to AWS Console: Go to the AWS Management Console and sign in with your credentials.
Navigate to EC2: In the AWS Console, search for "EC2" in the search bar and select it.
Launch Instance: Click on the "Launch Instance" button.
Choose an Amazon Machine Image (AMI): Select an AMI, which is a pre-configured template for your instance (e.g., Amazon Linux, Ubuntu, Windows Server).
Select Instance Type: Choose the instance type based on your requirements (e.g., t2.micro for free tier eligibility).
Key Pair: Create or select an existing key pair for secure access to your instance. Download the key file and keep it safe.
Launch Instance: Click "Launch Instance" to start the creation process.
Once the instance is running, you can connect to it using SSH (for Linux)

After following the above steps, your dashboard will look like this. Now connect with your EC2. To begin, you’ll immediately update your operating system packages using the sudo command.
The sudo apt update command will get this done. your packages will up to date.
How to Deploy the Node.js Application :-
Before, Starting to Deploy the node.js Application on server, We have to install some dependency to bring your application to life.
1). The command sudo apt install nodejs npm is used to install Node.js and npm (Node Package Manager) on a system.
2). The command sudo apt install git is used to install Git on a system that uses APT (Advanced Package Tool), such as Ubuntu or Debian-based Linux distributions.
3). sudo npm install -g pm2@latest to install pm2 in Server.
4). The sudo pm2 startup command is used to generate and configure a startup script for PM2, which is a process manager for Node.js applications. It ensures that your Node.js application managed by PM2 automatically starts on system reboo
5). Create folder under /home - mkdir launchaldo (as per your wish)

6). Go inside Folder and run the below command to clone the source-code from github clone the application source code using the git clone https://github.com/rat9615/simple-nodejs-app command.
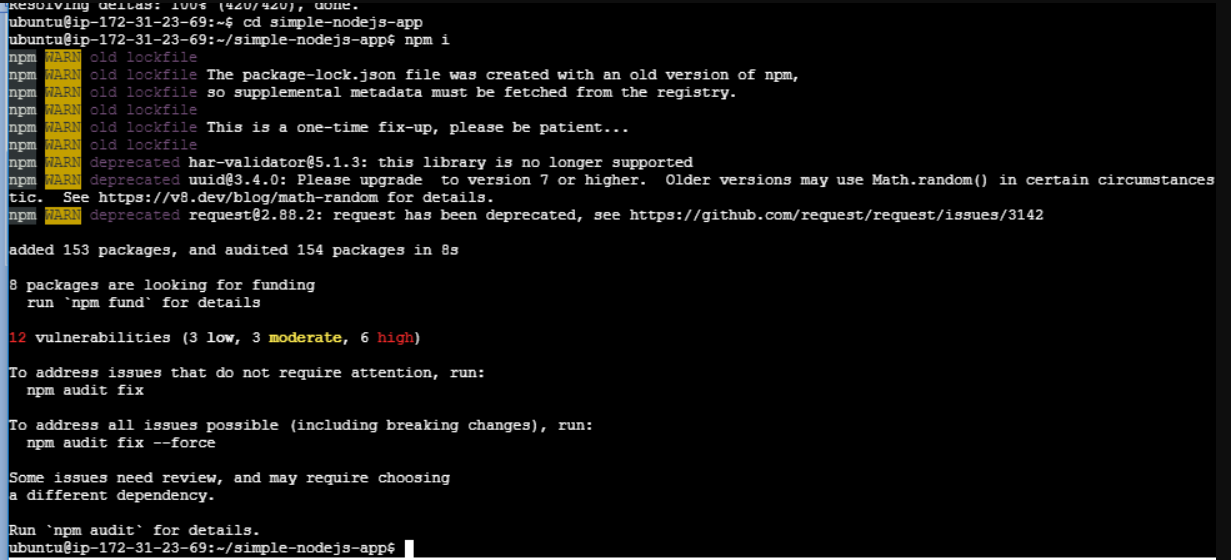
7). After successfully cloning the code project, execute the command cd simple-nodejs-app to navigate into the code folder directory. Now, install the various necessary application dependencies that are included in the code project’s package.json file by executing npm install
8). run the command to inside project folder pm2 start index.js --name "my-app" --watch
9). pm2 status run the command
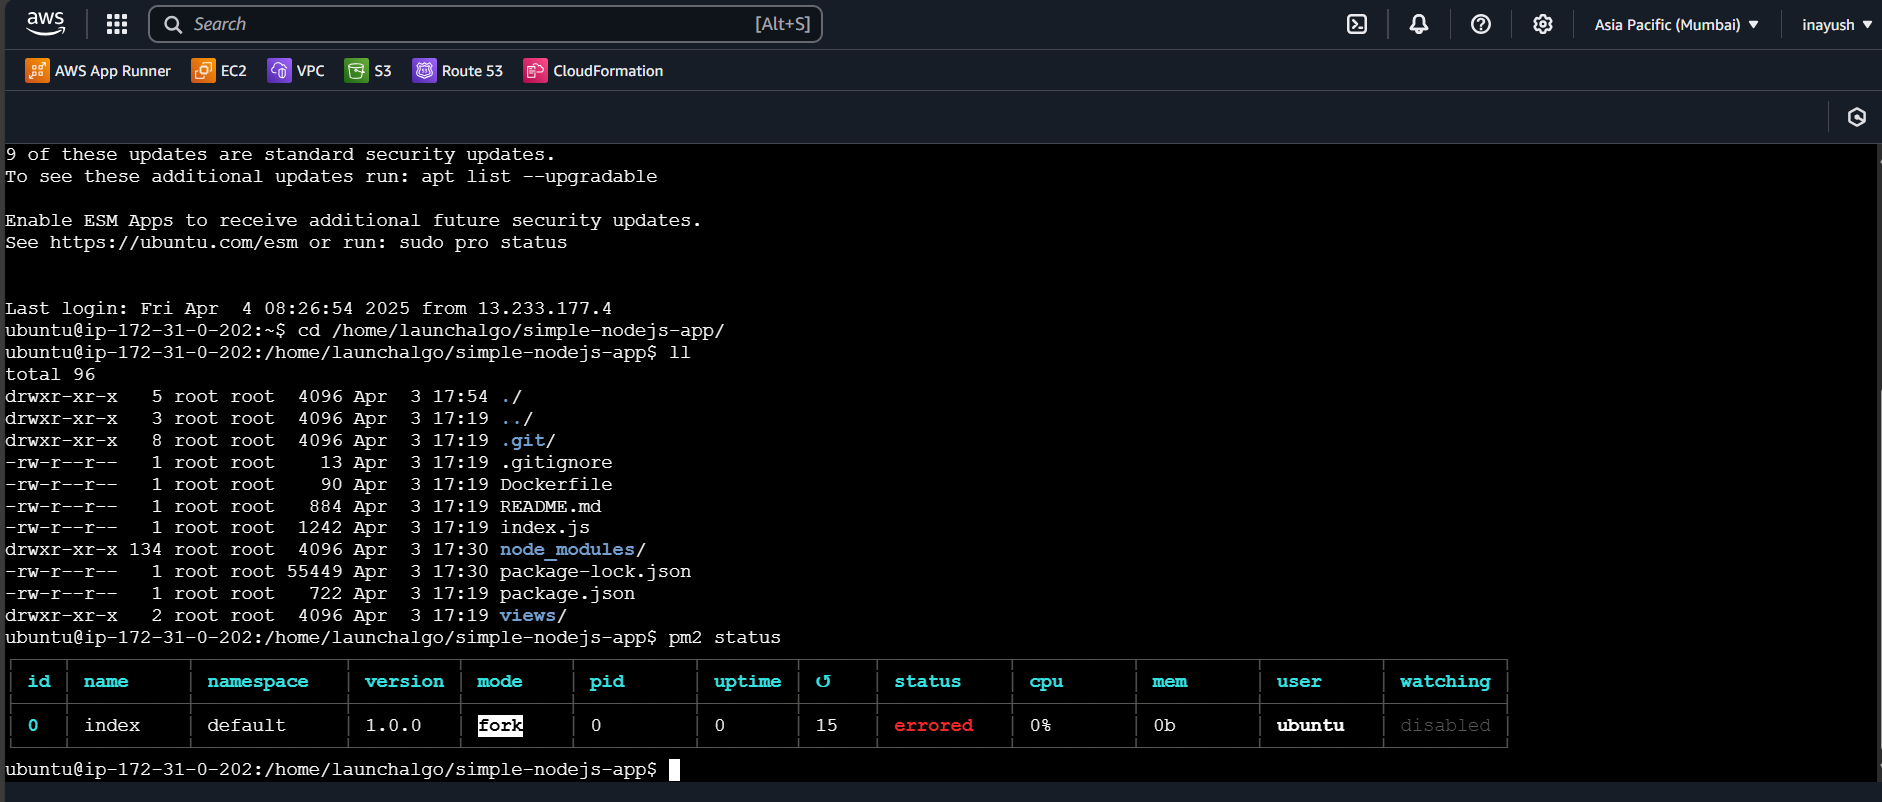
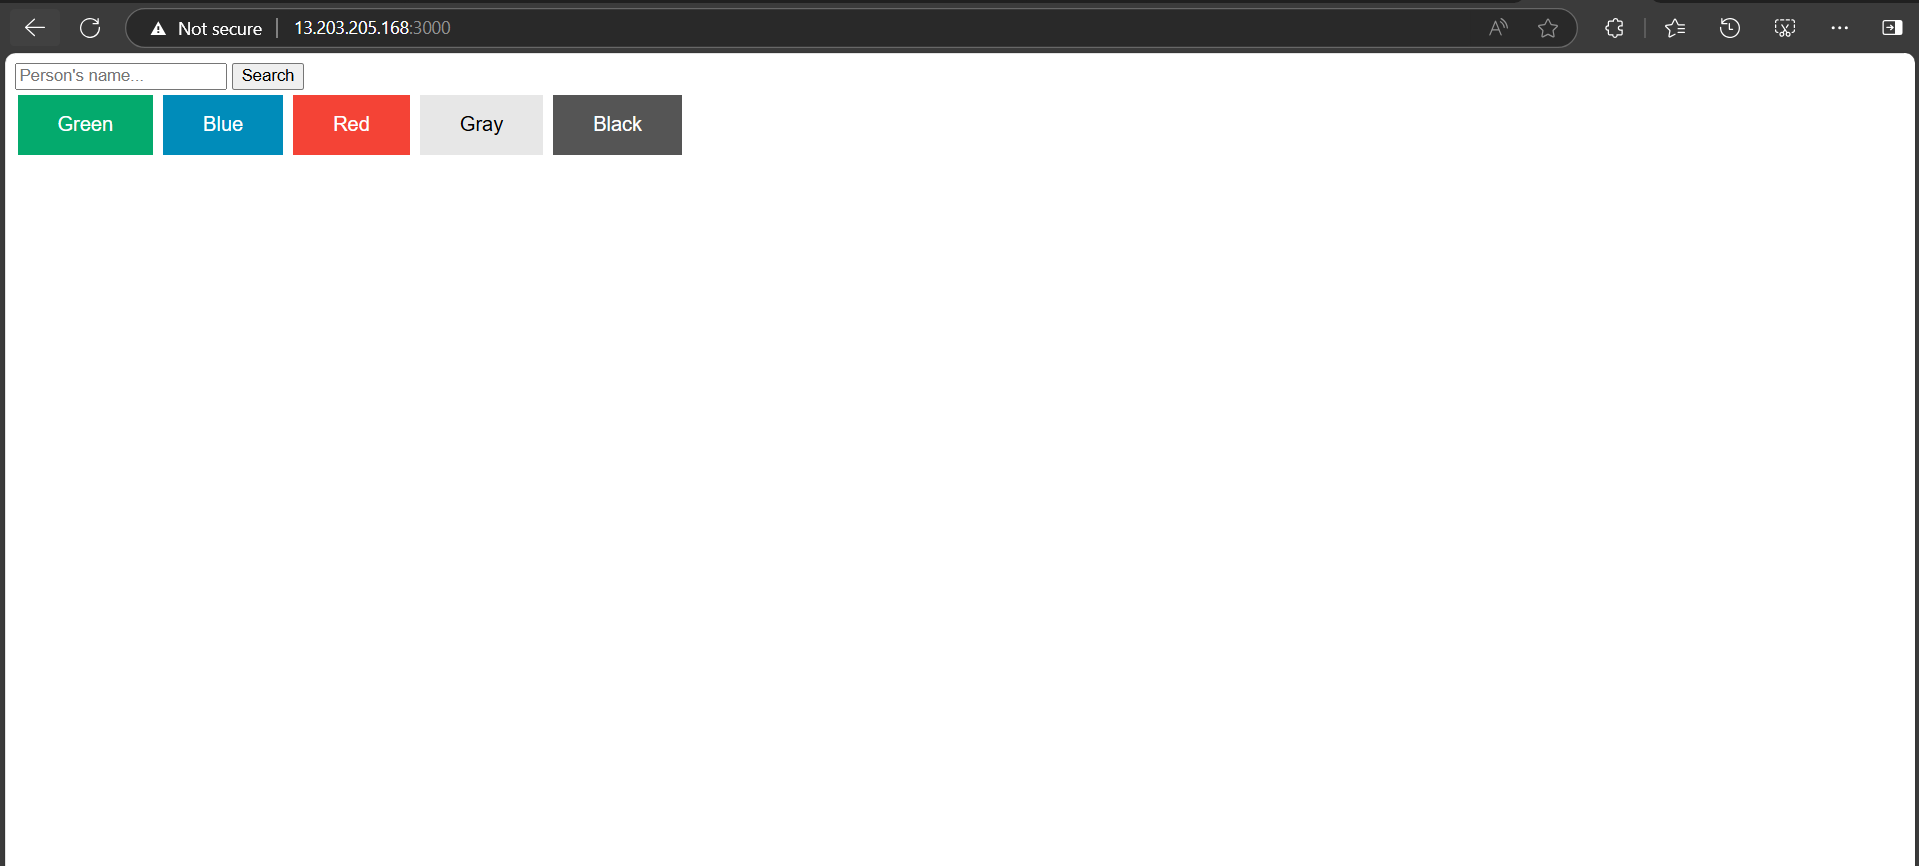
10). This above command will bring your application to life. You should then see a ip:3000 on your browser screen.
11). Do not forget to open 3000 port in Security Group of ec2
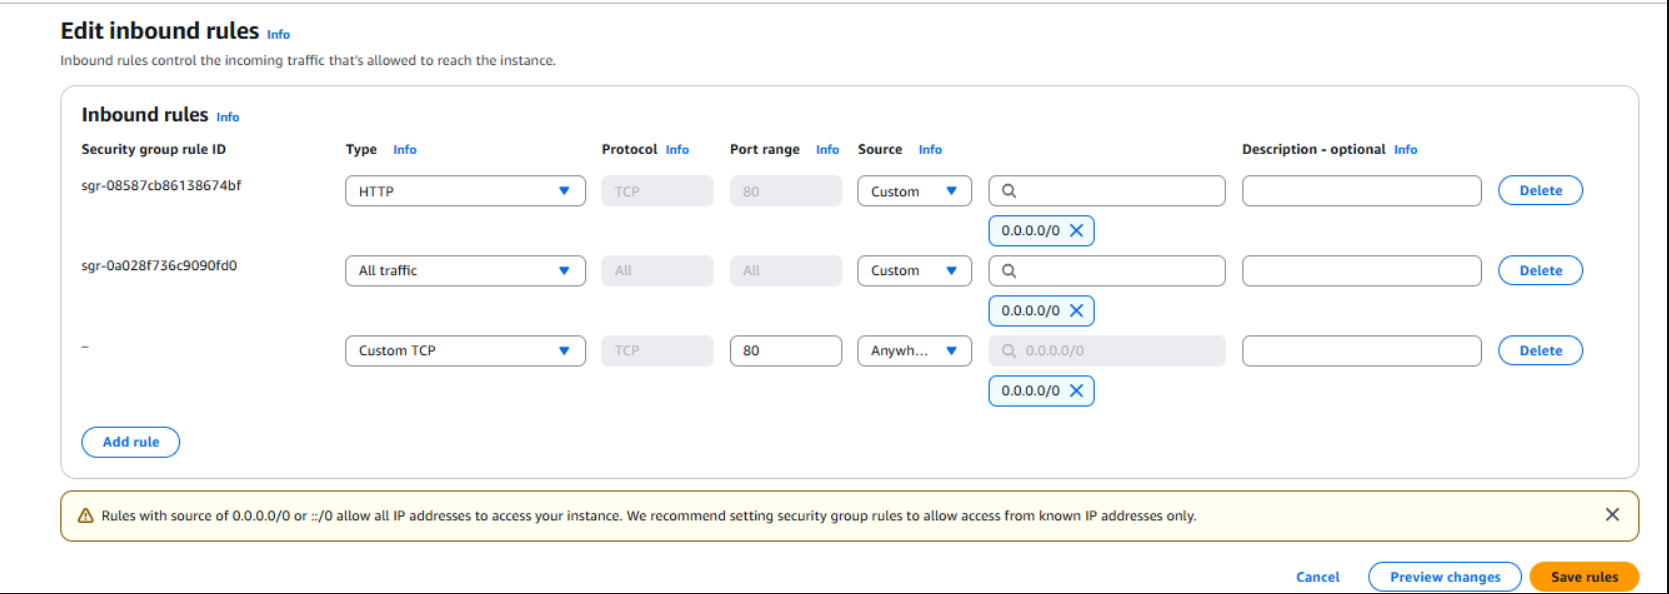
To see the application live in action, click on the external IP address of the EC2 instance and add a suffix port 3000 to view the backend application interface. And, your application should now be live.
Conclusion
With this, we have come to the end of the tutorial. I hope you’ve learned about AWS operations and setting up a backend application on the cloud. You can also reach out to me on my blog anytime. Thanks !!
Subscribe to my newsletter
Read articles from Ayush Chaurasia directly inside your inbox. Subscribe to the newsletter, and don't miss out.
Written by

Ayush Chaurasia
Ayush Chaurasia
Hey I'm Ayush. you're here to discover new insights , I'm thrilled to have you along for the journey!