From Code to Kubernetes: Automating DevSecOps on EKS with Jenkins, SonarQube & Argo CD
 Oshaba Samson
In this tutorial, we’ll walk through how to build a complete CI/CD pipeline using Jenkins and SonarQube, and automate deployments to Amazon EKS with Argo CD. It’s going to be an exciting ride—so buckle up and let’s dive in!
Prerequisite
Jenkins
Sonarqube
Terraform
AWS Account
AWS cli
EKS
eksctl
Objectives
CICD using jenkins
Automated Code Quality Checks using SonarQube
Installation of Argo CD
Auto deployment with Argo CD
The first thing we will do is to create ec2 instance and install jenkins and sonarqube. if you don’t know how to do that you can check out my previous article How to provision an AWS EC2 instance with Terraform and install Docker, Jenkins, and SonarQube using a Bash script in 2 minutes. Then we proceed to configure the two so that they can communicate with each other. You can check out my previous post Master Jenkins and SonarQube setup for Continuous Integration and Code Quality. We also need to create an access token. You can checkout my previous post on how to create access token on dockerhub Step-by-Step Guide to Setting Up a Docker Registry and Generating Access Tokens
We need to integrate the access token generated on Dockerhub.
- Click on Manage Jenkins
- Click on Credentials
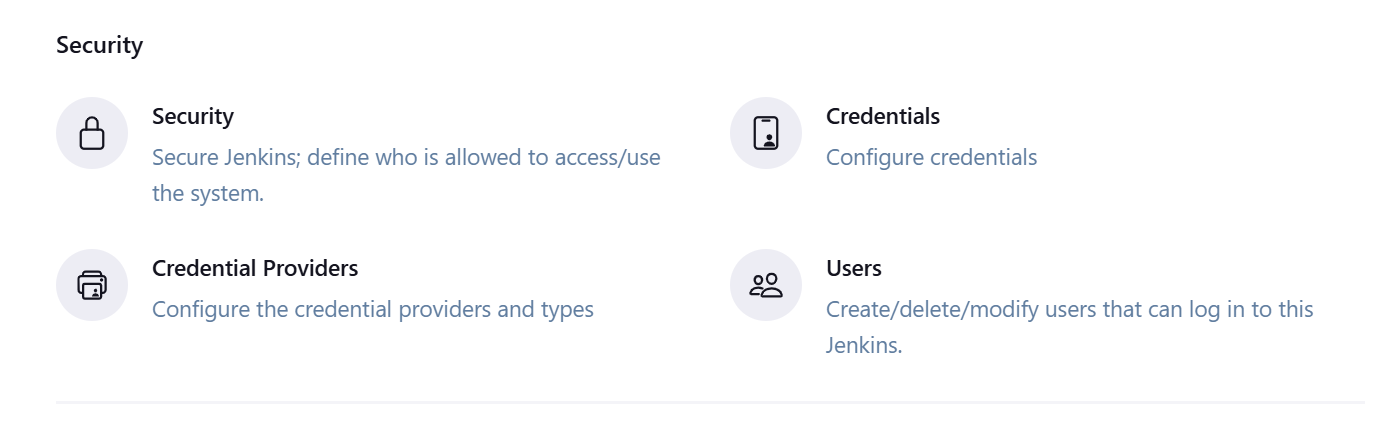
- Click on System

- Click Global Credentials

- Click Add Credentials
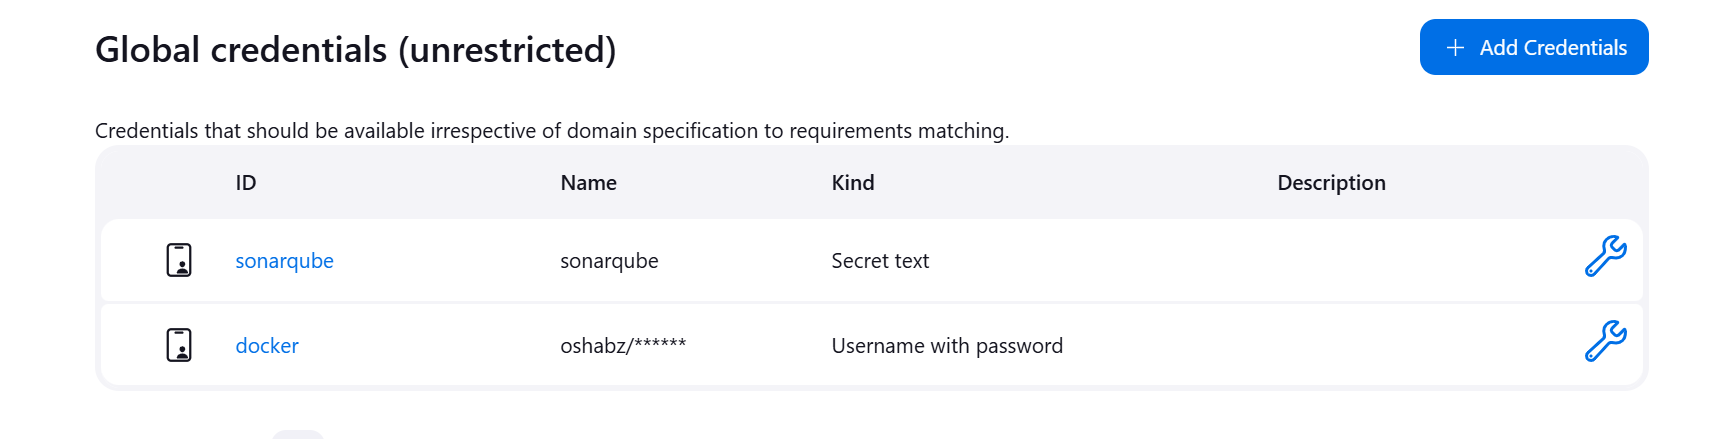
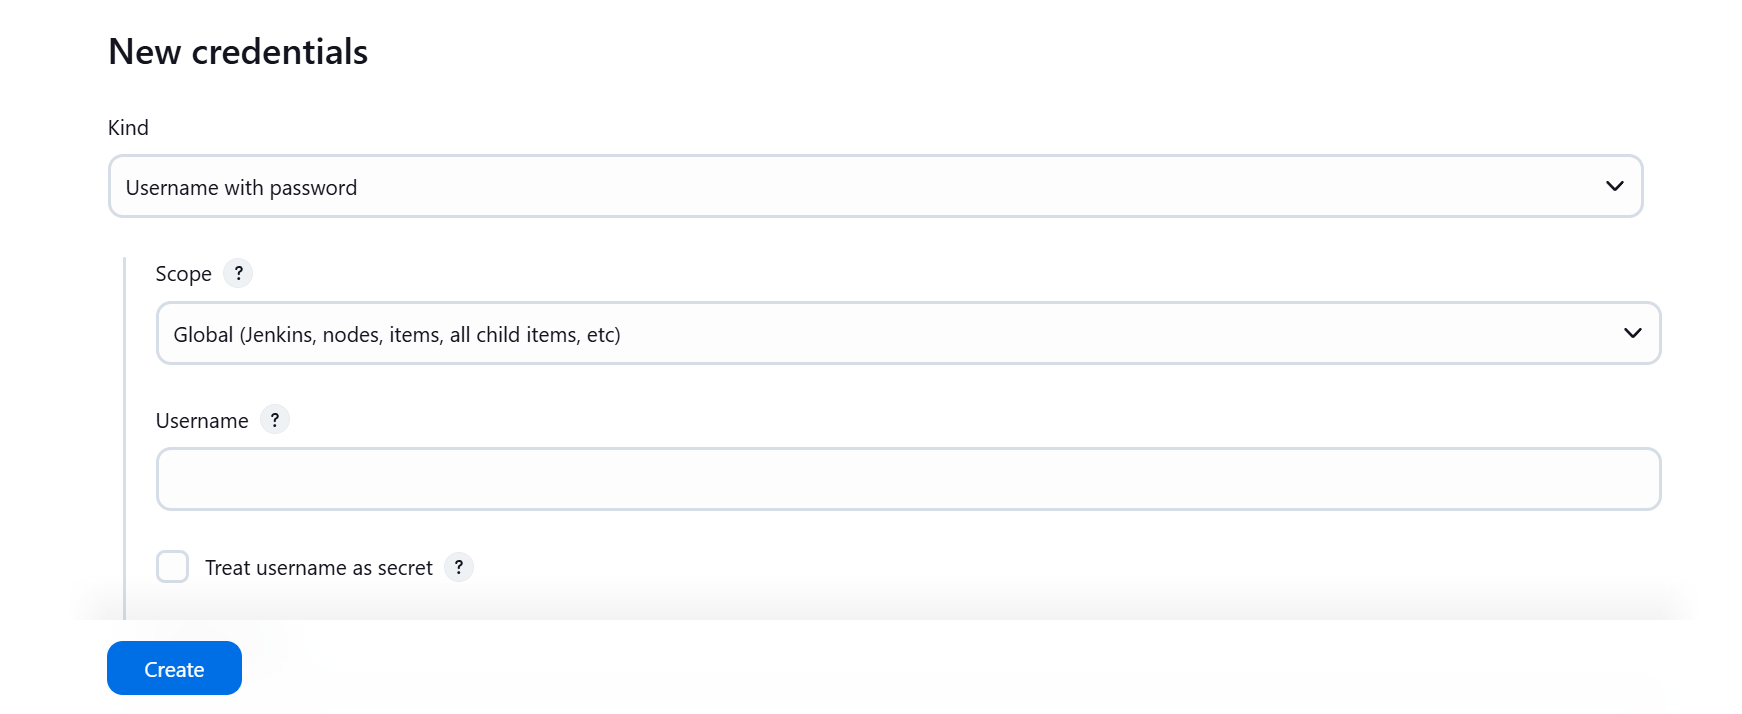
Click on New Credentials
Type dockerhub username and token as password
Create
We need to configure github token so that we can update our repository after pushing our build to dockerhub
Go to github.com and sign in
Click the picture on the right hand side of the page.
Click on settings

On the right hand side of the page. Scroll down
Click on Personal Access tokens
Click on Tokens(classic)

Click Generate new tokens
Click on Generate new token (classic)

- Select all the required rules


Then Generate token
Make sure to copy the token and store in a save place.
Then go to jenkins and click on manage jenkins

- Go to credentials

- Click on System

- Click on System

Click on Add Credentials
Select secret text as kind
Paste the github token as secret
Type github as ID. make sure the name matches.

To Create a Jenkins Job
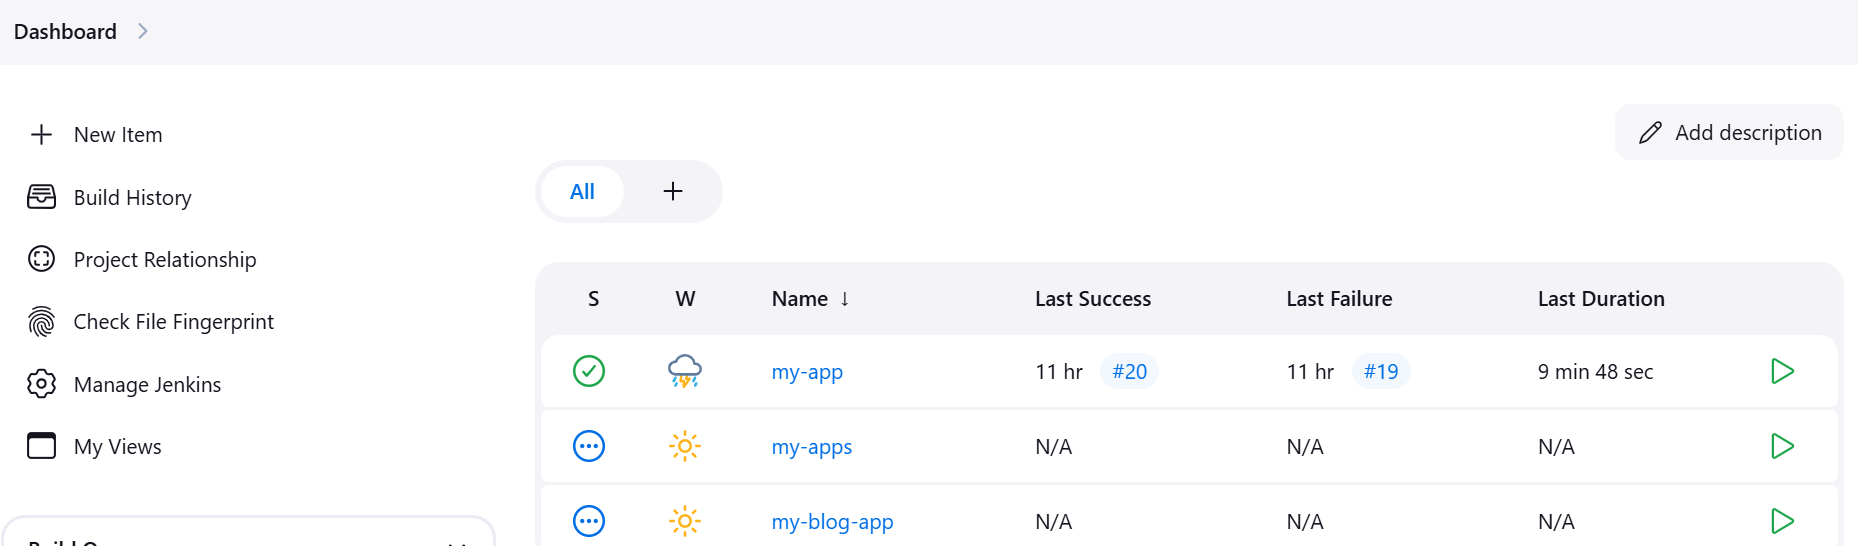
Go to Jenkins dashboard
Click on New Item.
Type the name

Select pipeline
Click on create

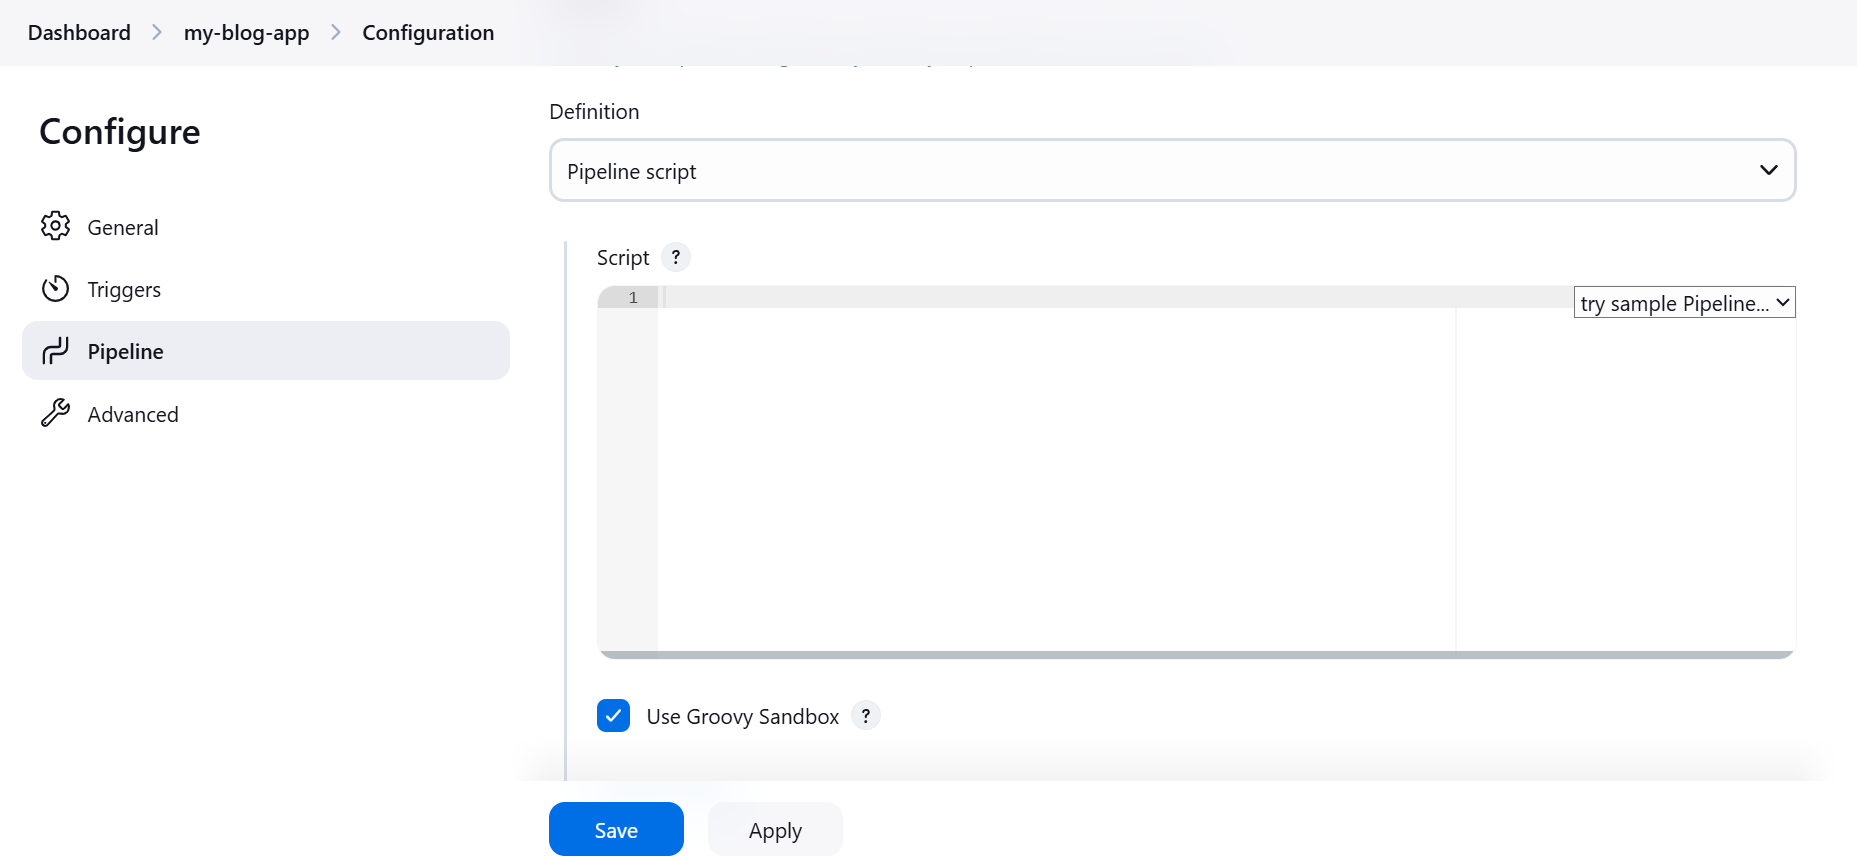
Click on Configure
Scroll down to script and paste this code.
- Pipeline Declaration
pipeline {
    agent any
    tools {
        jdk 'jdk'
        nodejs 'nodejs'
    }
    environment {
        SCANNER_HOME = tool 'sonarqube'
        DOCKER_CREDENTIALS = credentials('docker')  // Use the credentials ID
    }
    stages { ... }
}
- Stage: Clean Workspace
stage('clean workspace') {
    steps {
        cleanWs()
    }
}
- Stage: Checkout from Git
stage('Checkout from Git') {
    steps {
        git branch: 'main', url: 'https://github.com/chuksdsilent/jenkins-reactjs.git'
    }
}
- Stage: SonarQube Analysis
stage("Sonarqube Analysis") {
    steps {
        withSonarQubeEnv('sonar-server') {
            sh ''' $SCANNER_HOME/bin/sonar-scanner -Dsonar.projectName=my-app \
            -Dsonar.projectKey=my-app '''
        }
    }
}
- Stage: Quality Gate
stage("quality gate") {
    steps {
        script {
            waitForQualityGate abortPipeline: false, credentialsId: 'sonarqube'
        }
    }
}
- Stage: Install Dependencies
stage('Install Dependencies') {
    steps {
        sh "npm install"
    }
}
- Stage: Docker Build & Push
stage("Docker Build & Push"){
    steps{
        script{
            withDockerRegistry(credentialsId: 'docker', toolName: 'docker'){
                  sh "docker build -t my-app ."
                  sh "docker tag my-app ${DOCKER_IMAGE}:${IMAGE_TAG}"
                  sh "docker push ${DOCKER_IMAGE}:${IMAGE_TAG}"
             }
         }
     }
 }
- Update github after pushing to docker
        stage('Update Deployment to Github') {
            environment {
                GIT_REPO_NAME = "jenkins-reactjs"
                GIT_USER_NAME = "chuksdsilent"
            }
            steps {
                withCredentials([string(credentialsId: 'github', variable: 'GITHUB_TOKEN')]) {
                    script {
                        def prevBuild = currentBuild.previousBuild
                        def gitEmail = "chuksdsilent@gmail.com"
                        def gitName = "Samson"

                        if (prevBuild == null) {
                            // First build

                            sh """
                                git config user.email "${gitEmail}"
                                git config user.name "${gitName}"

                                sed -i "s/replaceImageTag/${BUILD_NUMBER}/g" manifests/deployment.yml

                                git add manifests/deployment.yml
                                git commit -m "Initial deployment image set to version ${BUILD_NUMBER}"
                                git push https://${GITHUB_TOKEN}@github.com/${GIT_USER_NAME}/${GIT_REPO_NAME} HEAD:main
                            """
                        } else {

                            // Second and later builds
                            sh """
                                git config user.email "${gitEmail}"
                                git config user.name "${gitName}"

                                sed -i "s/${prevBuild.number}/${BUILD_NUMBER}/g" manifests/deployment.yml

                                git add manifests/deployment.yml
                                git commit -m "Update deployment image to version ${BUILD_NUMBER}"
                                git push https://${GITHUB_TOKEN}@github.com/${GIT_USER_NAME}/${GIT_REPO_NAME} HEAD:main
                            """
                        }
                    }
                }
            }
        }
Putting everything together
pipeline{
    agent any
    tools{
        jdk 'jdk'
        nodejs 'nodejs'
    }
    environment {
        SCANNER_HOME=tool 'sonar'
        DOCKER_IMAGE = "oshabz/my-app"
        IMAGE_TAG = "${BUILD_NUMBER}"
    }
    stages {
        stage('clean workspace'){
            steps{
                cleanWs()
            }
        }
        stage('Checkout from Git'){
            steps{
                git branch: 'main', url: 'https://github.com/chuksdsilent/jenkins-reactjs.git'
            }
        }
        stage("Sonarqube Analysis"){
            steps{
                withSonarQubeEnv('sonar') {
                    sh ''' $SCANNER_HOME/bin/sonar-scanner -Dsonar.projectName=my-app \
                    -Dsonar.projectKey=my-app '''
                }
            }
        }
        stage("quality gate"){
           steps {
                script {
                    waitForQualityGate abortPipeline: false, credentialsId: 'sonar'
                }
            }
        }
        stage('Install Dependencies') {
            steps {
                sh "npm install"
            }
        }
        stage("Docker Build & Push"){
            steps{
                script{
                   withDockerRegistry(credentialsId: 'docker', toolName: 'docker'){
                       sh "docker build -t my-app ."
                       sh "docker tag my-app ${DOCKER_IMAGE}:${IMAGE_TAG}"
                       sh "docker push ${DOCKER_IMAGE}:${IMAGE_TAG}"
                    }
                }
            }
        }
        stage('Update Deployment File') {
            environment {
                GIT_REPO_NAME = "jenkins-reactjs"
                GIT_USER_NAME = "chuksdsilent"
            }
            steps {
                withCredentials([string(credentialsId: 'github', variable: 'GITHUB_TOKEN')]) {
                    script {
                        def prevBuild = currentBuild.previousBuild
                        def gitEmail = "chuksdsilent@gmail.com"
                        def gitName = "Samson"

                        if (prevBuild == null) {
                            // First build

                            sh """
                                git config user.email "${gitEmail}"
                                git config user.name "${gitName}"

                                sed -i "s/replaceImageTag/${BUILD_NUMBER}/g" manifests/deployment.yml

                                git add manifests/deployment.yml
                                git commit -m "Initial deployment image set to version ${BUILD_NUMBER}"
                                git push https://${GITHUB_TOKEN}@github.com/${GIT_USER_NAME}/${GIT_REPO_NAME} HEAD:main
                            """
                        } else {

                            // Second and later builds
                            sh """
                                git config user.email "${gitEmail}"
                                git config user.name "${gitName}"

                                sed -i "s/${prevBuild.number}/${BUILD_NUMBER}/g" manifests/deployment.yml

                                git add manifests/deployment.yml
                                git commit -m "Update deployment image to version ${BUILD_NUMBER}"
                                git push https://${GITHUB_TOKEN}@github.com/${GIT_USER_NAME}/${GIT_REPO_NAME} HEAD:main
                            """
                        }
                    }
                }
            }
        }
    }
}
Click Save
Click on Build now

To configure Argo CD on EKS
- Add the Argo CD Helm repository:
helm repo add argo https://argoproj.github.io/argo-helm
helm repo update
- Install Argo CD in the
argocdnamespace:
kubectl create namespace argocd
helm install argo-cd argo/argo-cd --namespace argocd
- Expose Argo CD's API Server
kubectl expose service argocd-server --type=LoadBalancer --name=argo-cd-server --namespace argocd
- Get the external IP address:
kubectl get svc -n argocd
You will see an output similar to this:
NAME                     TYPE           CLUSTER-IP     EXTERNAL-IP      PORT(S)                      AGE
argo-cd-server            LoadBalancer   10.100.200.10  a.b.c.d          80:32363/TCP,443:31844/TCP    5m
- To get the Argo CD initial admin password, run this command
kubectl get secret argocd-initial-admin-secret -n argocd -o jsonpath="{.data.password}" | base64 -d && echo
Copy your external IP and paste on the browser
You will see a website like this

Username is admin password refer to No. 5
When loogedin you will see an interface like this

Click on New APP
Fill in the form


- After filling the form then Click on Create

- Click on it. You will see a page like this

This will sync the github repository with Argo CD. Whenever a change is made on github manifests like deployment and service. Argocd will automatically pick it up and sync then deploy to eks
- Go to your gitbash or terminal to connect to eks
 aws eks --region us-east-1 update-kubeconfig --name cluster-name
kubectl get pods
kubectl get svc


Subscribe to my newsletter
Read articles from Oshaba Samson directly inside your inbox. Subscribe to the newsletter, and don't miss out.
Written by
Oshaba Samson
Oshaba Samson
I am a software developer with 5 years + experience. I have working on web apps ecommerce, e-learning, hrm web applications and many others