Deploy Docker Containers to Azure: A Complete Guide
 Oshaba Samson
In this tutorial, I’ll walk you through deploying a static website using Azure Container Service. If you’ve got a simple static site, this is one of the quickest and easiest ways to get it up and running in just a few minutes. Lets go.
Prerequisite
Azure Account
Azure cli
Docker
Objective
Containerize a web application
Create Azure Repository
Build Docker image and push to Azure
Deploy Image to Azure Container Service
First of all you need to create an azure repository and to do that you have to login into the azure dashboard
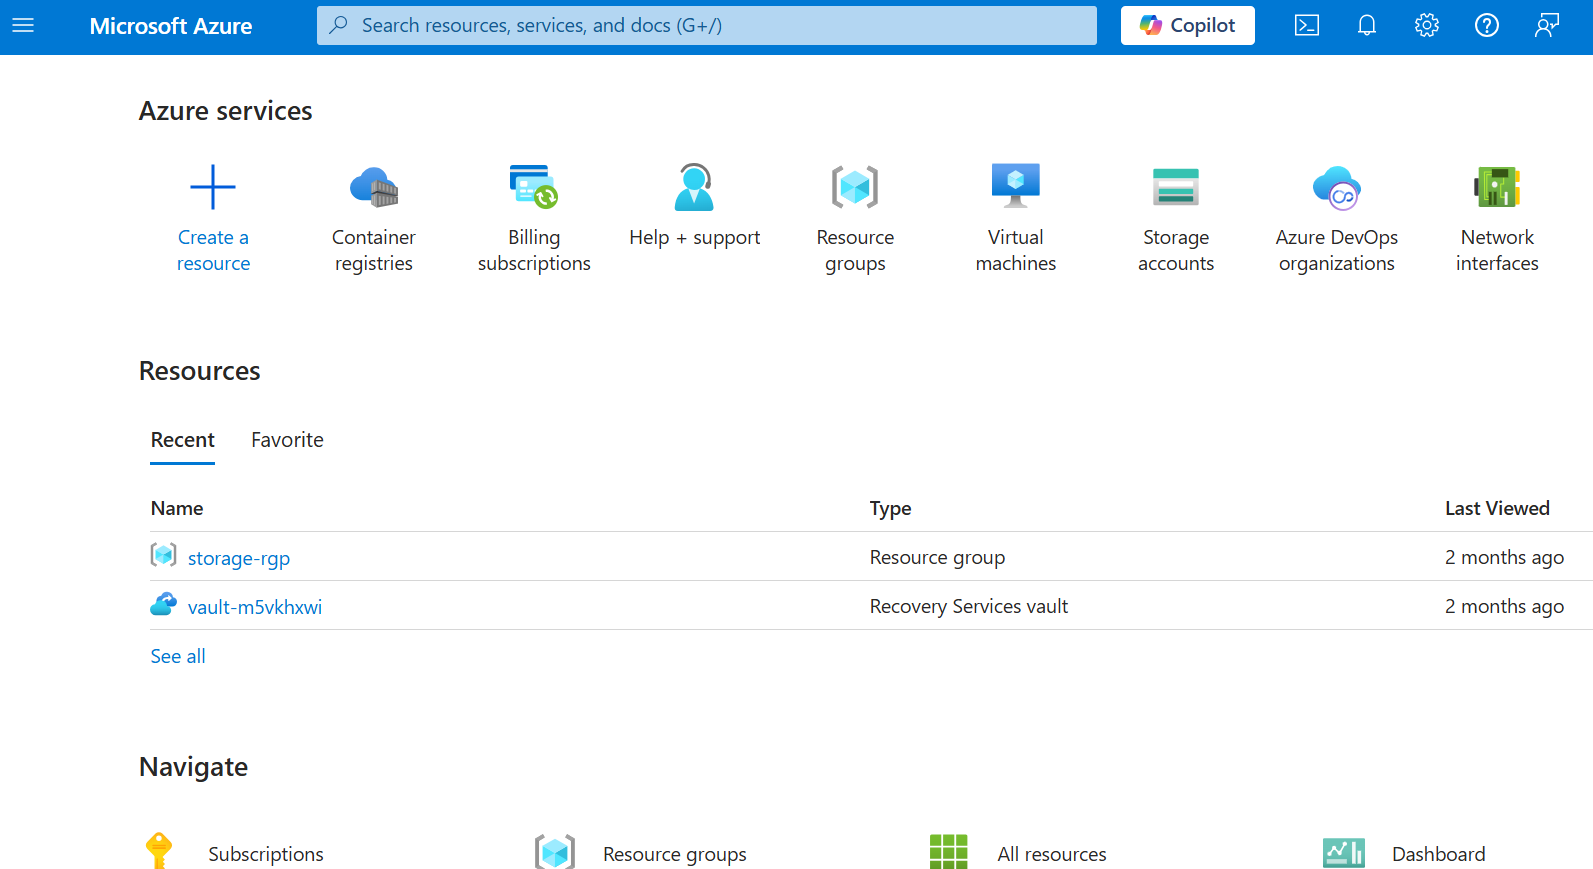
On the search bar type azure container service
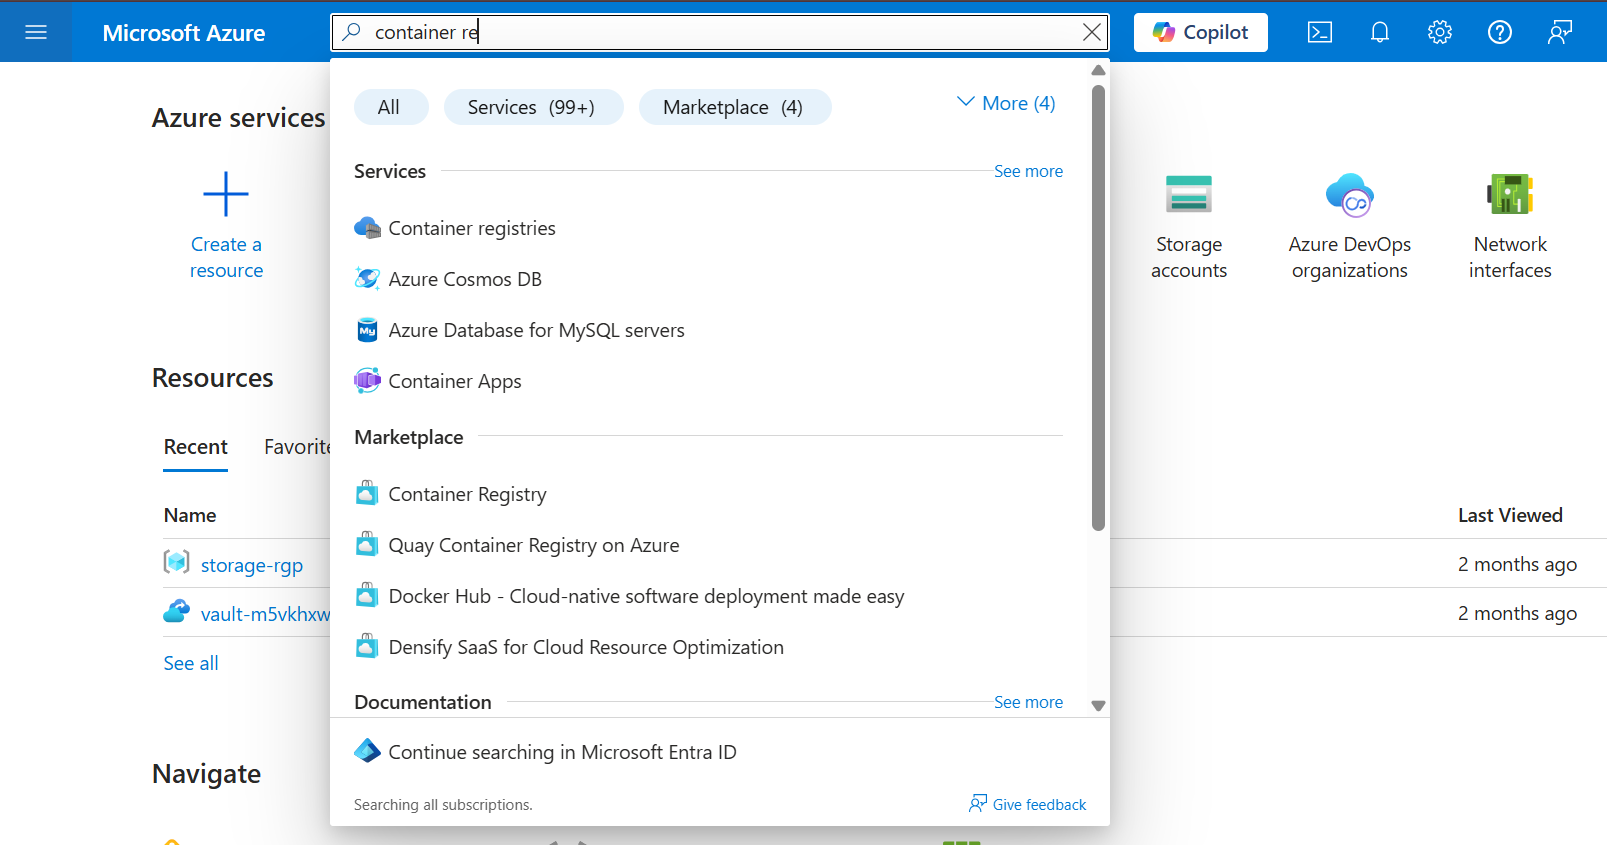
Click on Create a registry

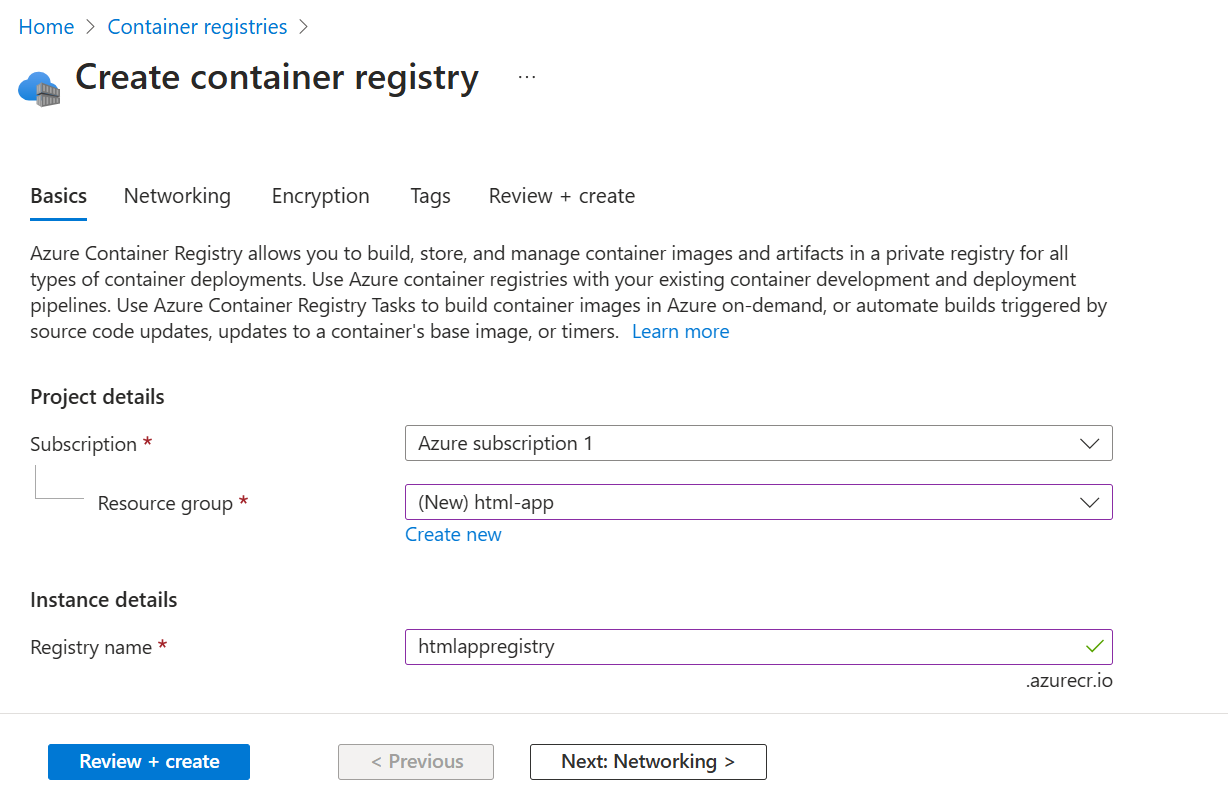
Select Resource group or create one if you don’t have any
Type the registry name(html-app)
Leave other options as default
Click on Review + Create
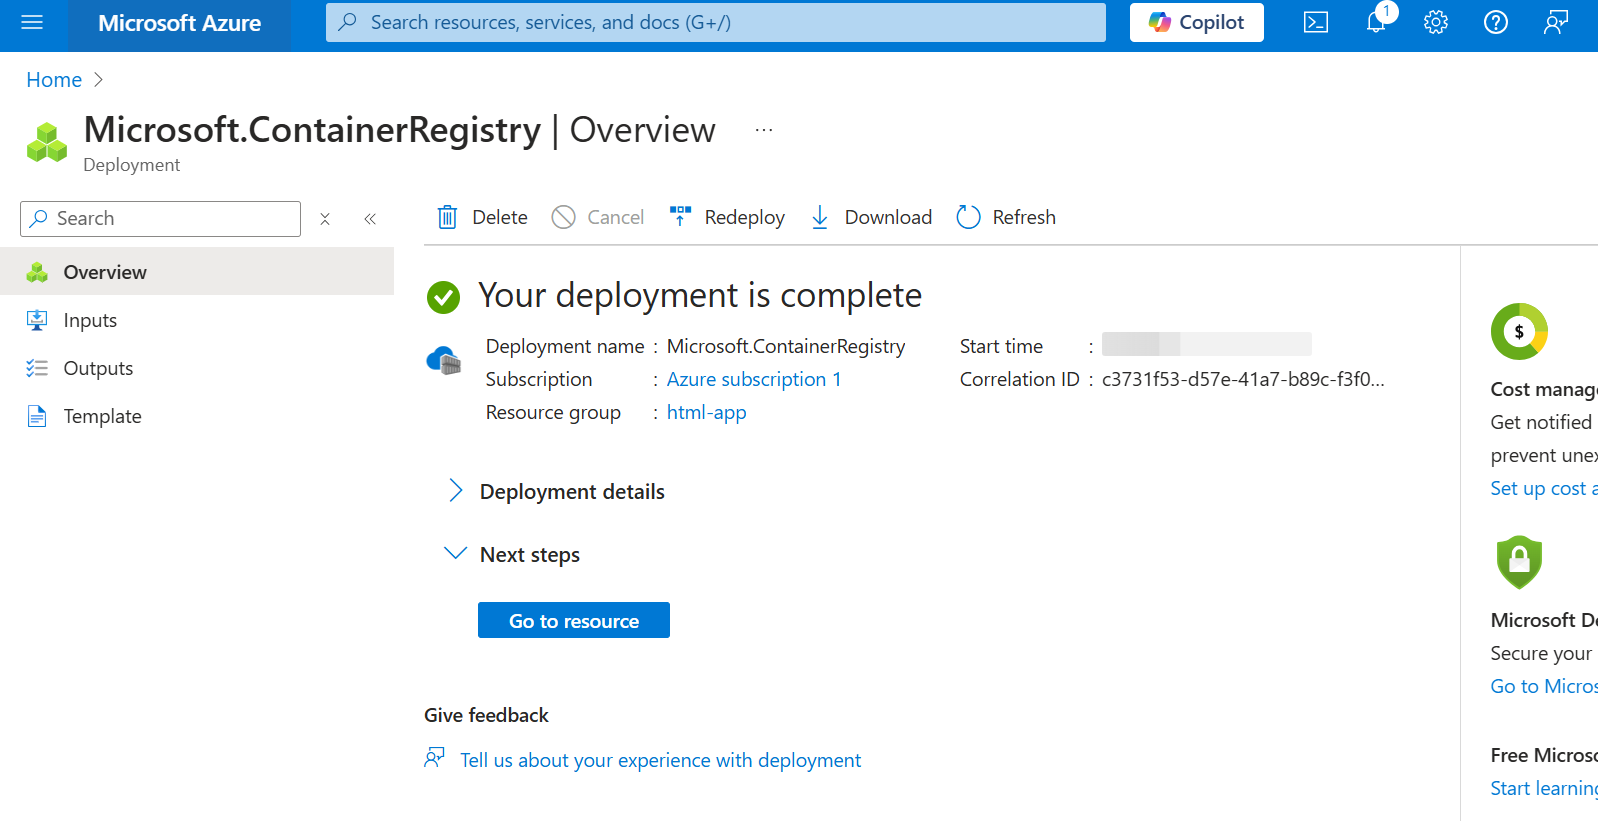
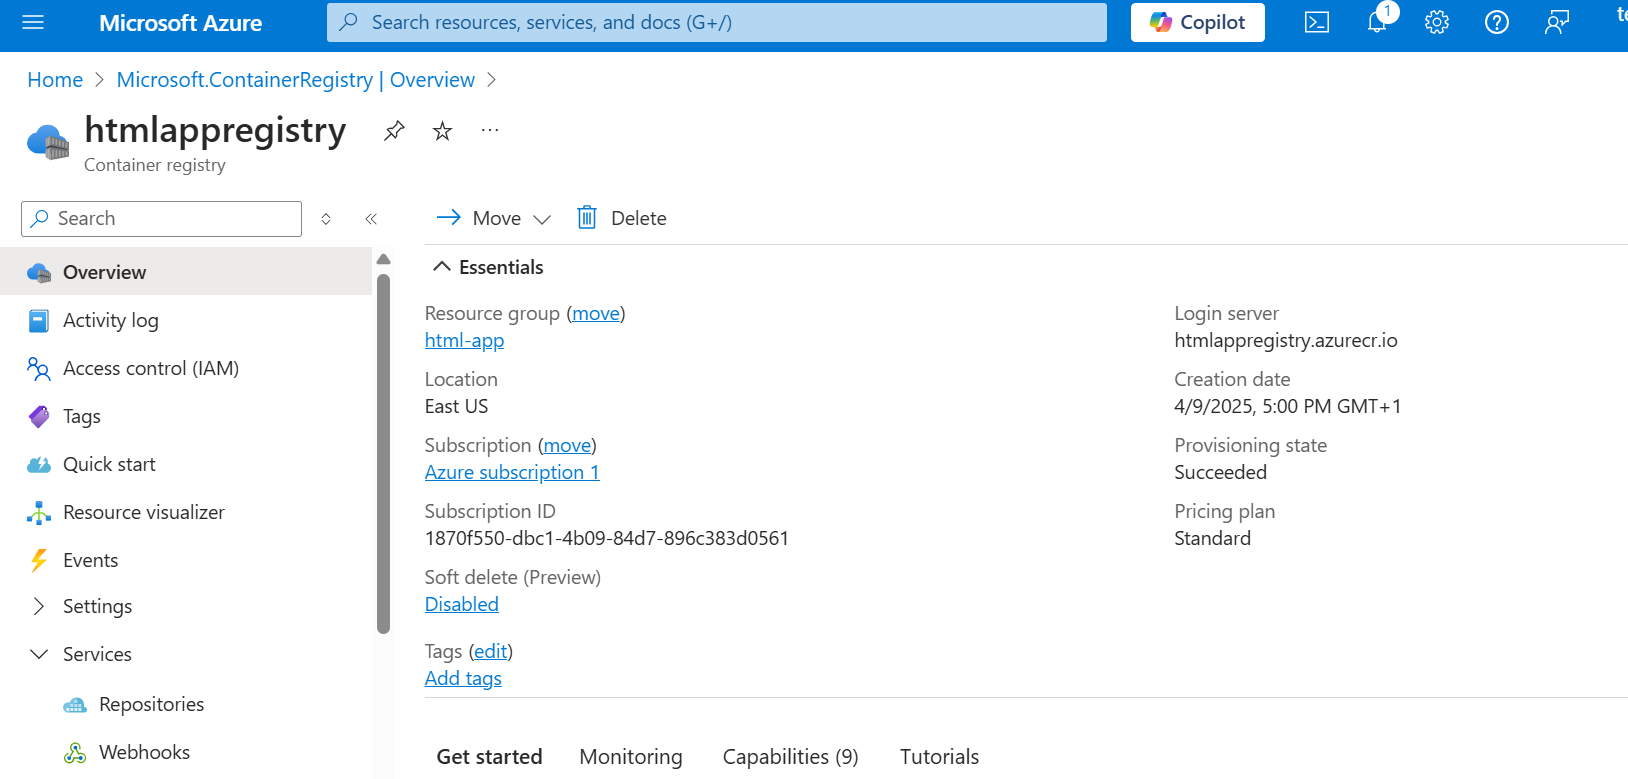
If the creation is successful it will show this page
- Click on Go to resource
Now this is your registry. the next thing is
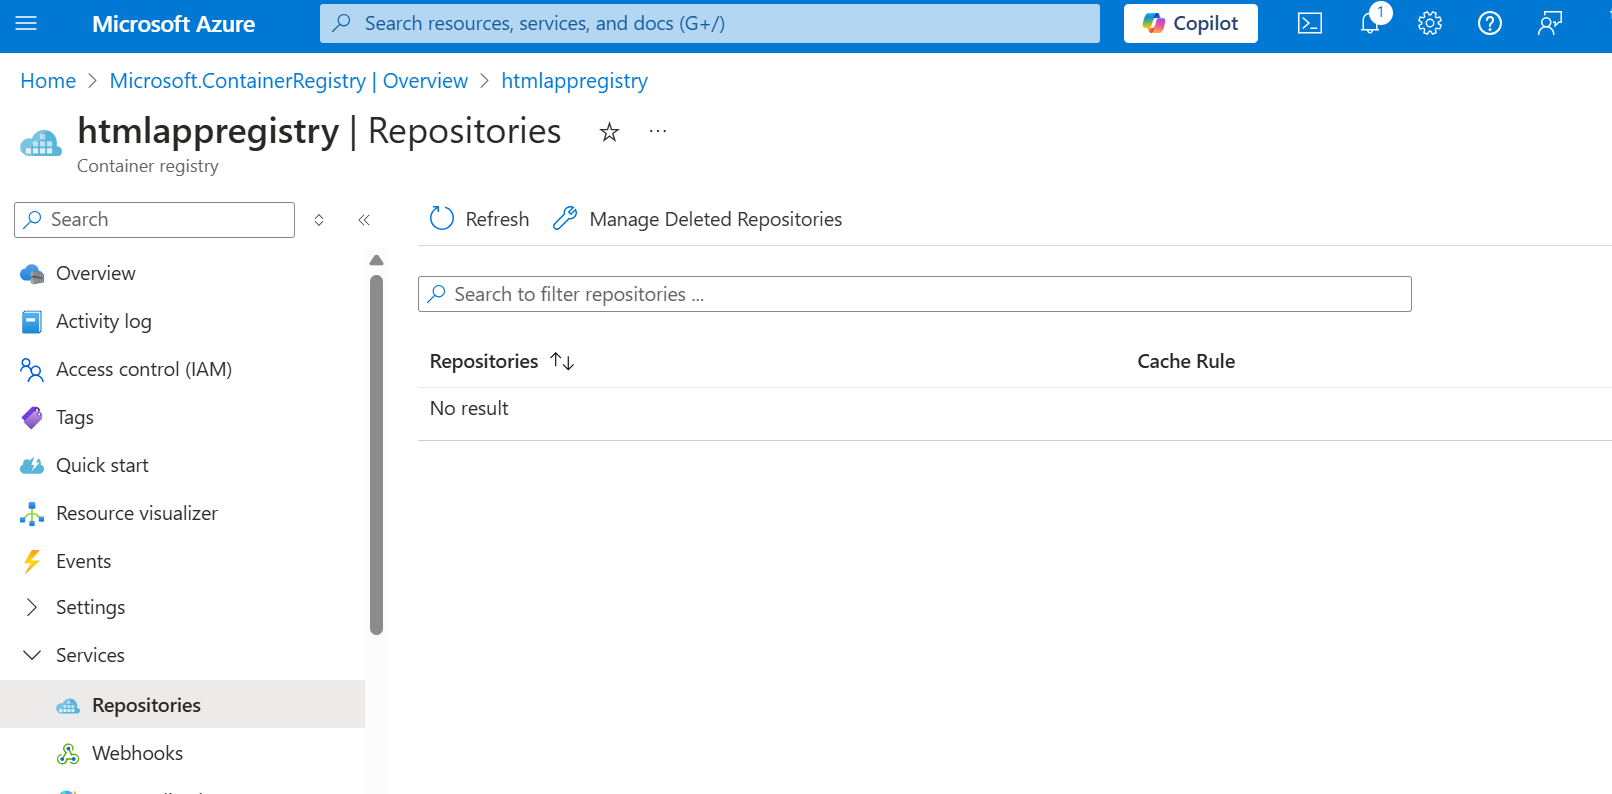
- Click on repository
- You can see that repository is empty. We need to build image and push to the repository
Before we start you need to install azure cli and docker on your system. Clone this repository https://github.com/Chuks-Devops/azure-container-registry-demo-app.git then navigate to the root directory. This is how our Dockerfile looks like
# Use the official Nginx image from Docker Hub
FROM nginx:alpine

# Copy everything from the current directory to the Nginx web directory
COPY . /usr/share/nginx/html/

# Expose port 80 to make the server accessible
EXPOSE 80
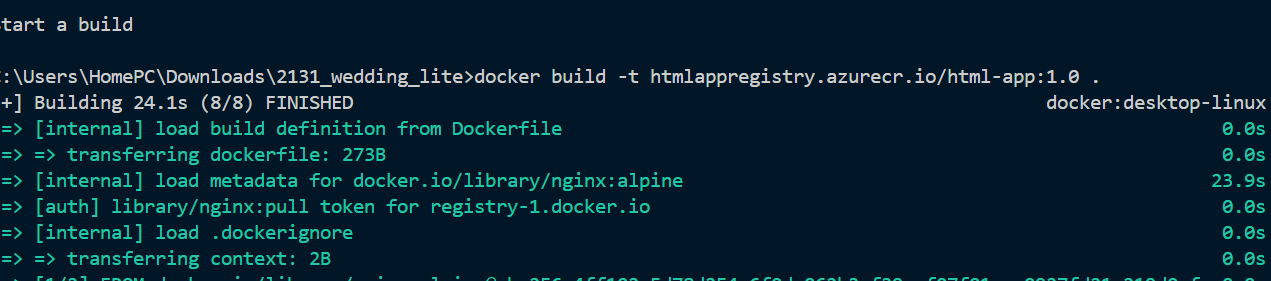
It copies the html, css and javascript files into the nginx/html folder inside docker. The next step is to build the application. In order to do that open up your terminal navigate to the root directory
docker build -t htmlappregistry.azurecr.io/html-app:1.0 .
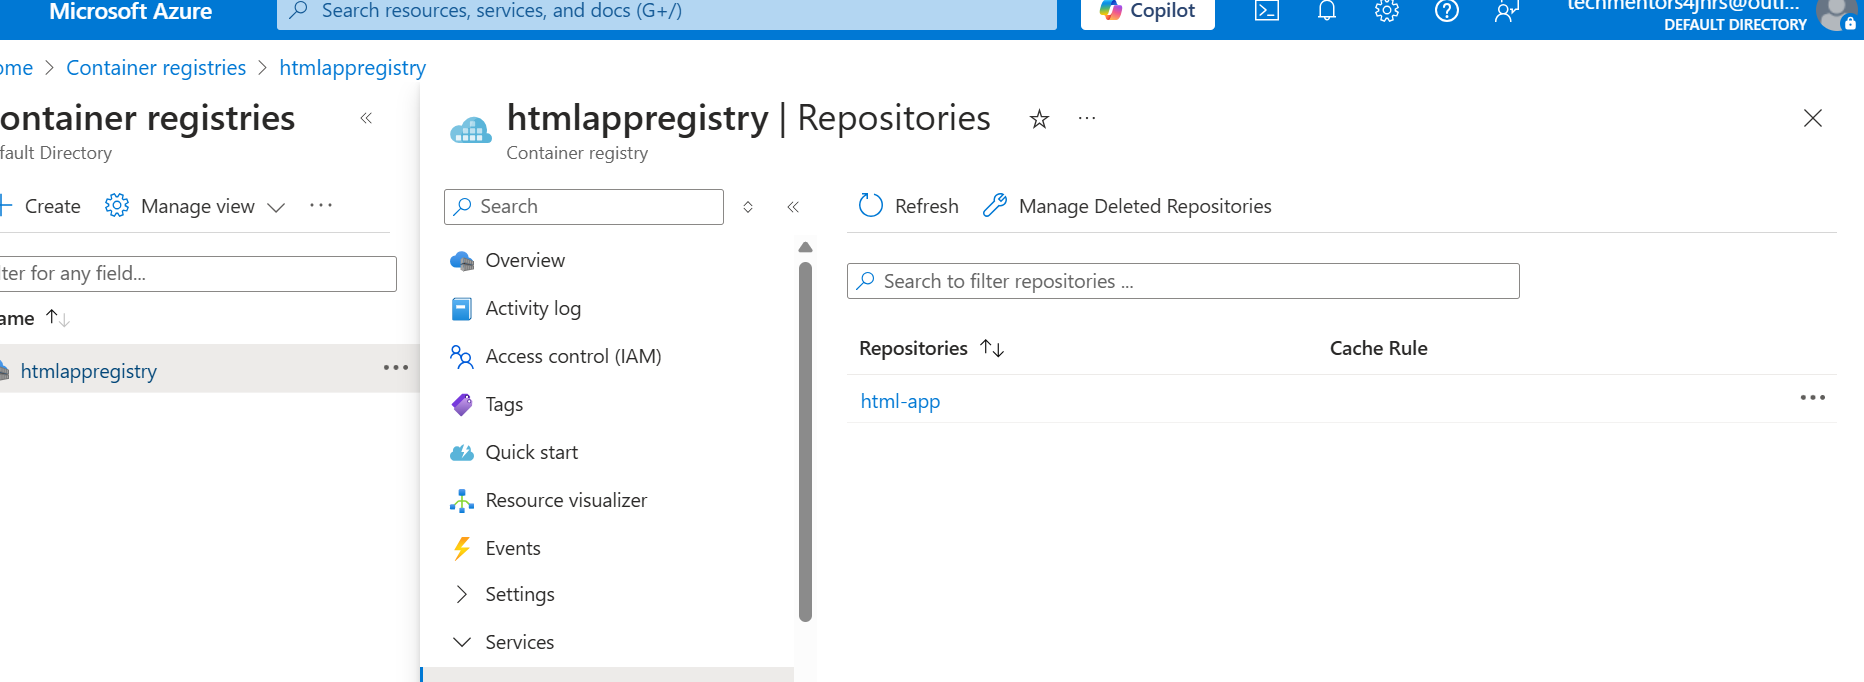
docker push
If you go to azure container register. You will see the image
Time to deploy to azure containers
- On the search bar type container instances
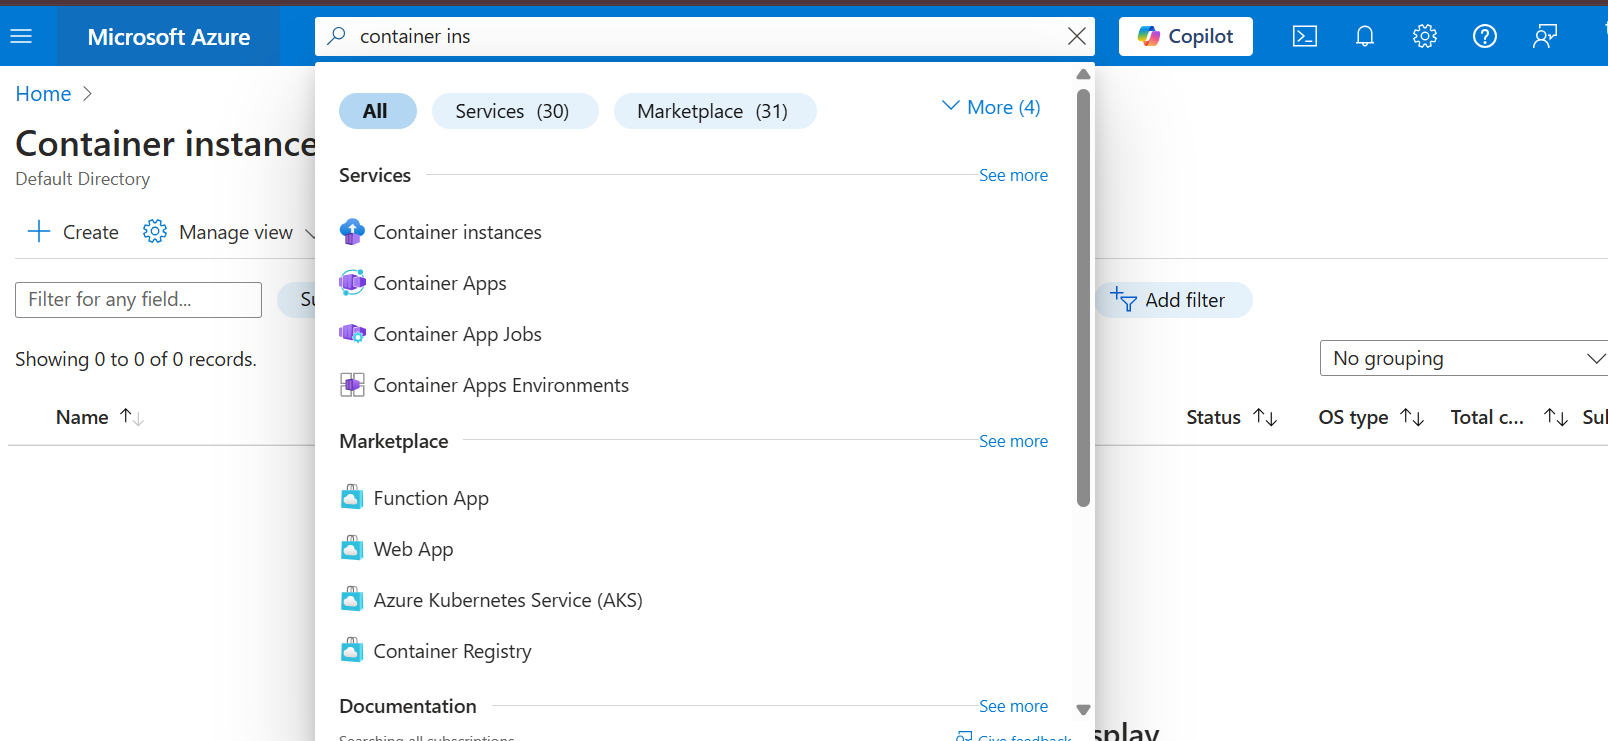
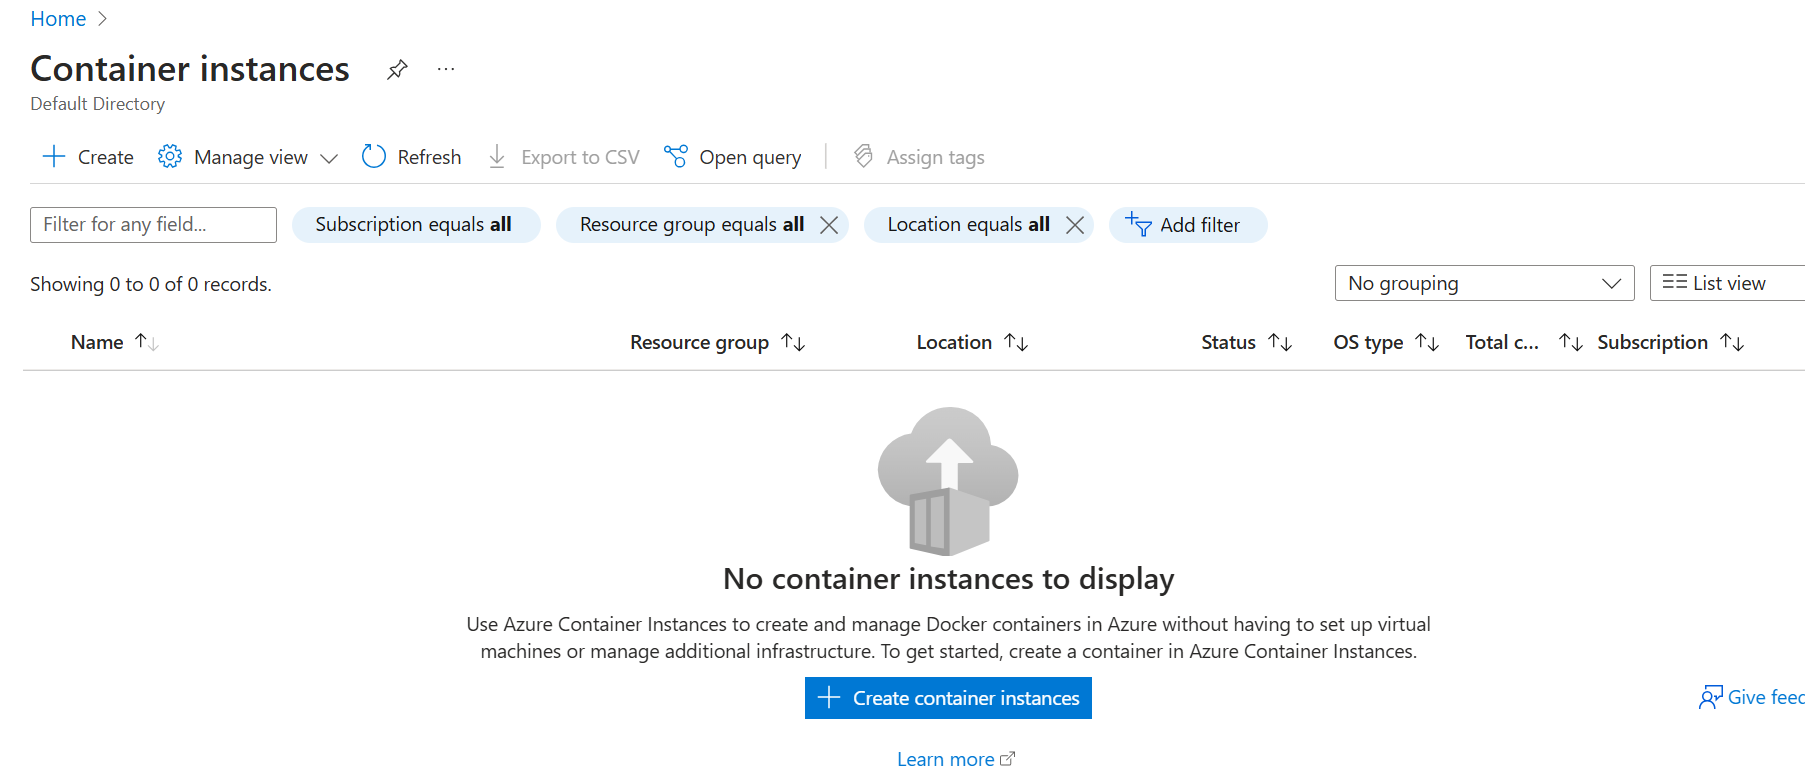
- Click on create Container instances
Type the name
Select Azure Container Registry
Select the right registry
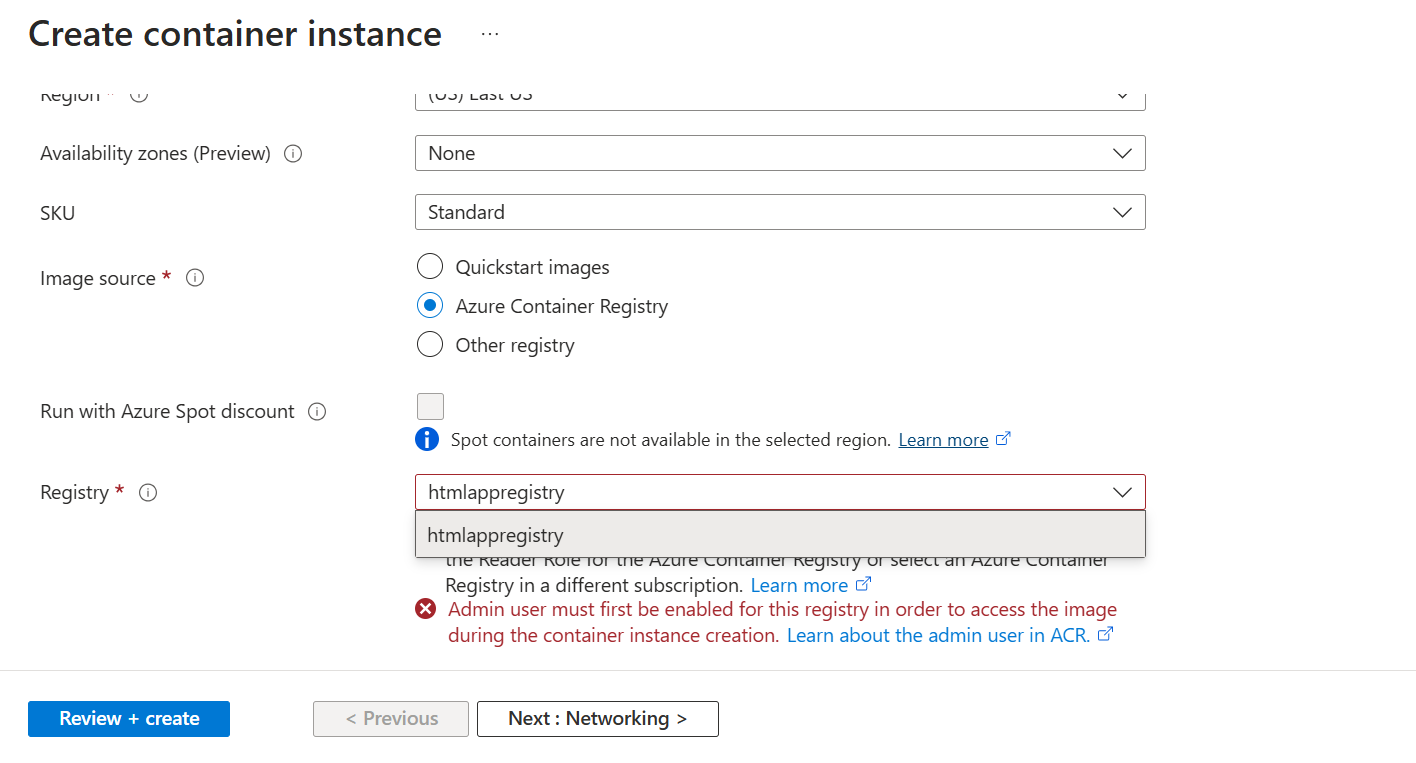
If you are seeing the above error.
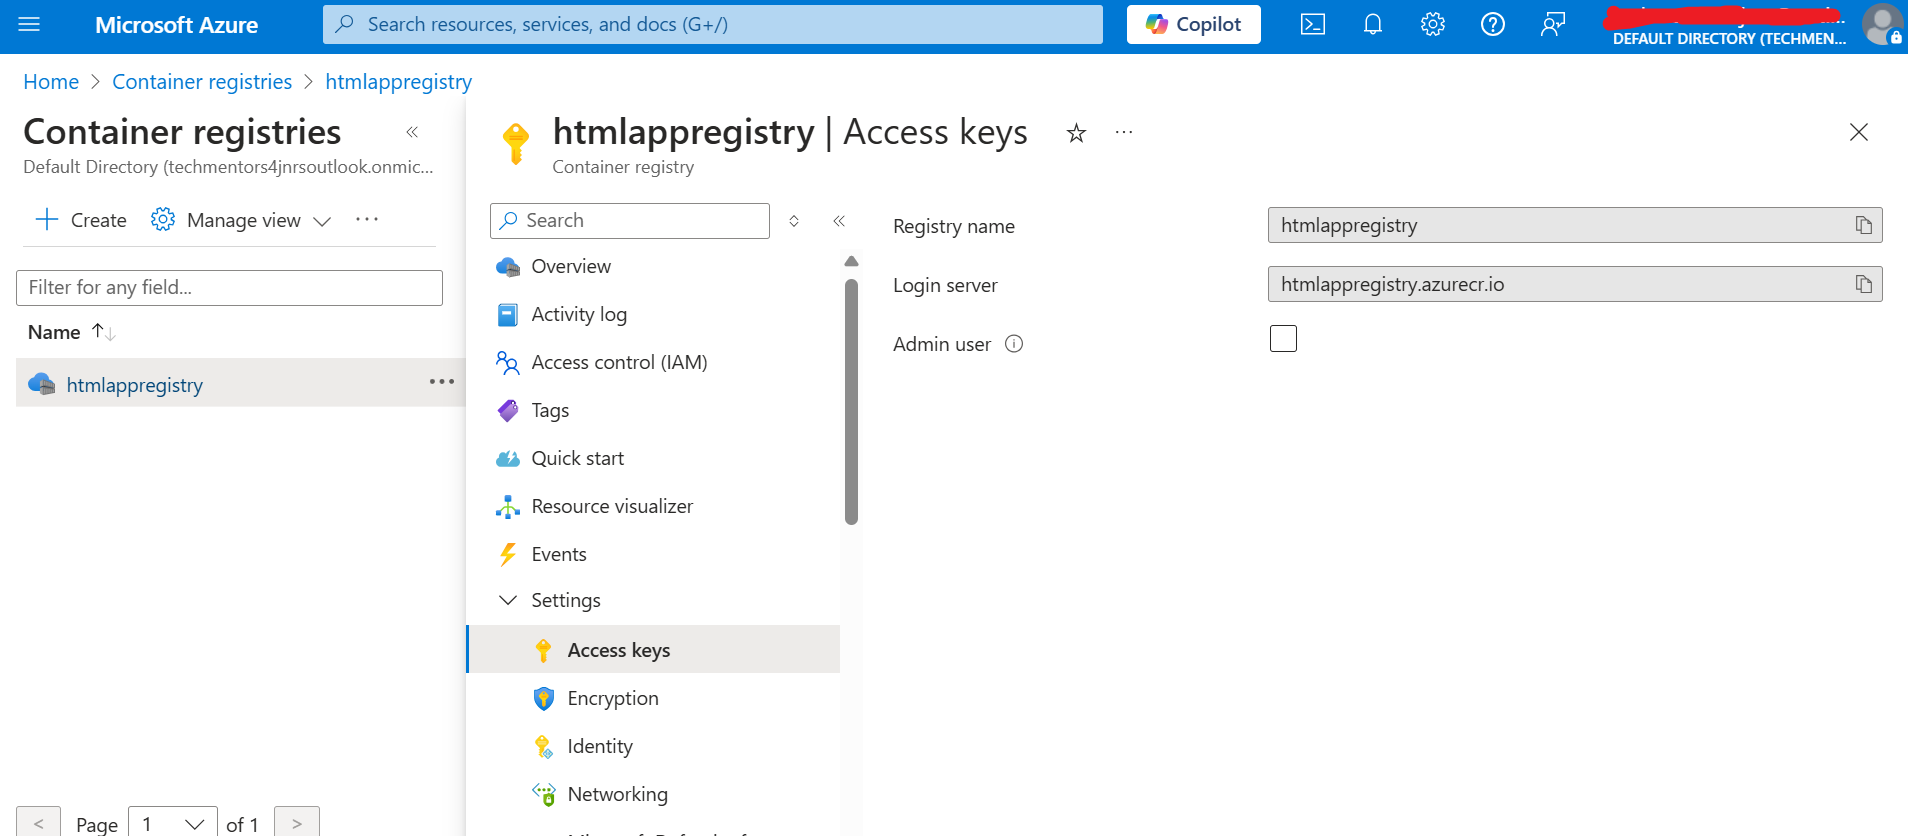
Go to your registry
On the left hand side select settings
Click on Access Keys
Check the Admin user checkbox
Go back and refresh the page.
Select the image and tag
Leave other fields as default
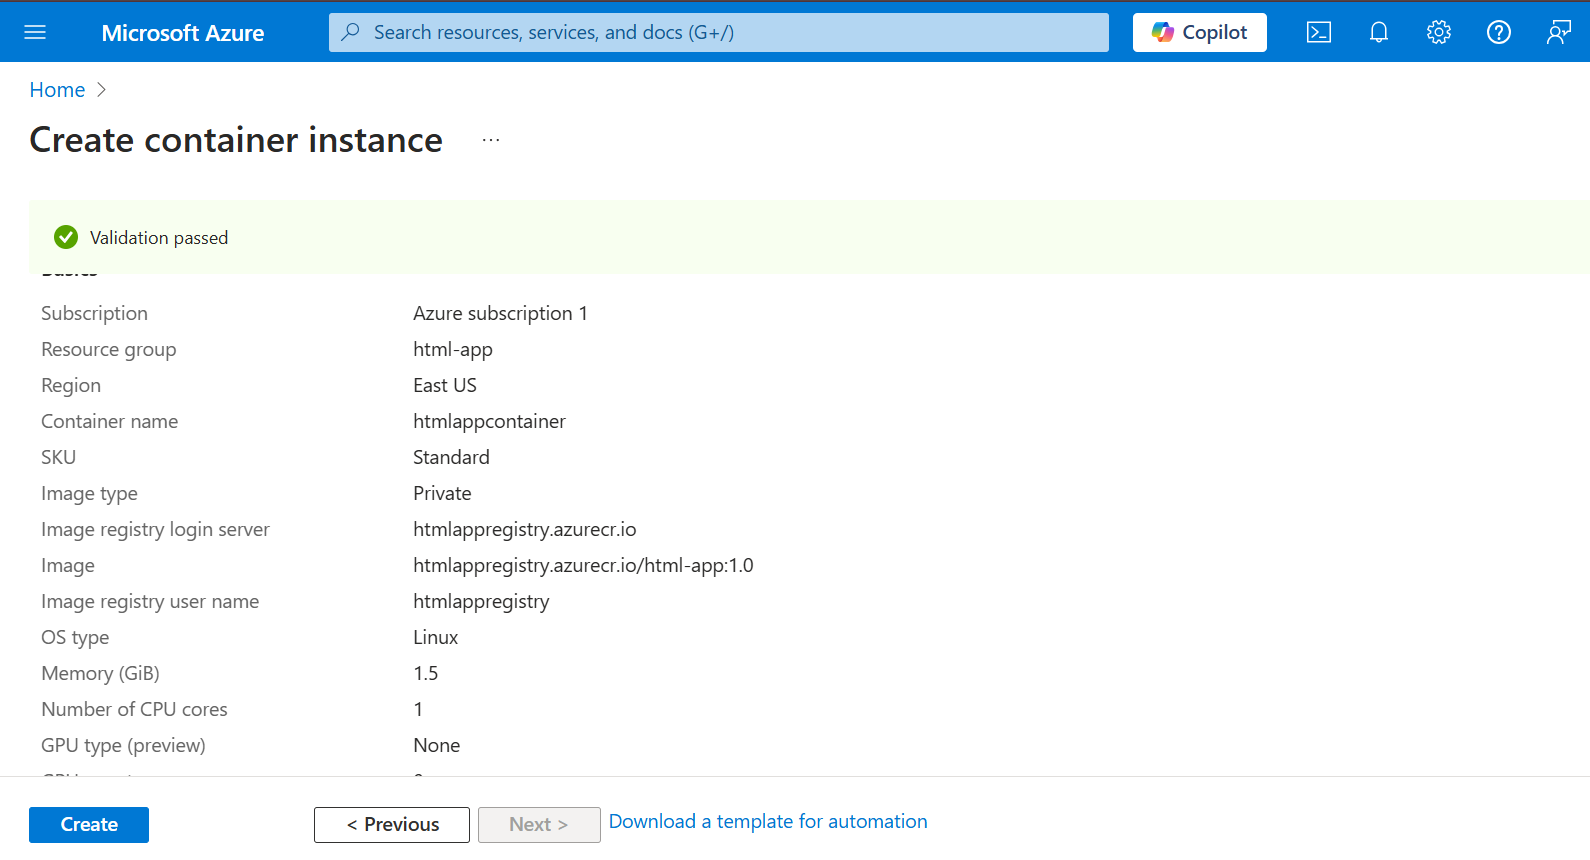
Click Review + Create
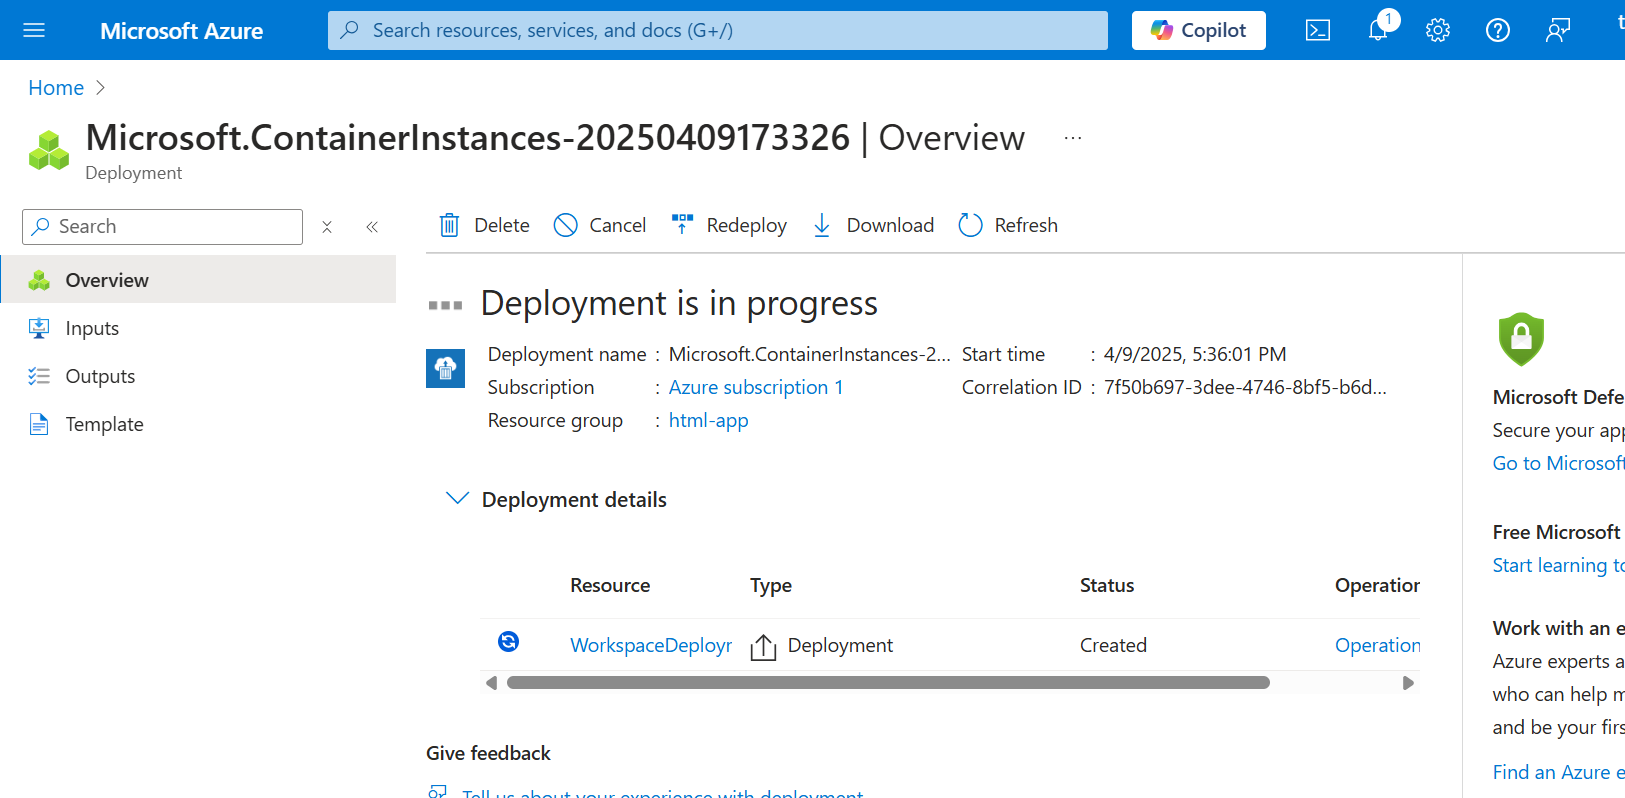
- Deployment in progress
- Deployment Successful
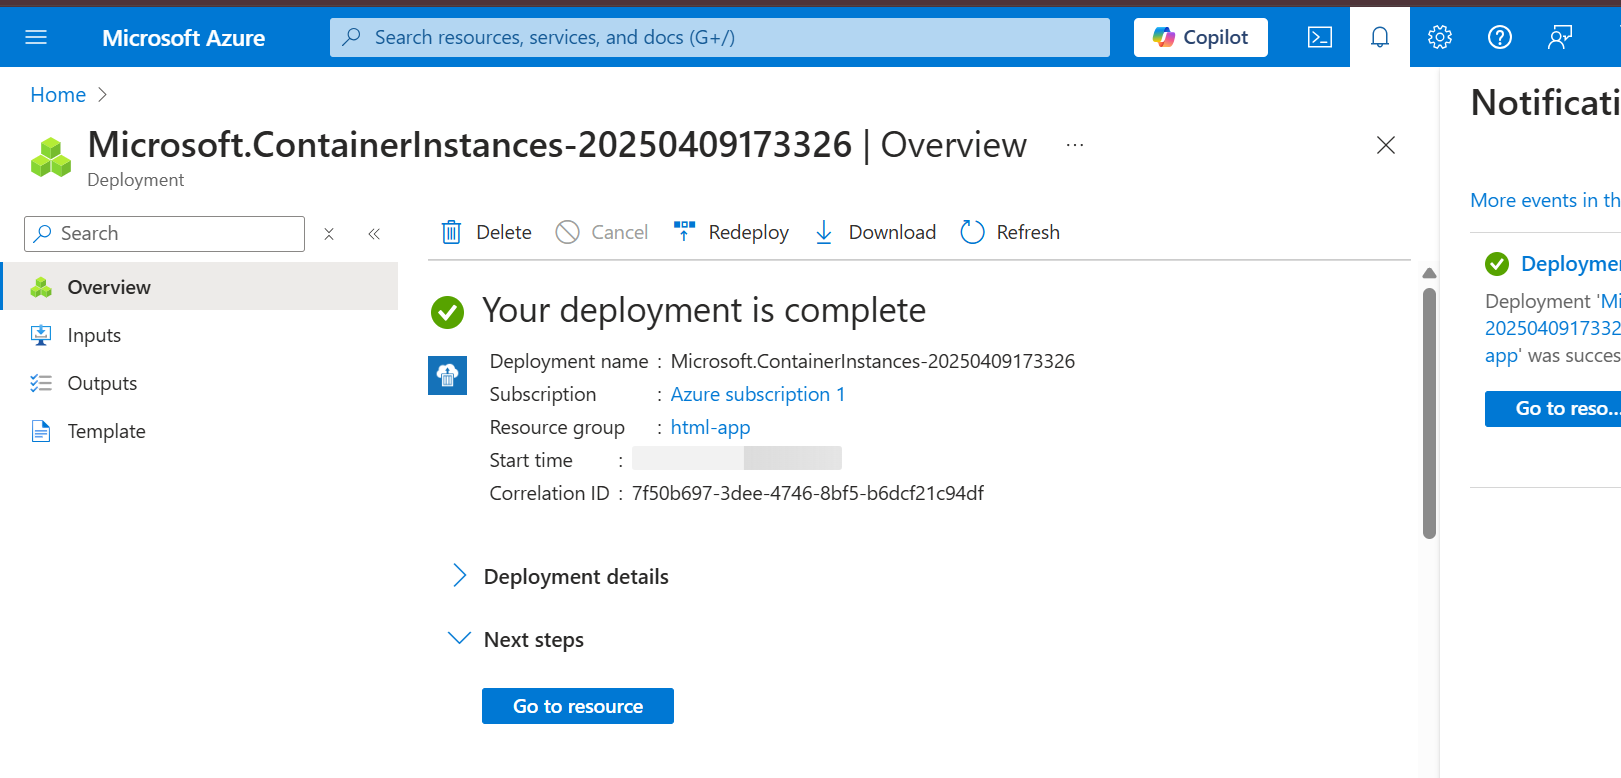
- Go to container instances overview then copy ip address(Public)

Paste on your browser and press enter
Our website

Thanks for reading
Subscribe to my newsletter
Read articles from Oshaba Samson directly inside your inbox. Subscribe to the newsletter, and don't miss out.
Written by
Oshaba Samson
Oshaba Samson
I am a software developer with 5 years + experience. I have working on web apps ecommerce, e-learning, hrm web applications and many others