How to Set Up a Laravel Development Environment on Ubuntu: A Complete Guide
 Jean-Marc Strauven
Table of contents
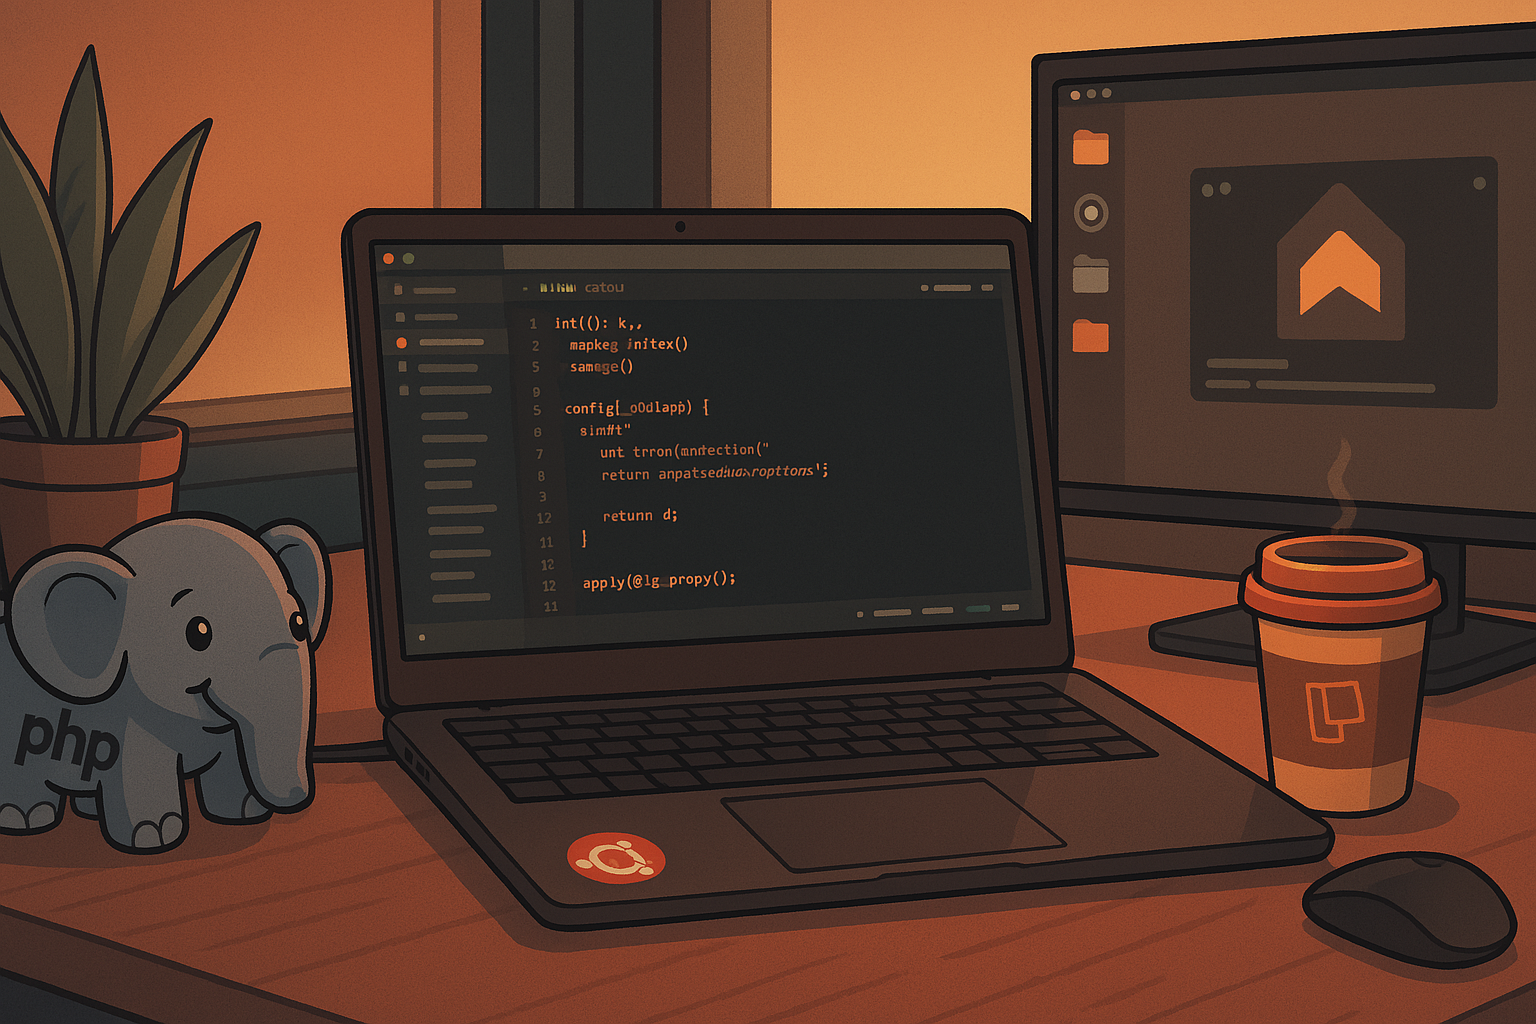
A few years ago, I finally gave up on the dual love-hate relationships I had with Windows and macOS. Too many updates, too much magic under the hood, and not enough control. So I did what every curious developer eventually does: I installed Linux.
Since then, I’ve distro-hopped more times than I’ve had hot meals — from the minimal to the flashy, from "I’ll build it all myself" to "just work, please!" And after all that, I think I’ve found my happy place.
This article is a walkthrough of my current development setup, based on Ubuntu, finely tuned with Omakub, and tailored for PHP, Laravel, and some good old terminal magic. Whether you’re thinking of switching to Linux or just curious about how someone else works, I hope you’ll find a few useful ideas here — or at least a reason to mess with your dotfiles again.
⚙️ Step-by-step: Installing My Dev Environment with Omakub
Setting up my development environment used to take hours. Now, it’s just a few commands and a coffee break. Here’s how I do it with Omakub — a open-source setup script that automates everything.
1. Start fresh with Ubuntu
First things first: I install a clean version of Ubuntu (usually the latest LTS but I have tested my env on the 24.04 version).
I personally use the standard Ubuntu Desktop ISO — no need for minimal or server editions unless you're into pain.
✅ Tip: I recommend updating everything right after install:
sudo apt update && sudo apt upgrade -y
2. Install Git (if it’s not already there)
Before cloning the repo, I make sure Git and curl is installed:
sudo apt install git curl -y
3. Run the Omakub script
Now let’s bring in the magic:
wget -qO- https://omakub.org/install | bash
🤖 What Happens During the Install?
When you launch this script, Omakub isn’t just going to blindly throw packages at your system. It actually asks you a few friendly questions.
You'll be prompted to choose:
Which software you'd like to install (editors, tools, etc.)
Which programming environments you want to set up
In our case, we’re selecting:
PHP — for Laravel and general backend magic
NodeJS — because even backend devs need to run a frontend from time to time
At the time I’m writing this, PHP 8.4 is the version that gets installed by default.
But don’t worry — Omakub includes a flexible system to install other versions later if you need them. So if you’re dealing with legacy projects or want to test across versions, you’re covered.
Once you’ve made your choices, the script takes care of the rest.
You sit back, sip your coffee, and Omakub does its thing.
✅ Ready to Code!
And just like that — you're done. The base installation is complete, and your system is now up and running, with everything you need to start developing right away.
You’ve got PHP, Node.js, Neovim, a clean terminal, and all the little tools that make life easier for a Laravel developer. No bloated IDEs, no mysterious background processes — just a fast, clean setup ready to serve.
If you want to explore everything Omakub has to offer, tweak your config, or understand how to get the most out of it, I highly recommend checking out the official documentation at manual.omakub.org. It’s packed with tips, tricks, and details to help you make the most of your setup.
🧰 Let’s Add Some Laravel Tools (and Neovim Polish)
Now that the base system is alive and kicking, let’s install a few more things to make it truly Laravel-ready — and give Neovim that final touch of magic.
🧙 Install Composer (if it’s not already installed)
curl -sS https://getcomposer.org/installer | sudo php -- --install-dir=/usr/local/bin --filename=composer
Then, add Composer’s global bin path to your .bashrc:
nvim ~/.bashrc
At the end of the file, add:
export PATH="$PATH:$HOME/.config/composer/vendor/bin"
Reload your shell or restart your terminal afterwards.
🚀 Install Laravel Installer
This gives you the laravel command globally:
composer global require laravel/installer
Now you can run laravel new my-project like a boss.
🔐 Configure Git and Set Up SSH
Let’s make sure Git knows who you are:
git config --global user.email "name@youremail.com"
git config --global user.name "your name"
git config --global init.defaultBranch main
Then, create an SSH key (if you haven’t yet):
ssh-keygen -t ed25519 -C "name@youremail.com"
Add the generated key (~/.ssh/id_ed25519.pub) to your GitHub account.
⚙️ Activate Intelephense in Neovim
For a better Laravel coding experience in Neovim, let’s use Intelephense as the LSP:
cd ~/.config/nvim/lua/config
Open options.lua and add this line:
vim.g.lazyvim_php_lsp = "intelephense"
❌ Disable Phpactor (if it’s enabled by default)
To avoid conflicts with Intelephense, disable Phpactor in Neovim:
Open nvim
Press
<Space> + c + mChoose
PhpactorPress
Enter, then typeC(capital C) to disable
🧼 Laravel Code Formatting & Testing Like a Pro
Let’s polish your dev experience a bit more. We’re talking clean code, automatic formatting, test runners, and a sprinkle of Xdebug.
🪄 Activate Laravel Pint Formatting in Neovim
To automatically format your PHP files with Laravel Pint, let’s configure Neovim properly.
Create a new plugin config file:
touch ~/.config/nvim/lua/plugins/php.lua
Paste this content inside:
return {
  {
    -- Set Laravel Pint as the default PHP formatter with PHP CS Fixer as a fallback.
    "stevearc/conform.nvim",
    optional = true,
    opts = {
      formatters_by_ft = {
        php = { "pint", "php_cs_fixer" },
      },
    },
  },
  {
    -- Remove phpcs linter.
    "mfussenegger/nvim-lint",
    optional = true,
    opts = {
      linters_by_ft = {
        php = {},
      },
    },
  },
}
From now on, every time you save a PHP file, Pint will quietly clean it up in the background.
🐞 Install and Configure Xdebug
Still not satisfied? Want to dig deep into what's going wrong? Enter Xdebug.
Install it for PHP 8.4:
sudo apt install php8.4-xdebug
Then open your php.ini file:
sudo nano /usr/local/etc/php/8.4/php.ini
Add the following lines:
xdebug.mode=develop,debug,coverage
xdebug.start_with_request=yes
xdebug.client_host=127.0.0.1
xdebug.remote_handler=dbgp
xdebug.log=/tmp/xdebug_remote.log
xdebug.client_port=9003
Restart your web server or PHP process if needed, and you’re ready to debug like it’s CSI: Laravel.
So here we are — from a fresh Ubuntu install to a full-blown Laravel development environment, powered by open source, configured with care, and sprinkled with terminal goodness.
This stack isn’t trying to be fancy or trendy. It’s built to just work, to be comfortable, and to stay out of your way while you focus on what matters: writing clean, maintainable code (and maybe breaking things now and then — we all do).
Big thanks to the open source communities behind Ubuntu, Laravel, Neovim, and all the tools in between. And of course, thank you for reading this far.
If you try this setup, tweak it, break it, or improve it — I’d love to hear about it. Feedback, suggestions, pull requests, or random terminal tips are always welcome.
Happy coding! 🚀
Subscribe to my newsletter
Read articles from Jean-Marc Strauven directly inside your inbox. Subscribe to the newsletter, and don't miss out.
Written by
Jean-Marc Strauven
Jean-Marc Strauven
Jean-Marc (aka Grazulex) is a developer with over 30 years of experience, driven by a passion for learning and exploring new technologies. While PHP is his daily companion, he also enjoys diving into Python, Perl, and even Rust when the mood strikes. Jean-Marc thrives on curiosity, code, and the occasional semicolon. Always eager to evolve, he blends decades of experience with a constant hunger for innovation.