Automating Secure Kubernetes Deployments with GitHub Actions, Helm, Amazon EKS and ArgoCD
 Oshaba Samson
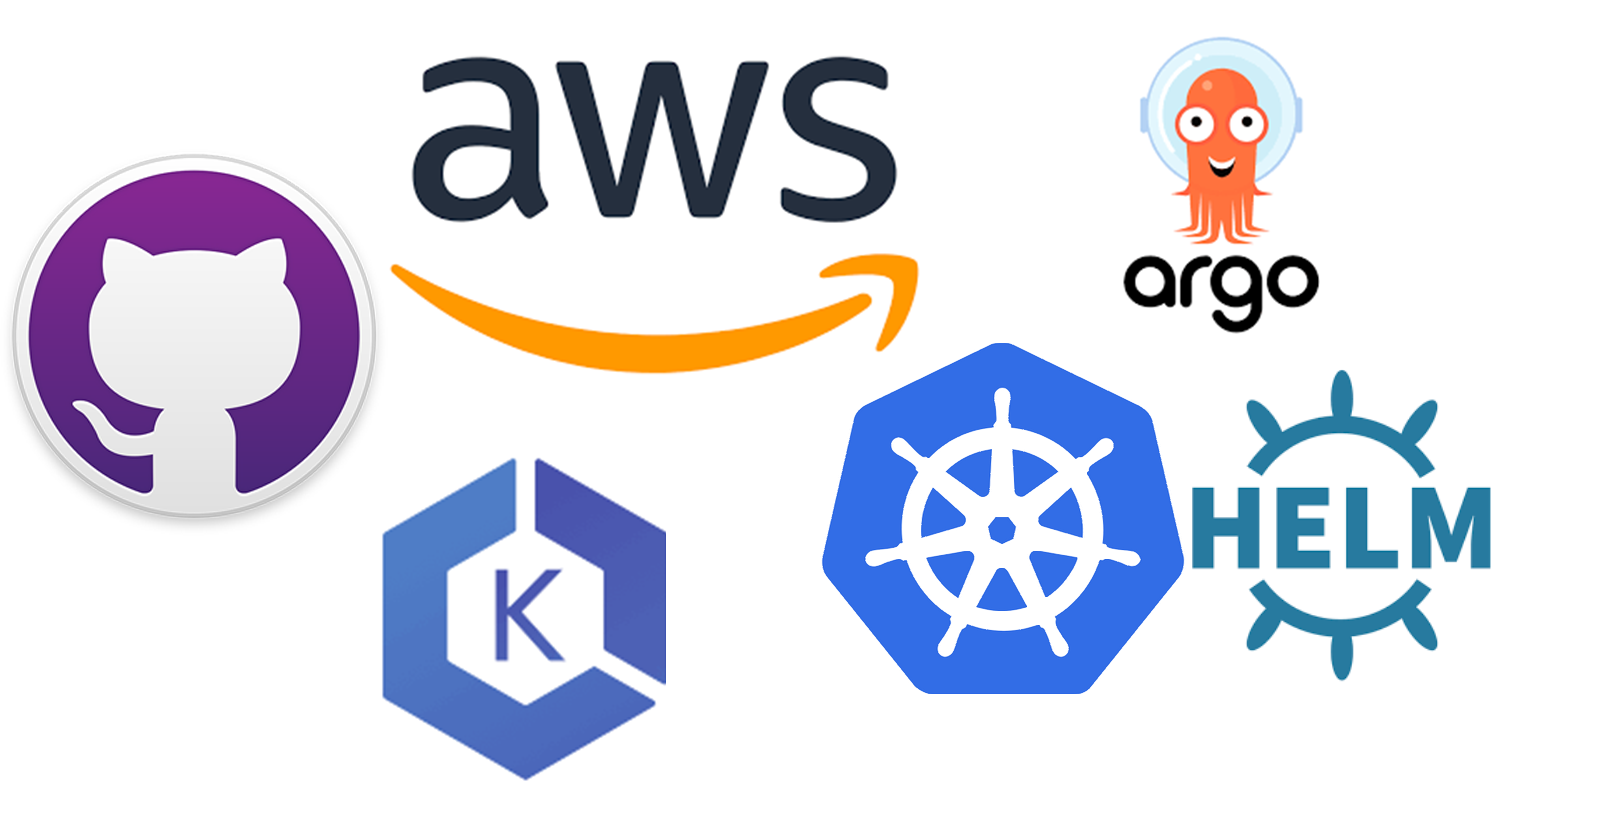
In this tutorial, we’ll explore how to deploy a complete and secure CI/CD pipeline using GitHub Actions, ArgoCD, Helm, and Amazon EKS.
GitHub is one of the most popular version control platforms in the world, and integrating CI/CD directly into it has been a major breakthrough for developers and DevOps engineers alike.
Let’s dive in and see how these powerful tools come together to automate and secure your Kubernetes deployment workflow.
Prerequisite
Github Account
Dockerhub Account
eksctl
aws cli
AWS Account
Helm
Objective
CICD with Github
Auto deployment with Argocd
Before you start you need to install the following
Aws cli: https://docs.aws.amazon.com/cli/latest/userguide/getting-started-install.html
eksctl: https://eksctl.io/installation/
configure aws access and secret keys: https://docs.aws.amazon.com/IAM/latest/UserGuide/id_credentials_access-keys.html
Step 1: Create EKS Cluster
Spin up a kubernetes cluster using EKS. To do that you can refer to my previous article on creating eks cluster with terraform 👉 Step-by-step guide: How to create Amazon EKS with Terraform.
Step 2: Generate Github Token
Generate a token. To do that you can refer to my previous article 🛠️ Master GitHub Authentication with Tokens – A Beginner’s Guide
Step 3: Create a Secret
Create a github secret that will contain the following:
Dockerhub Username
Dockerhub Password
Github token
You can refer to my previous tutorial 🔐 GitHub Secrets 101: Store API keys, tokens, and credentials safely.
Folder Structure

Step 4: Clone the Repository
Clone this repo https://github.com/chuksdsilent/react-admin.git then navigate to the root folder.
Step 5: Dockerize your application
CD into the root folder
Create a Dockerfile
# Step 1: Use an official Node.js image as the base image
FROM node:16-alpine

# Step 2: Set the working directory inside the container
WORKDIR /app

# Step 3: Copy the package.json and package-lock.json files into the container
COPY package*.json ./

# Step 4: Install the dependencies inside the container
RUN npm install

# Step 5: Copy the rest of the application into the container
COPY . .

# Step 6: Build the React app for production
RUN npm run build

# Step 7: Install a lightweight web server to serve the build files
RUN npm install -g serve

# Step 8: Expose port 5000 (or any other port you want to use)
EXPOSE 5000

# Step 9: Run the app using 'serve' to serve the production build
CMD ["serve", "-s", "build", "-l", "5000"]
Step 6: Create Github action
Inside the folder create another folder name it .github inside the root folder
Inside .github create another folder and name it workflow
Inside workflow create a file and name it cicd.yaml then enter the following code
# CICD using GitHub actions

name: CI/CD

# Exclude the workflow to run on changes to the helm chart
on:
  push:
    branches:
      - main
    paths-ignore:
      - 'helm/**'
      - 'k8s/**'
      - 'README.md'

jobs:

  build:
    runs-on: ubuntu-latest

    steps:
    - name: Checkout repository
      uses: actions/checkout@v4


  push:
    runs-on: ubuntu-latest

    needs: build

    steps:
    - name: Checkout repository
      uses: actions/checkout@v4

    - name: Set up Docker Buildx
      uses: docker/setup-buildx-action@v1

    - name: Login to DockerHub
      uses: docker/login-action@v3
      with:
        username: ${{ secrets.DOCKERHUB_USERNAME }}
        password: ${{ secrets.DOCKERHUB_TOKEN }}

    - name: Build and Push action
      uses: docker/build-push-action@v6
      with:
        context: .
        file: ./Dockerfile
        push: true
        tags: ${{ secrets.DOCKERHUB_USERNAME }}/web-app:${{github.run_id}}

  update-newtag-in-helm-chart:
    runs-on: ubuntu-latest

    needs: push

    steps:
    - name: Checkout repository
      uses: actions/checkout@v4
      with:
        token: ${{ secrets.TOKEN }}

    - name: Update tag in Helm chart
      run: |
        sed -i 's/tag: .*/tag: "${{github.run_id}}"/' helm/values.yaml

    - name: Commit and push changes
      run: |
        git config --global user.email "youremail@gmail.com"
        git config --global user.name "Samson"
        git add helm/values.yaml
        git commit -m "Update tag in Helm chart"
        git push
Step 7: Create helm chart
To create a helm chart navigate to the root directly and use the following command
helm create my-app
Inside my app folder you will see templates folder
- Open the deployment.yaml and paste the following code
apiVersion: apps/v1
kind: Deployment
metadata:
  name:  web-app
  labels:
    app:  web-app
spec:
  replicas: 2
  selector:
    matchLabels:
      app: web-app
  template:
    metadata:
      labels:
        app:  web-app
    spec:
      containers:
        - name:  web-app
          image:  "{{ .Values.image.repository }}:{{ .Values.image.tag }}"
          ports:
            - containerPort: 5000
- service.yaml and paste the following code
apiVersion: v1
kind: Service
metadata:
  name: web-app-service
  labels:
    app: web-app
spec:
  selector:
    app: web-app
  ports:
    - protocol: TCP
      port: 80
      targetPort: 5000
  type: LoadBalancer # Change to NodePort or LoadBalancer if needed
Navigate inside the my-app folder
Open values and paste the following code
replicaCount: 1

image:
  repository: <docker-username>/web-app
  pullPolicy: IfNotPresent
  # Overrides the image tag whose default is the chart appVersion.
  tag: "14418831852"
Step 8: Install Argocd
 kubectl create namespace argocd || true
 kubectl apply -n argocd -f https://raw.githubusercontent.com/argoproj/argo-cd/stable/manifests/install.yaml
 kubectl patch svc argocd-server -n argocd -p '{"spec": {"type": "LoadBalancer"}}'

Step 9: Get the default password
Username: admin
Password
To get the password type the following on the terminal
kubectl -n argocd get secret argocd-initial-admin-secret -o jsonpath="{.data.password}" | base64 -d
Step 10: Login to Argocd Dashboard
- Click on Create Application

A pop up will show on the side where you will fill some form like below
Type the Application Name
Project Name as default
Sync Policy: Automatic

Enter the repo url you are using
Revision: HEAD
Path: my-app in this case

- Click on Create

You can see that the application is synced with the repository
Click on the information

- This will display the flow of the kubernetes cluster

This means that whenever a change is made to the code and pushed, it will trigger the pipeline. The application will then be built, pushed to DockerHub, and the repository will be updated. This update will sync with ArgoCD, which will automatically deploy the application to the Kubernetes cluster.
Thanks for reading 🙏🙏🙏
Subscribe to my newsletter
Read articles from Oshaba Samson directly inside your inbox. Subscribe to the newsletter, and don't miss out.
Written by
Oshaba Samson
Oshaba Samson
I am a software developer with 5 years + experience. I have working on web apps ecommerce, e-learning, hrm web applications and many others