🧠Mastering Flask: From "Hello World" to WSGI and Gunicorn
 Deepak Kumar Mohanty
Table of contents
- 🟢 1. What is Flask? Why Was It Created, and What Problem Does It Solve?
- 🟢 2. How to Run a Simple “Hello World” Flask App (No Frontend Needed)
- 🟢 3. How to Test This Program?
- 🟢 4. Flask’s Built-in Server: What Is It and Why Is It Useful?
- What Is Flask’s Built-in Server?
- How Does It Work?
- Why Is Flask’s Built-in Server Useful for Development?
- a. Auto Reload When Code Changes
- b. Built-in Debugger (Helps You Find Bugs)
- c. Easy to Start and Use
- d. Serving Static Files and Templates
- Flask's Template Folder Convention
- ❌ Why You Should NOT Use the Flask Built-in Server for Production
- a. Single-threaded (Handles One Request at a Time)
- b. Slow and Not Optimized
- c. No Security Features
- Dev Server 🆚 Production Server: A Quick Comparison
- 🟢 5. WSGI and Gunicorn: How Flask Handles Production
- 🟢 6. Full Request Flow: From Browser to Flask
- Summary and What’s Next

🟢 1. What is Flask? Why Was It Created, and What Problem Does It Solve?
What is Flask?
Flask is a lightweight, flexible, and easy-to-use web framework written in Python. It allows developers to build web applications quickly with minimal setup and effort.
It is called a "micro" framework because it doesn't come with built-in tools like form validation, database abstraction, or authentication out of the box. Instead, you can add those features only if and when you need them.
Why Was Flask Created?
Before Flask, developers often used more heavyweight frameworks like Django. While Django is powerful, it can feel overwhelming for beginners or for small projects. Developers wanted a framework that:
Doesn't force a specific project structure
Allows for greater control and customization
Is beginner-friendly yet scalable for larger projects
Flask solves this by being simple and modular. It gives you control over your application and grows with you as your needs grow.
✅ Problems Solved by Flask:
Reduces complexity for small apps
Encourages clean, maintainable code
Gives full control over routing, templates, and server setup
Perfect for REST APIs, microservices, and quick prototypes
🟢 2. How to Run a Simple “Hello World” Flask App (No Frontend Needed)
Let’s walk through creating the simplest Flask web app ever.
Step-by-Step Code:
Save this as hello.py
from flask import Flask

app = Flask(__name__)

@app.route("/")
def home():
    return "Hello, Flask World!"

if __name__ == "__main__":
    app.run(debug=True)
Output:
Explanation:
Flask(__name__): Initializes the Flask app. The__name__helps Flask understand where to look for files and modules.@app.route("/"): A decorator that tells Flask what URL should trigger thehome()function.return "Hello, Flask World!": The function returns a simple string as the HTTP response.app.run(debug=True): Starts Flask’s built-in development server.debug=Truehelps by showing errors and reloading automatically on code changes.
🟢 3. How to Test This Program?
Once you've written your Flask app, it's time to test it!
✅ Option 1: Test in Web Browser
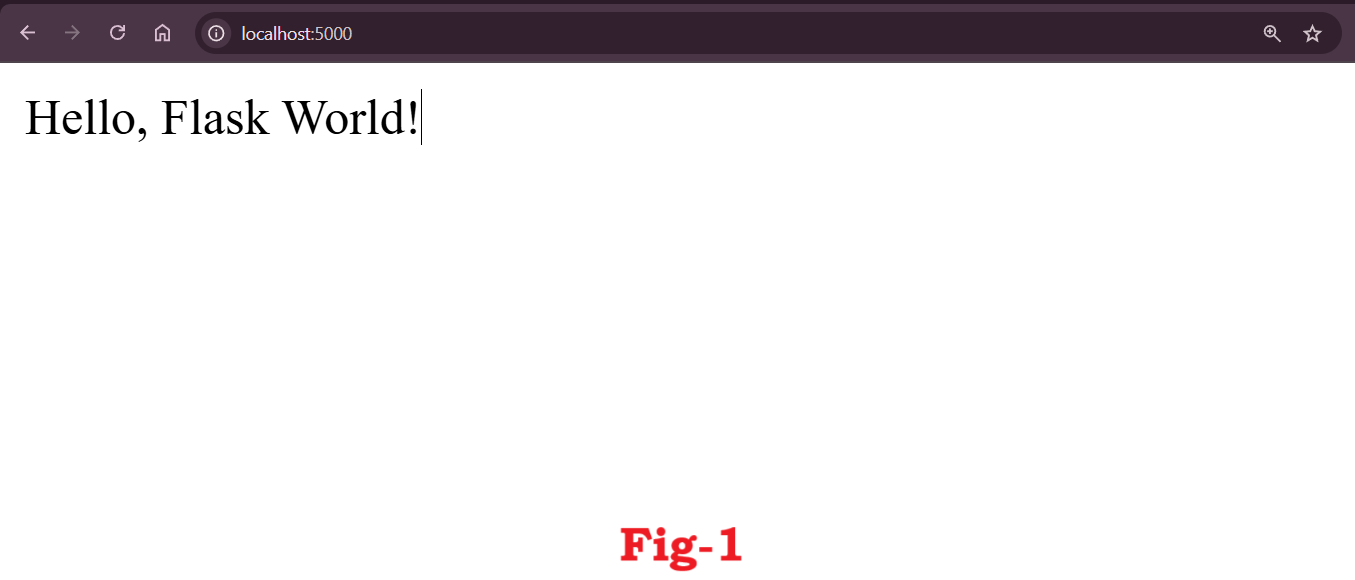
a. Run your app: python hello.py
b. Open a browser and go to http://127.0.0.1:5000/
c. You should see: Hello, Flask World! (see below)
✅ Option 2: Test Using Postman
a. Open Postman
b. Create a new GET request to http://127.0.0.1:5000/
- Click Send. You should receive the same response:
Hello, Flask World!(see below)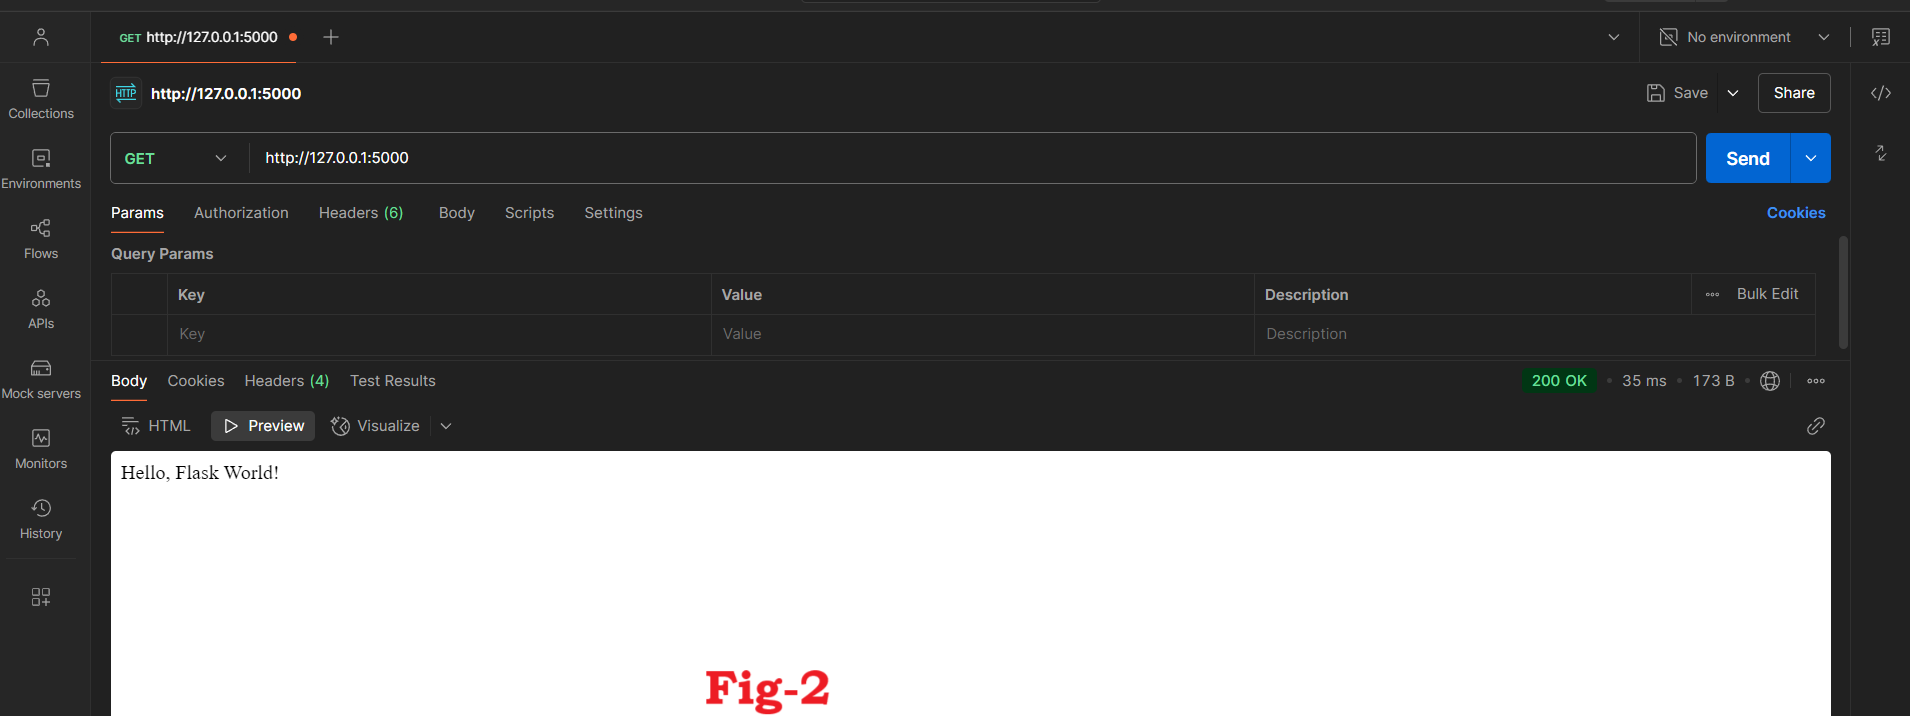
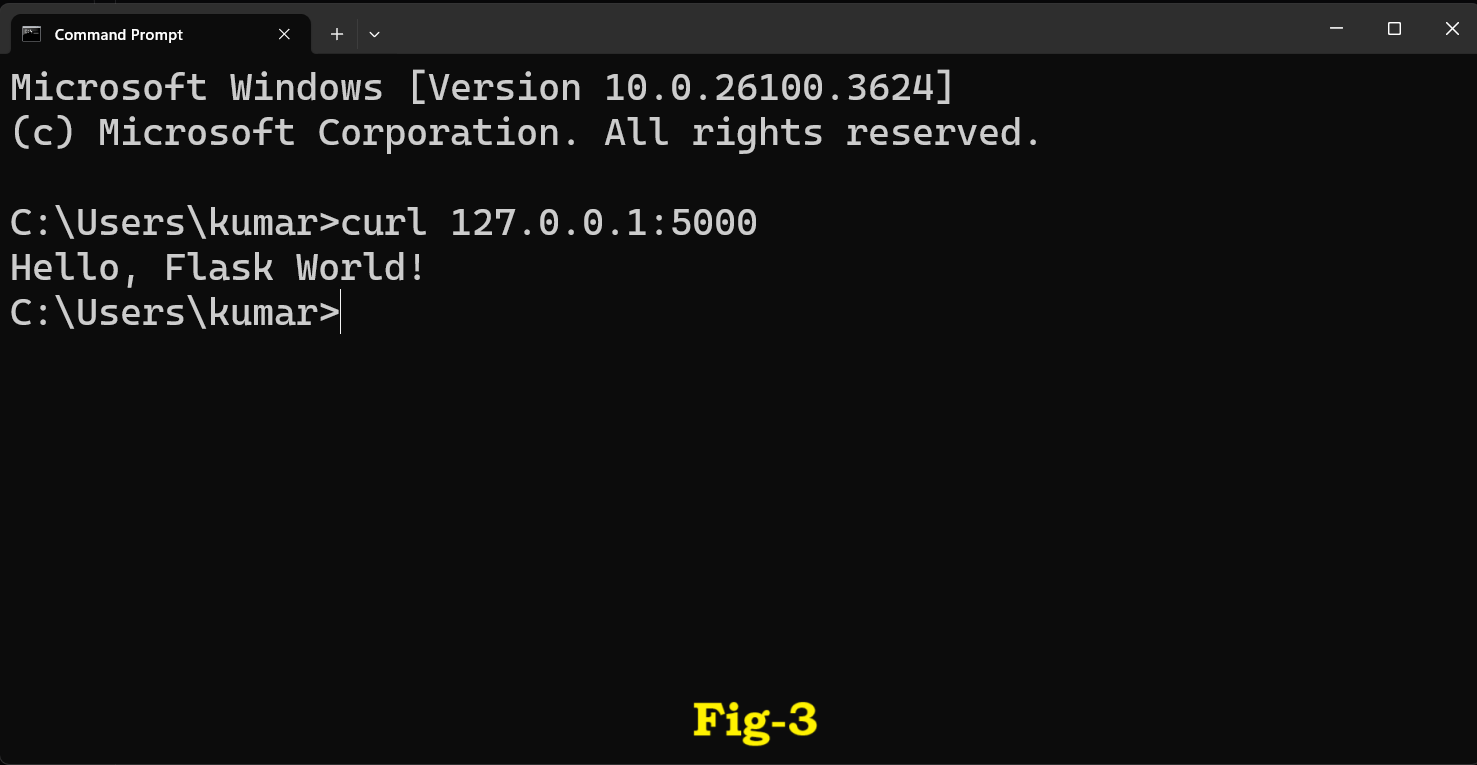
✅ Option 3: Test Using curl
curl http://127.0.0.1:5000/
This will also return the string in the terminal (see below).
🟢 4. Flask’s Built-in Server: What Is It and Why Is It Useful?
What Is Flask’s Built-in Server?
When you develop a web application with Flask, you need a way to test and preview it while you're building. That's where Flask’s built-in server comes in.
It's like having a miniature web server running on your computer, which lets you test your app locally without needing to set up anything complicated.
When you write the code to run your app like this:
from flask import Flask

app = Flask(__name__)

@app.route('/')
def home():
    return "Hello, Flask!"

if __name__ == "__main__":
    app.run(debug=True)
You can run this code by typing python app.py in your terminal. When you do this, Flask starts a local server that listens for requests (like someone opening a webpage) and responds with the appropriate page. In this case, the response would be Hello, Flask!.
The Flask built-in server will run on your computer, typically at the URL: http://127.0.0.1:5000.
How Does It Work?
Flask's built-in server is powered by a tool called Werkzeug, which handles the basic functionality of a web server.
When you run app.run(), it does the following:
Starts a web server on your machine, making it available at
127.0.0.1:5000.Handles incoming requests from your browser (or any other client).
Routes the request to the correct view function in your Flask app.
Returns the response (like an HTML page or a message) back to the client.
Changing the Server’s Address and Port:
By default, Flask listens on 127.0.0.1 (which is your local computer) and port 5000. But you can change the address or port if you want.
app.run(host="0.0.0.0", port=8080)
host="0.0.0.0"allows other devices on the same network (like your phone) to access your app.port=8080means your app will run on port 8080 instead of the default 5000.
This is useful when you want to test your app on different devices.
Why Is Flask’s Built-in Server Useful for Development?
Flask's built-in server is easy to use and comes with some great features for development. Let’s look at some of these features in detail.
a. Auto Reload When Code Changes
One of the most convenient features of Flask’s built-in server is that it automatically reloads your app whenever you change your code. This means you don't need to stop and restart the server manually each time you make a change.
Example:
Let’s say your app has the following code:
@app.route('/')
def home():
    return "Hello, Flask Developer!"
If you change the return statement to:
@app.route('/')
def home():
    return "Welcome to Flask!"
Once you save the file, Flask will automatically reload the server, and when you refresh your browser, you will see the new message: "Welcome to Flask!"
This automatic reloading helps you test changes in real-time without losing time.
b. Built-in Debugger (Helps You Find Bugs)
Flask’s built-in server also has a debug mode that helps you identify problems in your code.
What is Debug Mode? When you enable debug mode by setting
debug=True, Flask shows you detailed error messages in the browser if something goes wrong.It highlights exactly where the error happened and often tells you what the error is, making it easier to fix.
Example:
Let’s introduce a bug in your code:
@app.route('/error')
def trigger_error():
    return 1 / 0  # Division by zero error
When you visit /error in your browser, instead of just showing a generic error, Flask will display a detailed error page like this:
Where the error happened (in this case, line
1 / 0).The error type:
ZeroDivisionError: division by zero.It even shows you a stack trace, which helps you see the call sequence that led to the error.
Debug Mode Output:
ZeroDivisionError: division by zero
File "app.py", line 5, in trigger_error
    return 1 / 0
This makes it much easier to fix bugs because you can see exactly where the problem is happening and what caused it.
c. Easy to Start and Use
Flask’s built-in server is extremely easy to set up. You don’t need to install or configure anything special. Just write a simple Python script, and your app is up and running.
Here's the simplest app you can write to start using Flask:
from flask import Flask

app = Flask(__name__)

@app.route('/')
def hello_world():
    return 'Hello, World!'

if __name__ == '__main__':
    app.run(debug=True)
This will run your app on http://127.0.0.1:5000, and you'll see "Hello, World!" in the browser.
d. Serving Static Files and Templates
Flask’s built-in server can also serve static files like CSS, images, and JavaScript files, as well as dynamic HTML pages that you generate from templates.
Static Files:
Static files (like images and stylesheets) are usually placed in a folder named static/. Flask will serve these files directly when requested by the browser.
For example, if you have the following folder structure:
myapp/
├── app.py
├── static/
│   └── style.css
└── templates/
    └── index.html
You can access the static file like this in your app:
<link rel="stylesheet" href="{{ url_for('static', filename='style.css') }}">
When the browser makes a request for style.css, Flask will find the file inside the static/ folder and return it.
Templates:
Flask uses Jinja2 for templating. This allows you to write HTML files with placeholders for dynamic content.
For example, the index.html file could look like this:
<!DOCTYPE html>
<html>
<head>
    <title>{{ title }}</title>
</head>
<body>
    <h1 style="color:brown">{{ message }}</h1>
</body>
</html>
Then in your Python code, you can render this template and pass the dynamic values for title and message:
from flask import render_template

@app.route('/')
def home():
    return render_template('index.html', title="Welcome", message="Hello, Flask Developer!")
Output:
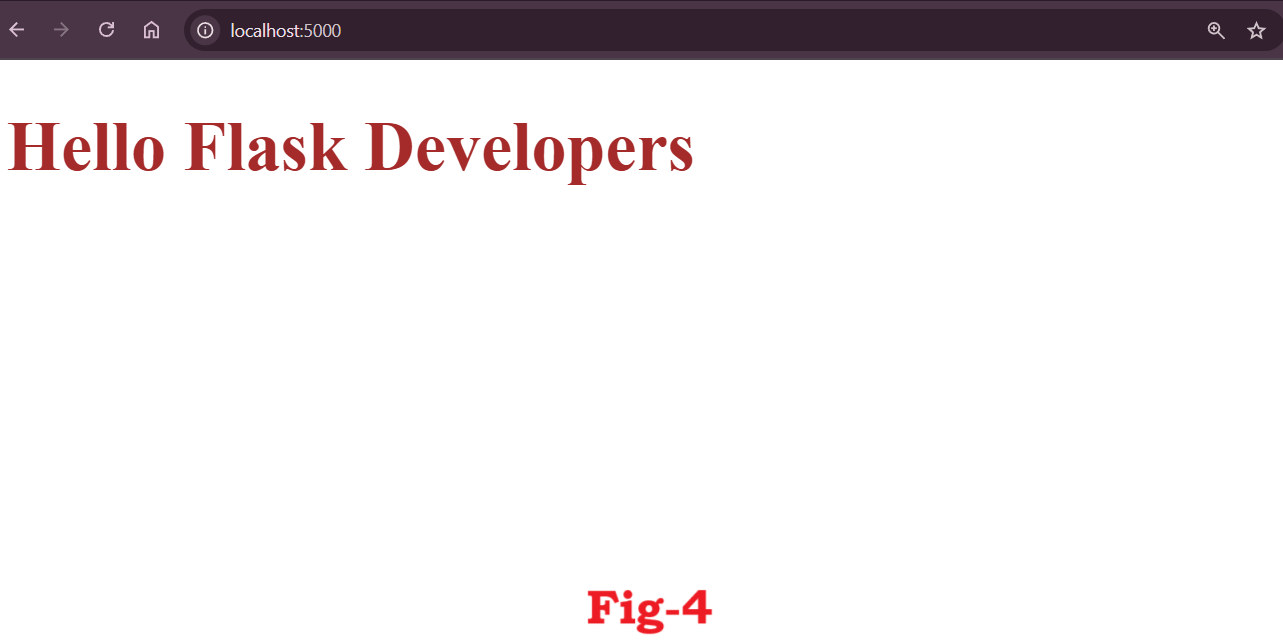
Flask will render the index.html file with the dynamic data inserted, creating a dynamic webpage.
Flask's Template Folder Convention
When you call render_template('index.html'), Flask automatically searches for the index.html file inside the templates/ folder. This is Flask’s default behavior to keep things simple and organized. You don’t need to specify the templates/ folder or its path—Flask will take care of this for you.
For example:
return render_template('index.html')
Flask knows that this should look for the index.html file inside the templates/ folder, which is why you don't need to provide its full path.
❌ Why You Should NOT Use the Flask Built-in Server for Production
While Flask’s built-in server is great for development, it’s not designed for production.
Here’s why you should avoid using it for a live website:
a. Single-threaded (Handles One Request at a Time)
The built-in server is single-threaded, which means it can only handle one request at a time. This works fine if only one person is using the app. But if multiple people visit your site, the server has to queue the requests. This can lead to slow response times or even crashes.
For example, if two people visit your site at the same time, the server processes the first request and makes the second one wait.
b. Slow and Not Optimized
The built-in server is not optimized for speed or handling heavy traffic. It’s designed to be simple, not fast or powerful.
Imagine your app is doing complex tasks, like processing large files or making multiple external API calls — the server could become very slow and unresponsive.
c. No Security Features
The built-in server doesn’t have important security features that a production server needs, like:
SSL/HTTPS for secure connections.
Rate limiting to prevent too many requests from a single user.
Load balancing to distribute the work across multiple servers.
Automatic recovery if the server crashes.
This means if you use the built-in server for a real website, it could be vulnerable to attacks.
Dev Server 🆚 Production Server: A Quick Comparison
| Feature | Flask Built-in Server | Production Server (e.g., Gunicorn + Nginx) |
| Designed for | Development | Production |
| Handles multiple users | ❌ No | ✅ Yes |
| Performance | ❌ Basic | ✅ Optimized |
| Security (HTTPS, etc.) | ❌ None | ✅ Full support |
| Error handling and recovery | ❌ Limited | ✅ Robust |
| Can auto-reload code changes | ✅ Yes | ❌ No (not by default) |
| Easy to set up | ✅ Very easy | ❌ Requires configuration |
🟢 5. WSGI and Gunicorn: How Flask Handles Production
When you're building a Flask app, running it locally with app.run() works great for testing and development. But once you’re ready to show your app to the world — whether it’s a portfolio site, a dashboard, or an API — you need a better and more reliable setup.
That’s where WSGI and Gunicorn come into play.
What is WSGI ?
WSGI (pronounced wiz-ghee) stands for Web Server Gateway Interface. It’s not a tool or a software — it’s a rulebook or standard that explains how web servers and Python apps should communicate.
Why WSGI ?
- Web servers like Nginx or Apache are great at handling internet traffic, but they can’t run Python code directly.
- Flask apps are written in Python, so we need a middleman that can talk to both the web server and the Flask app.
This “middleman” is WSGI — a standard that helps web servers send requests to your Flask app and receive responses back.
In short:
WSGI = The communication protocol that lets your Python app and web server talk to each other.
What is Gunicorn?
Gunicorn (short for Green Unicorn) is a WSGI server. It knows how to understand both sides:
- What the web server says (incoming HTTP requests)
- What your Flask app responds with (Python-generated responses)
Gunicorn sits between your app and the outside world, receiving incoming requests and sending them to your Flask app using WSGI. Then it returns the response to the user.
Why Use Gunicorn Instead of Just Flask?
Flask’s built-in server (app.run()) is:
- Not secure
- Not fast enough
- Not built to handle many users at the same time
Gunicorn is built for production. It’s:
- Fast and reliable
- Able to handle multiple users at once
- Crash-safe — if one worker crashes, others continue running
Installing Gunicorn
To install Gunicorn, simply use pip:
pip install gunicorn
This will add a command-line tool called gunicorn to your system.
Running a Flask App with Gunicorn
Let’s say you have a simple Flask app inside a file called hello.py:
# hello.py
from flask import Flask

app = Flask(__name__)

@app.route('/')
def home():
    return "Welcome to my Flask app!"
To run this app using Gunicorn, open your terminal and type:
gunicorn hello:app --bind 127.0.0.1:8000
✅ What This Command Means:
hello→ This is the name of the Python file (hello.py)app→ This is the Flask app object (app = Flask(__name__))--bind 127.0.0.1:8000→ Tells Gunicorn to serve the app at localhost on port 8000
Now open a browser and go to http://127.0.0.1:8000 — you’ll see your app running with Gunicorn!
How Gunicorn Works
Imagine your Flask app is a small kitchen in a restaurant. When customers come in, they place orders (HTTP requests). If only one person is cooking (Flask dev server), things get slow really fast.
Gunicorn is like hiring a restaurant manager with a team of chefs:
a. The Manager (Master Process):
- Starts and controls the workers (chefs).
- Watches over everything.
b. The Chefs (Worker Processes):
- Cook (process) the orders (requests).
- Can handle multiple customers at once.
- If one chef gets tired (crashes), a new one is hired immediately.
So instead of one person doing everything, Gunicorn sets up a team that makes your app much faster, stable, and ready for real customers (users).
Key Gunicorn Options You Can Use
Here are some useful options you might see or want to use:
| Option | What It Does | Example |
--workers 4 | Starts 4 worker processes | gunicorn hello:app --workers 4 |
--bind 0.0.0.0:5000 | Makes app accessible on all network interfaces | Useful for deploying online |
--log-level debug | Shows detailed logs in terminal | Great for testing |
--daemon | Runs Gunicorn in the background (detached mode) | Useful for servers |
Flask Dev Server vs Gunicorn
Let’s compare the two to understand when and why to use Gunicorn:

Bottom line:
Use Flask's built-in server only for testing.
Use Gunicorn when you're launching your app for others to use.
Summary
- WSGI is a standard that connects your Python app (like Flask) to a web server.
- Gunicorn is a WSGI server that serves your Flask app in production.
- It runs your app with multiple workers, making it fast and reliable.
- You run it using:
gunicorn file_name:app_name --bind IP:PORT
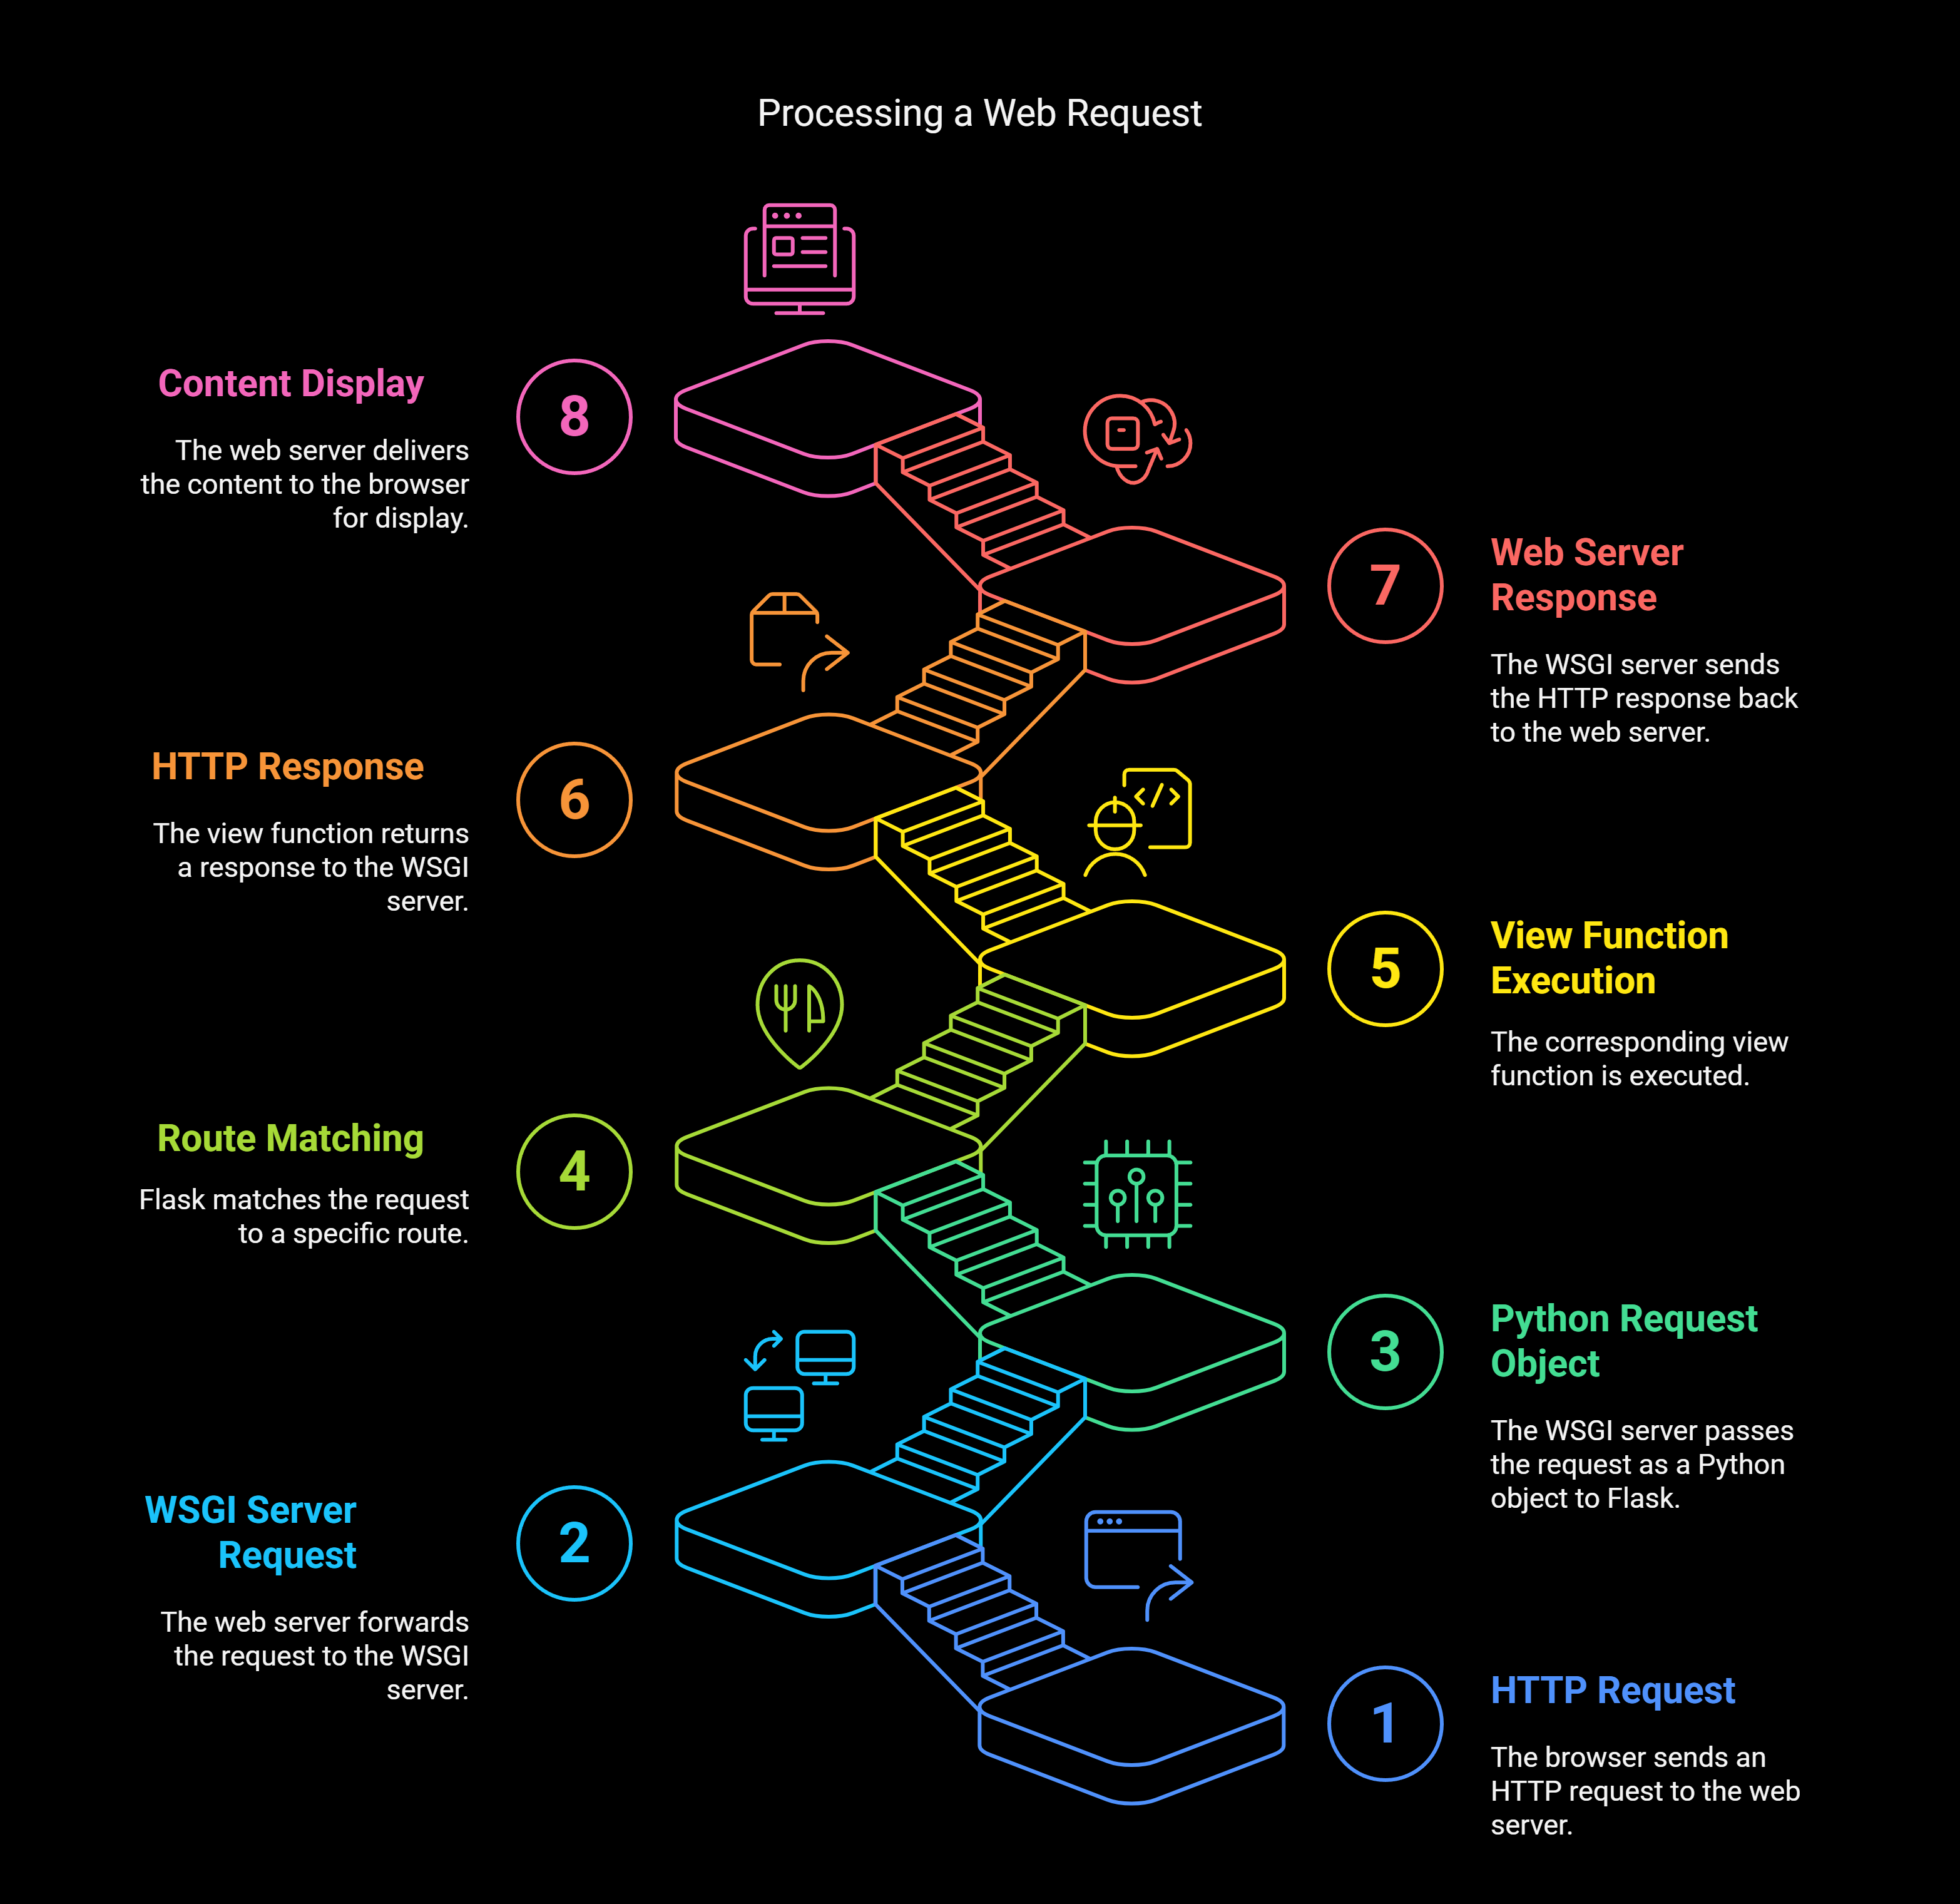
🟢 6. Full Request Flow: From Browser to Flask
Let’s break down what actually happens when someone visits your Flask app in a browser. Even though it might look like magic when you see “Hello, Flask World!” on your screen — there’s a well-orchestrated process behind it.
Step-by-Step Journey of a Request
Let’s say your Flask app is running with Gunicorn on 127.0.0.1:8000.
a. Browser Sends a Request
When you type http://127.0.0.1:8000 into your browser and hit enter:
- The browser creates an HTTP GET request.
- This request is like a letter saying:
“Hey server, can you give me the page located at
/?”
The browser then sends this request to the server running at 127.0.0.1:8000.
b. Gunicorn Receives the Request
Gunicorn is the WSGI server sitting and listening for incoming HTTP requests.
Once it receives the request, it does the following:
a. Wraps it in a Python object
Gunicorn translates the raw HTTP request into something Python understands — like a dictionary.
b. Uses WSGI to send it to Flask
Gunicorn follows the WSGI standard to hand over the request to the Flask app.
Think of Gunicorn as a receptionist — it receives messages (requests), formats them nicely, and passes them to the right person (your Flask app).
b. Flask Matches the URL
Now Flask gets the request and checks if it knows how to handle the requested URL.
Let’s say your code looks like this:
@app.route("/")
def home():
    return "Hello, Flask World!"
Flask checks:
- "Is there a route defined for
/?" - If yes, it calls the associated function (
home()in this case).
So Flask executes:
def home():
    return "Hello, Flask World!"
d. Flask Builds a Response
The function home() returns a string:"Hello, Flask World!"
But Flask doesn’t just return that string raw. It wraps it inside an HTTP response so the browser can understand it.
It adds things like:
HTTP/1.1 200 OK
Content-Type: text/html

Hello, Flask World!
This makes it a proper response that the browser knows how to display.
e. Gunicorn Sends the Response Back
Now the response travels the reverse path:
- Flask gives the response back to Gunicorn
- Gunicorn sends the HTTP response back to the browser
f. Browser Displays the Result
Finally, the browser gets the response and sees that it’s a piece of HTML with the content:
Hello, Flask World!
The browser renders this on the screen for the user to see.
Visual Flow Diagram
🧠 Recap: What You've Learned So Far
You now understand:
- How a browser request reaches your Flask app
- What Gunicorn does as a WSGI server
- How Flask matches URLs to view functions
- How responses are built and returned to the user
- The difference between a development server and a production setup
Summary and What’s Next
By now, you understand:
What Flask is and why it exists
How to build a simple app
Testing your Flask app with multiple tools
Difference between Flask’s development server and production WSGI servers
How Gunicorn and WSGI work under the hood
In the next part, we can:
Add asynchronous behavior to routes
Handle slow vs fast responses
Deploy Flask with Nginx for real-world production
Subscribe to my newsletter
Read articles from Deepak Kumar Mohanty directly inside your inbox. Subscribe to the newsletter, and don't miss out.
Written by
Deepak Kumar Mohanty
Deepak Kumar Mohanty
Hi there! I'm Deepak Mohanty, a BCA graduate from Bhadrak Autonomous College, affiliated with Fakir Mohan University in Balasore, Odisha, India. Currently, I'm diving deep into the world of Data Science. I'm passionate about understanding the various techniques, algorithms, and applications of data science. My goal is to build a solid foundation in this field and share my learning journey through my blog. I'm eager to explore how data science is used in different industries and contribute to solving real-world problems with data.