Beginner's Guide to AI-Powered Interior Design Workflow (Part 1)
 Wayne Huang

This article is written for:
Interior Designers: People who want to understand the current use and potential of AI in interior design applications and are interested in trying new workflows.
Homeowners and Renters: Individuals who want to remodel their homes themselves and plan styles but lack experience with 3D rendering or graphic design software.
Why Learn This Workflow:
With the rapid development of artificial intelligence technology, AI drawing tools are gaining more attention in the design industry. Especially in the field of interior design, AI tools are becoming important assistants for creators to quickly conceptualize and efficiently draft designs.

Designs generated by designer Tim Fu / Source: ig-post
Mainstream text-to-image tools can only generate renderings from text and cannot control the overall structure of the image. For interior design, these tools are not very useful, as designers need tools that can accurately redraw the space.
This series will introduce a workflow that allows designers to start with input images or model images and quickly achieve the following: maintain the spatial structure proportions of the generated image, generate similar styles using example images, and add or remove objects on the screen as needed.

Workflow Diagram: This workflow can maintain the room's structure and freely add furniture objects
Krita and ComfyUI Introduction
A brief introduction to the two applications used in this workflow: Krita and ComfyUI.
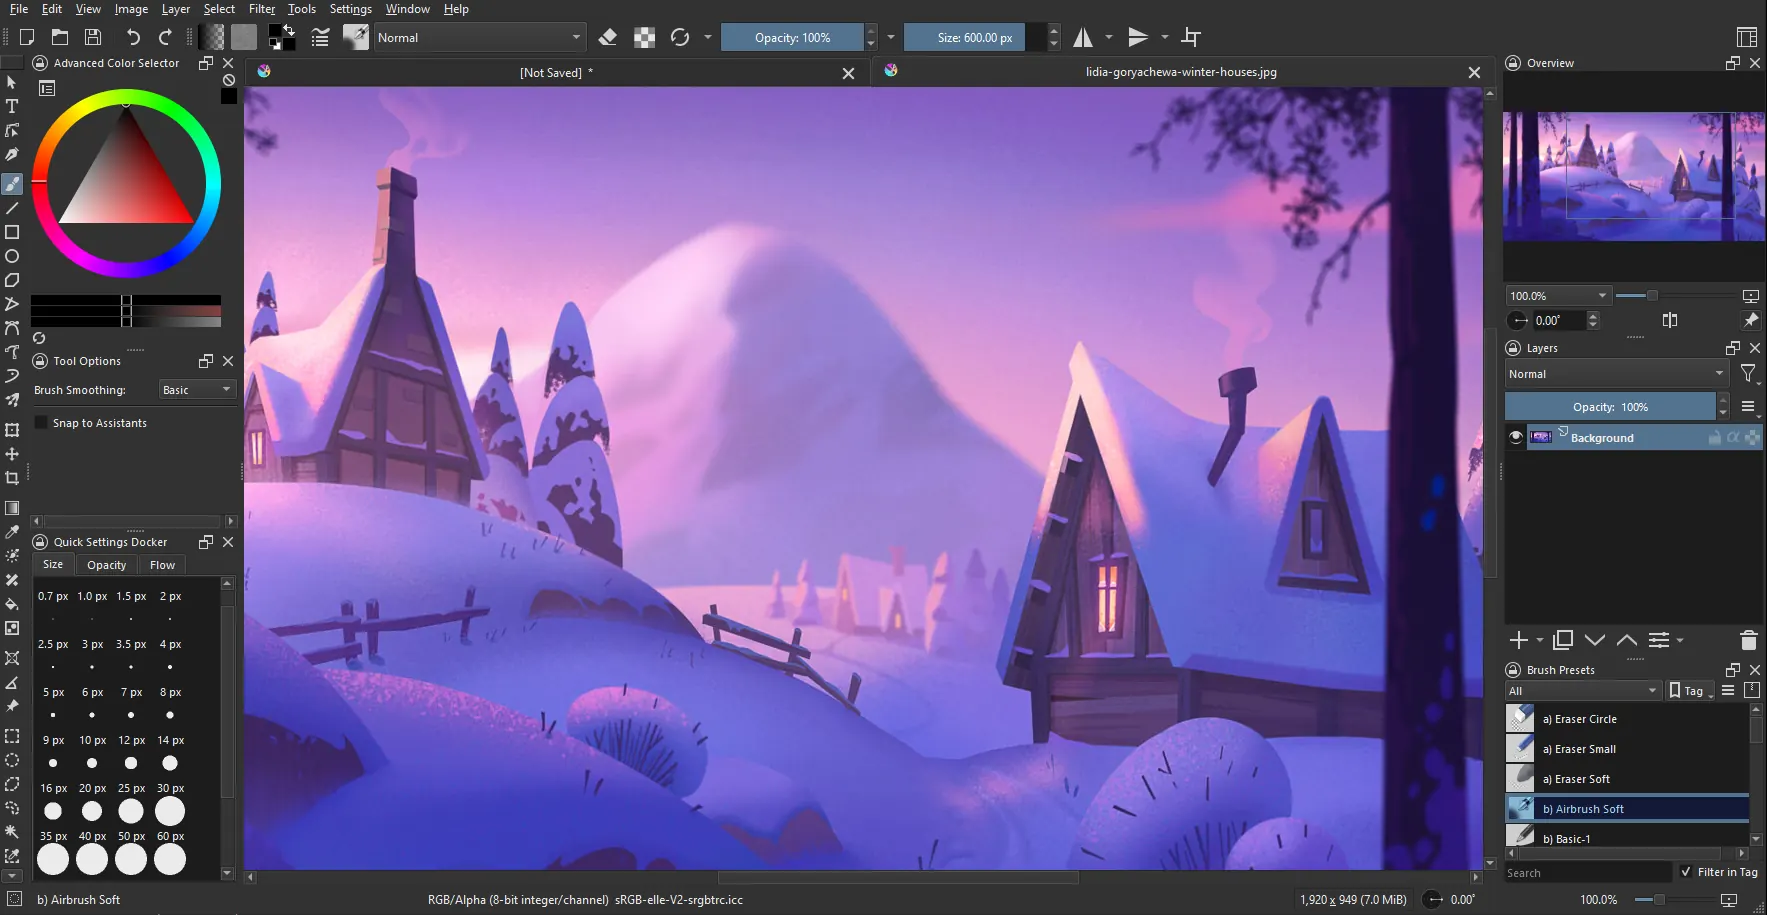
Krita
Krita is a free and open-source drawing software with features similar to Photoshop. Krita will be our main interface, and future articles will introduce basic Krita functions. We will use Krita's Generative AI Plugin to incorporate the generative image workflow (ComfyUI) into Krita.
ComfyUI
ComfyUI is like a building block tool for creating AI images. Unlike typical drawing software where you draw directly on the canvas with a pen, ComfyUI generates AI images by combining various "blocks" (nodes). These blocks have different functions, allowing you to choose styles, set colors, change details, and even create entirely new images.

By combining Krita's layer features with ComfyUI's modular image processing, designers can use the latest open-source AI models to quickly generate accurate interior design renderings. This significantly boosts efficiency from sketching ideas to final rendering.

Workflow Combining Krita and ComfyUI: Fully Control Every Element in Generated Images
The rise of AI drawing is about to transform the traditional design world, giving designers a brand-new way to create. This technological wave not only makes design more accessible but also invites more people to join the creative process.
AI helps designers skip the tedious steps of visualizing concepts, letting them concentrate more on the actual design content.
Hardware Requirements for Krita and ComfyUI:
ComfyUI Hardware Requirements
According to the official ComfyUI recommendations, Nvidia graphics cards from the past 10 years can run it (from the 10 series to the latest 50 series). However, using a low-end graphics card will lead to longer generation times for each image.
The official recommendation is Nvidia 30 series mid-to-high-end graphics cards or better, with higher VRAM being preferable. AMD and Intel graphics cards have extra restrictions and installation methods, which the author does not recommend here.
- For more detailed information, please refer to the official GPU page:
https://github.com/comfyanonymous/ComfyUI/wiki/Which-GPU-should-I-buy-for-ComfyUI
- For more detailed information, please refer to the official GPU page:
Krita Configuration Requirements
As for Krita drawing software itself, there are no special hardware requirements, and current computers should be able to run it.
- For the Krita AI plugin, the minimum recommended hardware configuration is a graphics card with 6GB VRAM. To run ComfyUI more smoothly, you can refer to the ComfyUI configuration above.
Contents of This Series:
Through the simple introduction above, readers should be able to understand the flexibility and power of Krita + ComfyUI.
Here is a preview of the content for this series of online tutorials:
Krita Tutorial & ComfyUI Deployment Tutorial:
Installation methods
Basic Krita tools
Introduction to ComfyUI
Basic concepts and applications of text-to-image/image-to-image
Basic introduction to modules and models like Custom Node / Checkpoint / LoRA / Clip / VAE / ControlNet, etc.
How to find, download, and use these basic models and workflows
How to Use Krita and ComfyUI:
Quickly generate concepts using Sketchup models and reference images
Modify the quickly generated concepts
Thank you for reading to the end. The above is the entire content of this introductory article, and readers should have a basic understanding of Krita and ComfyUI.
Future tutorial articles will be updated soon, so feel free to subscribe to our blog.
Click this link: https://tw.reroom.ai/ or simply search for ReRoom AI to find us.
Subscribe to my newsletter
Read articles from Wayne Huang directly inside your inbox. Subscribe to the newsletter, and don't miss out.
Written by