Serverless Postgres NEON DataBase
 Harsh Patel
Are you tired of constant errors with XAMPP, Apache, and MySQL?
From port conflicts to services not starting, it can be frustrating for beginners and even experienced developers.
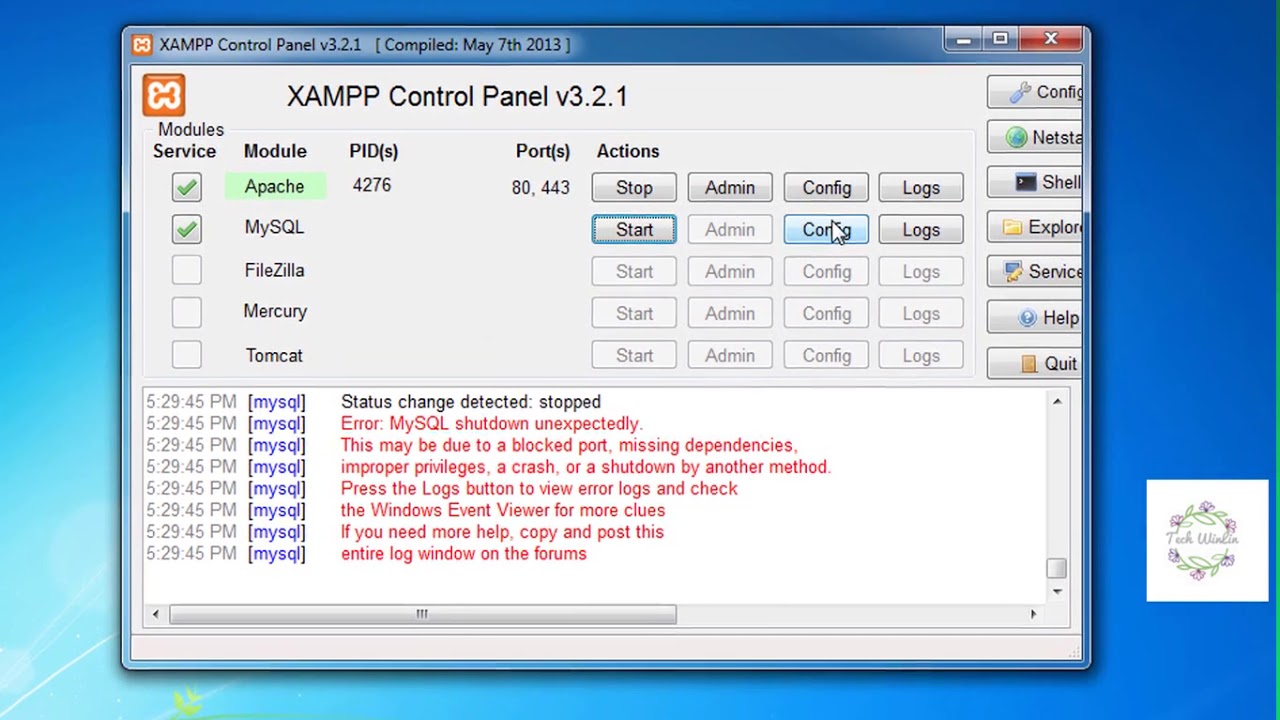

But what if you didn’t need to run a server at all? Ever wondered if you could work without running a local server? You're in luck!
Let me introduce Neon – a serverless PostgreSQL database that simplifies development.
Introducing Neon, a serverless PostgreSQL database that makes things fast, simple, and reliable.
Neon offers a serverless Postgres database platform for developers. This saves a lot of time . It allow you to create , update , delete and read your Tables . Using AI it can be done in few minutes .
Let’s setup NEON and perform basic CRUD Operations.
Step 1. Create account on Neon
Link : Neon Account link
Step 2. Create Project

Step 3. Go to Branches and create a Branch

Once you click on create branch a window will pop up to connect to that branch but for instance close it.
Step 4. Create a Table

Click on Add column

A new field will be added

so here give your column name and from the options provided select as you wish .

It’ll look like this , now click on Review and create button and walaa ! your First table is created .
Another method is Click on SQL Editor and using AI you can created table too .


I just changed name of table to client .

Now lets setup Backend .
Go To Overview and click on connect and you will see a window like this , Copy those parameters and paste it in your .env file

Now let’s write some code
const express = require("express");
const app = express();
const dotenv = require("dotenv").config();
const {  Pool } = require("pg");


const { PGHOST, PGDATABASE, PGUSER, PGPASSWORD } = process.env;
const pool = new Pool({
  host: PGHOST,
  database: PGDATABASE,
  user: PGUSER,
  password: PGPASSWORD,
  port: 5432, // default Postgres port
  ssl: {
    rejectUnauthorized: false,
  },
});

app.get("/", async (req, res) => {
  const client = await pool.connect();
  try{

    const result = await client.query("SELECT * FROM clients");
    res.json(result.rows);

  }catch(error){
    console.log(error)
  }finally{
    client.release();
  }

});

// Start server
const port = 3000;
app.listen(port, () => {
  console.log(`Server is running on http://localhost:${port}`);
});
Update
// UPDATE Client Email
app.put("/update-client", async (req, res) => {
  const client = await pool.connect();
  try {
    const result = await client.query(
      "UPDATE clients SET email = 'john@example.com' WHERE name = 'John Doe';"
    );
    res.json({ message: "Client updated successfully" });
  } catch (error) {
    console.error(error);
    res.status(500).send("Update failed");
  } finally {
    client.release();
  }
});
Delete
// DELETE Client
app.delete("/delete-client", async (req, res) => {
  const client = await pool.connect();
  try {
    const result = await client.query(
      "DELETE FROM clients WHERE name = 'John Doe';"
    );
    res.json({ message: "Client deleted successfully" });
  } catch (error) {
    console.error(error);
    res.status(500).send("Delete failed");
  } finally {
    client.release();
  }
});
Now that your backend is connected to a modern serverless Postgres DB, you can build scalable apps faster. Say goodbye to server errors and hello to Neon!
Subscribe to my newsletter
Read articles from Harsh Patel directly inside your inbox. Subscribe to the newsletter, and don't miss out.
Written by