Part 2: Deploying a Sample .NET 8.0 Web App to Azure with Azure App Services and Creating Federated Credentials for GitHub Actions
 ferozekhan
Step 1: Create Azure App Service

On the Azure Portal, under services, search and select App Services.
In the App Services page, select Create > Web App.
In the Basics tab:
Under Resource group, select Create new. Enter webappdemo267 for the name.
Under Name, enter a globally unique name for your web app.
Under Publish, select Code.
Under Runtime stack select .NET 8 (LTS).
Under Operating System, select Windows.
Select a Region you want to serve your app from.
Under App Service Plan, select Create new and type webappdemo267 for the name.
Under Pricing plan, select Free F1.

Select Review + create at the bottom of the page.
After validation runs, select Create at the bottom of the page.
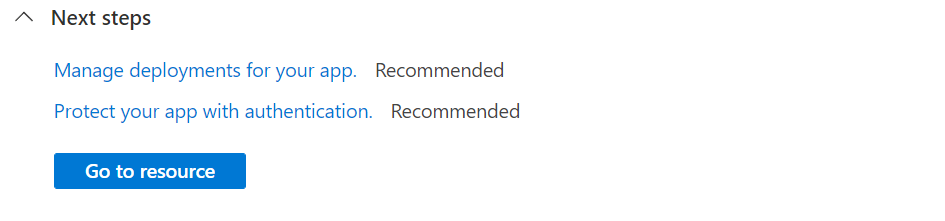
After deployment is complete, select Go to resource.
To browse the newly created app, select the default domain in the Overview page or click the Browse button.


Your web app should open in a new browser tab with the message as shown below
Your web app is running and waiting for your content

Step 2: Create an Azure AD Application (App Registration)
Sign in to Azure Portal:
Go to https://portal.azure.com
Navigate to "Azure Active Directory" > "App registrations"
Create a new application registration:
Click "New registration"
Enter a name "GitHub-OIDC-App"
Select account type (usually "Accounts in this organizational directory only")
Click "Register"
Note the Application (Client) ID:
- Copy the Application (Client) ID from the overview page (you'll need this later)
Step 3: Create Service Principal (SPN)
Create the service principal:
In your GitHub-OIDC-App app registration, go to "Certificates & secrets"
Click "Federated credentials" tab
Click "Add credential"
Configure GitHub federated credential:
Select "GitHub Actions deploying Azure resources"
Enter details:
Organization: Your GitHub org name as ‘mfkhan267’
Repository: Your repo name as ‘blazorappdemo‘
Entity type: "Branch", "Pull request", or "Environment" (choose as needed)
Name: Your branch name or environment name
I have selected ‘Environment’ for Entity type and Name as ‘Production’
Click "Add"

Step 4: Assign Azure RBAC Roles to the SPN
Find your subscription ID:
Go to "Subscriptions" in Azure Portal
Copy the Subscription ID
Assign Azure RBAC Roles to the SPN with the following command:
az role assignment create --role contributor --scope /subscriptions/<subscription-id>/resourceGroups/webappdemo267/providers/Microsoft.Web/sites/webappdemo267 --assignee <application-client-id>Replace
<application-client-id>and<subscription-id>with your values in the above command.
This should setup the Azure Infrastructure and we are now ready for next part 3 of the blog series where we will be configuring GitHub Actions for continous and automated deployment of our code changes as and when they are commited to the code repository on GitHub.
If you wish to read the Part 1 of this 3 Part Series, please refer HERE
If you wish to read the Part 3 of this 3 Part Series, please refer HERE
Subscribe to my newsletter
Read articles from ferozekhan directly inside your inbox. Subscribe to the newsletter, and don't miss out.
Written by