Port Forwarding for Minecraft: A Step-by-Step Hosting Guid
 Lightning Developer
Running your own Minecraft server is a great way to customize gameplay and connect with friends or communities. However, getting your server accessible from outside your local network requires setting up something called port forwarding—a process that can be confusing if you're new to networking.
This post will explain what port forwarding is, why Minecraft needs it, how to configure it on modern routers, and what you can do if it’s blocked by your ISP. It also introduces modern tunneling solutions like Pinggy that help when traditional port forwarding isn’t an option.
What is Port Forwarding?
Port forwarding is a method used to allow external devices to access services hosted on a private network. Essentially, it tells your router to pass specific internet traffic (in this case, Minecraft traffic) to a particular device inside your home network.
Minecraft servers use port 25565 (TCP) by default. Without forwarding this port, only devices on the same network as your server can join. If you want others on the internet to connect, port forwarding is usually necessary.
Why It’s Necessary for Minecraft Servers
If you're hosting a Minecraft server on your own hardware and want players from outside your home network to connect, port forwarding is typically required. It enables:
Public access to your server via your external IP address
Customization of game mechanics, mods, and server rules
Hosting without relying on third-party providers or external platforms
Step-by-Step Guide: Setting Up Port Forwarding
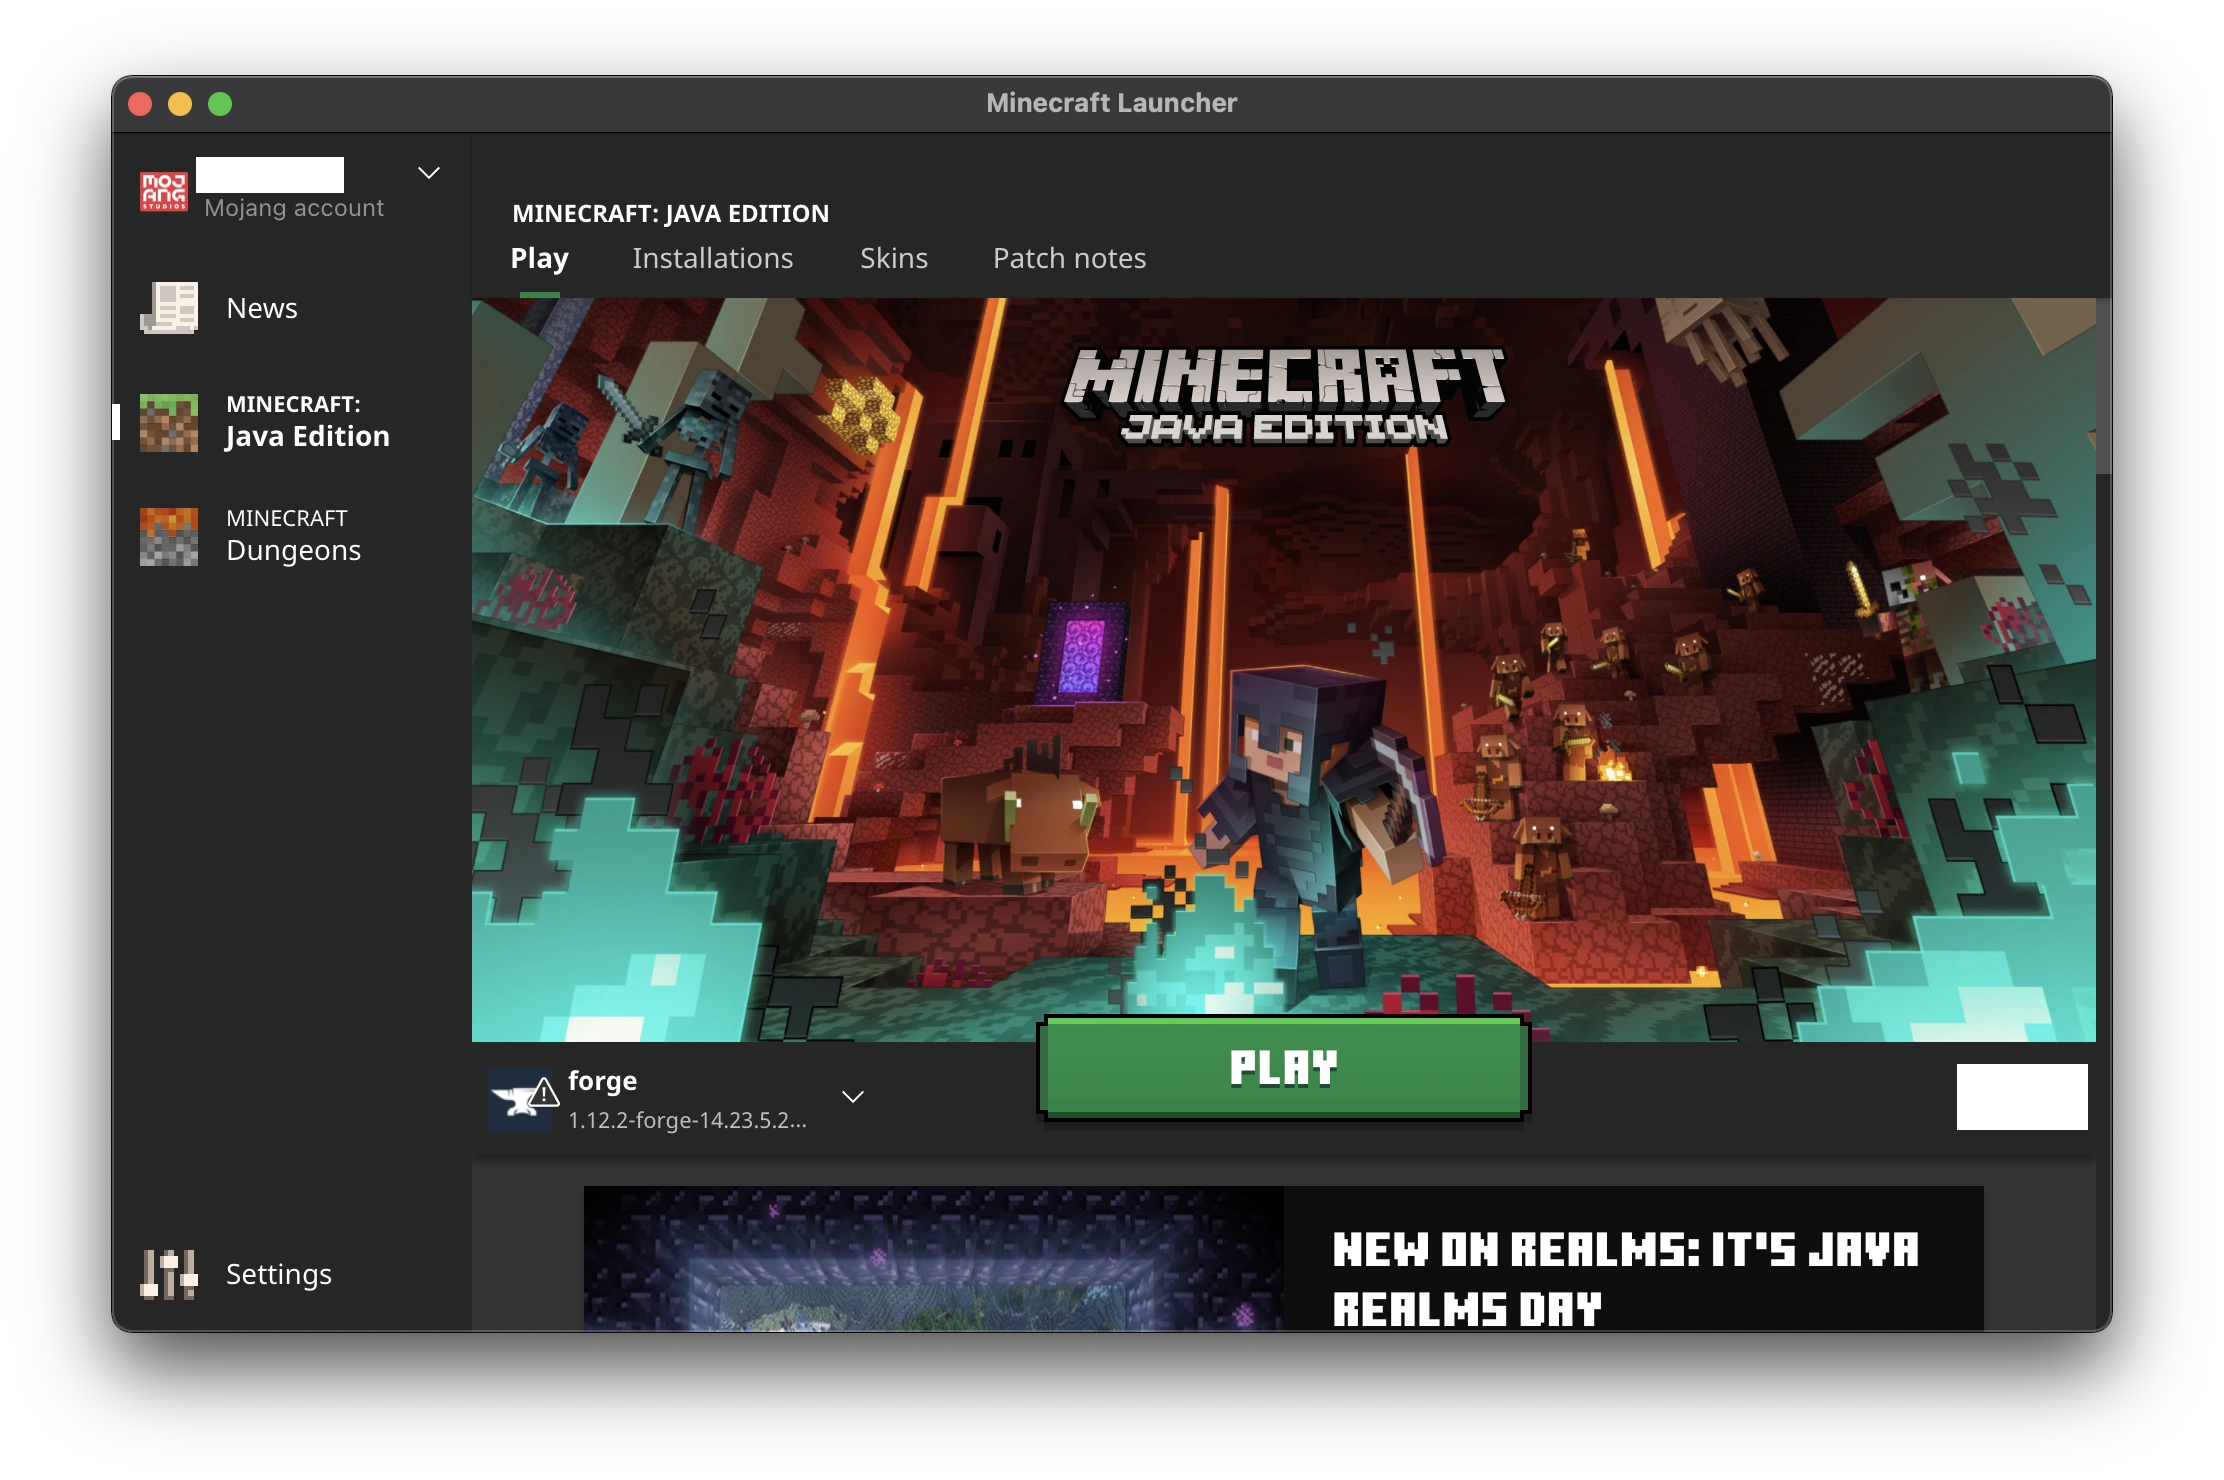
1. Launch and Configure the Minecraft Server
Start by downloading and setting up the official Minecraft server from Mojang. Make sure it's running locally and that you’ve configured the server.properties file as needed.
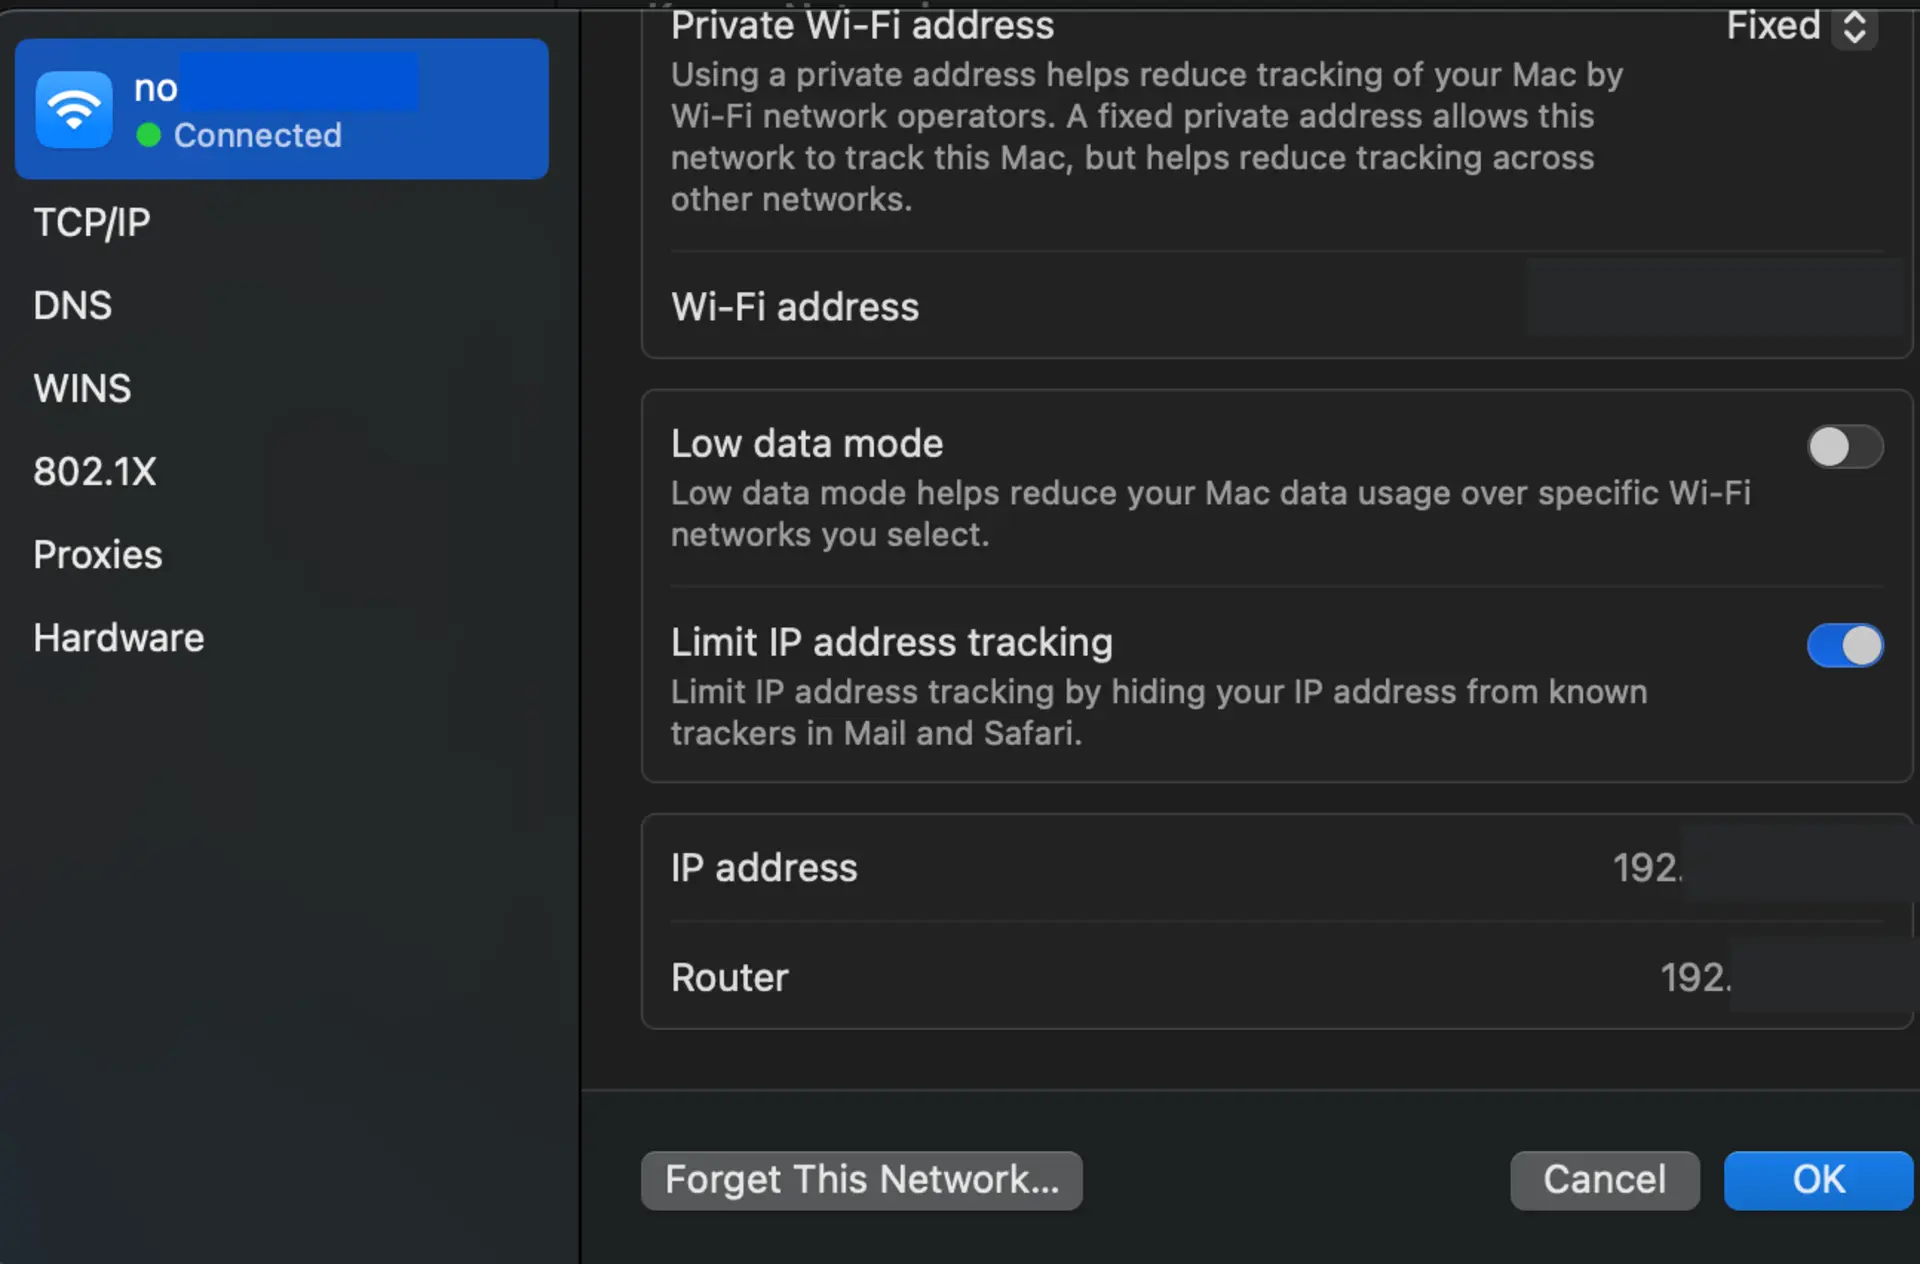
2. Determine Your Local IP Address
Your router needs to know where to send the traffic. Find the internal IP of your machine:
On Windows: Open Command Prompt and type
ipconfig. Note the IPv4 address.On Linux/macOS: Use
ip addrorifconfigin the terminal.
3. Access Your Router's Configuration Page
Type your router’s IP (commonly 192.168.0.1 or 192.168.1.1) into a web browser. Log in using the admin credentials, often found on the router label or in your ISP documentation.
4. Locate Port Forwarding Settings
Every router’s interface is different. Look for terms like:
Virtual Server
Port Forwarding
NAT Settings
Common router brands and menus:
Netgear: Advanced > Port Forwarding
TP-Link: Forwarding > Virtual Servers
ASUS: WAN > Port Forwarding
Linksys: Security > Apps and Gaming
5. Create a New Rule
Add a port forwarding entry with the following:
Name: Minecraft
External Port:
25565Internal Port:
25565Protocol: TCP (or TCP/UDP if required)
Internal IP: Your local IP from Step 2
Enable Rule: Yes/On
Save your changes.
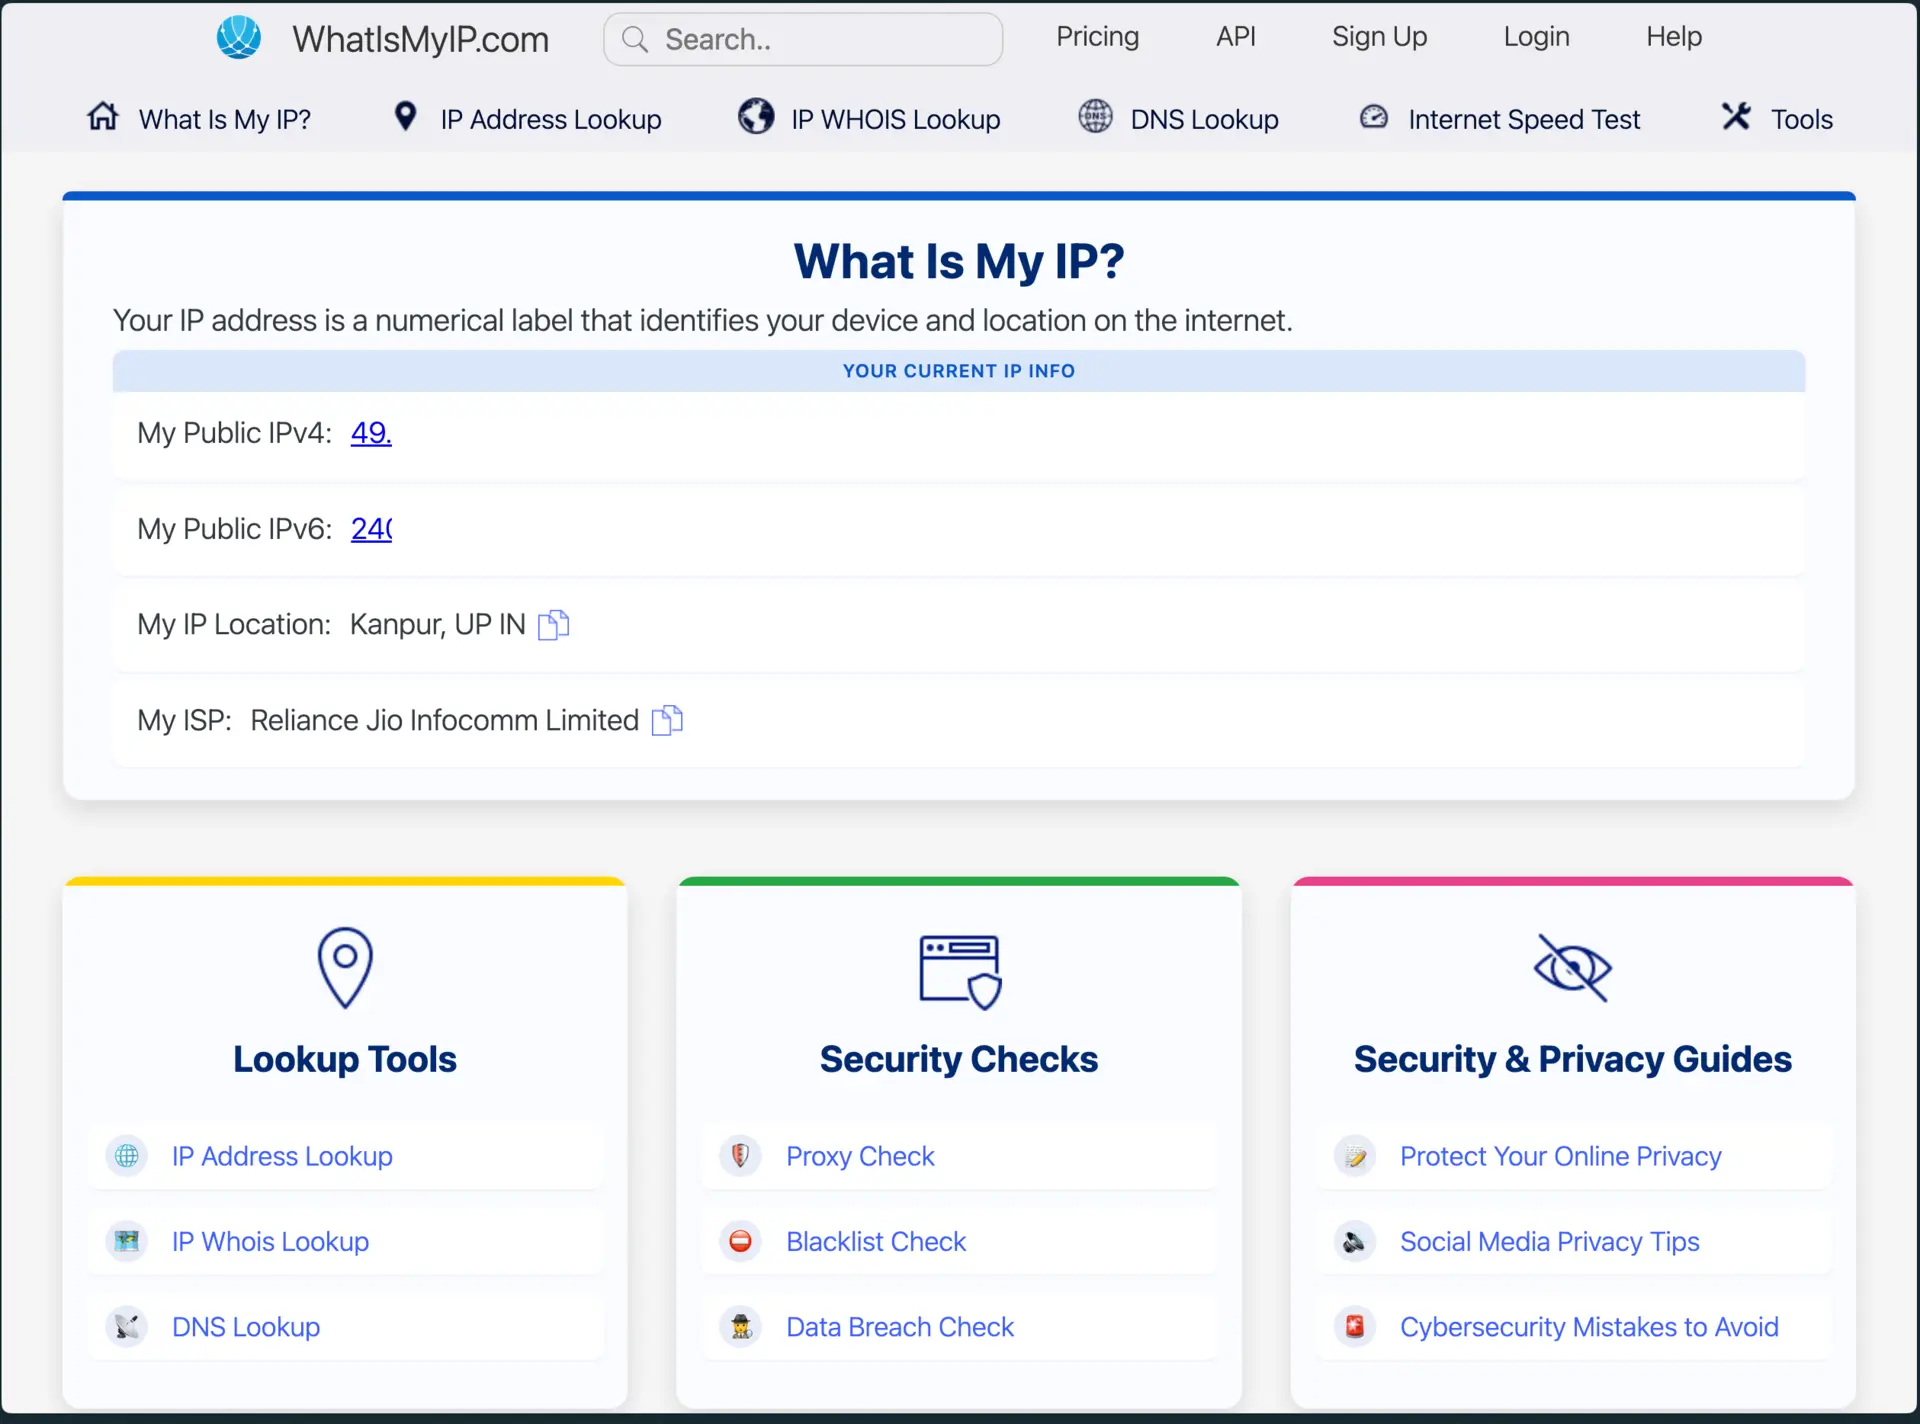
6. Share Your Public IP Address
You can find your public IP address by visiting whatismyip.com or searching “my IP” on Google. Players will use this address to connect to your server, like so:
<YourPublicIP>:25565
Common Issues with ISPs
Some internet providers may restrict or block port forwarding by using Carrier-Grade NAT (CGNAT), especially on mobile or wireless internet plans. Here's how it applies to some major providers:
T-Mobile Home Internet: Typically uses CGNAT, making traditional port forwarding impossible.
Xfinity: Offers port forwarding settings through their gateway interface at
10.0.0.1.AT&T, Verizon: May require enabling additional options like a DMZ or static IP services.
Troubleshooting Port Forwarding Problems
If people can’t connect to your server, try the following:
Confirm the server is online and accepting connections on port 25565
Recheck the internal IP and ensure it matches your current device
Ensure the port forwarding rule is correctly saved and active
Temporarily disable firewalls to test the connection
Make sure you're sharing the correct public IP, not your local one
What If You Can’t Use Port Forwarding?
In some cases—such as when using CGNAT or lacking router access, port forwarding isn’t possible. Fortunately, tunneling tools can help bridge the gap.
Tunneling with Pinggy
Pinggy is a command-line tool that sets up a reverse tunnel from your device to the public internet, allowing others to connect without needing to forward any ports.
Here’s a basic example:
ssh -p 443 -R0:localhost:25565 tcp@a.pinggy.io
This command forwards your Minecraft server running on port 25565 to a public address provided by Pinggy. You’ll receive a subdomain and port that players can use to connect to your server from anywhere.
This method is especially useful when using mobile hotspots or restrictive ISPs.
Securing Your Server When Exposed Online
Whether using port forwarding or a tunnel, exposing your server to the internet carries risks. Take these precautions:
Use a whitelist or allowlist to restrict who can join
Keep your Minecraft server software up to date
Enable online-mode authentication to prevent unauthorized logins
Monitor traffic and server logs for unusual activity
Backup your server files regularly
Conclusion
Hosting a Minecraft server in 2025 is still a flexible and rewarding way to play, but it requires some technical setup. Port forwarding remains a reliable method, but it’s not always feasible depending on your ISP or network setup.
Tunneling solutions like Pinggy offer a modern workaround that bypasses many of these limitations, making it easier for players to host servers, even in more restrictive environments.
Regardless of which method you choose, taking the time to understand how networking works and keeping your server secure will ensure a smoother and safer experience for everyone involved.
References
Subscribe to my newsletter
Read articles from Lightning Developer directly inside your inbox. Subscribe to the newsletter, and don't miss out.
Written by