Practice_on_iot
 LIKHITHA N
1. Analog Sensors
LM35 — Temperature sensor
LDR (Light Dependent Resistor) — Light intensity sensor
MQ Series — Gas sensors (MQ-2, MQ-135)
MPX5010 — Pressure sensor
2. Amplifiers
Op-Amps (Operational Amplifiers) — Boost weak signals from sensors before processing.
3. Filters
Low-pass or High-pass Filters — Remove noise from analog signals.
4. Analog-to-Digital Converter (ADC)
Converts analog sensor outputs into digital signals for processing by microcontrollers.
Example: Built-in ADC in Arduino UNO, ESP32
Digital Components in IoT
These components work with binary data (0s and 1s).
1. Digital Sensors
DHT11/DHT22 — Temperature and humidity sensors
PIR Motion Sensor — Detects movement
Ultrasonic Sensor (HC-SR04) — Measures distance
IR Sensor — Obstacle detection
2. Microcontrollers / Microprocessors
Arduino UNO / Nano / Mega
ESP8266 / ESP32
Raspberry Pi
STM32
3. Communication Modules
Wi-Fi — ESP8266, ESP32
Bluetooth — HC-05, HC-06
Zigbee — XBee modules
LoRa — Long-range communication
RFID — For identity detection
NFC — Short-range communication
4. Actuators
Motors — Servo, DC, stepper motors
Relays — Switch high-power devices using digital signals
Buzzers — Sound alerts
LEDs / Displays — Visual output (LCD, OLED)
5. Digital-to-Analog Converter (DAC)
Converts processed digital signals into analog output (e.g., audio or analog control signals).
INSTALLATION OF ARDUINO IDE:
I HAVE SUCCESSFULLY DOWNLOADED THE ARDUINO UNO
DAY — 5 : SIMULATOR : TINKER CAD

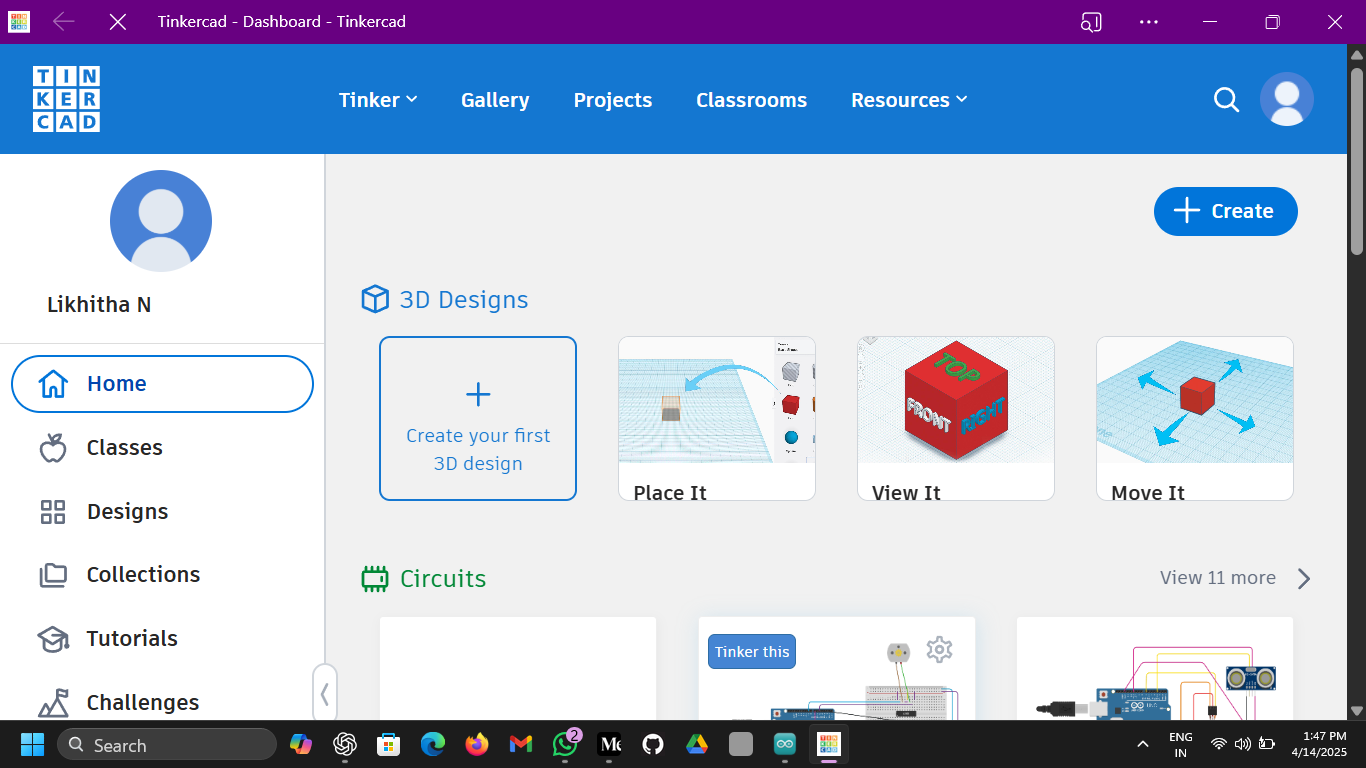
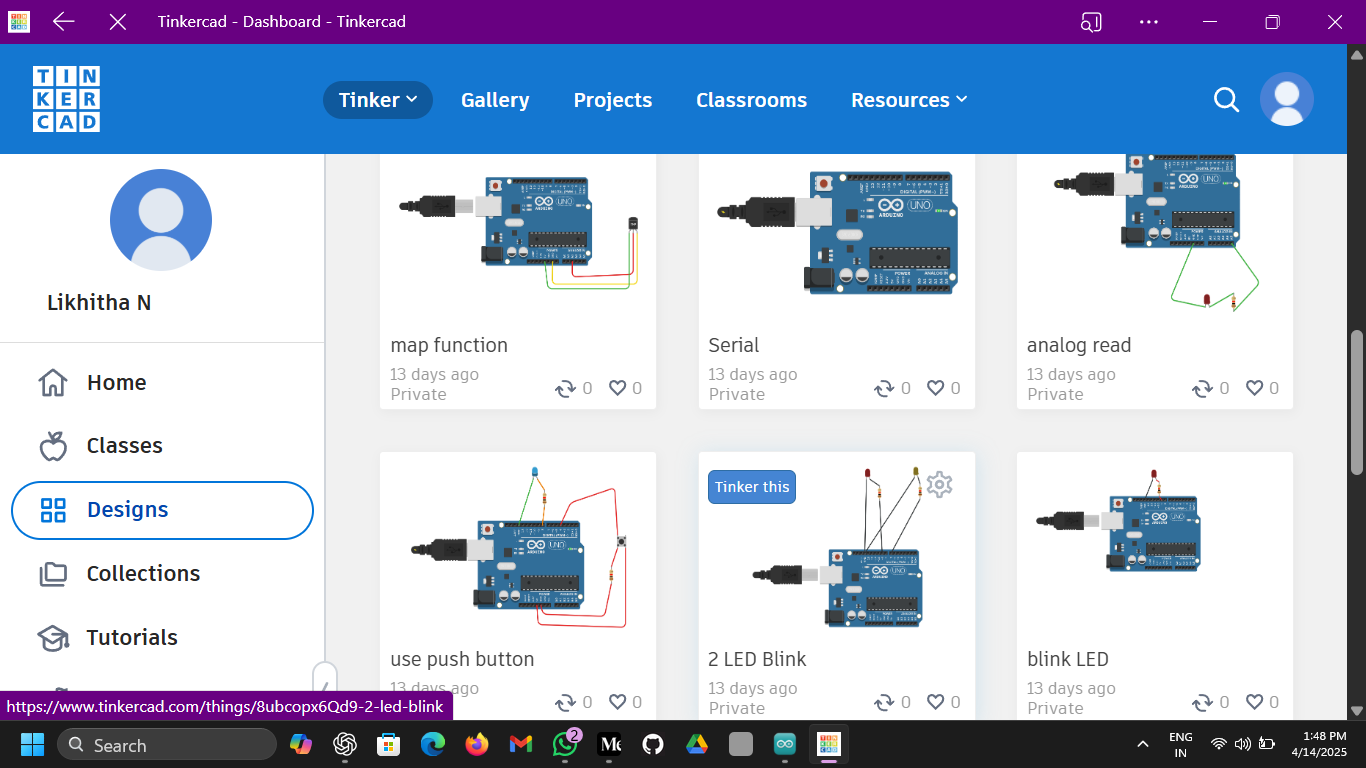
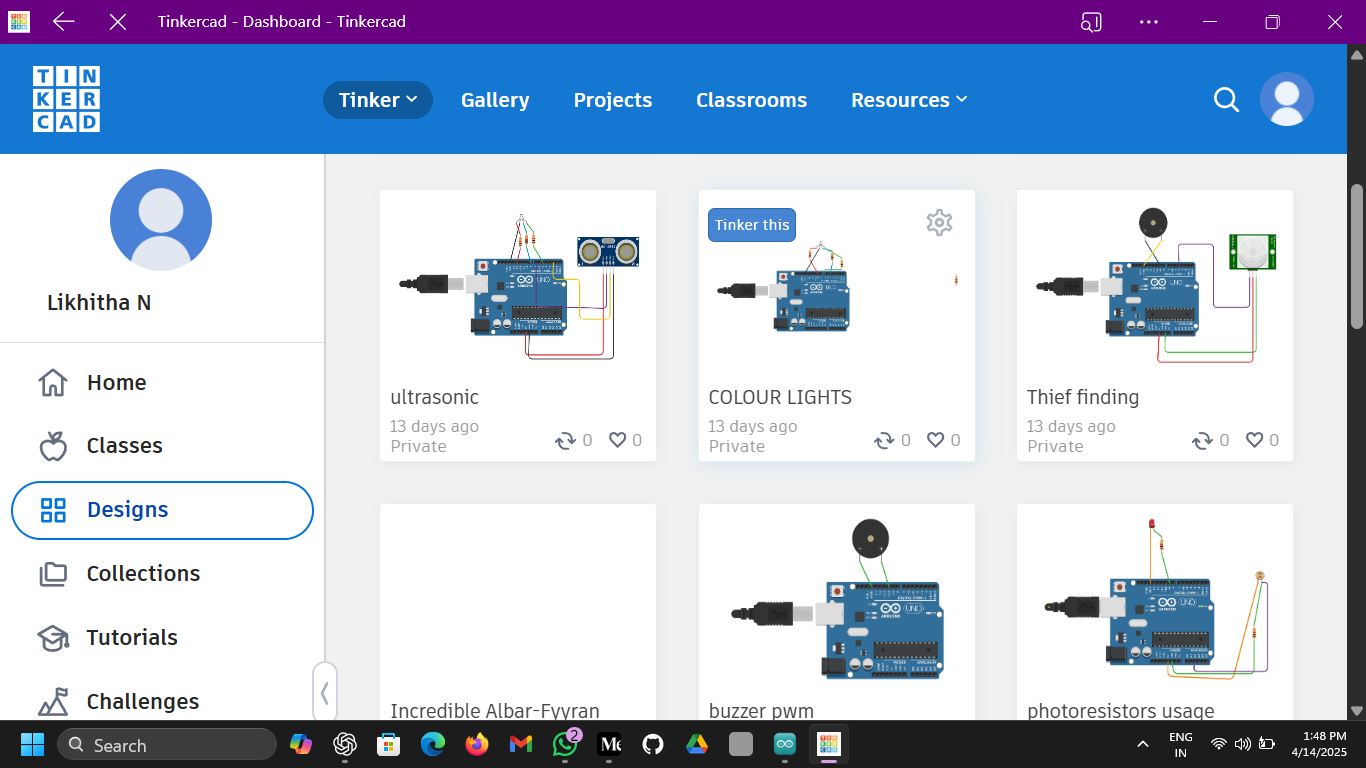
TINKER CAD SIMULATIONS BY MYSELF
THE CODES FOR ALL THIS
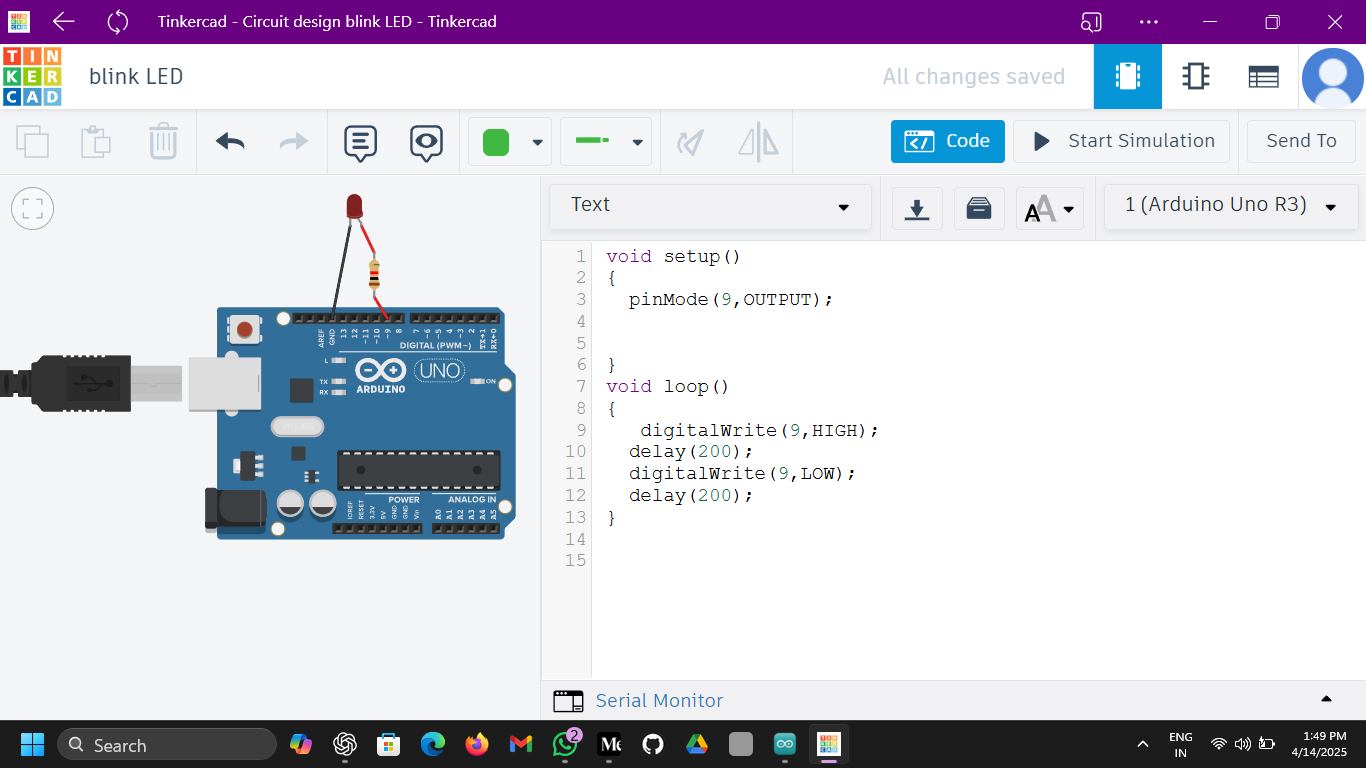
//FIRST CODE FOR BLINKING LED DIGITAL WRITE
void setup()
{
  pinMode(9,OUTPUT);


}
void loop()
{
  digitalWrite(9,HIGH);
  delay(200);
  digitalWrite(9,LOW);
  delay(200);
}
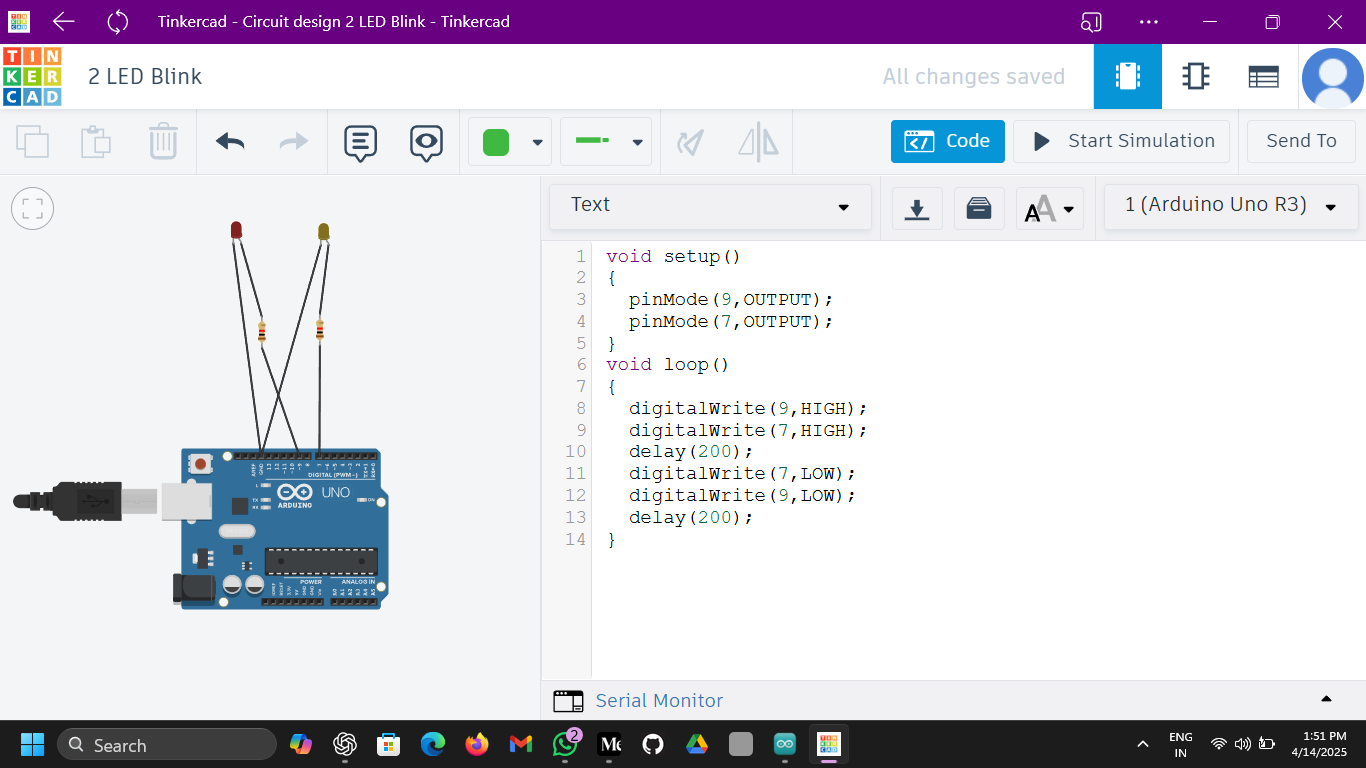
//BLINKING OF 2 LED DIGITAL WRITE
void setup()
{
  pinMode(9,OUTPUT);
  pinMode(7,OUTPUT);
}
void loop()
{
  digitalWrite(9,HIGH);
  digitalWrite(7,HIGH);
  delay(200);
  digitalWrite(7,LOW);
  digitalWrite(9,LOW);
  delay(200);
}
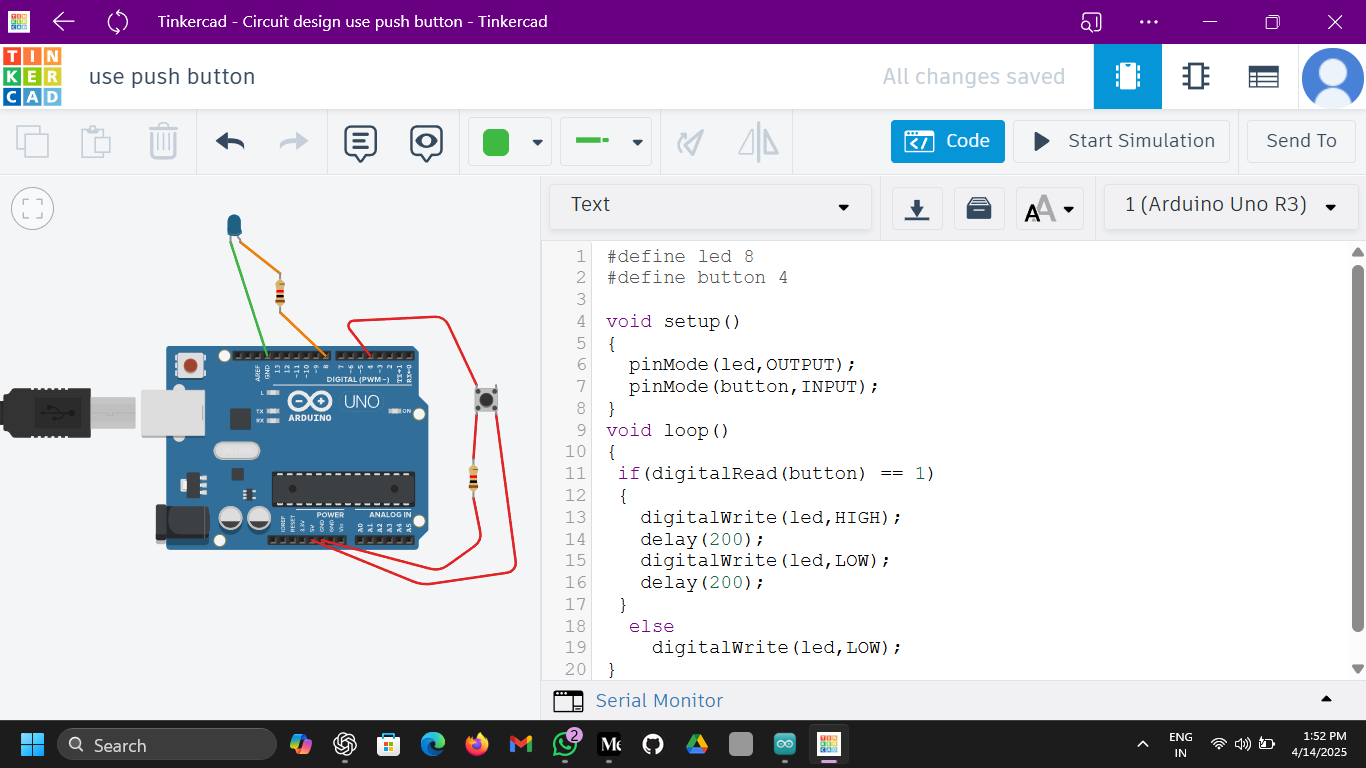
//USE OF PUSH BUTTON AND DIGITAL READ,WRITE
#define led 8
#define button 4

void setup()
{
  pinMode(led,OUTPUT);
  pinMode(button,INPUT);
}
void loop()
{
  if(digitalRead(button) == 1)
  {
    digitalWrite(led,HIGH);
    delay(200);
    digitalWrite(led,LOW);
    delay(200);
  }
  else
    digitalWrite(led,LOW);
}
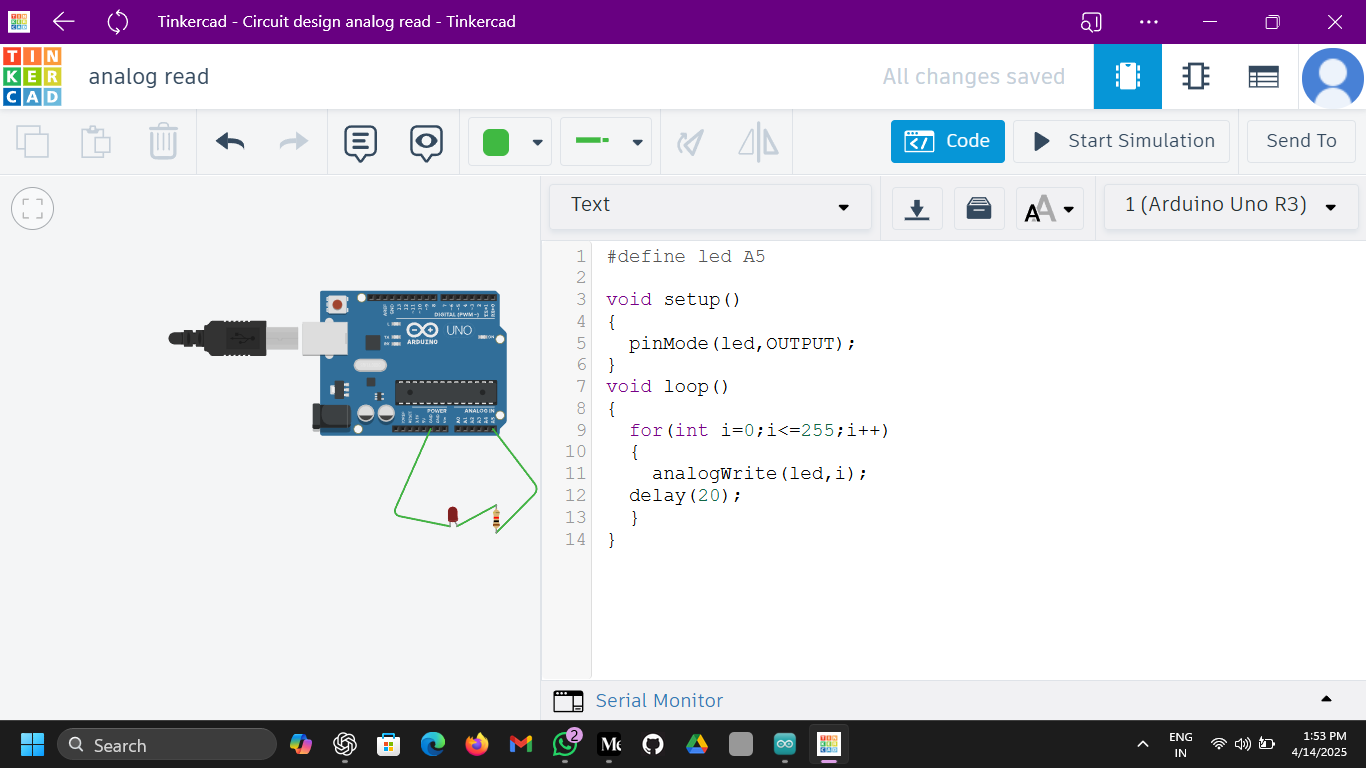
//FOR INCREASING THE BRIGHTNESS,USING ANALOG WRITE
#define led A5

void setup()
{
  pinMode(led,OUTPUT);
}
void loop()
{
  for(int i=0;i<=255;i++)
  {
    analogWrite(led,i);
  delay(20);
  }
}
DAY — 6:
STIMULATIONS
// SEEING THE SERIAL MONITOR USE
void setup()
{
  Serial.begin(9600);
  Serial.print("Hii there");
}
void loop()
{
  Serial.println("Welcome");
  delay(1000);
  Serial.println("all bes");
  delay(1000);
}
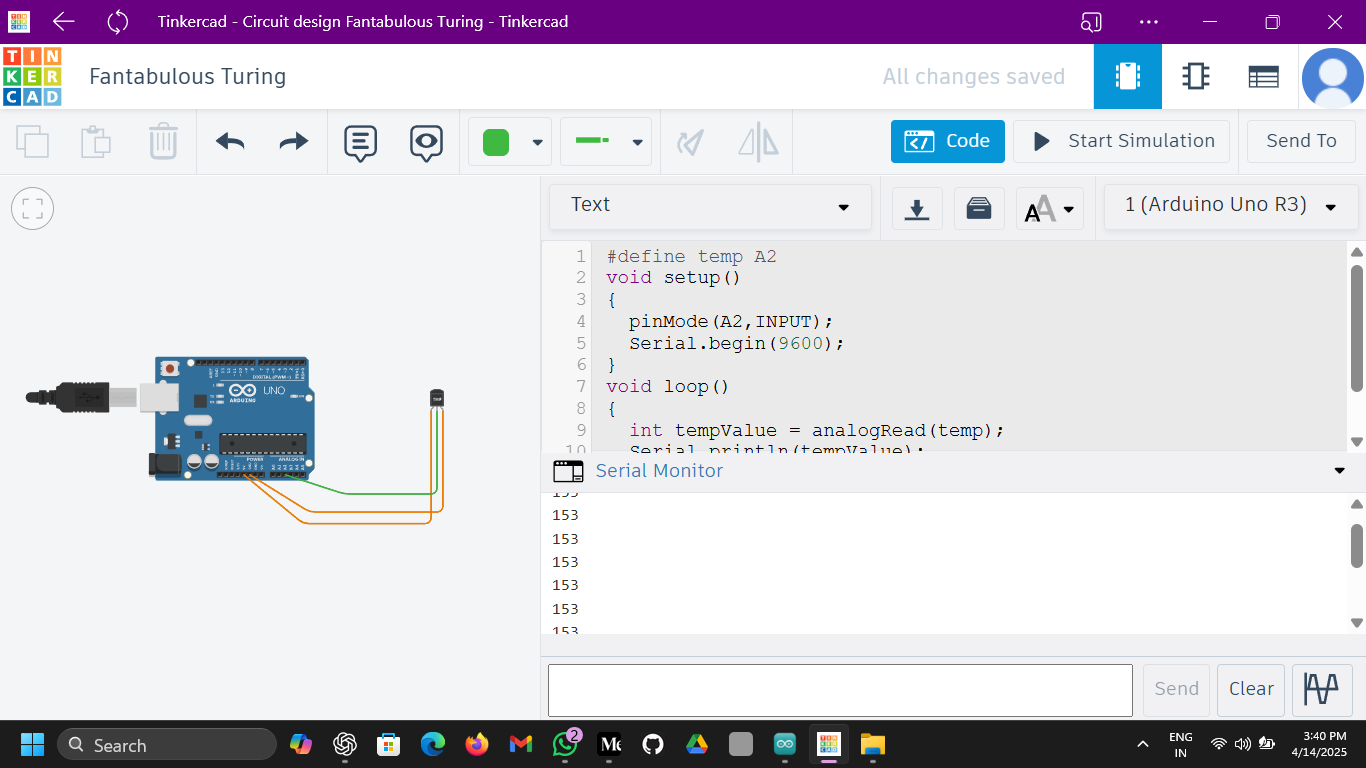
//TEMP VALUE USING ANALOG READ
#define temp A2
void setup()
{
  pinMode(A2,INPUT);
  Serial.begin(9600);
}
void loop()
{
  int tempValue = analogRead(temp);
  Serial.println(tempValue);
  delay(1000);
}
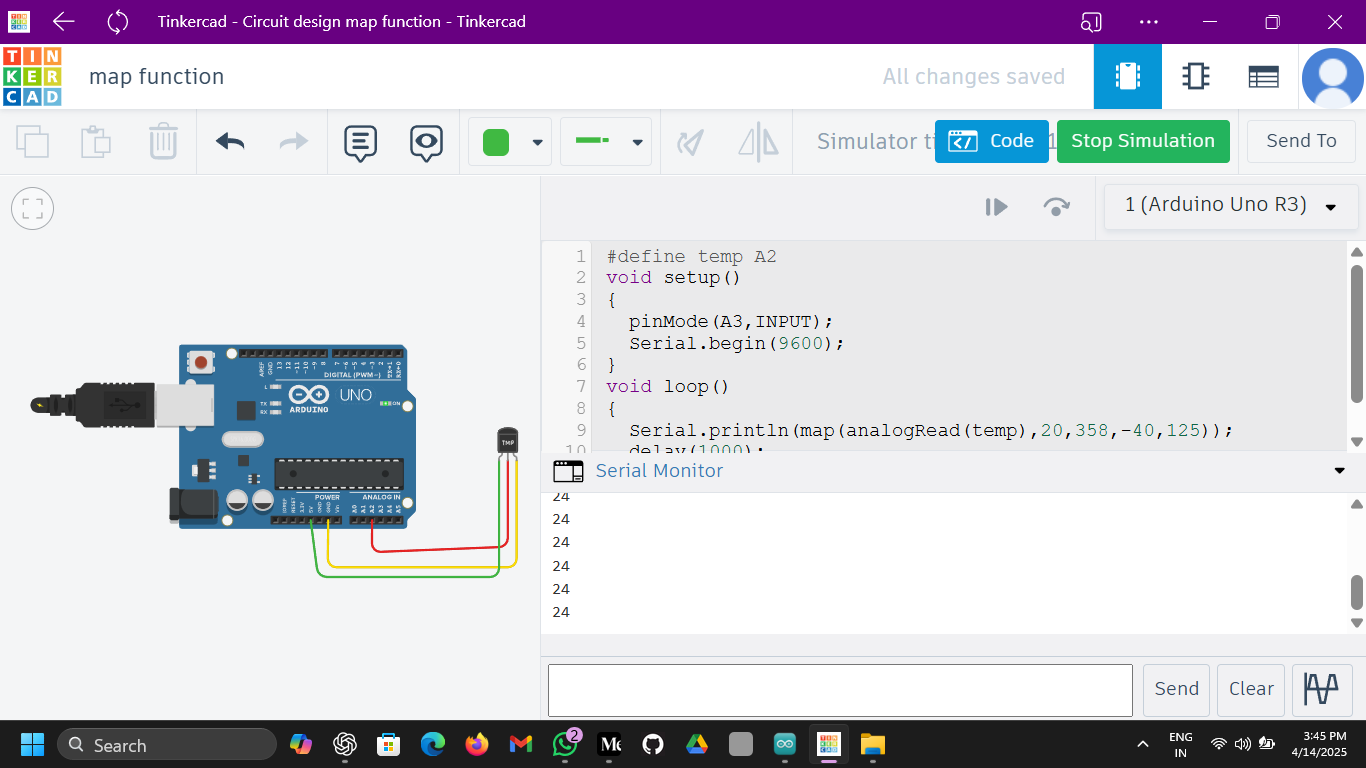
//map() function usage
#define temp A2
void setup()
{
pinMode(A3,INPUT);
Serial.begin(9600);
}
void loop()
{
Serial.println(map(analogRead(temp),20,358,-40,125));
delay(1000);
}
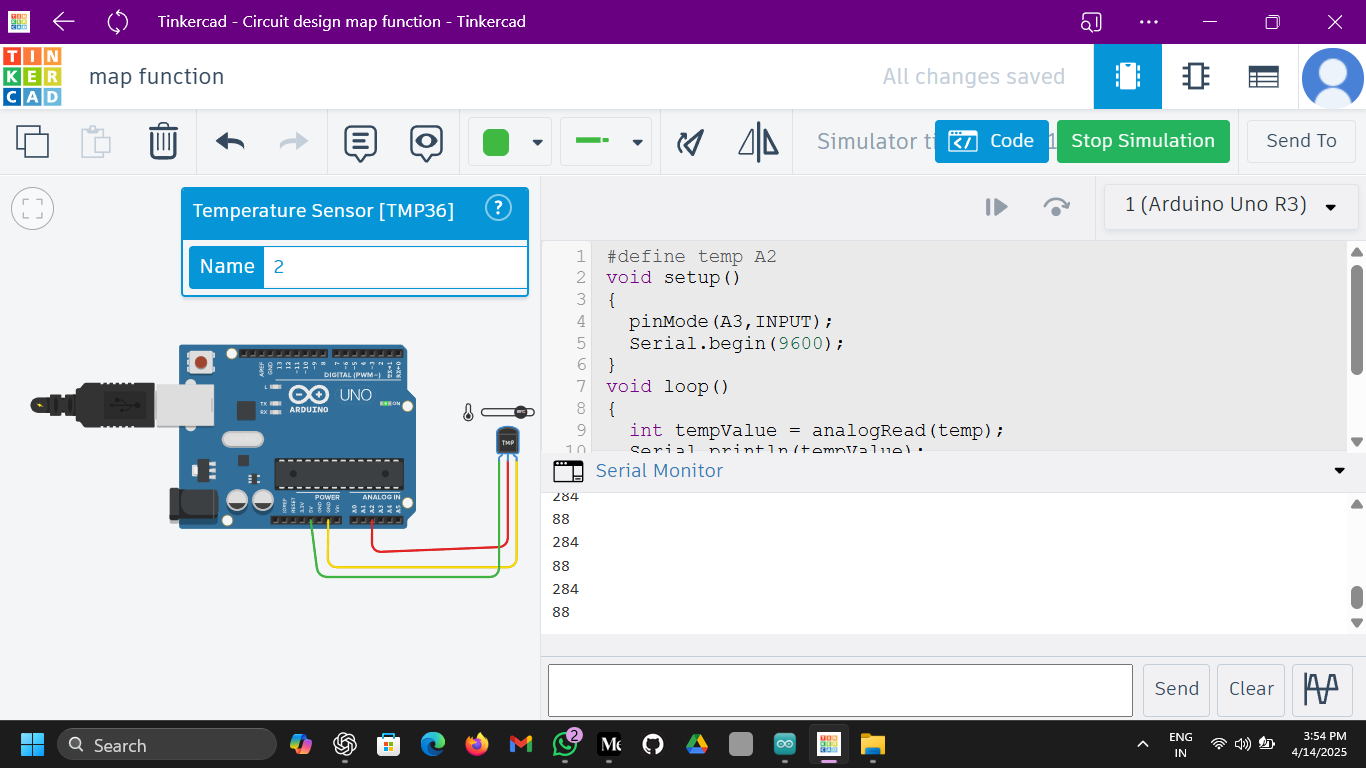
//OR
#define temp A2
void setup()
{
pinMode(A3,INPUT);
Serial.begin(9600);
}
void loop()
{
int tempValue = analogRead(temp);
Serial.println(tempValue);
int tempValue1 = map(tempValue,20,358,-40,125);
Serial.println(tempValue1);
delay(1000);
}
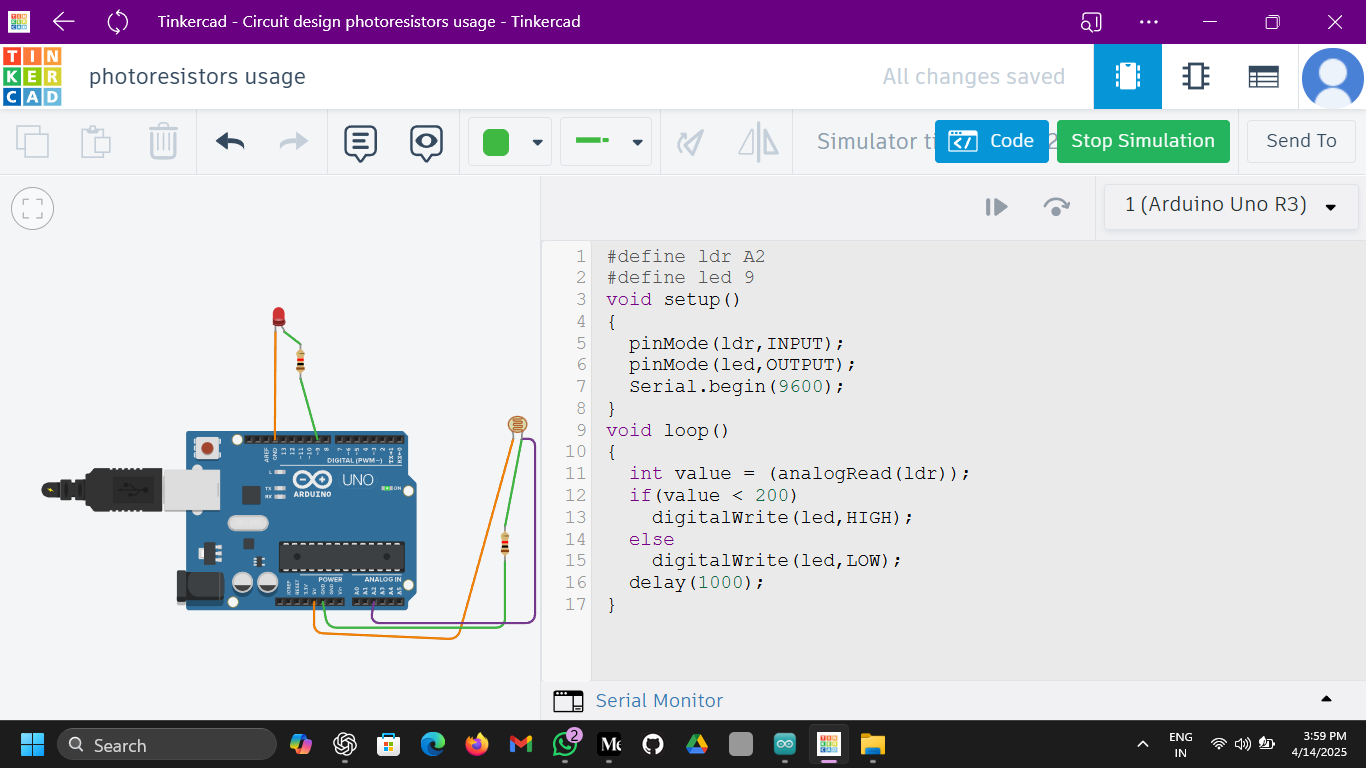
//PHOTORESISTOR USING
#define ldr A2
#define led 9
void setup()
{
  pinMode(ldr,INPUT);
  pinMode(led,OUTPUT);
  Serial.begin(9600);
}
void loop()
{
  int value = (analogRead(ldr));
  if(value < 200)
    digitalWrite(led,HIGH);
  else
    digitalWrite(led,LOW);
  delay(1000);
}
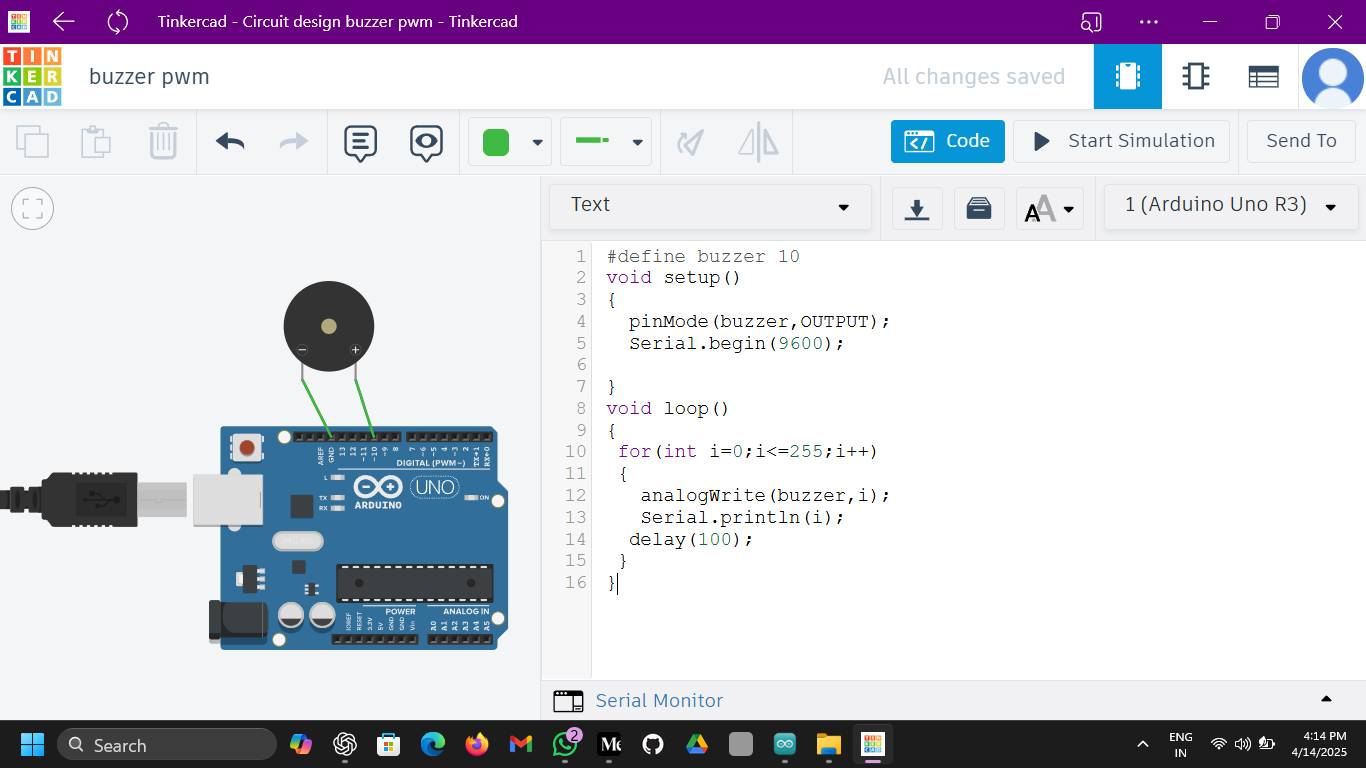
//BUZZEER USAGE
#define buzzer 10
void setup()
{
  pinMode(buzzer,OUTPUT);
  Serial.begin(9600);

}
void loop()
{
 for(int i=0;i<=255;i++)
 {
   analogWrite(buzzer,i);
   Serial.println(i);
  delay(100);
 }
}
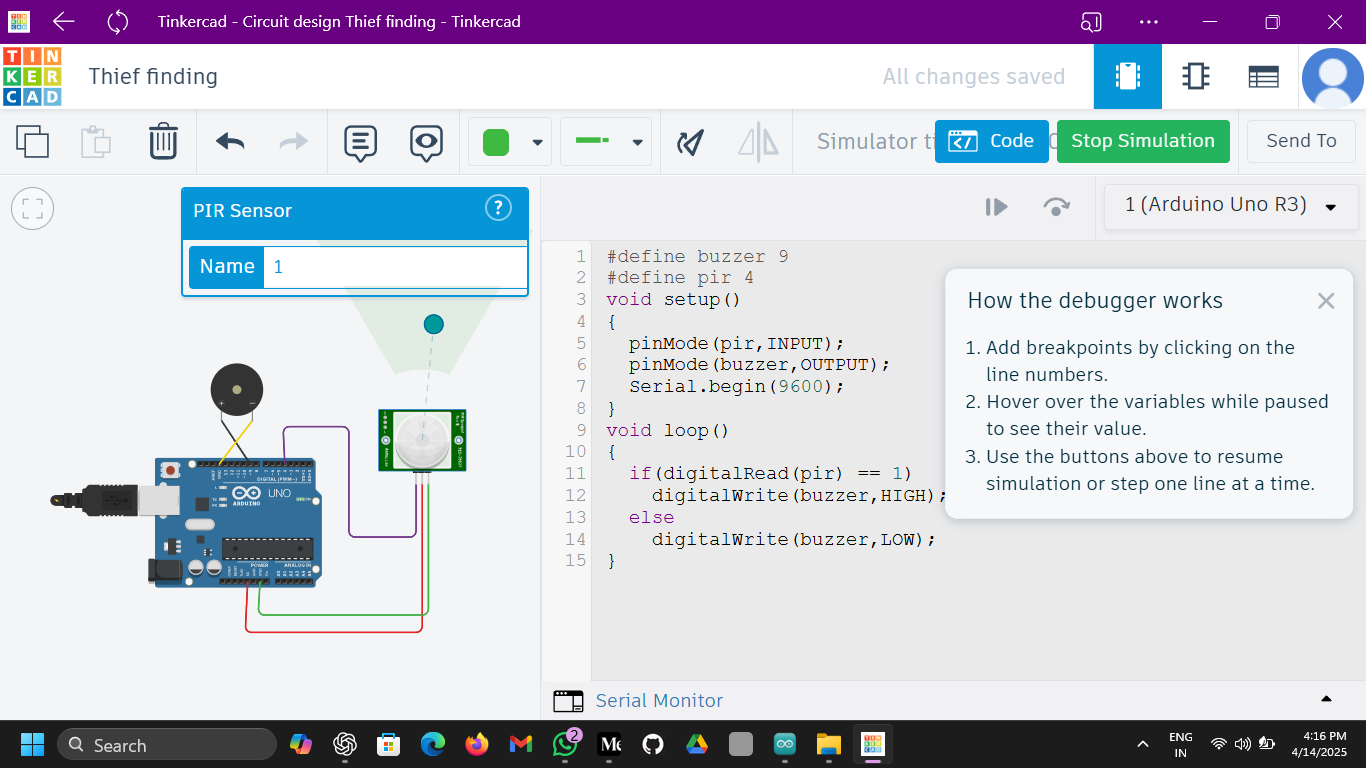
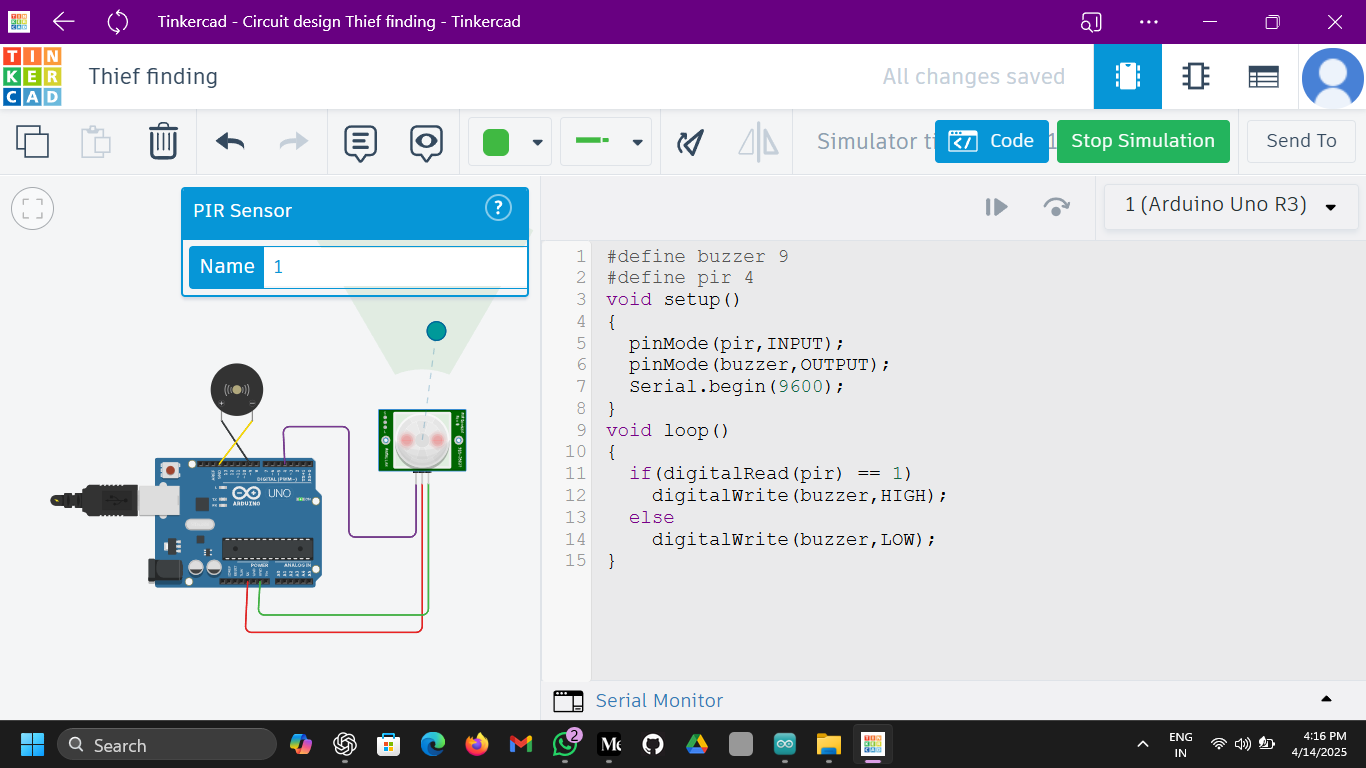
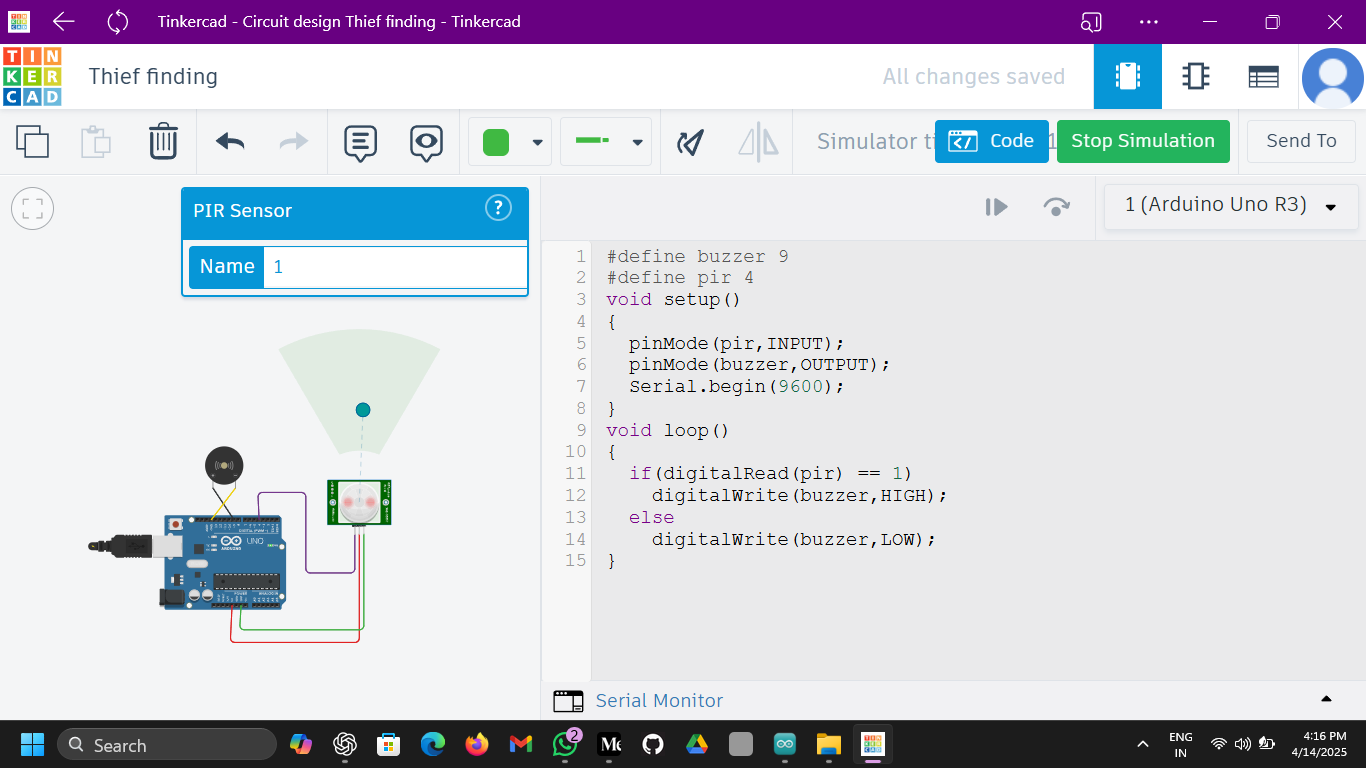
//PIR SENSOR(MOTION SENSOR) WITH BUZZER
#define buzzer 9
#define pir 4
void setup()
{
  pinMode(pir,INPUT);
  pinMode(buzzer,OUTPUT);
  Serial.begin(9600);
}
void loop()
{
  if(digitalRead(pir) == 1)
    digitalWrite(buzzer,HIGH);
  else
    digitalWrite(buzzer,LOW);
}
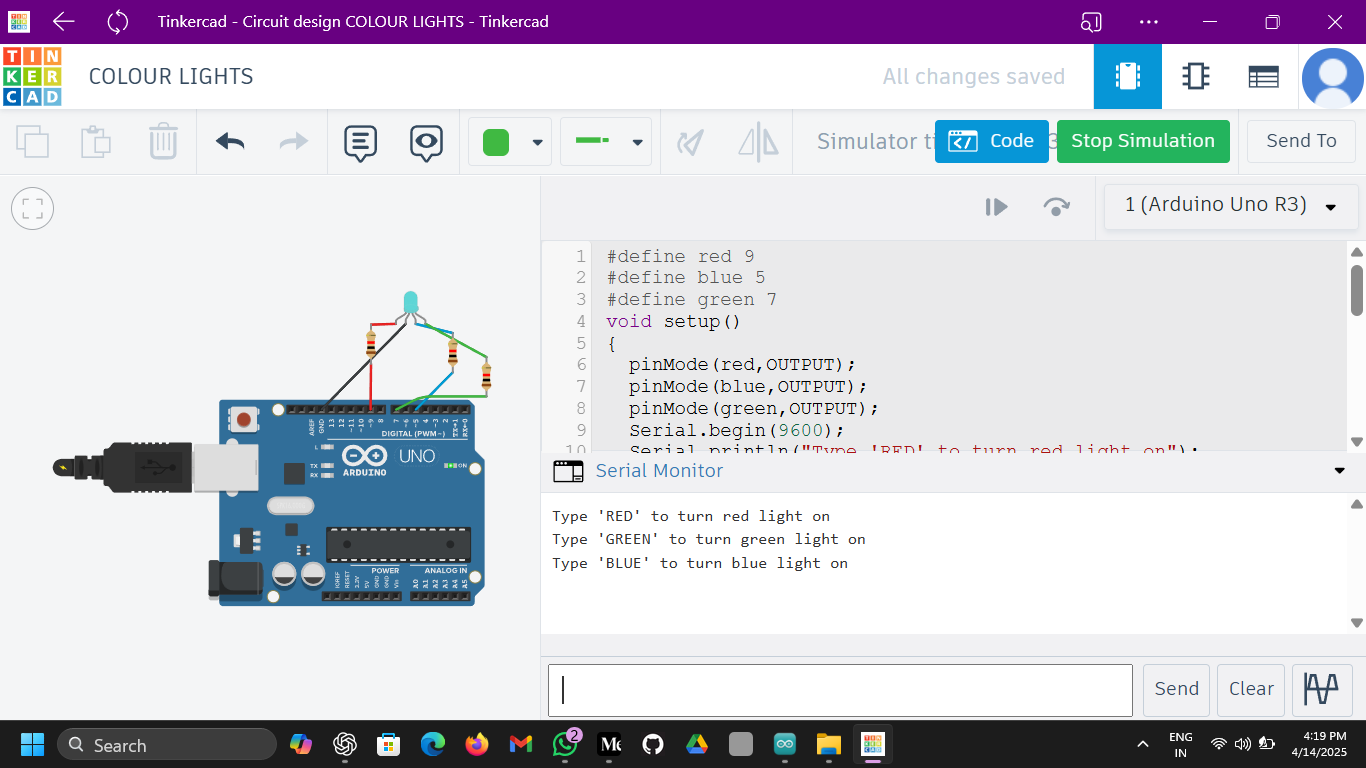
//MAKING THAT COLOUR THING SHOULD ON (RED,GREEN,BLUE)
#define red 9
#define blue 5
#define green 7
void setup()
{
  pinMode(red,OUTPUT);
  pinMode(blue,OUTPUT);
  pinMode(green,OUTPUT);
  Serial.begin(9600);
  Serial.println("Type 'RED' to turn red light on");
  Serial.println("Type 'GREEN' to turn green light on");
  Serial.println("Type 'BLUE' to turn blue light on");
}
void loop()
{
  while(!Serial.available());
  String data = Serial.readString();
  if(data == "RED")
  digitalWrite(red,HIGH);
  else if(data == "GREEN")
  digitalWrite(green,HIGH);
  else if(data == "BLUE")
  digitalWrite(blue,HIGH);
  else
  {
  digitalWrite(red,LOW);
  digitalWrite(blue,LOW);
  digitalWrite(green,LOW);
  }
}
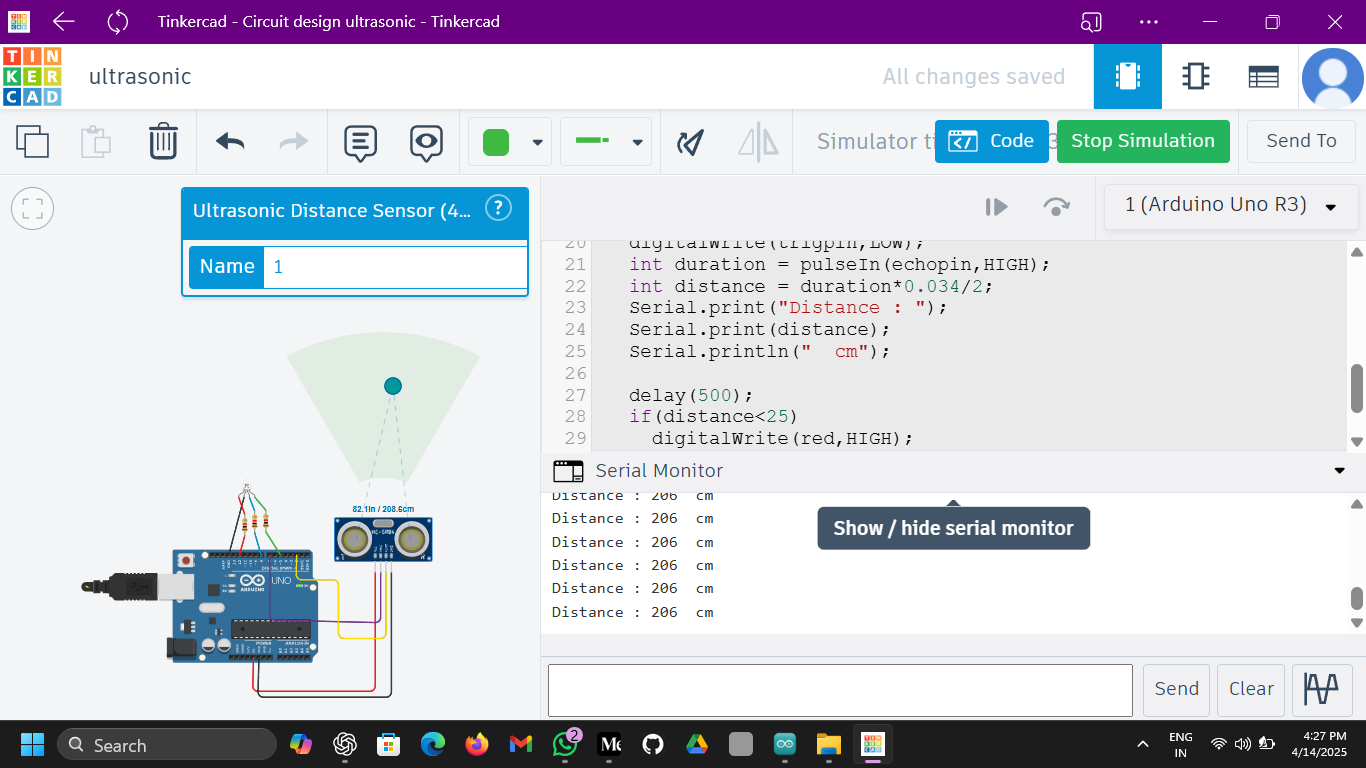
//ULTRASONIC USAGE
#define trigpin 7
#define echopin 2
#define red 12
#define green 5
#define blue 8
void setup()
{
  pinMode(trigpin,OUTPUT);
  pinMode(echopin,INPUT);
   pinMode(red,OUTPUT);
   pinMode(green,OUTPUT);
   pinMode(blue,OUTPUT);
  Serial.begin(9600);

}
void loop()
{
  digitalWrite(trigpin,HIGH);
  delayMicroseconds(10);
  digitalWrite(trigpin,LOW);
  int duration = pulseIn(echopin,HIGH);
  int distance = duration*0.034/2;
  Serial.print("Distance : ");
  Serial.print(distance);
  Serial.println("  cm");

  delay(500);
  if(distance<25)
    digitalWrite(red,HIGH);
  else
    digitalWrite(red,LOW);
}
DAY 7
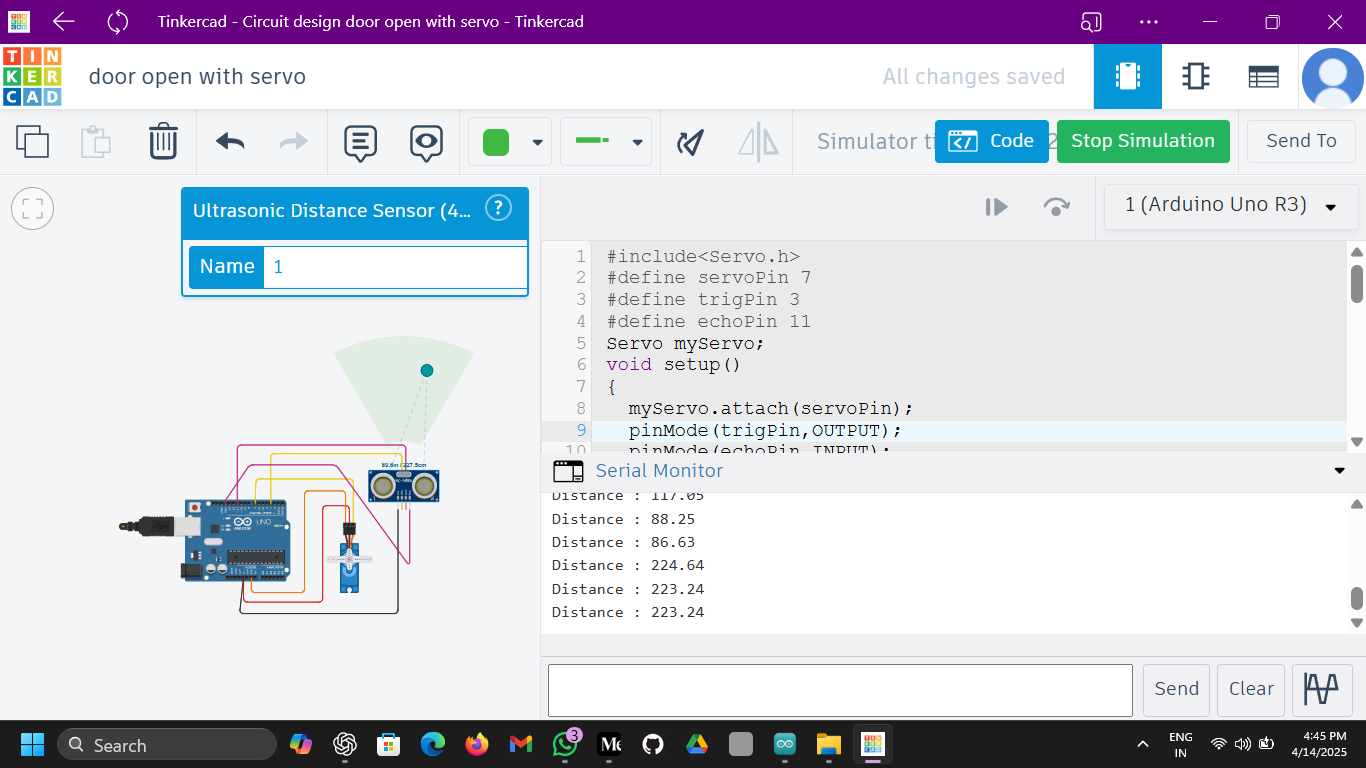

//DOOR OPENING CLOSING WITH SERVO MOTOR
#include<Servo.h>
#define servoPin 7
#define trigPin 3
#define echoPin 11
Servo myServo;
void setup()
{
  myServo.attach(servoPin);
  pinMode(trigPin,OUTPUT);
  pinMode(echoPin,INPUT);
  Serial.begin(9600);
}


void loop()
{
  digitalWrite(trigPin,HIGH);
  delayMicroseconds(10);
  digitalWrite(trigPin,LOW);
  int duration = pulseIn(echoPin,HIGH);
  float distance = 0.034 * duration/2;
  Serial.print("Distance : ");
  Serial.println(distance);

  if(distance<=30)
  {
    Serial.println("Door is opening");
    for(int i=0;i<=90;i++)
    {
      myServo.write(1);
      delay(100);
    }
    myServo.write(0);
    Serial.println("Door is closing");
  }

delay(1000);
}
//DC MOTORDRIVER (L293D) AND BREADBOARD
#define in3 5
#define in4 9
#define in1 7
#define in2 3
void setup()
{
  pinMode(in3,OUTPUT);
  pinMode(in4,OUTPUT);
  pinMode(in2,OUTPUT);
  pinMode(in1,OUTPUT);
}
void loop()
{
  digitalWrite(in3,HIGH);
  digitalWrite(in4,LOW);
  digitalWrite(in1,HIGH);
  digitalWrite(in2,LOW);
  delay(2000);
  digitalWrite(in3,LOW);
  digitalWrite(in1,LOW);
  digitalWrite(in2,HIGH);
  digitalWrite(in4,HIGH);
  delay(2000);
}
DAY — 8 :
NodeMCU INSTALLATION
→ ESP8266 ,ESP32 IN ARDUINO IDE
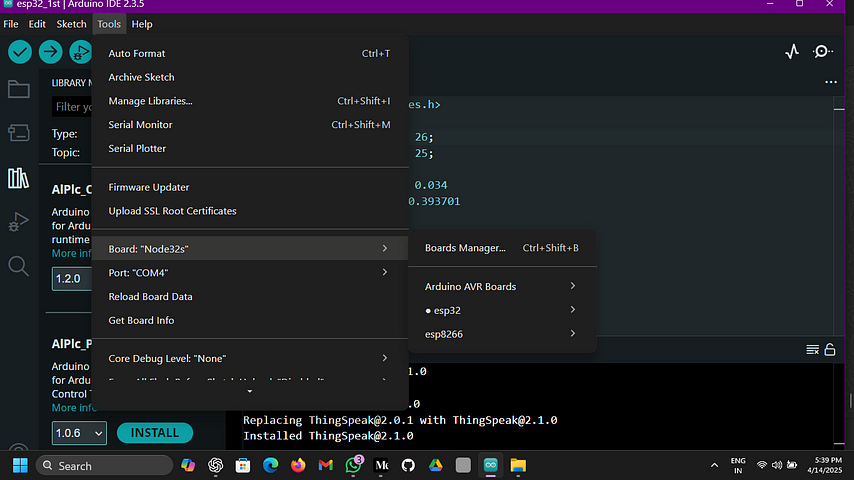
ESP32 AND ESP8266
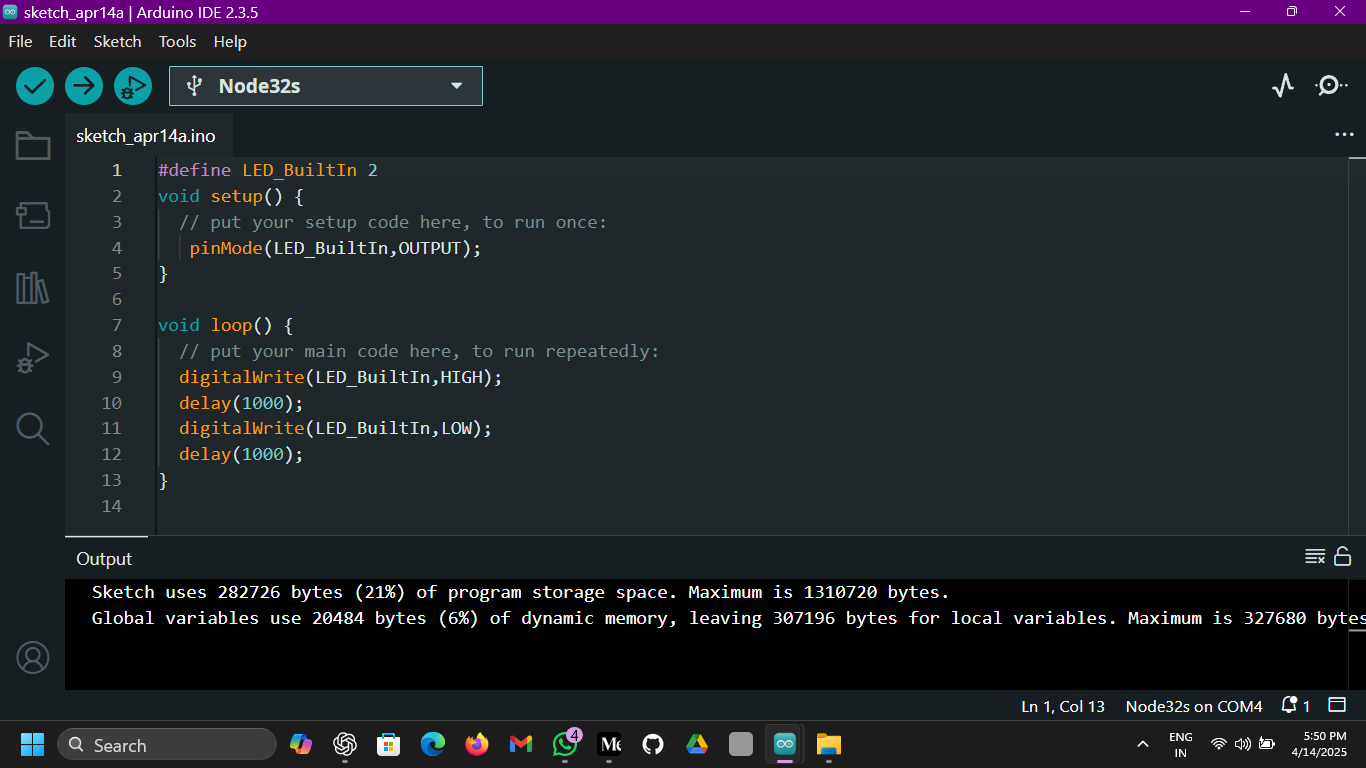
//LED BLINKING IN ESP32
#define LED_BuiltIn 2
void setup() {
  // put your setup code here, to run once:
   pinMode(LED_BuiltIn,OUTPUT);
}

void loop() {
  // put your main code here, to run repeatedly:
  digitalWrite(LED_BuiltIn,HIGH);
  delay(1000);
  digitalWrite(LED_BuiltIn,LOW);
  delay(1000);
}
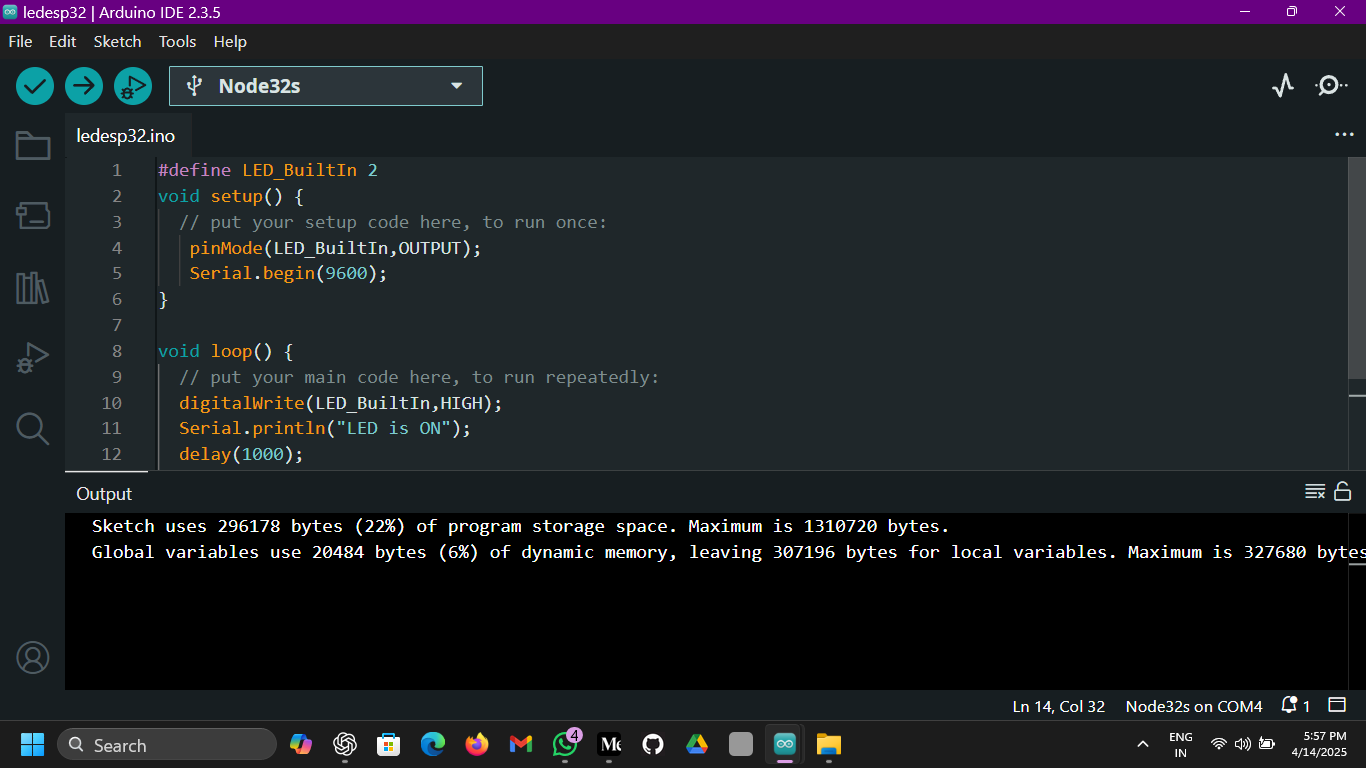
//led blinking and with use of serial monitor
#define LED_BuiltIn 2
void setup() {
  // put your setup code here, to run once:
   pinMode(LED_BuiltIn,OUTPUT);
   Serial.begin(9600);
}

void loop() {
  // put your main code here, to run repeatedly:
  digitalWrite(LED_BuiltIn,HIGH);
  Serial.println("LED is ON");
  delay(1000);
  digitalWrite(LED_BuiltIn,LOW);
  Serial.println("LED is off");
  delay(1000);
}
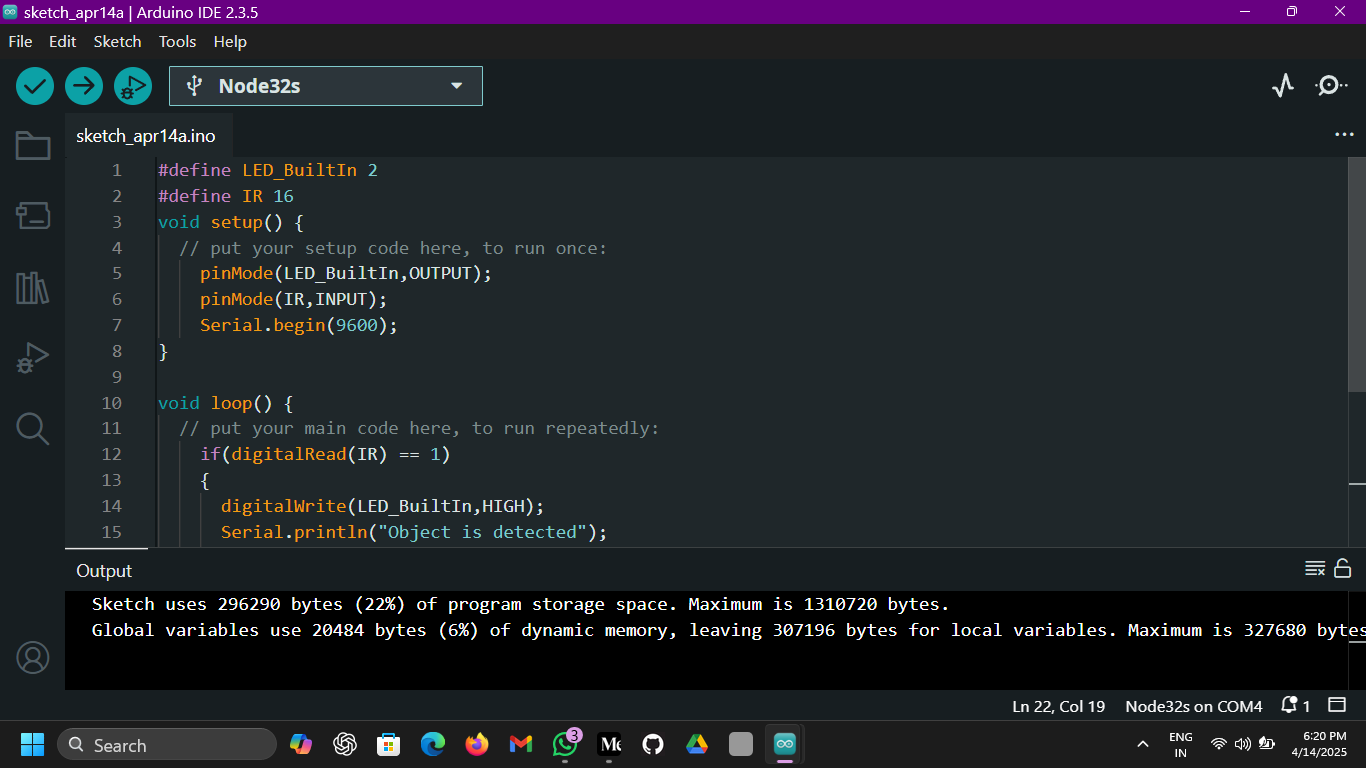
// LED with the IR sensor
#define LED_BuiltIn 2
#define IR 16
void setup() {
  // put your setup code here, to run once:
    pinMode(LED_BuiltIn,OUTPUT);
    pinMode(IR,INPUT);
    Serial.begin(9600);
}

void loop() {
  // put your main code here, to run repeatedly:
    if(digitalRead(IR) == 1)
    {
      digitalWrite(LED_BuiltIn,HIGH);
      Serial.println("Object is detected");
      delay(1000);
    }
    else
    {
      digitalWrite(LED_BuiltIn,LOW);
      Serial.println("No object is detected");
      delay(1000);
    }
}
STIMULATIONS
DAY — 9 :
// USING ULTRASONIC SENSOR
#include <Preferences.h>

const int trigPin = 26;
const int echoPin = 25;

#define sound_speed 0.034
#define CM_to_INCH 0.393701

long duration;
float distanceCM,distanceINCH;

void setup(){
  //put your setup code here,to run once;
  Serial.begin(9600);
  pinMode(trigPin,OUTPUT);
  pinMode(echoPin,INPUT);

}
void loop(){
  digitalWrite(trigPin,LOW);
  delayMicroseconds(2);
  digitalWrite(trigPin,HIGH);
  delayMicroseconds(10);
  digitalWrite(trigPin,LOW);
  duration = pulseIn(echoPin,HIGH);
  distanceCM = duration * sound_speed/2;
  distanceINCH= distanceCM * CM_to_INCH;
  Serial.print("DIstance in CM : ");
  Serial.println(distanceCM);
  Serial.print("Distance in INCH: ");
  Serial.println(distanceINCH);

  delay(2000);

}
//SOIL MOISTURE CONTENT CHECKING
#define soilD 34
#define soilA 35
void setup()  {
  pinMode(soilD,INPUT);
  pinMode(soilA,INPUT);
  Serial.begin(9600);
  Serial.println("Checking the Soil Moisture Content");
}
void loop() {
  Serial.print("Soil Moisture in Digital format : ");
  Serial.println(digitalRead(soilD));
  Serial.print("Soil Moisture in Analog format : ");
  Serial.println(analogRead(soilA));
  delay(2000);
}
// DHT : DIGITAL HUMIDITY AND TEMPERATURE SENSOR
#include<DHT.h>

DHT dht(17,DHT11);
void setup() {
  // put your setup code here, to run once:
  Serial.begin(9600);
  dht.begin();
}

void loop() {
  // put your main code here, to run repeatedly:
   float hum = dht.readHumidity();
   float temp = dht.readTemperature();

   Serial.print("Humidity : ");
   Serial.println(hum);
   Serial.print("Temperature : ");
   Serial.println(temp);
   delay(2000);

}
//servo motor usage with esp32
#include<ESP32Servo.h>
#define servoPin 19
Servo myServo;
void setup() {
  // put your setup code here, to run once:
  myServo.attach(servoPin);
}

void loop() {
  // put your main code here, to run repeatedly:
   myServo.write(0);
   delay(1000);
   myServo.write(0);
   myServo.write(45);
   delay(1000);
   myServo.write(90);
   delay(1000);
}
// BLUETOOTH MODULE
#include<BluetoothSerial.h>
BluetoothSerial SerialBT;

void setup() {
  // put your setup code here, to run once:
   Serial.begin(115200);
   SerialBT.begin("ESP32_likhi");
   Serial.println("Bluetooth is ready. Send some mesg");
}

void loop() {
  // put your main code here, to run repeatedly:
    if(SerialBT.available()){
      char receivedData = SerialBT.read();
      Serial.print("Received Data : ");
      Serial.println(receivedData);
      delay(1000);
    }
}
// RELAY MODULE AND THE BLUEETOOTH
#include<BluetoothSerial.h>
#define Bulb 2
BluetoothSerial SerialBT;

void setup() {
  // put your setup code here, to run once:
    Serial.begin(115200);
    SerialBT.begin("ESP32_likhi");
    pinMode(Bulb,OUTPUT);
    Serial.println("Bluetooth is ready.Send some messages");
}

void loop() {

  if(SerialBT.available()){
    char receivedData = SerialBT.read();
    if(receivedData == '1'){
      Serial.println("Bulb is ON");
      digitalWrite(Bulb,HIGH);
    }
    else if(receivedData == '0'){
      Serial.println("Bulb is OFF ");
      digitalWrite(Bulb,LOW);
    }
    delay(1000);
  }

DAY -10
DAY -10
// To scan the networks that are available
#include<WiFi.h>

void setup() {
  // put your setup code here, to run once:
     Serial.begin(9600);
     WiFi.mode(WIFI_STA);
     WiFi.disconnect();
     delay(1000);

}

void loop() {
  // put your main code here, to run repeatedly:
    Serial.println("Scanning the networks .......... ");
    int n = WiFi.scanNetworks();
    Serial.print("Number of networks available are : ");
    Serial.println(n);
    Serial.println("Scan Completed ");
}
// checking what are all the networks that are available
#include<WiFi.h>

void setup() {
  // put your setup code here, to run once:
     Serial.begin(9600);
     WiFi.mode(WIFI_STA);
     WiFi.disconnect();
     delay(1000);

}

void loop() {
  // put your main code here, to run repeatedly:
  Serial.println("Scanning the networks .......... ");
  int n = WiFi.scanNetworks();
  Serial.print("Number of networks available are : ");
  Serial.println(n);
  Serial.println("Scan Completed ");
  if(n==0){
     Serial.println("No network found" );
  }
  else{
    for(int i=0;i<n;i++)
    {
      Serial.print(i+1);
      Serial.print(".");
      Serial.println(WiFi.SSID());
      delay(1000);
    }
  }
}
// HPW TO CONNECT TO ANY NETWORK = SIMPLE
#include<WiFi.h>
char SSID[] = "Redmi note 14";
char PASS[] = "199896579"
void setup() {
// put your setup code here, to run once:
Serial.begin(115200);
WiFi.mode(WIFI_STA);
}
void loop() {
// put your main code here, to run repeatedly:
if(WiFi.status() ! = WL_CONNECTED)
{
Serial.print("Attentemting to connect to the SSID : ");
Serial.println(SSID);
Serial.println("Connecting....");
WiFi.begin(SSID,PASS);
Serial.println("IP Address : ");
Serial.println(WiFi.localIP());
delay(5000);
}
}
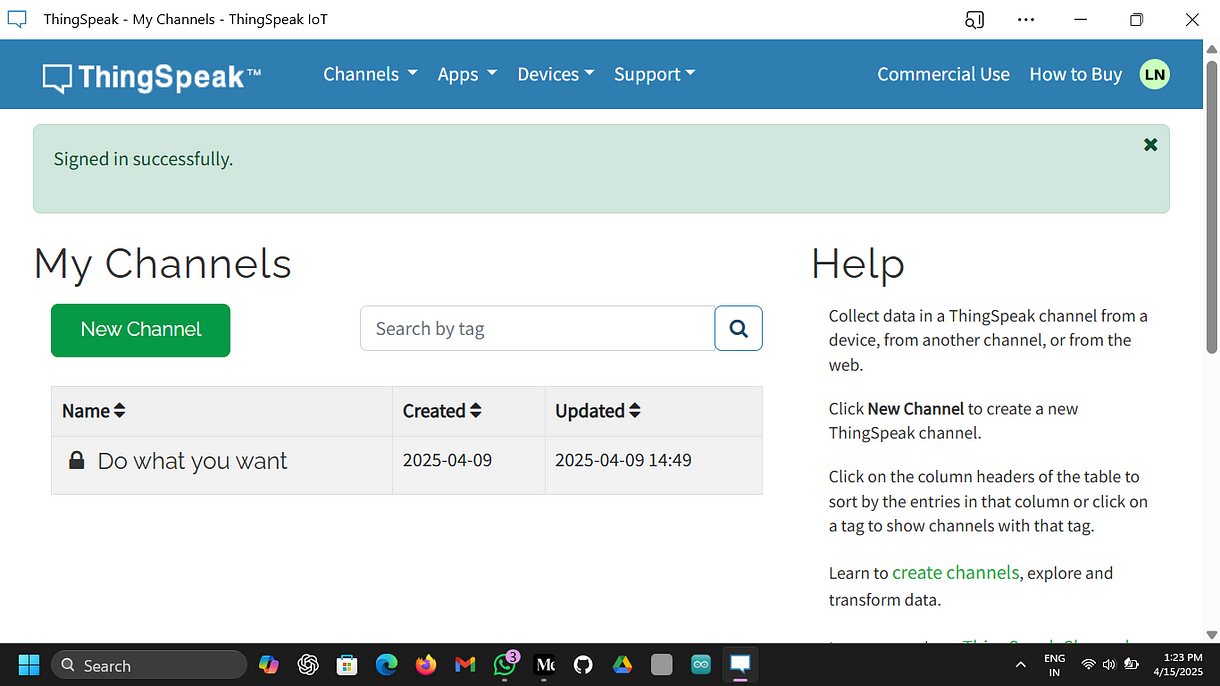
// THINGSPEAK
INSTALLATION OF THINGSPEAK
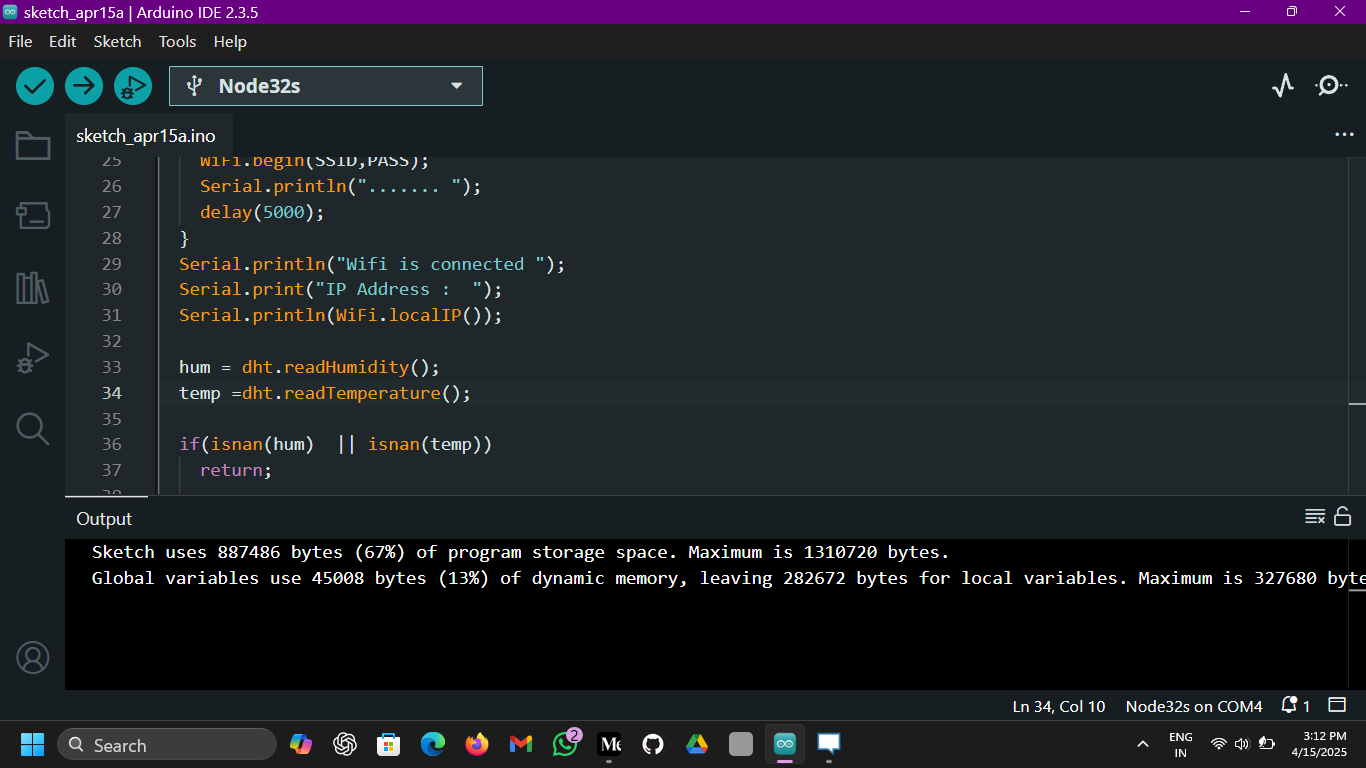
// WRITING CODE IN ARDUINO UNO(TEMP,HUMIDITY VALUES) TO USE IN THINGSPEAK
#include<WiFi.h>
#include<DHT.h>

char SSID[] = "Redmi note 14";
char PASS[] = "199896579";

DHT dht(26,DHT11);
float hum,temp;

void setup() {
  // put your setup code here, to run once:
   Serial.begin(115200);
   WiFi.mode(WIFI_STA);
   dht.begin();
}

void loop() {
  // put your main code here, to run repeatedly:
  if(WiFi.status() != WL_CONNECTED)
  {
    Serial.print("Attentemting to connect to the SSID : ");
    Serial.println(SSID);
    Serial.println("Connecting....");

    WiFi.begin(SSID,PASS);
    Serial.println("....... ");
    delay(5000);
  }
  Serial.println("Wifi is connected ");
  Serial.print("IP Address :  ");
  Serial.println(WiFi.localIP());

  hum = dht.readHumidity();
  temp = ht.readTemperature();

  if(isnan(hum)  || isnan(temp))
    return;

  Serial.print("Humidity : ");
  Serial.println(hum);
  Serial.print("Temperature : ");
  Serial.println(temp);
  delay(1000);

}
DAY — 11
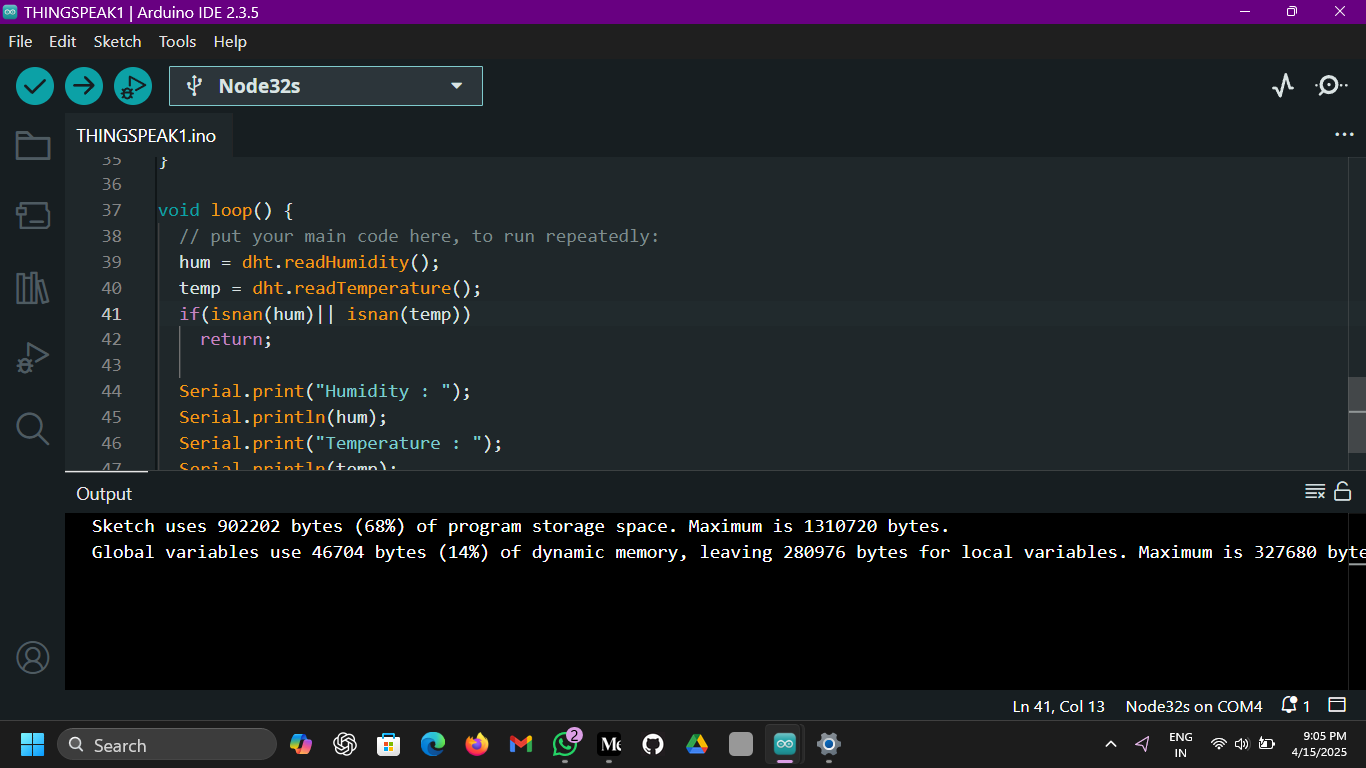
// USING THINGSPEAK
#include<DHT.h>
#include<WiFi.h>
#include<ThingSpeak.h>

#define DHTPIN 26
#define DHTTYPE DHT11

char SSID[] = " Redmi NOte hc";
char PASS[] = "8933655447";

unsigned long myChannelNumber = 2553446;
const char * myWriteAPIkey = "akjwh72y379a8q32y87";

DHT dht(DHTPIN,DHTTYPE);
WiFiClient client;
float hum,temp;
void setup() {
  // put your setup code here, to run once:
   Serial.begin(115200);
   dht.begin();
   ThingSpeak.begin(client);
   WiFi.mode(WIFI_STA);

   if(WiFi.status() != WL_CONNECTED)
   {
    Serial.print("Attempting to connect to the SSID ");
    Serial.println(SSID);
    Serial.print("Connecting ..........");
    while(WiFi.status() != WL_CONNECTED)
    {
      WiFi.begin(SSID,PASS);
      Serial.print("......");
      delay(5000);

    }
    Serial.println("WiFi is Connected");
    }
}

void loop() {
  // put your main code here, to run repeatedly:
  hum = dht.readHumidity();
  temp = dht.readTemperature();
  if(isnan(hum)|| isnan(temp))
    return;

  Serial.print("Humidity : ");
  Serial.println(hum);
  Serial.print("Temperature : ");
  Serial.println(temp);

  ThingSpeak.setField(1,hum);
  ThingSpeak.setField(2,temp);

  int x = ThingSpeak.writeField(myChannelNumber,myWriteAPIkey);
  if(x == 200)
    Serial.println("Channel Update successfully ");
  else
  {
    Serial.println("Channel Update successfully");

  }
  delay(20000);
}
DAY — 12
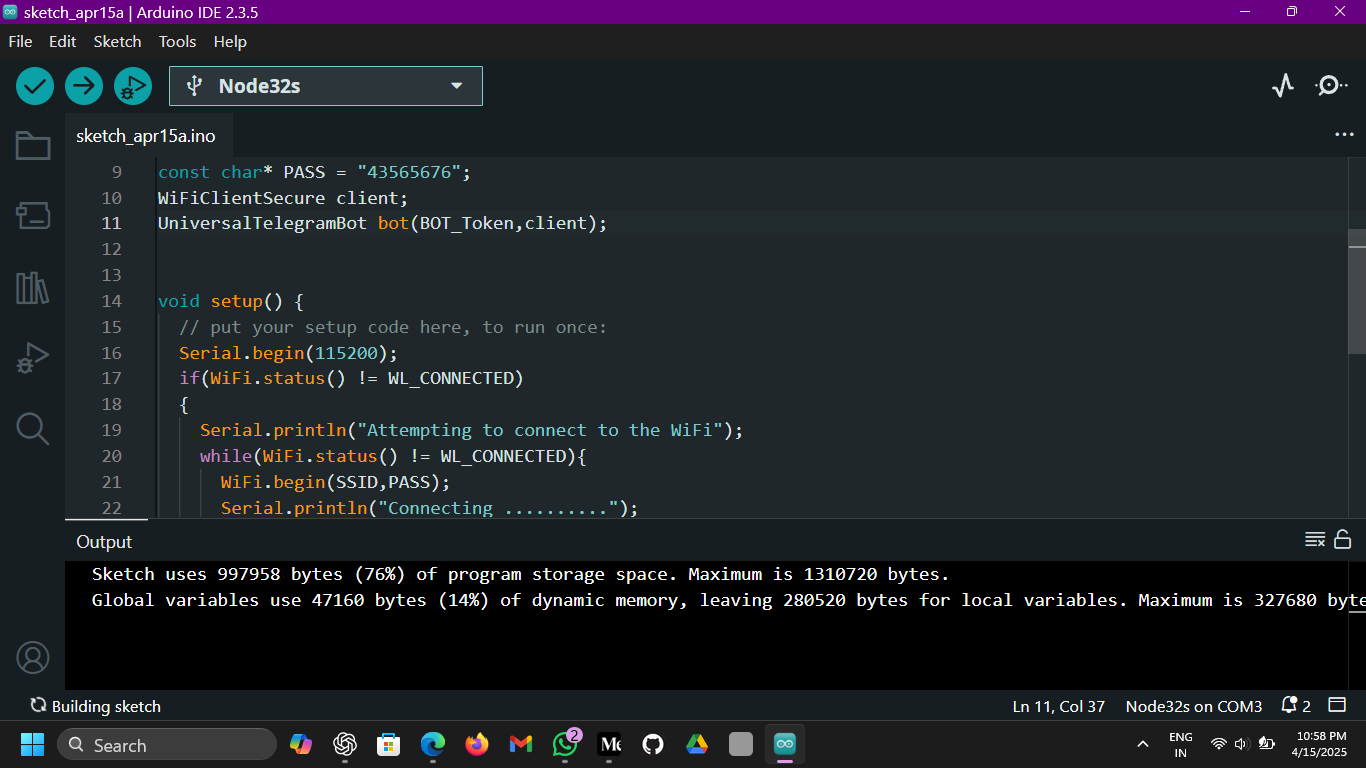
// BOT FATHER USAGE TELEGRAM
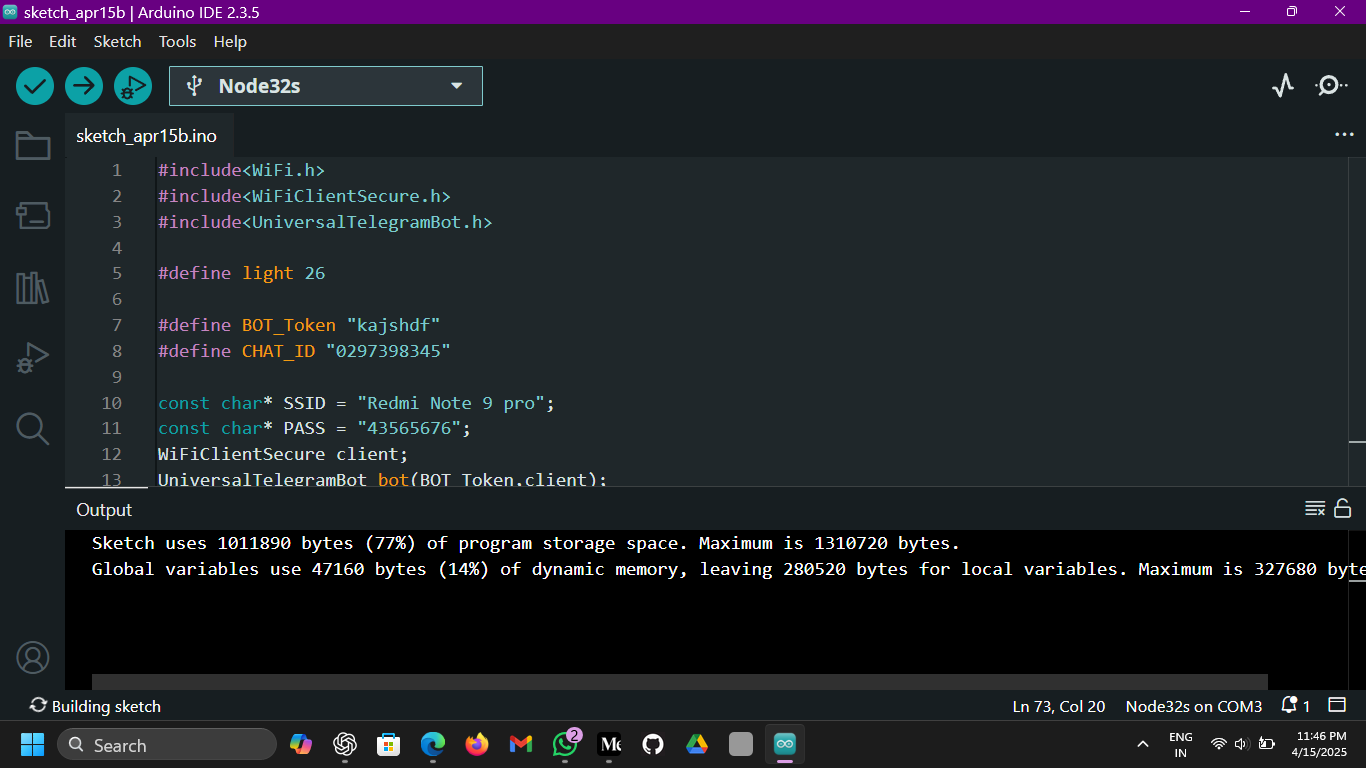
#include<WiFi.h>
#include<WiFiClientSecure.h>
#include<UniversalTelegramBot.h>
#define BOT_Token "kajshdf"
#define CHAT_ID "0297398345"
const char* SSID = "Redmi Note 9 pro";
const char* PASS = "43565676";
WiFiClientSecure client;
UniversalTelegramBot bot(BOT_Token,client);
void setup() {
// put your setup code here, to run once:
Serial.begin(115200);
if(WiFi.status() != WL_CONNECTED)
{
Serial.println("Attempting to connect to the WiFi");
while(WiFi.status() != WL_CONNECTED){
WiFi.begin(SSID,PASS);
Serial.println("Connecting ..........");
delay(5000);
}
Serial.println("WiFi is connected");
}
client.setInsecure();
}
void loop() {
// put your main code here, to run repeatedly:
static unsigned long lastTime = 0;
if(millis() - lastTime > 60000)
{
bot.sendMessage(CHAT_ID,"Welcome to ExcelR,Student Development Program","");
lastTime = millis();
}
}
// making bulb on and off using bot father in telegram
#include<WiFi.h>
#include<WiFiClientSecure.h>
#include<UniversalTelegramBot.h>

#define light 26

#define BOT_Token "kajshdf"
#define CHAT_ID "0297398345"

const char* SSID = "Redmi Note 9 pro";
const char* PASS = "43565676";
WiFiClientSecure client;
UniversalTelegramBot bot(BOT_Token,client);

void setup() {
  // put your setup code here, to run once:
  Serial.begin(115200);
  pinMode(light,OUTPUT);
  digitalWrite(light,LOW);
  if(WiFi.status() != WL_CONNECTED)
  {
    Serial.println("connecting to the WiFi");
    while(WiFi.status() != WL_CONNECTED){
      WiFi.begin(SSID,PASS);
      Serial.println("Connecting ..........");
      delay(5000);
    }
    Serial.println("WiFi is connected");

    client.setInsecure();
    bot.sendMessage(CHAT_ID," hiii ,successfully connected to ESP32","");
    delay(1000);
    bot.sendMessage(CHAT_ID," Enter /LightON to Turn On or /LightOFF to turn OFF","");
  }

}

void loop() {
  // put your main code here, to run repeatedly:
  int messageCount = bot.getUpdates(bot.last_message_received + 1);

  while(messageCount)
  {
    Serial.println("New Message Received");
    for(int i=0;i<messageCount;i++)
    {
      String chat_id = bot.messages[i].chat_id;
      String text = bot.messages[i].text;

      Serial.println("Received Text : " + text);

      if(chat_id == CHAT_ID)
      {
        if(text == "/LightON")
        {
          digitalWrite(light,HIGH);
          Serial.println("Light is ON");
          bot.sendMessage(CHAT_ID,"lIGHT IS ON ","");
        }
        else if(text == "/LightOFF")
        {
          digitalWrite(light,LOW);
          Serial.println("Light is OFF");
          bot.sendMessage(CHAT_ID,"Light is OFF","");
        }
        else
        {
          bot.sendMessage(CHAT_ID, "Send /LightON or /LightOFF to control the Light ","");
        }
      }
      else
      {
        Serial.println("Unauthorized User");
        bot.sendMessage(CHAT_ID,"Unauthorized user","");
      }

      messageCount = bot.getUpdates(bot.last_message_received + 1);
    }
    delay(2000);
  }

}
DAY-13
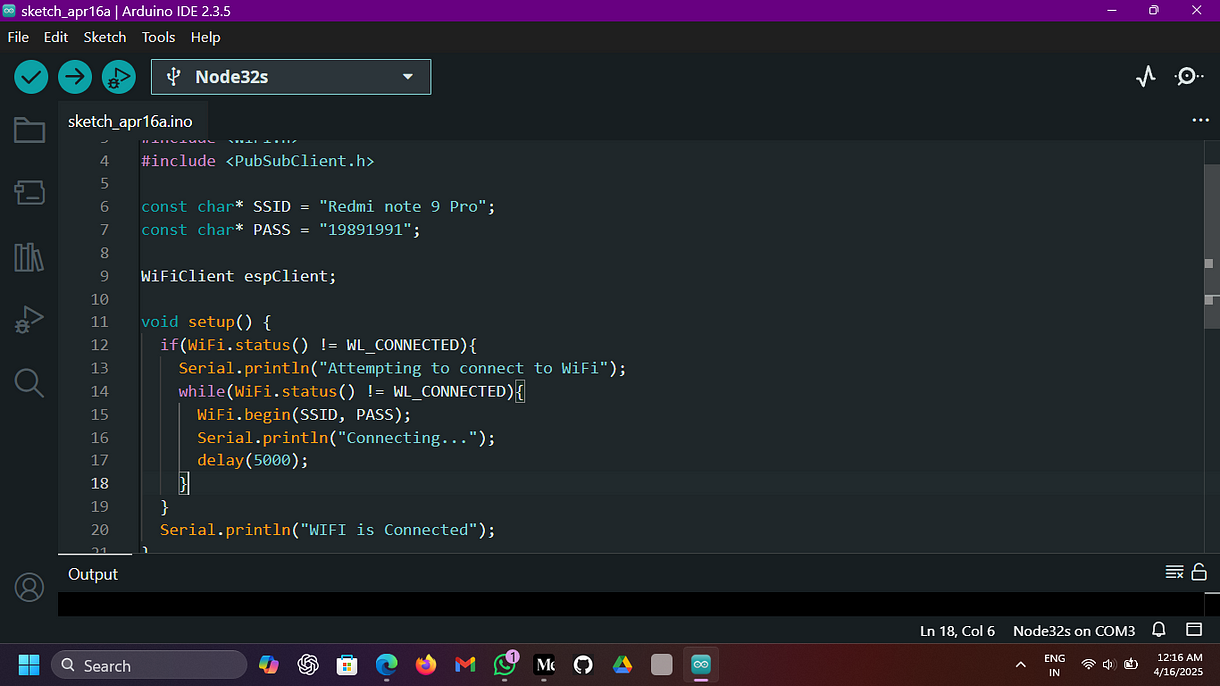
// USE OF PUBSUBCLIENG LIBRARY
#include <WiFi.h>
#include <PubSubClient.h>

const char* SSID = "Redmi note 9 Pro";
const char* PASS = "19891991";

WiFiClient espClient;

void setup() {
  if(WiFi.status() != WL_CONNECTED){
    Serial.println("Attempting to connect to WiFi");
    while(WiFi.status() != WL_CONNECTED){
      WiFi.begin(SSID, PASS);
      Serial.println("Connecting...");
      delay(5000);
    }
  }
  Serial.println("WIFI is Connected");
}

void loop() {
  // put your main code here, to run repeatedly:
  if(!client.connected()){
    while(!client.connected()){
      Serial.println("Attempting MQTT Connection");
      if(client.connect("ESP32Master")){
        Serial.println("Connected");
      } else {
        Serial.print("failed to connect, rc = ");
        Serial.print(client.state());
        Serial.println(" Try again in 5 Seconds");
        delay(5000);
      }
    }
  }

  client.loop();

  String message = "Hello From Master";
  client.publish(TOPIC,message.c_str());
  Serial.println("Message Sent : " + message);
  delay(2000);
}
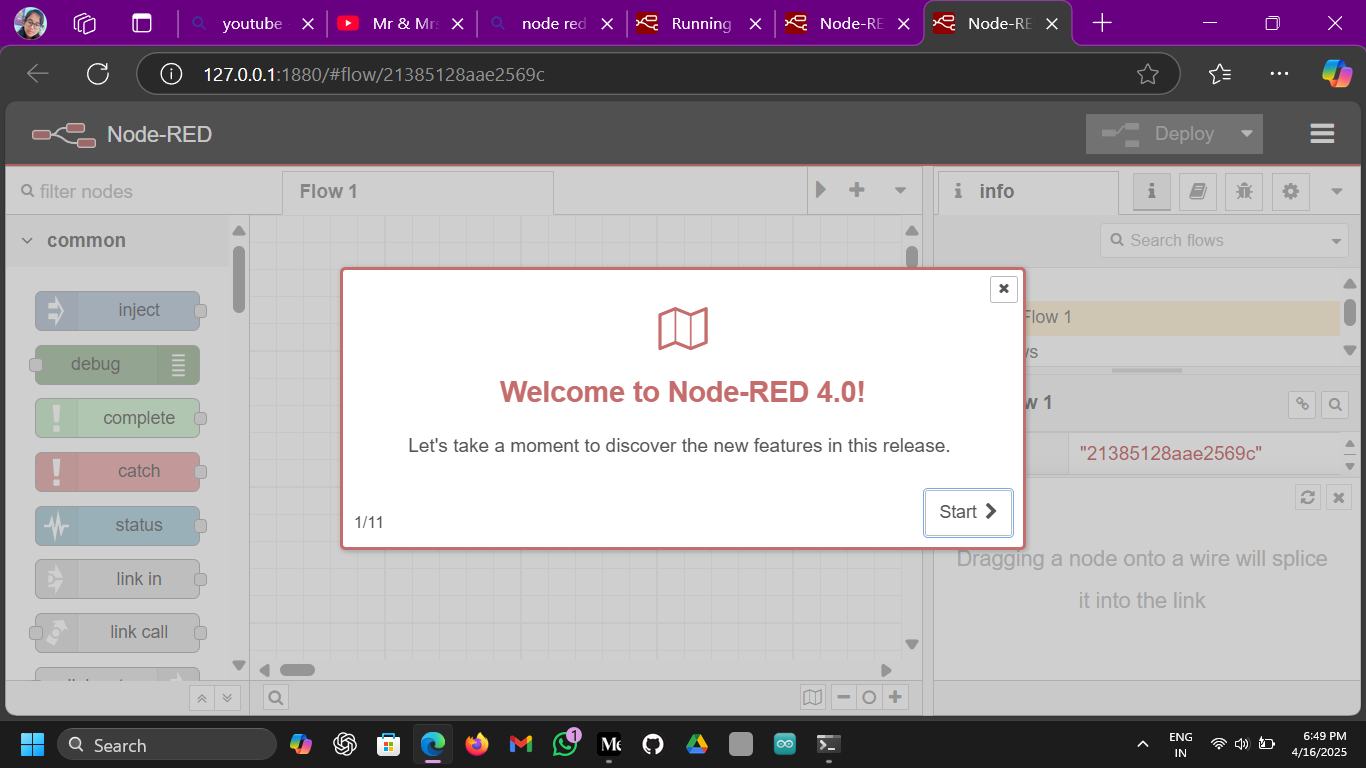
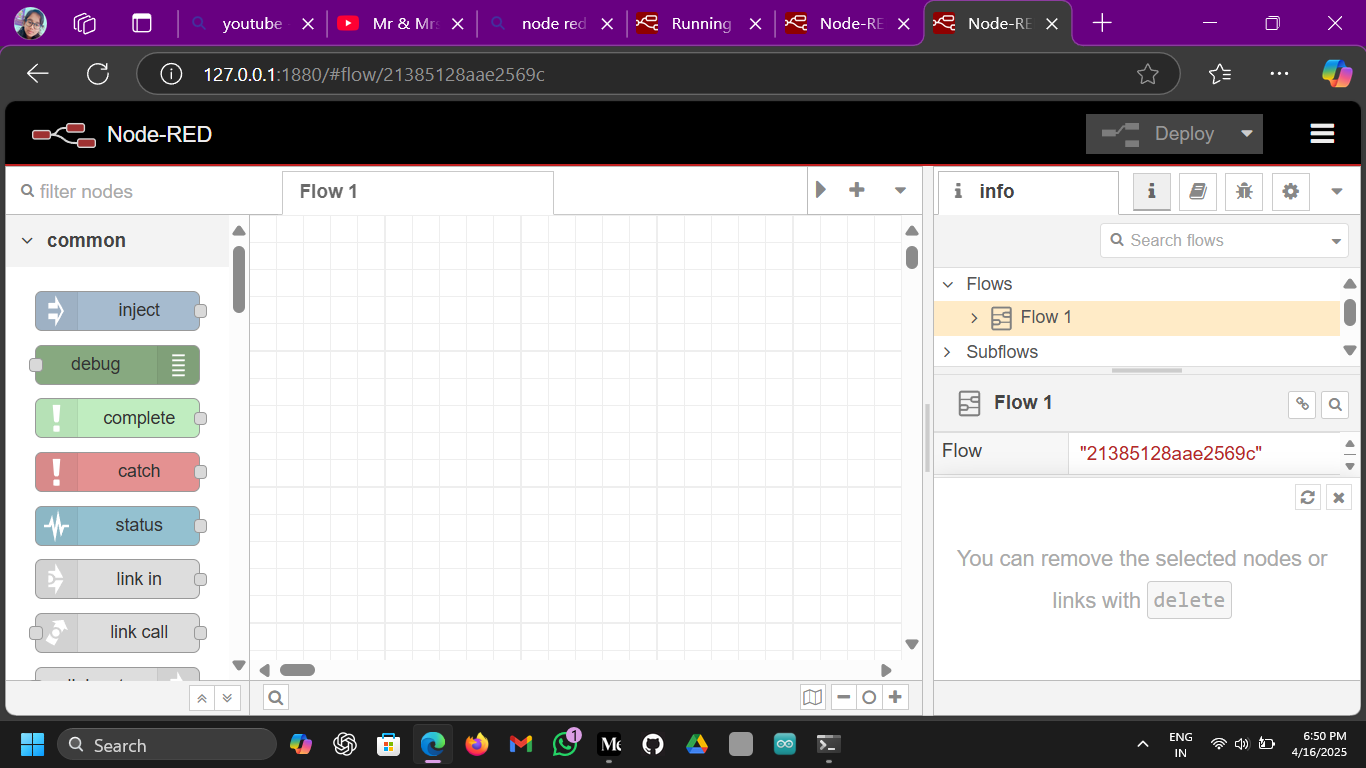
DAY — 14
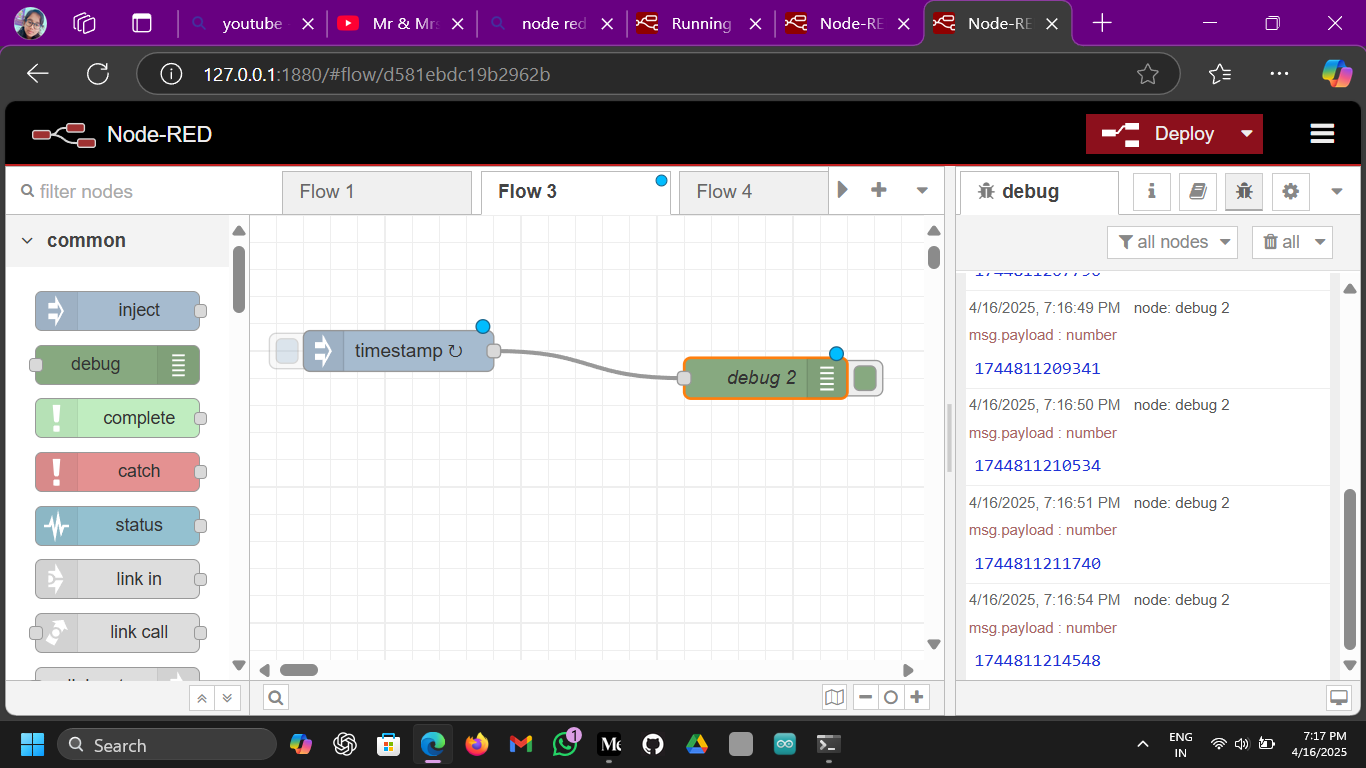
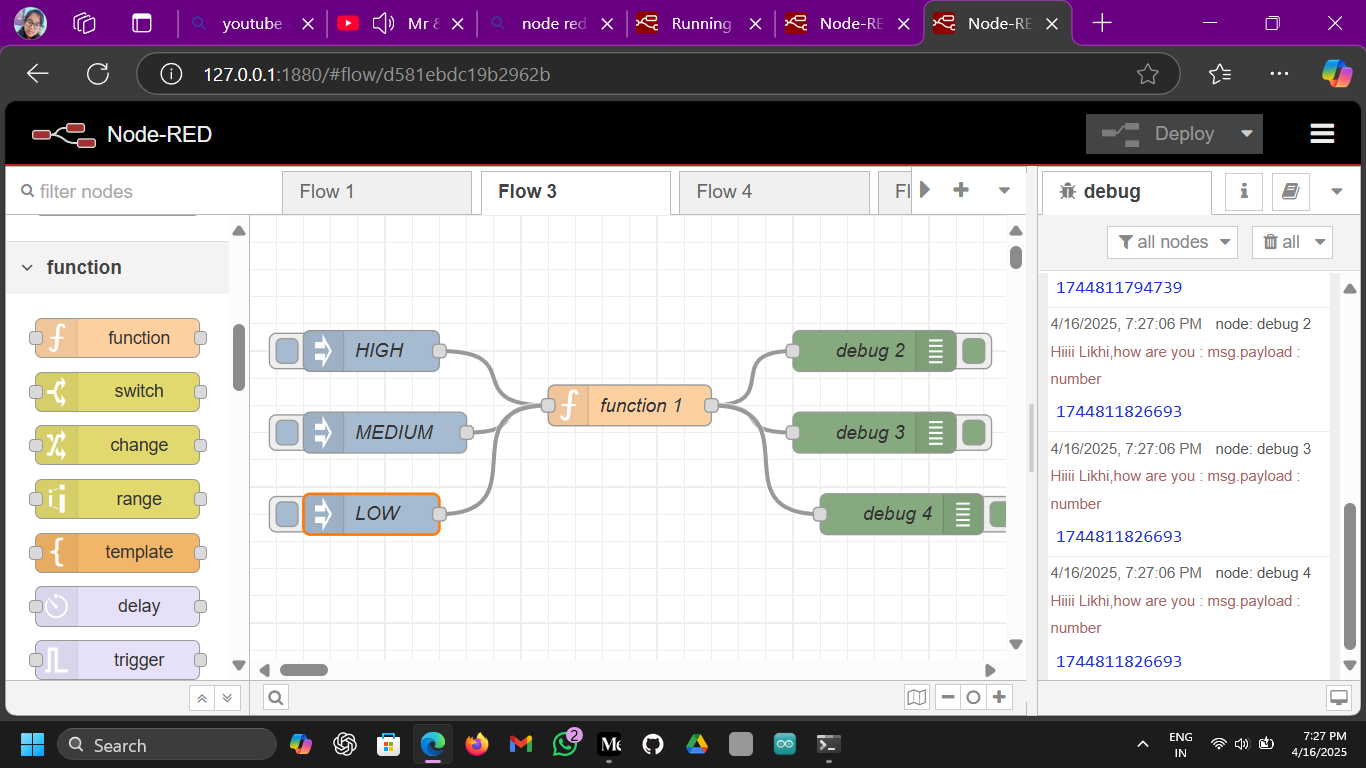
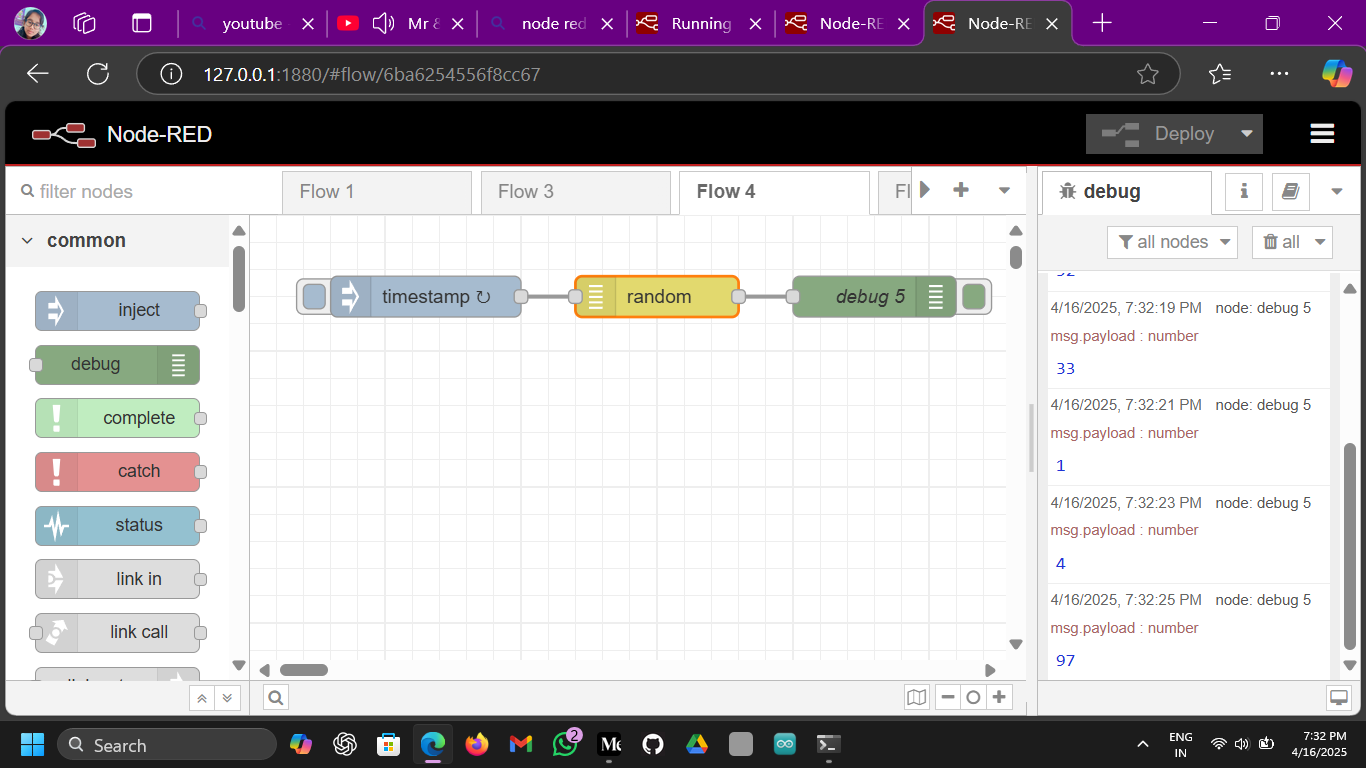
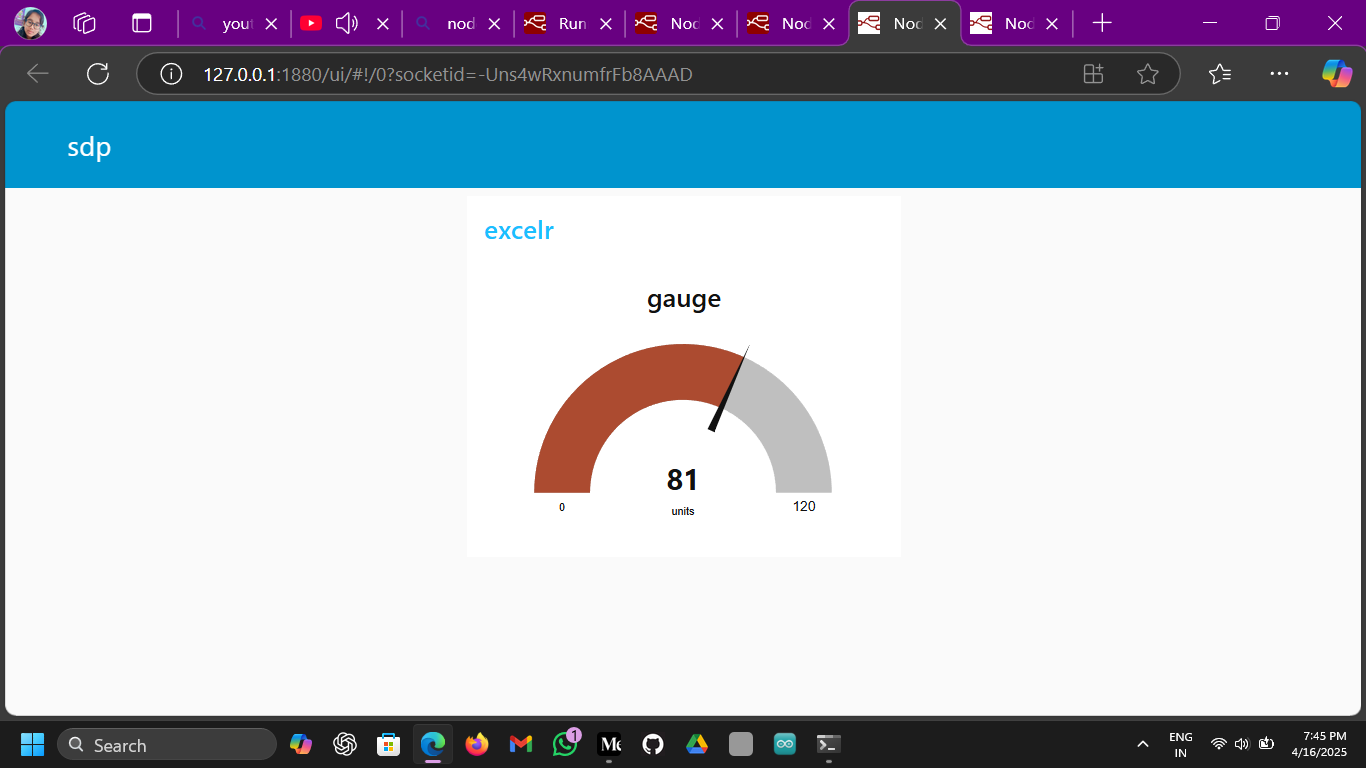
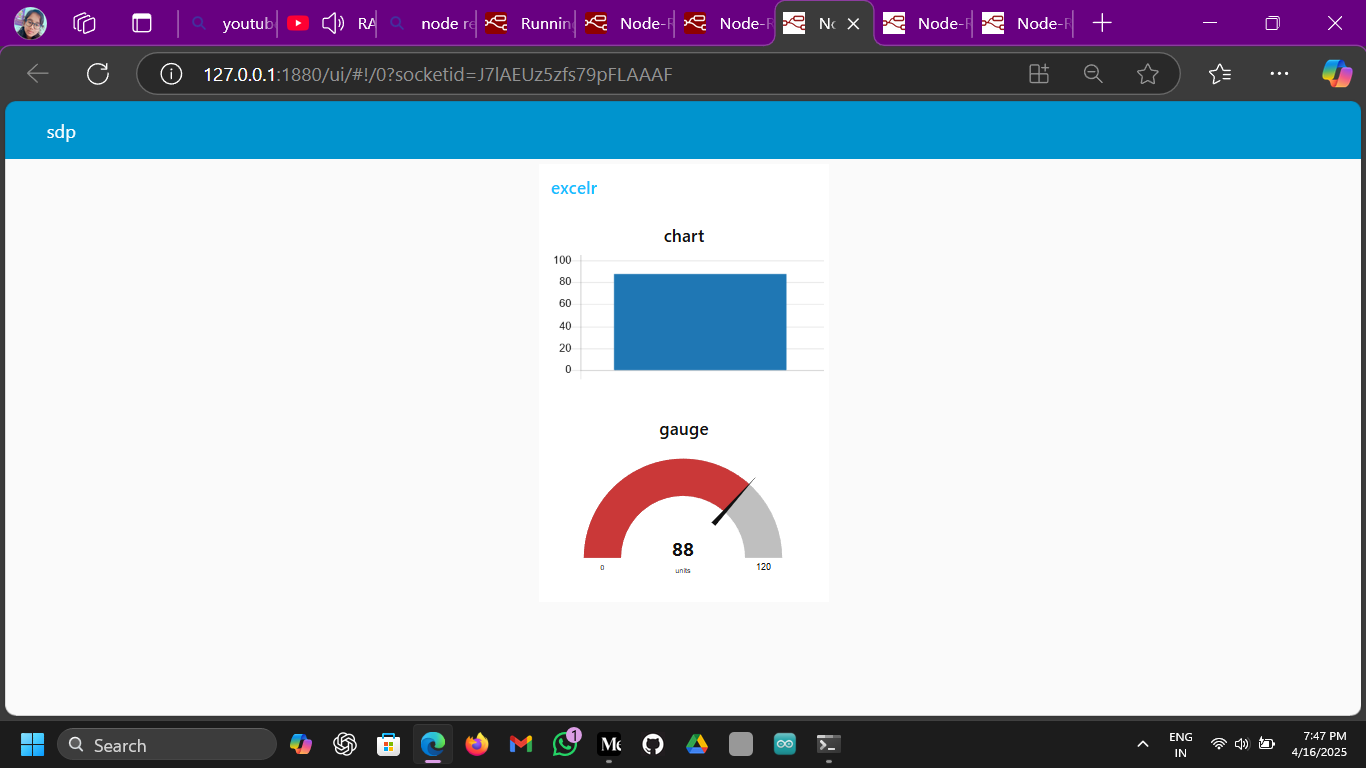
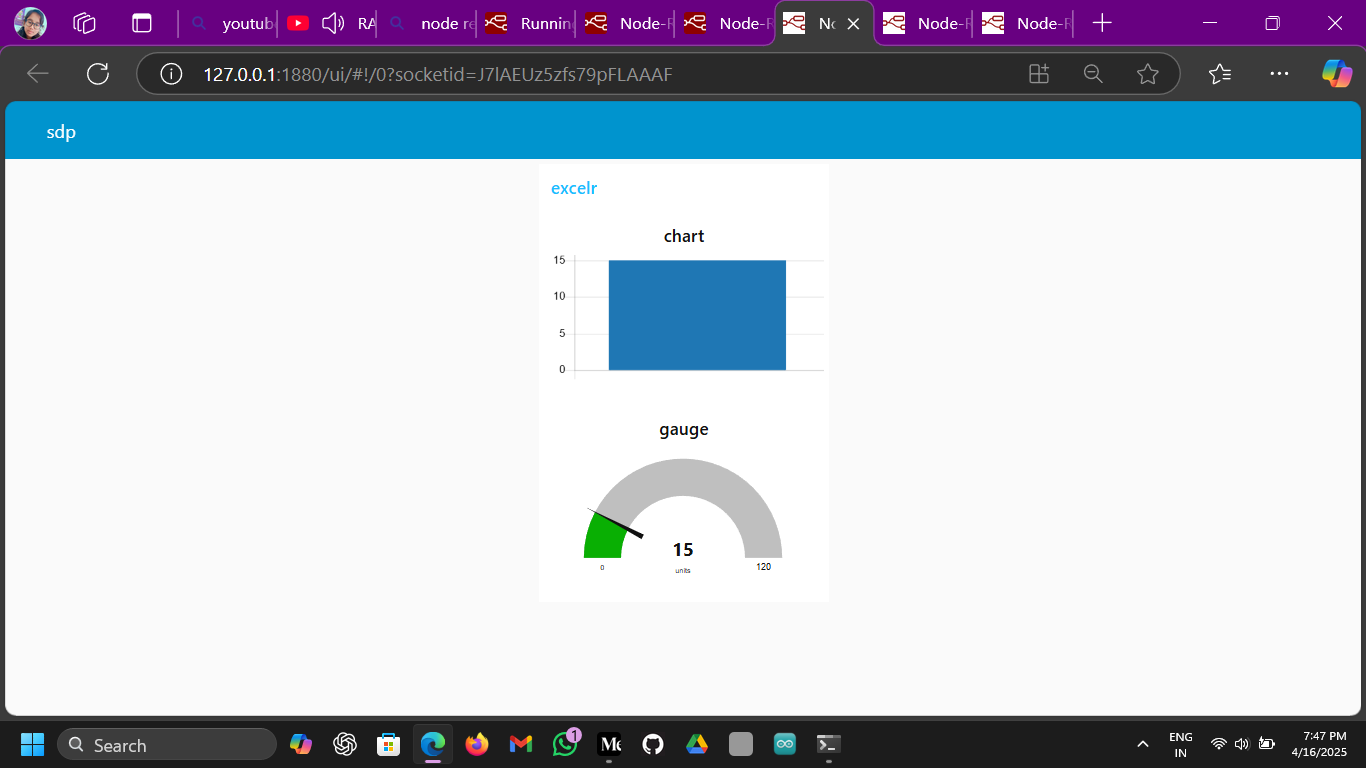
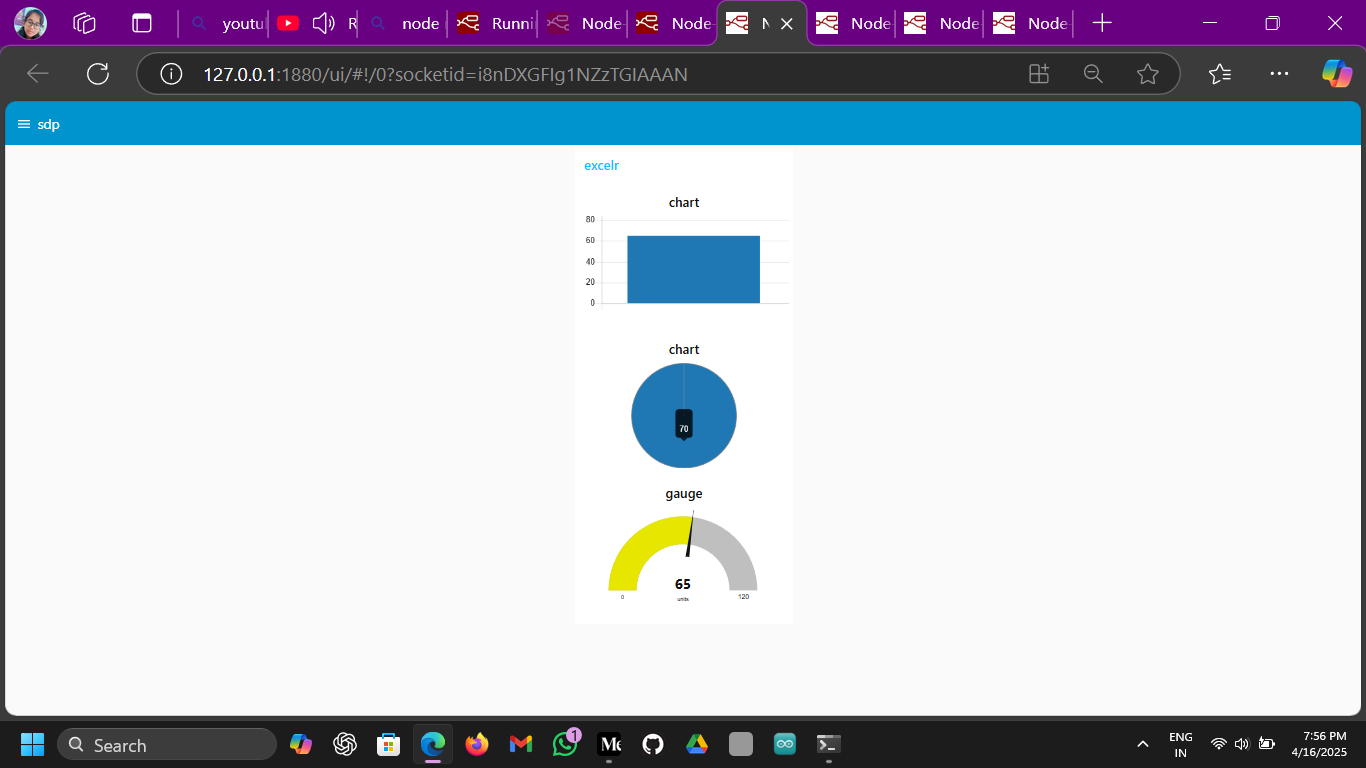
NODE RED : INSTALLATION

Subscribe to my newsletter
Read articles from LIKHITHA N directly inside your inbox. Subscribe to the newsletter, and don't miss out.
Written by
LIKHITHA N
LIKHITHA N
Tech enthusiast with a passion for learning and sharing. Blogging my journey through electronics, AI, and innovation. #LearningInPublic