Configuring and Testing Telegram Bot Webhooks with Pinggy
 Lightning Developer
Responsive Telegram bots rely on receiving updates promptly. Although long polling works during early development, webhooks are preferred for their efficiency and real-time delivery—making them ideal for production environments.
This guide outlines the process for setting up and testing Telegram bot webhooks using Pinggy, a command-line utility that makes your local server accessible via a secure public URL—without requiring external deployment.
Overview: Telegram Bot Webhooks
Telegram bots can receive updates in two main ways:
Long Polling: The bot regularly queries Telegram servers for new updates.
Webhooks: Telegram pushes updates directly to a defined server endpoint.
Advantages of using webhooks:
Immediate delivery of user updates
Less server and bandwidth usage
Easier scaling under load
Since Telegram requires a publicly accessible HTTPS endpoint for webhooks, development can be challenging. Pinggy helps address this by exposing your local server.
Step 1: Create a Telegram Bot
Open Telegram and search for
@BotFather.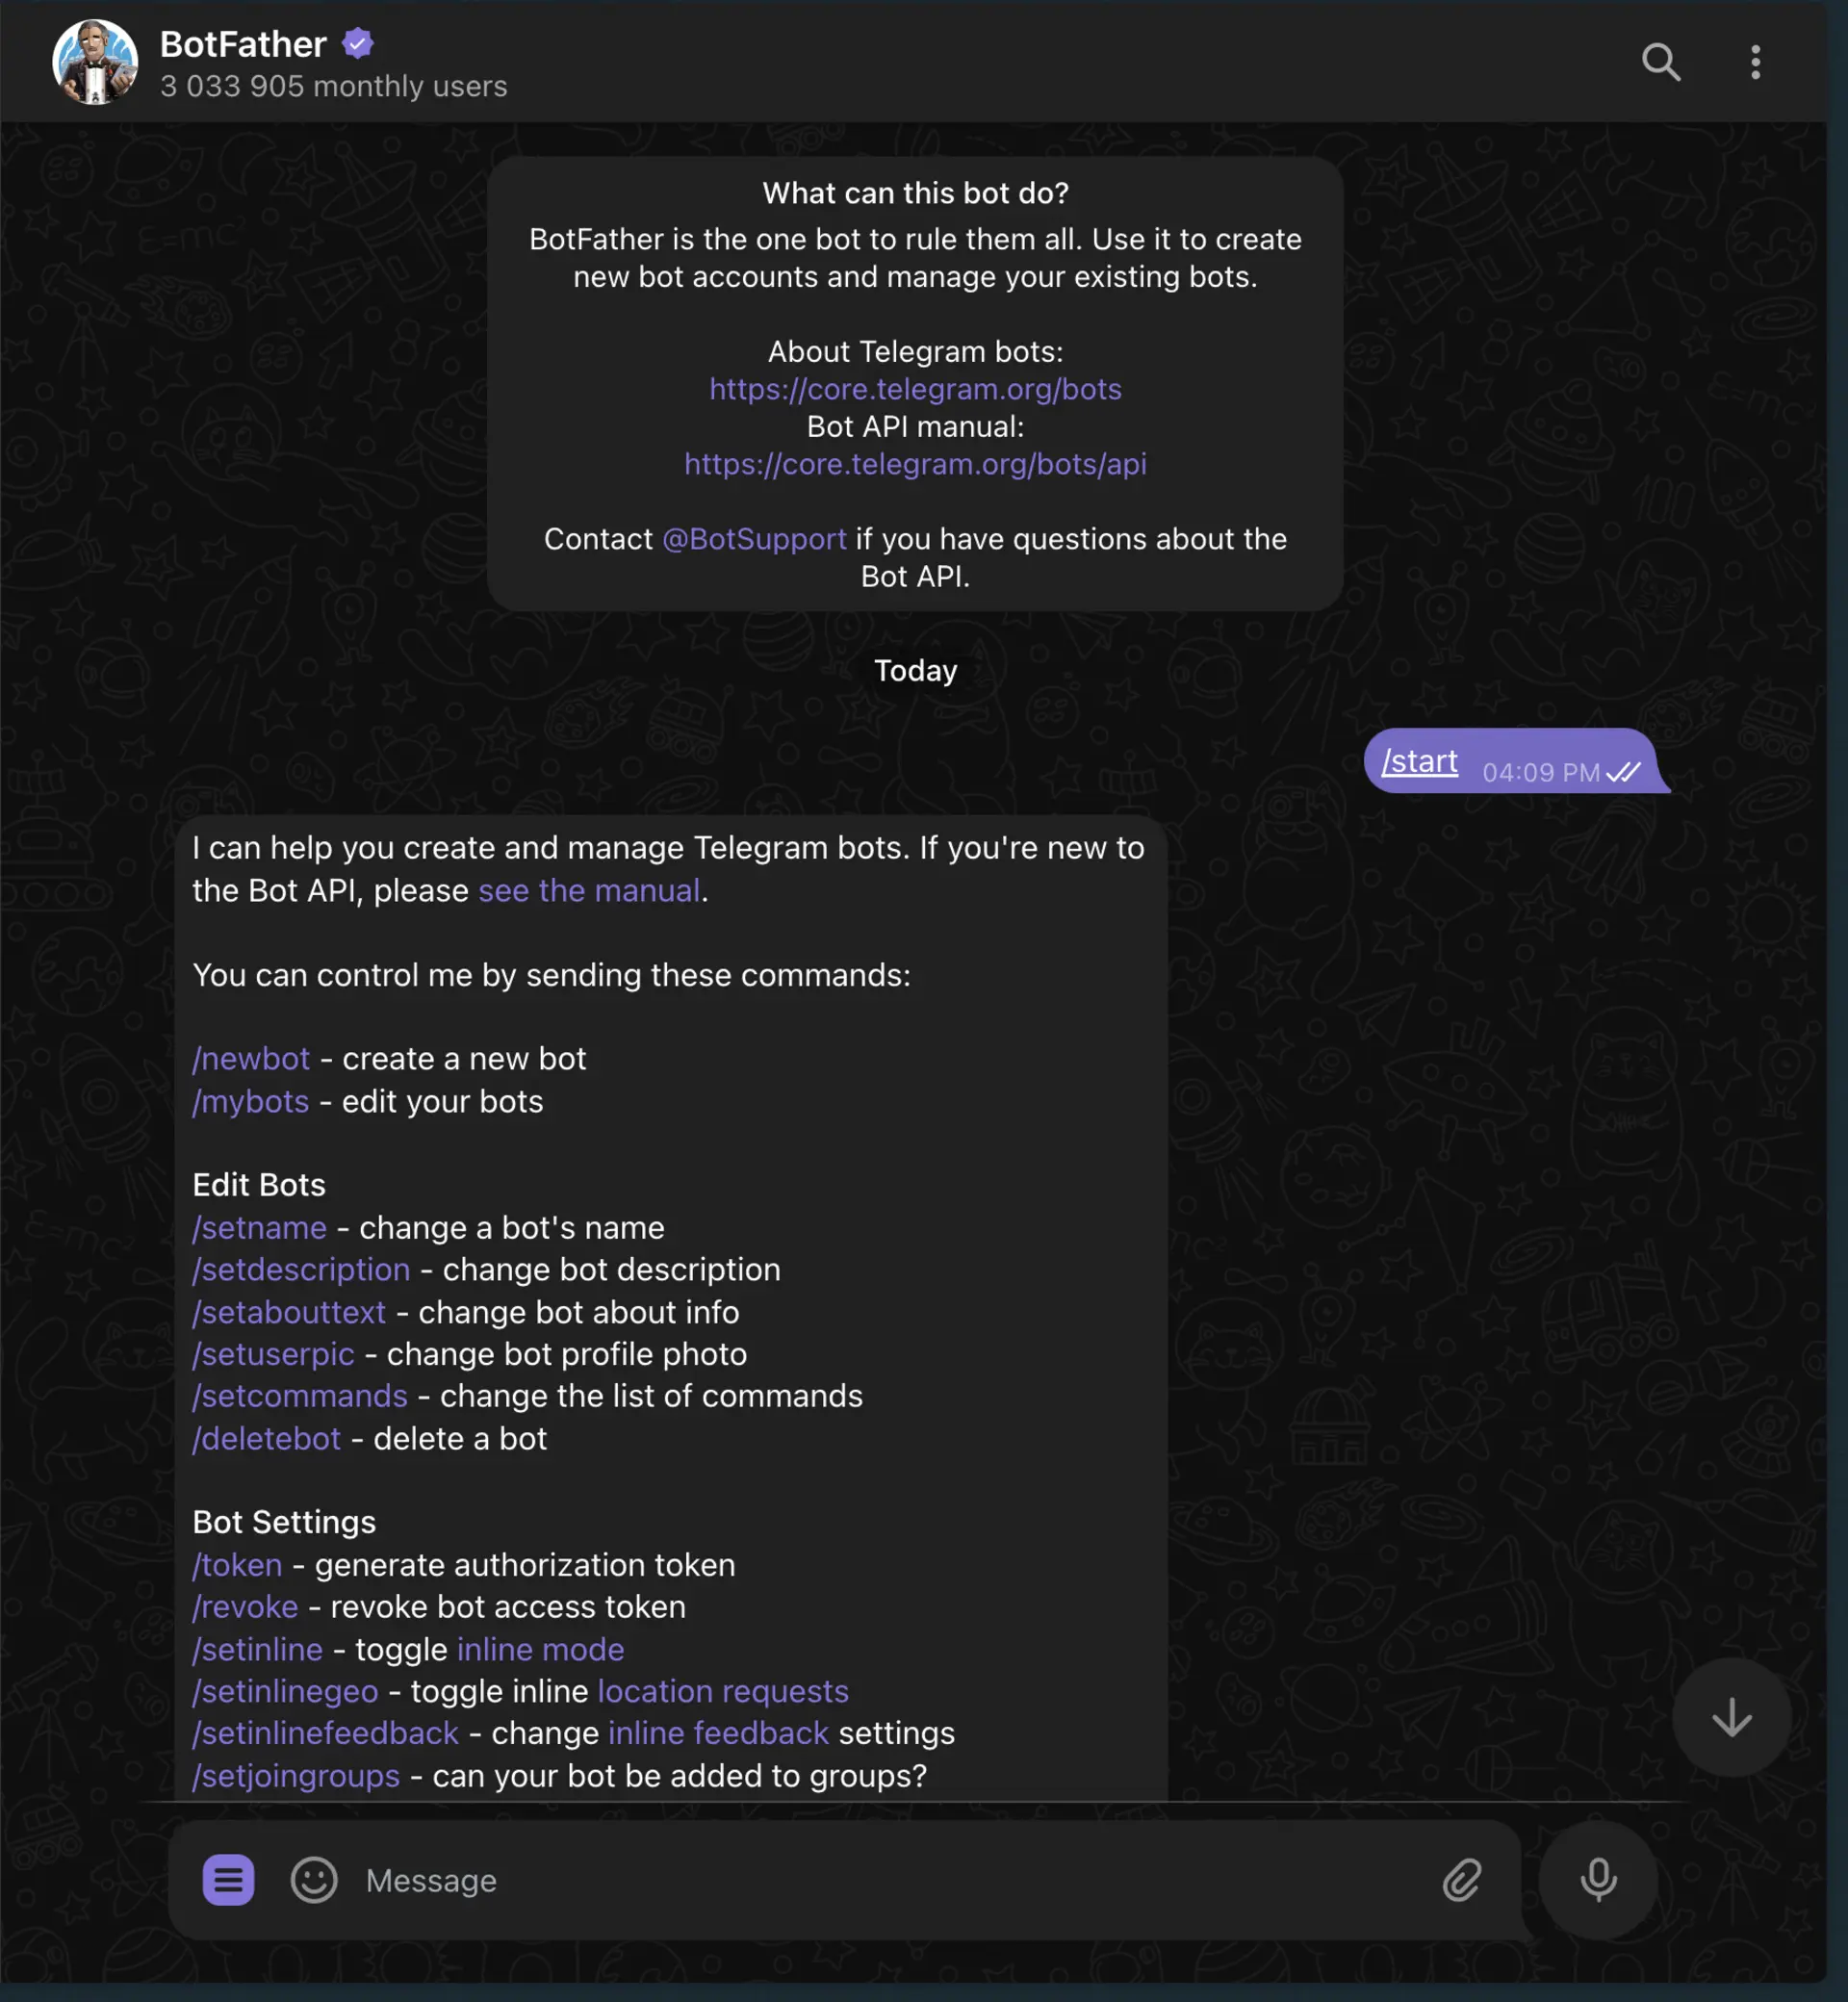
Start a chat and use the
/newbotcommand.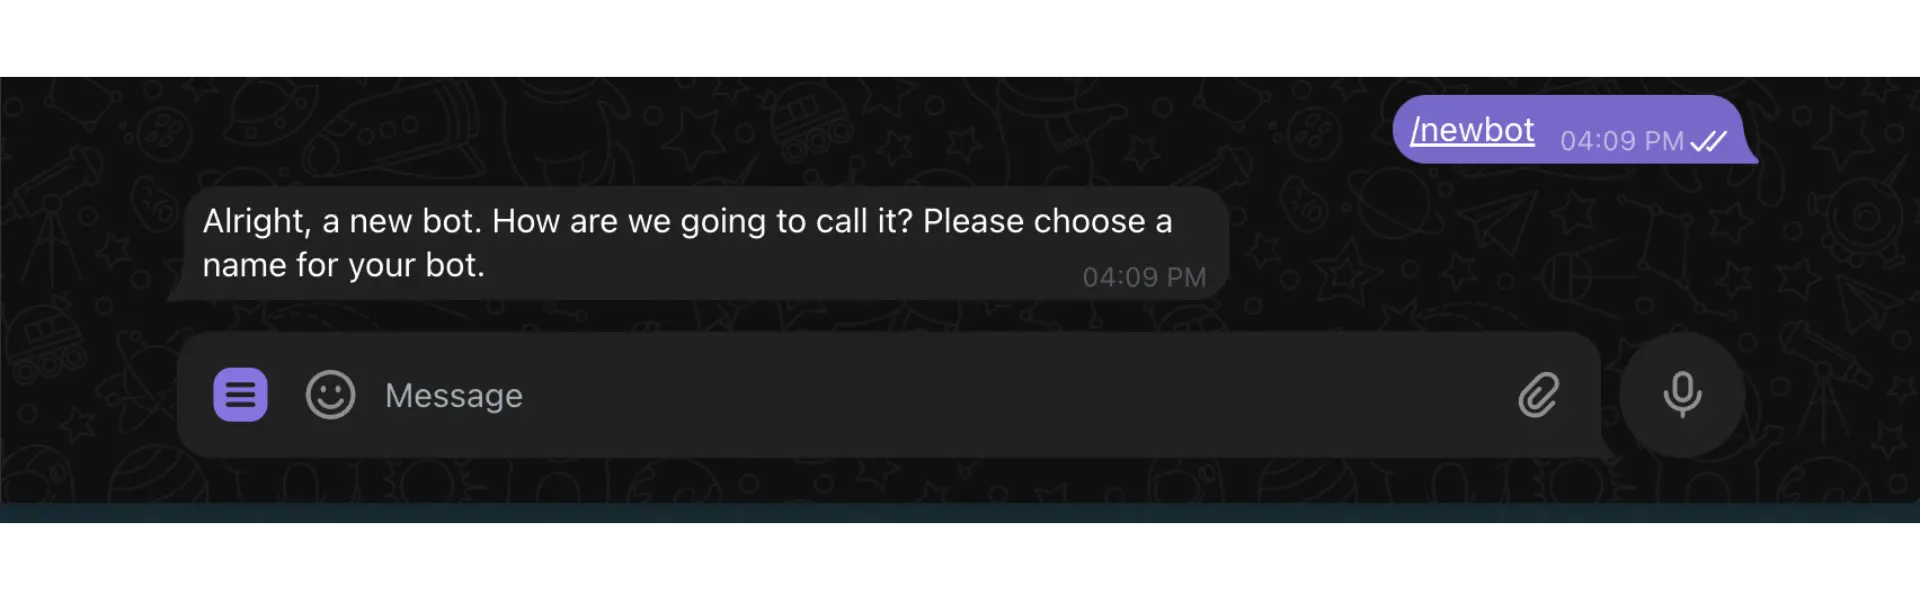
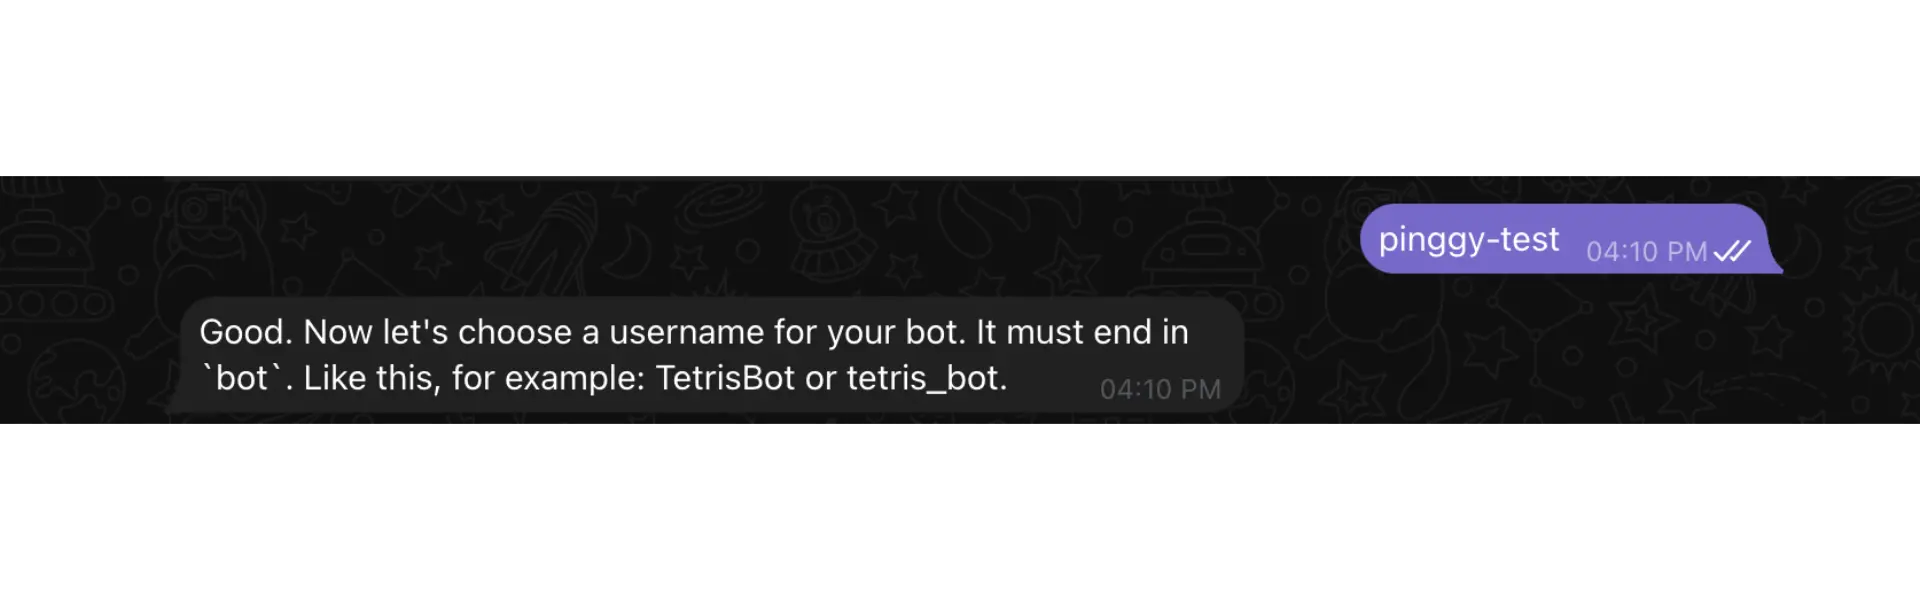
Set a name and username as prompted.
BotFather provides a token in the format
123456789:ABCDefGhIJKlmNoPQRsTUVwxyZ.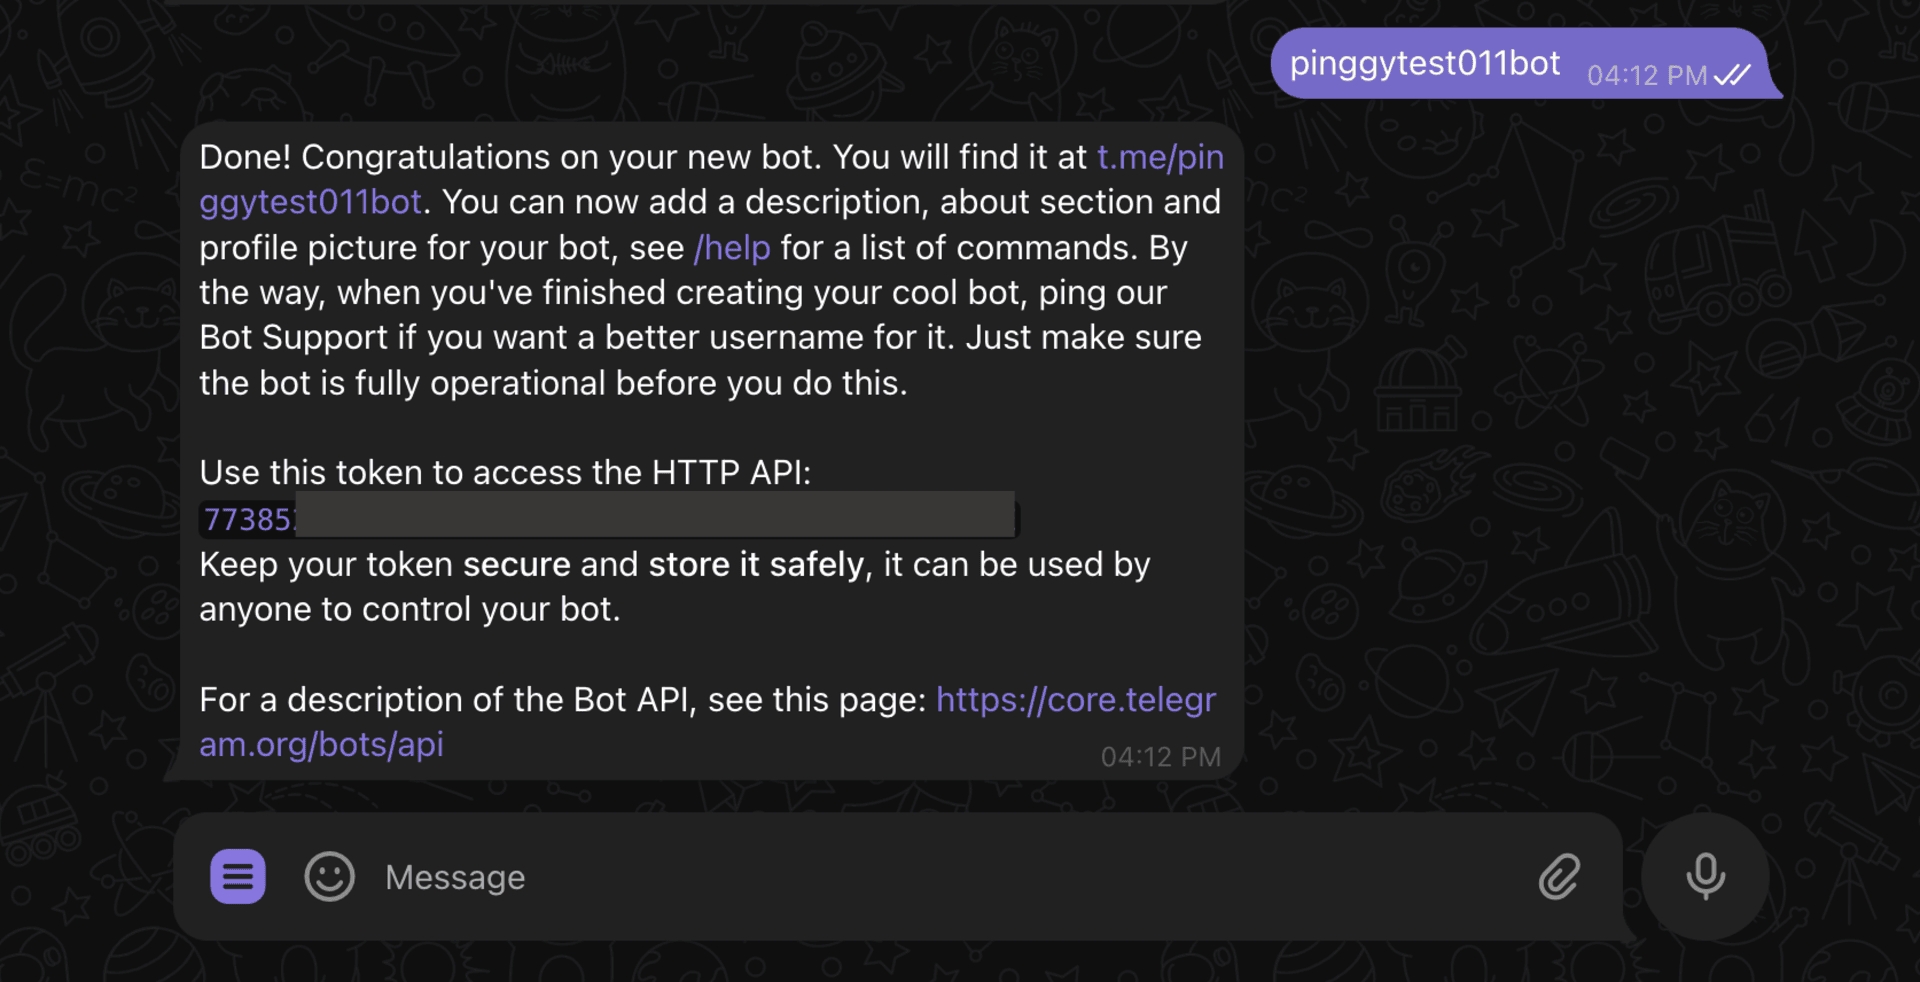
Save this token securely; it grants full control over your bot.
Step 2: Set Up a Local Webhook Server
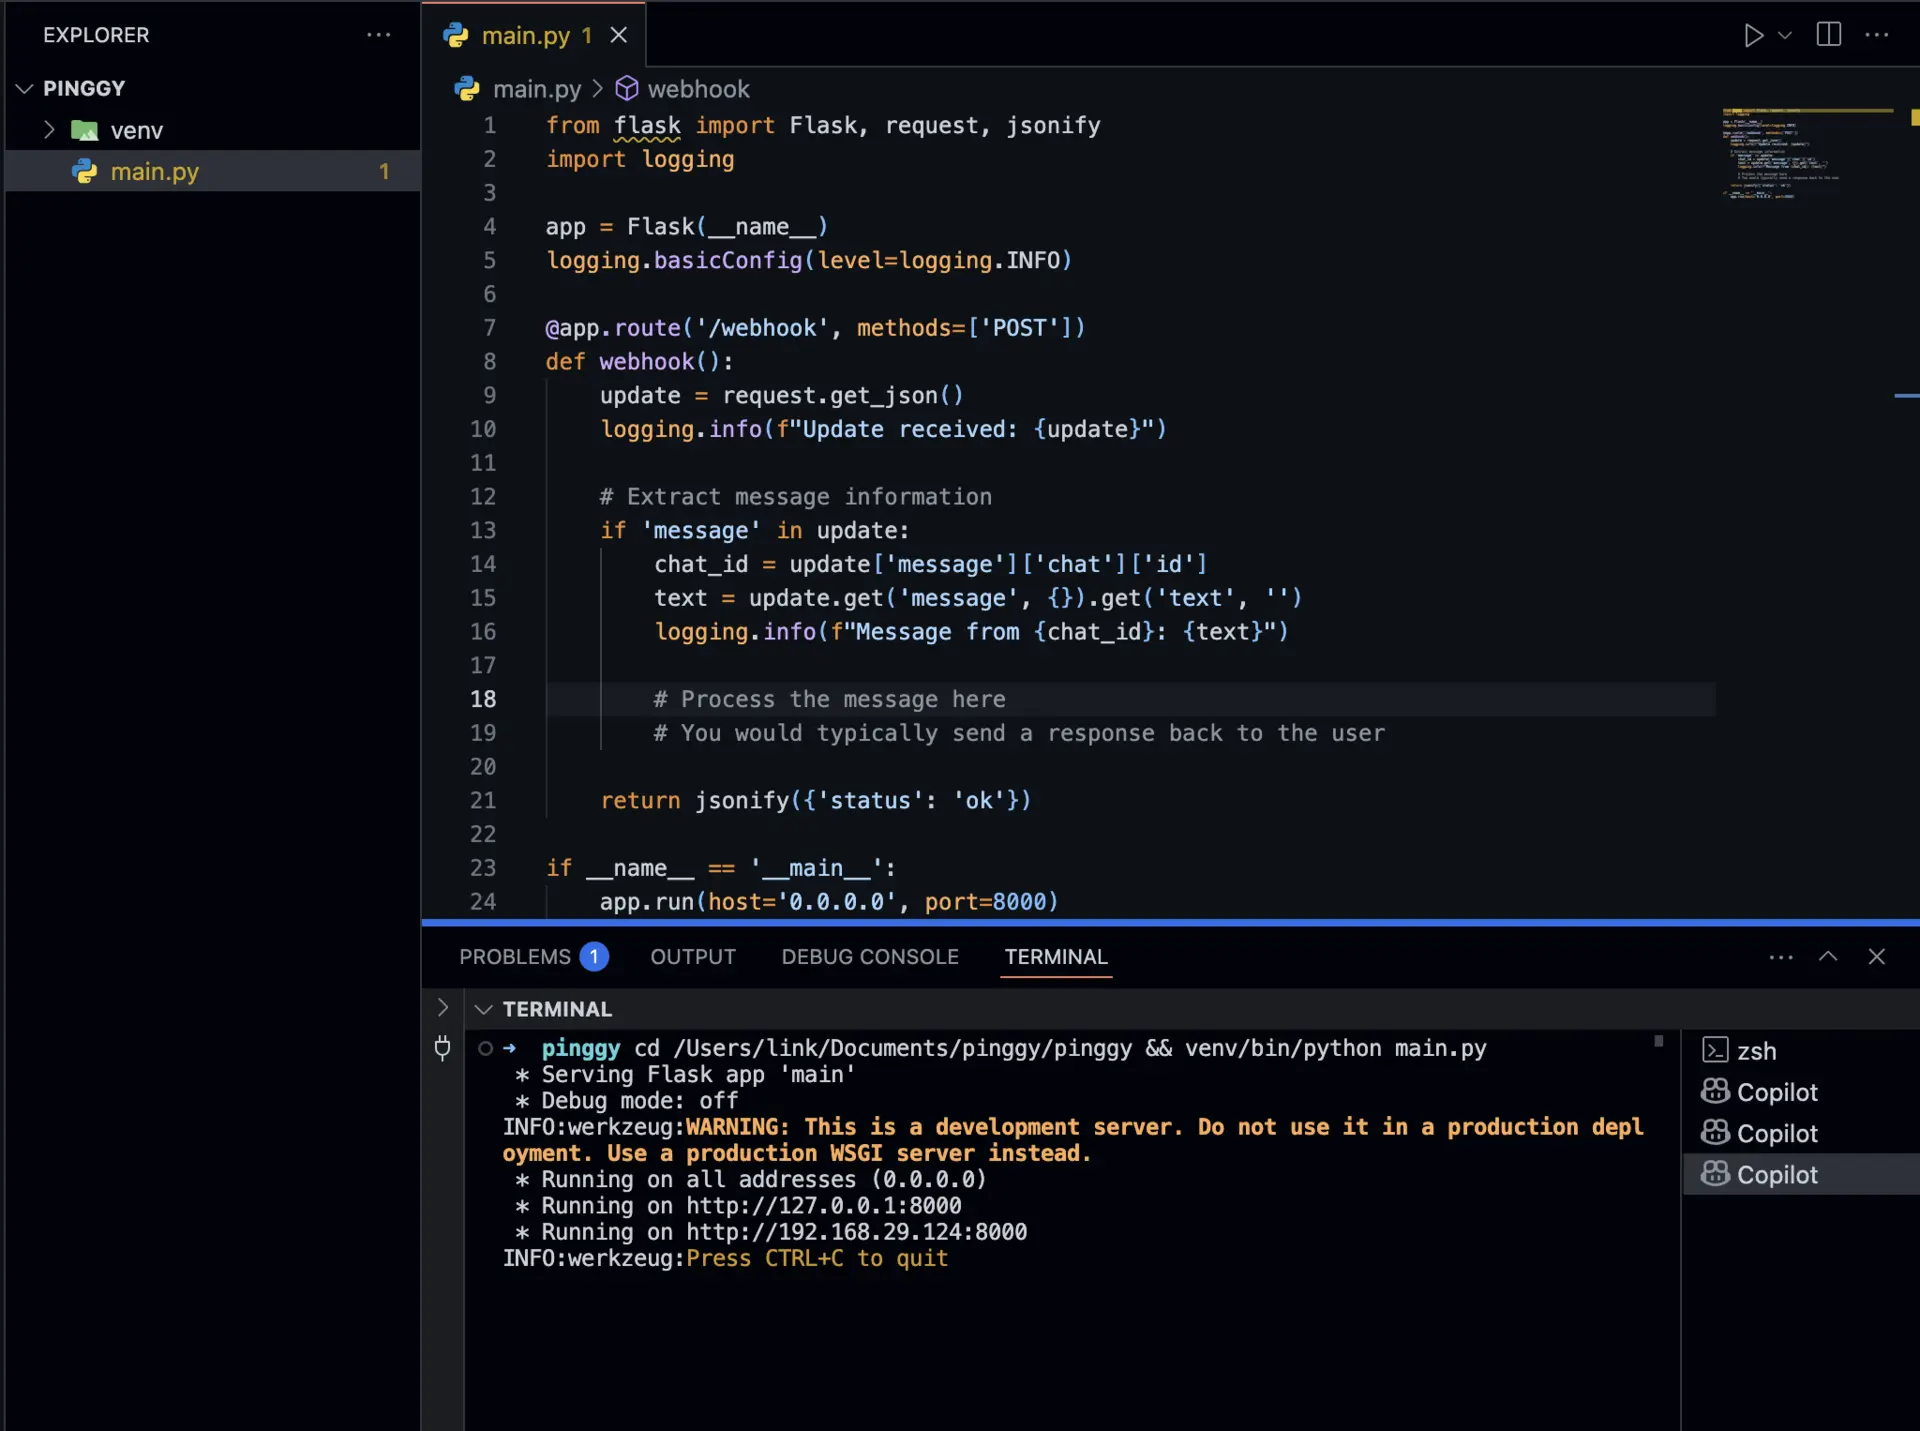
Use Flask with Python to create a simple server to handle incoming updates.
from flask import Flask, request, jsonify
import logging

app = Flask(__name__)
logging.basicConfig(level=logging.INFO)

@app.route('/webhook', methods=['POST'])
def webhook():
    update = request.get_json()
    logging.info(f"Update received: {update}")

    if 'message' in update:
        chat_id = update['message']['chat']['id']
        text = update['message'].get('text', '')
        logging.info(f"Message from {chat_id}: {text}")

    return jsonify({'status': 'ok'})

if __name__ == '__main__':
    app.run(host='0.0.0.0', port=8000)
Install Flask:
pip install flask
Run the server:
python telegram_webhook.py
This sets up a local server at http://localhost:8000/webhook.
Step 3: Make Your Server Public with Pinggy
Telegram needs to reach your webhook endpoint. Use Pinggy to expose your local server:
ssh -p 443 -R0:localhost:8000 qr@a.pinggy.io
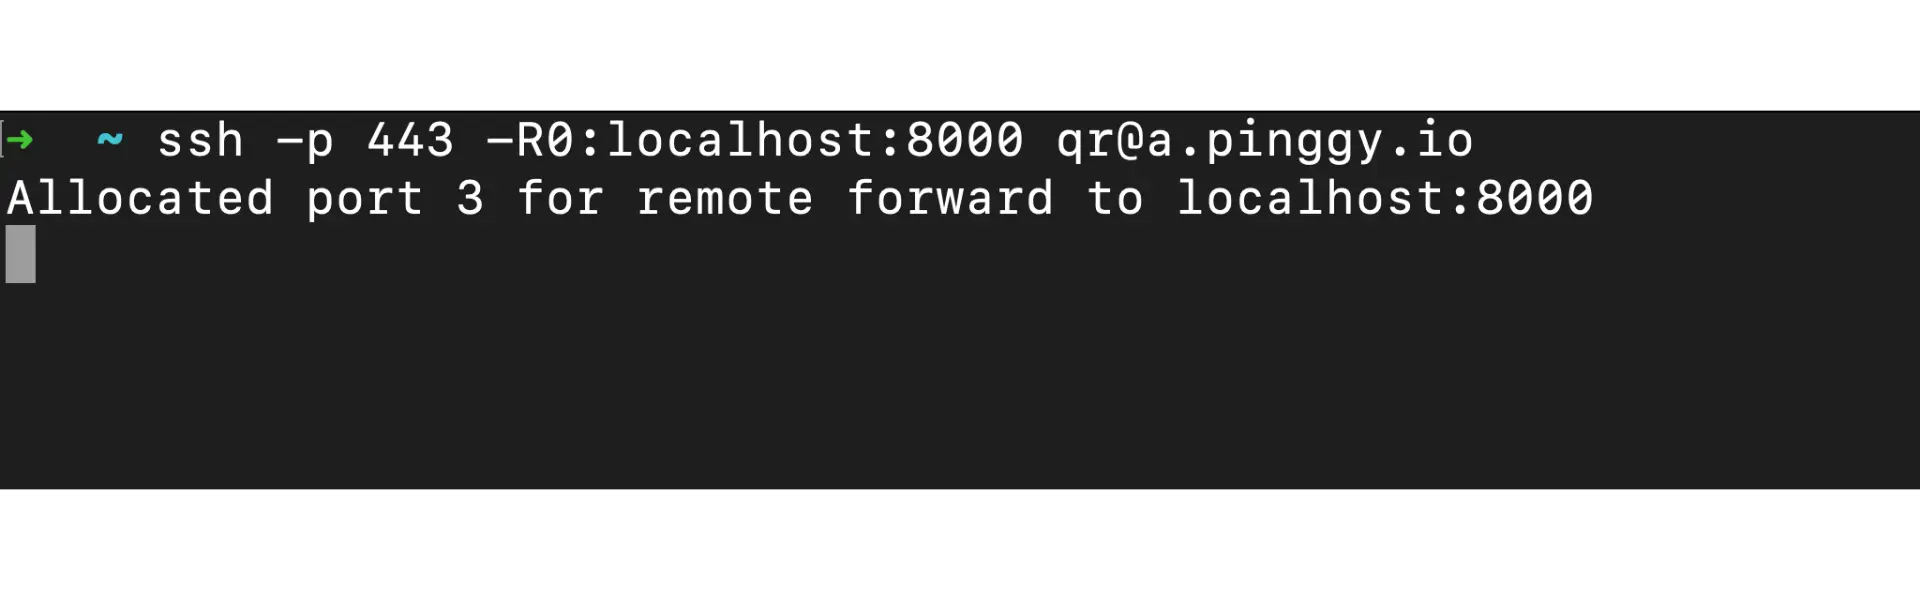
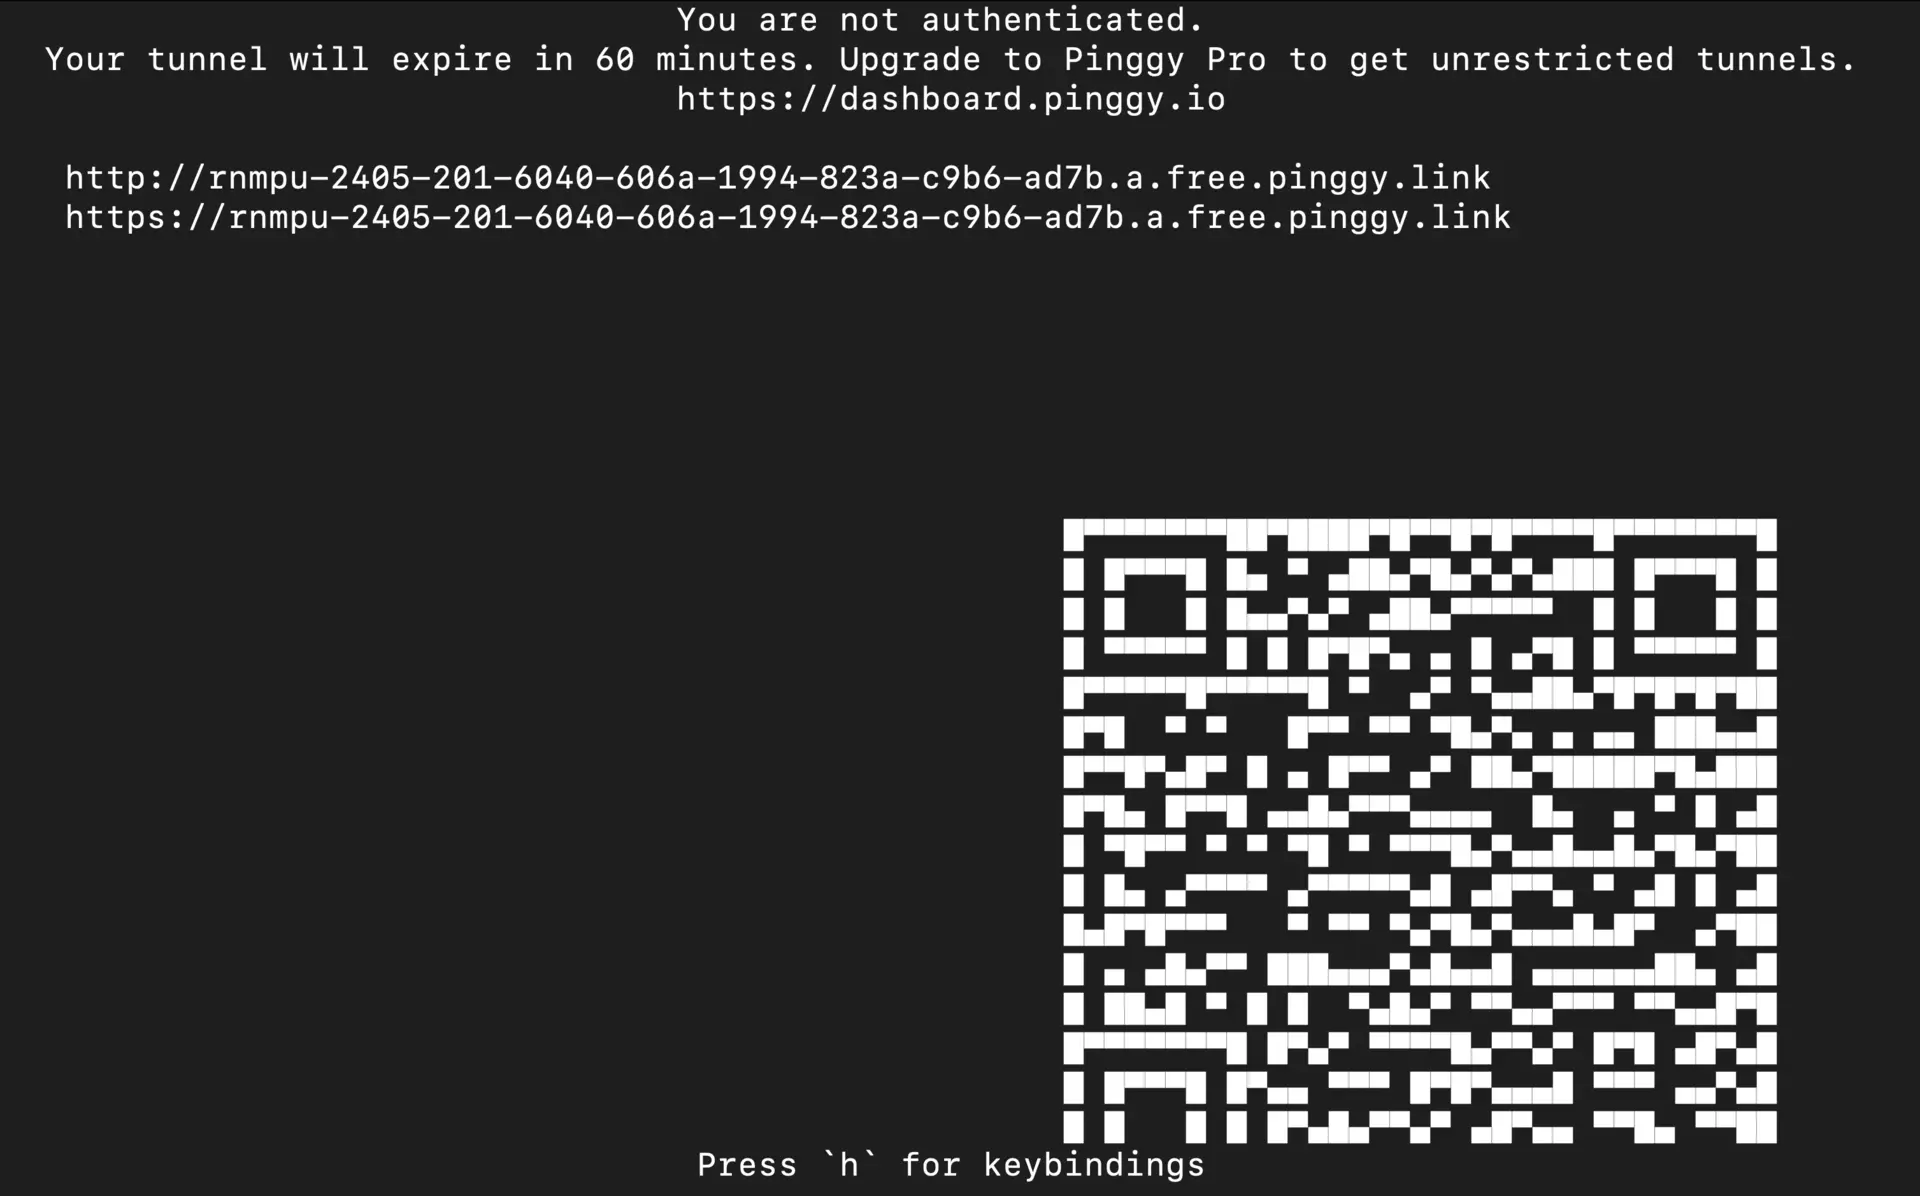
Pinggy provides a temporary public HTTPS URL such as:
https://abcdefghij.a.pinggy.link
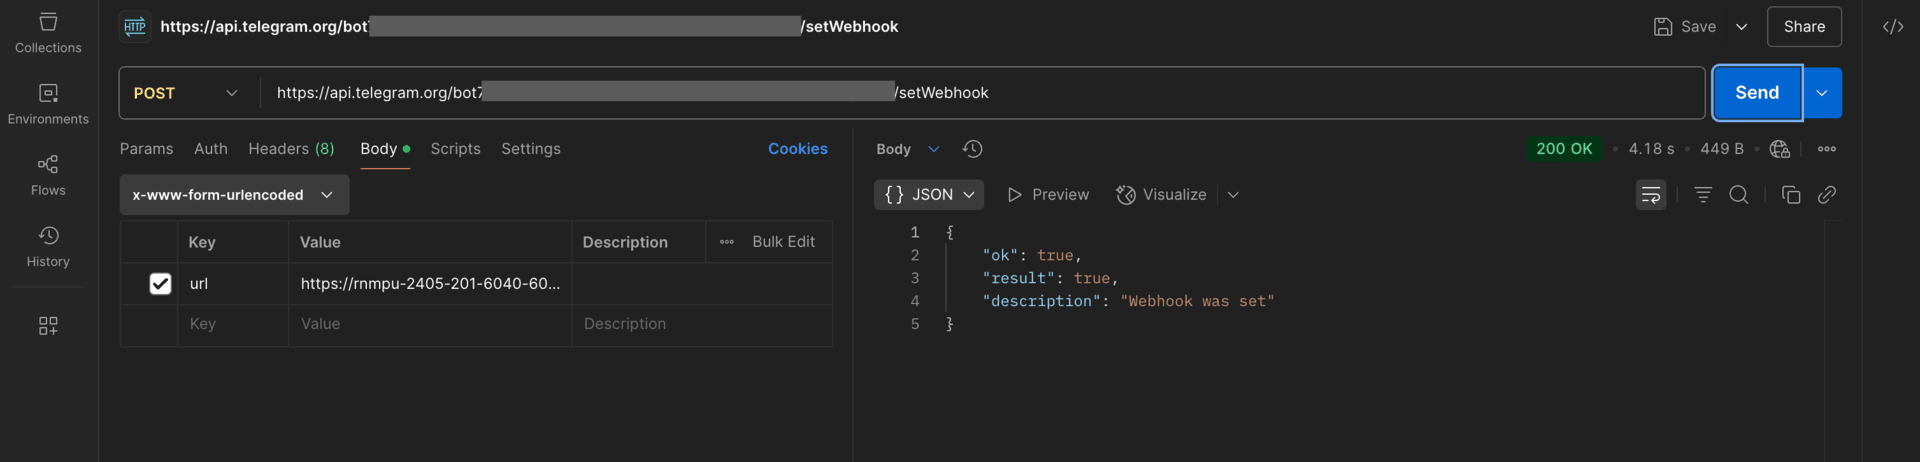
Step 4: Register the Webhook with Telegram
Use the following command to register your webhook:
curl -X POST "https://api.telegram.org/bot<YOUR_BOT_TOKEN>/setWebhook" \
     -d "url=https://abcdefghij.a.pinggy.link/webhook"
Replace <YOUR_BOT_TOKEN> and the URL with your actual values. A successful response confirms the webhook is active.
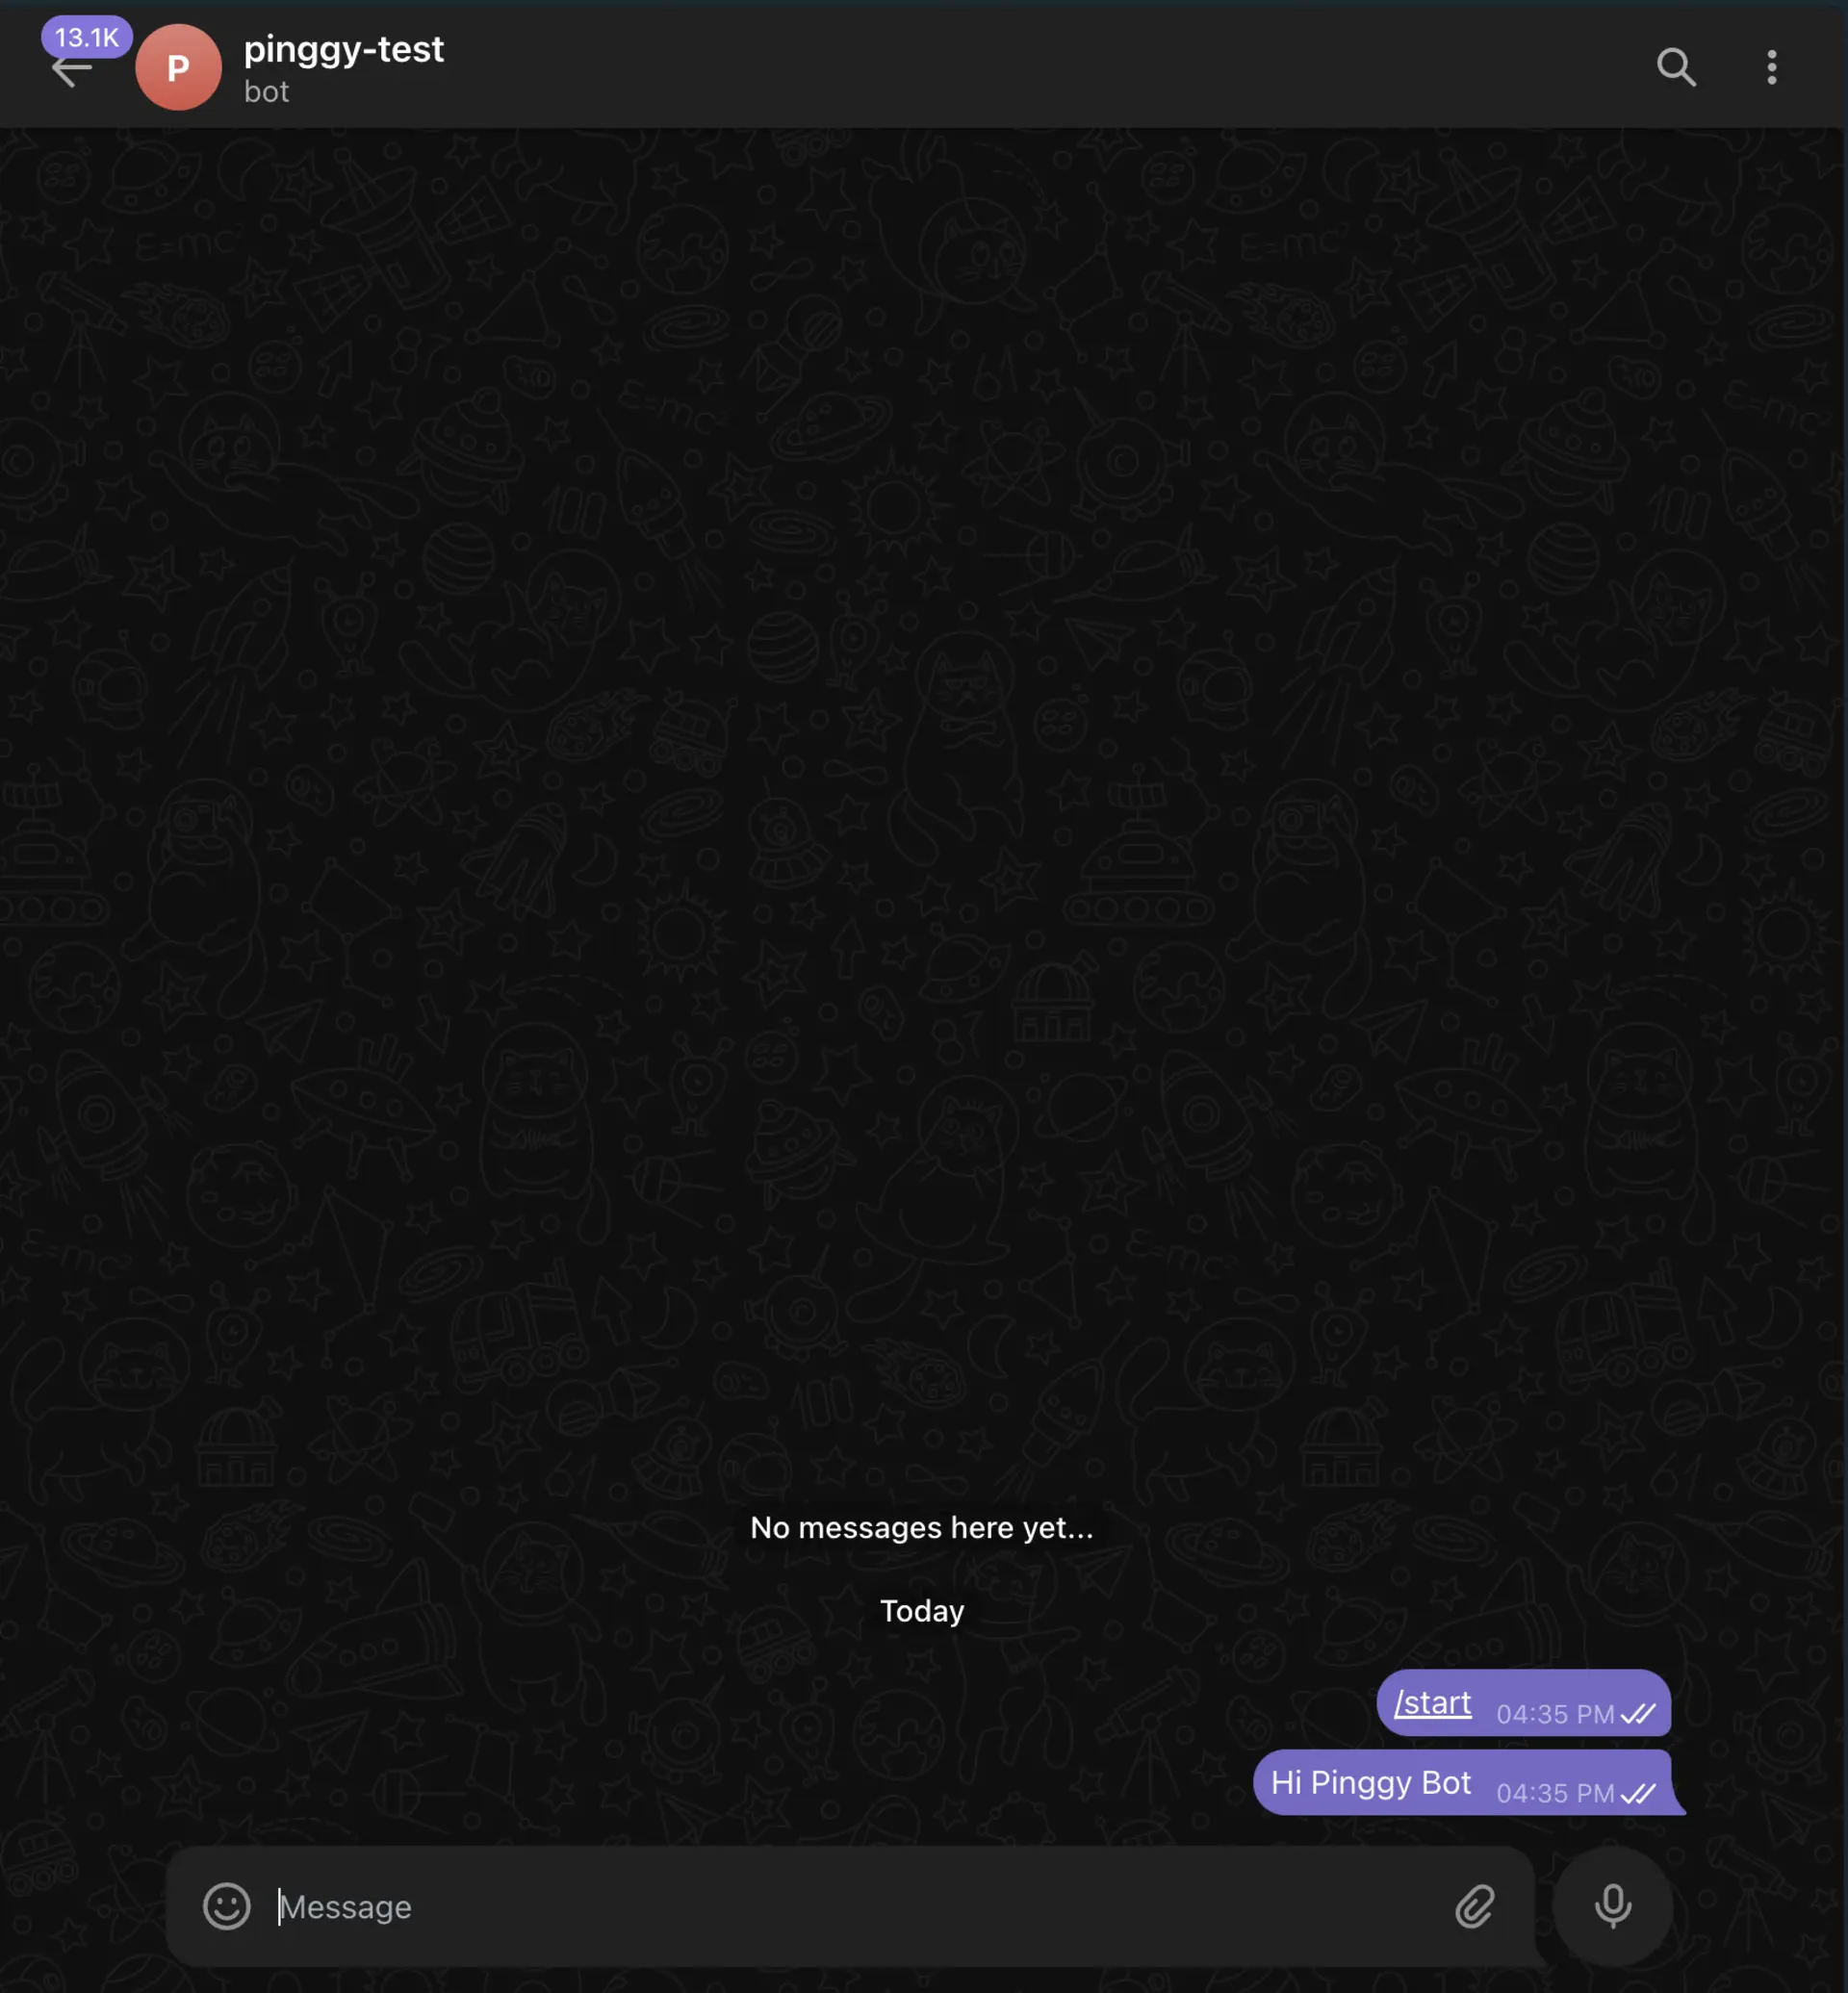
Step 5: Test Your Webhook Setup
Send a message to your bot on Telegram.
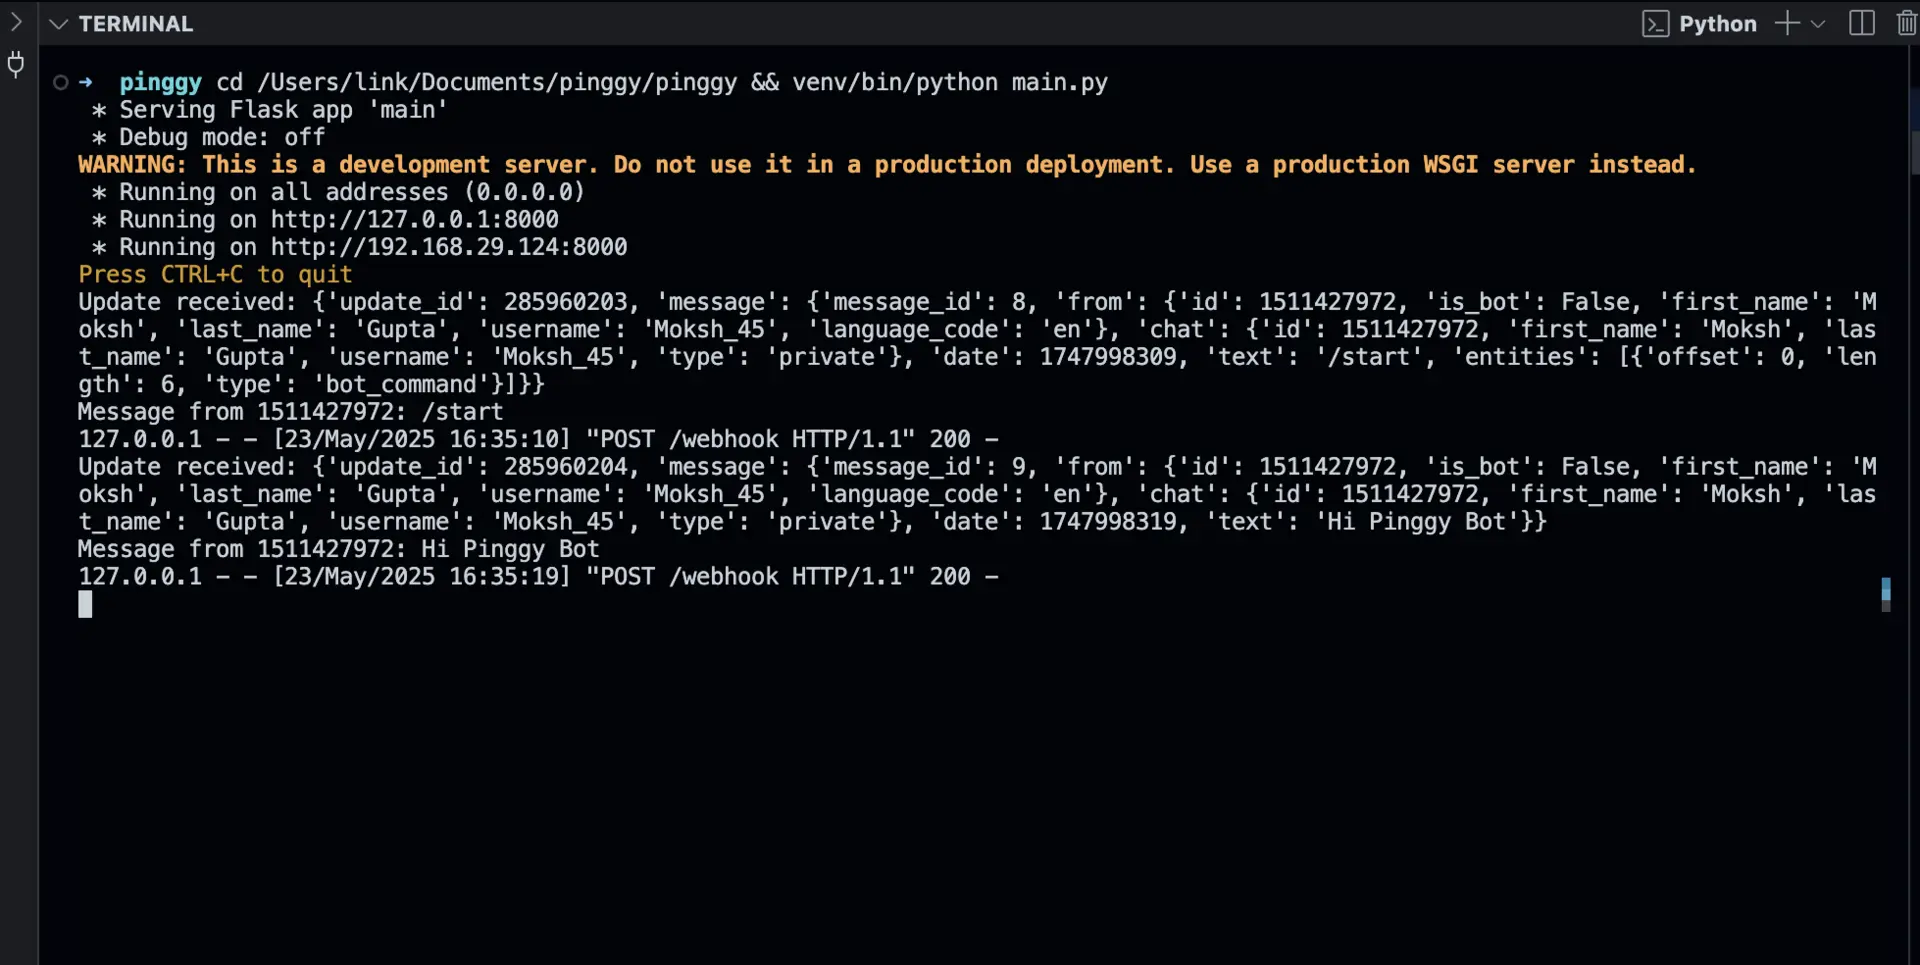
Check your server logs.
You should see an update payload indicating that Telegram successfully delivered the message.
Sample output:
INFO:root:Update received: {...}
INFO:root:Message from 123456789: Hello
Optional: Sending Replies from the Server
To send a response from the bot, use the following helper function:
import requests

def send_message(chat_id, text, token):
    url = f"https://api.telegram.org/bot{token}/sendMessage"
    payload = {"chat_id": chat_id, "text": text}
    response = requests.post(url, json=payload)
    return response.json()
Integrate this function into your webhook logic to respond dynamically.
Conclusion
Webhook-based communication allows Telegram bots to receive and process messages efficiently and in real time. During development, tools like Pinggy enable you to test these interactions using a temporary public endpoint, removing the need for external hosting.
This setup facilitates faster development cycles, better debugging, and a smooth transition to production deployments.
References
Subscribe to my newsletter
Read articles from Lightning Developer directly inside your inbox. Subscribe to the newsletter, and don't miss out.
Written by