Lighting Setup For Photography: Professional Techniques
 ProdShot Creator
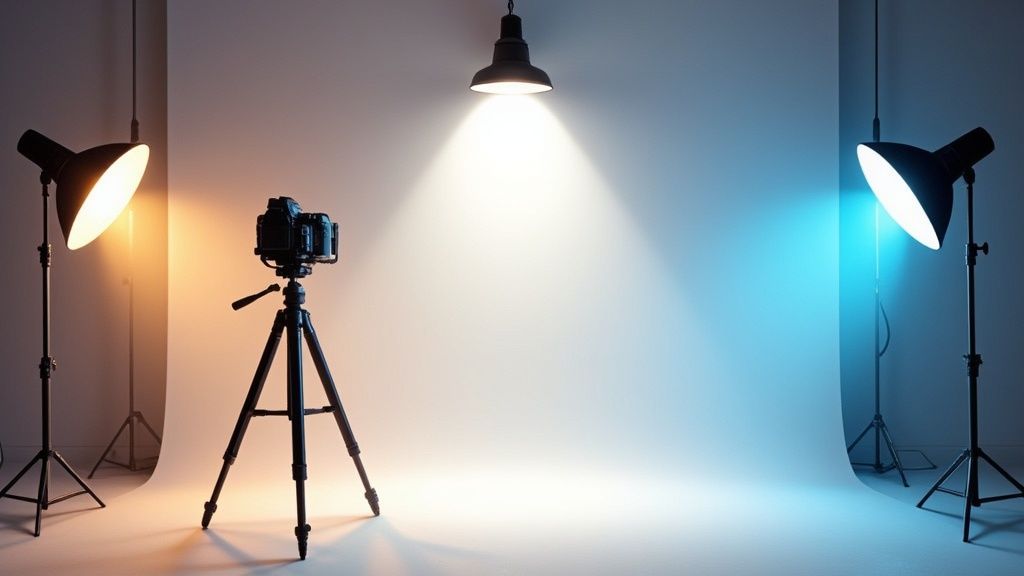
Understanding How Light Transforms Your Photography
Light is the fundamental ingredient in photography. It shapes the mood, reveals textures, and dictates the overall impact of your image. Think of light as the sculptor's chisel, shaping the subject and defining its form. This understanding is essential for mastering your lighting setup.
The Power of Light Direction and Intensity
The direction of light dramatically alters a photograph. Side lighting emphasizes textures and creates depth, while backlighting can produce ethereal silhouettes or dramatic highlights.
The intensity of light – how much or how little – also impacts the mood. Bright light feels airy and open, while low light creates a sense of mystery and intimacy.
Hard Light Vs. Soft Light: Shaping Your Subject
The quality of light, hard or soft, plays a significant role. Hard light, like direct sunlight, produces strong shadows, ideal for highlighting texture and creating a dynamic feel.
Soft light, like that on a cloudy day, is diffused and gentle, minimizing harsh shadows and creating a more flattering look, perfect for portraits. The difference is similar to drawing with a sharp pencil versus charcoal.
From photography's beginnings, controlling light has been paramount. Early photographers relied on the sun or basic incandescent bulbs. The arrival of artificial lighting, such as studio strobes in the 1960s and continuous lighting in the 1970s, revolutionized the field.
This evolution led to a booming market, with the global photography lighting equipment industry reaching $49.82 billion in 2023. This highlights both commercial growth and the widespread adoption of advanced lighting technology. Explore this topic further.
Harnessing Color Temperature and Modifiers
Color temperature, measured in Kelvin, is another critical element. Different light sources emit different colors, from the warm orange of sunset (around 2000K) to the cool blue of midday shade (7000K or higher). Understanding this allows you to capture accurate colors or use color casts creatively.
Modifiers further refine your lighting. Reflectors bounce light back onto the subject, filling shadows or creating highlights. Diffusers soften light, reducing harshness and creating an even distribution.
This controlled manipulation of light enhances your subject and creates the desired atmosphere. Mastering these techniques elevates snapshots into captivating photographs.
Essential Gear That Actually Makes A Difference
Stop wasting your money on equipment you won't use. This section cuts through the marketing hype and reveals the lighting tools that truly deliver, based on the experiences of photographers of all levels. We'll explain key lights, fill lights, and background lights with practical examples, skipping the abstract theory for real-world application.
Core Lighting Equipment
This infographic summarizes the key attributes of any light source you'll use in photography:
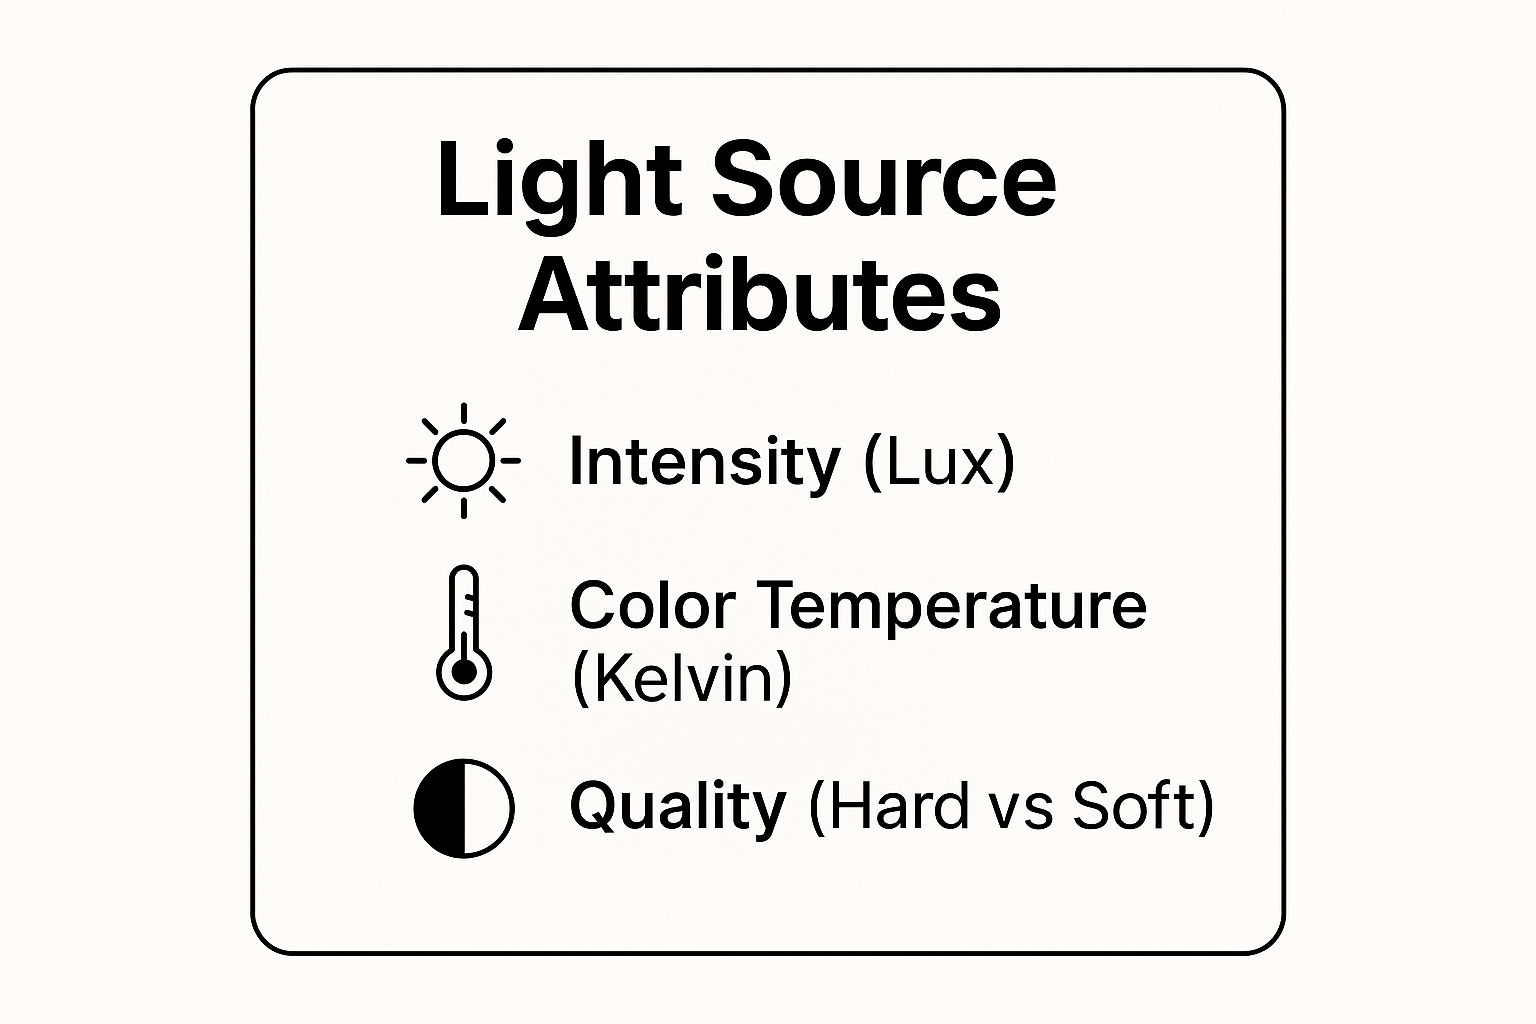
As the infographic shows, understanding and balancing intensity, color temperature, and quality is essential for effective lighting. A high Lux value, for instance, indicates a powerful light source, perfect for bright scenes or far-away subjects.
Changing the Kelvin value to a warmer or cooler temperature can dramatically shift the mood of a photograph. The quality of light—whether hard or soft—affects shadow definition and the overall look of the image.
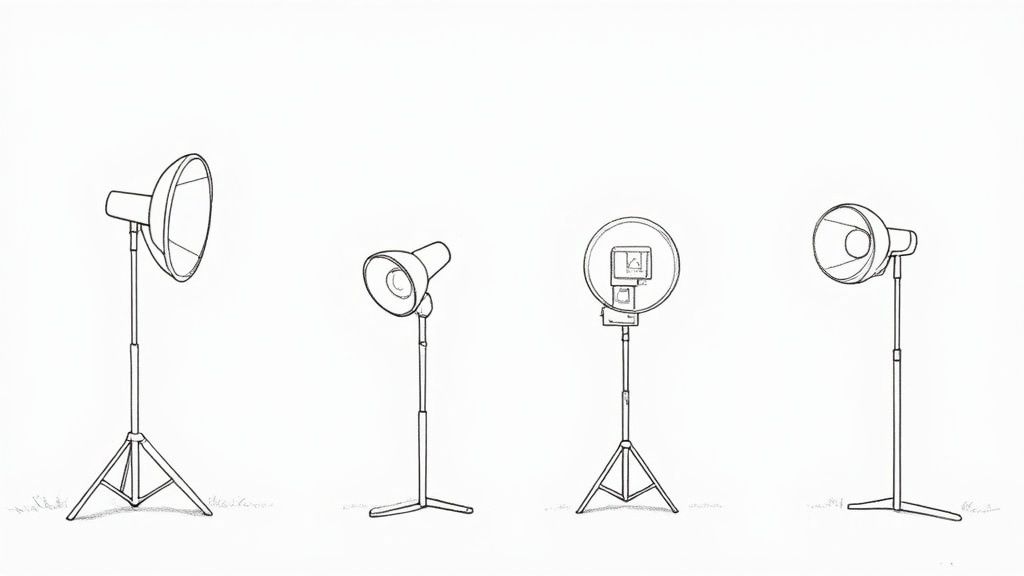
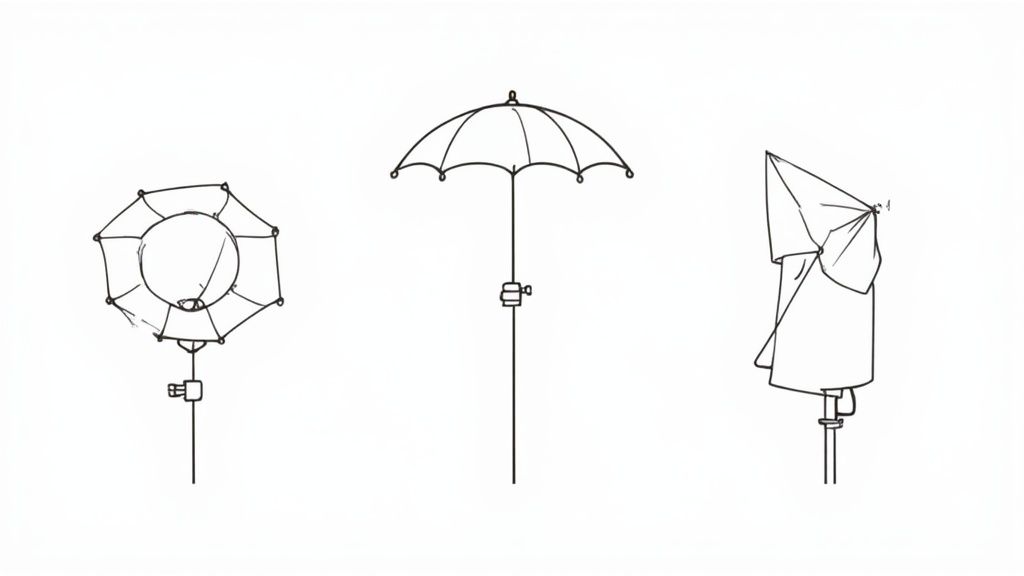
Softboxes vs. Umbrellas: A Practical Comparison
One common question photographers have is about softboxes and umbrellas. Both modify light, but in different ways. Softboxes offer more control, producing focused, soft light. Think of them as tools for sculpting light with precision.
Umbrellas spread light more widely, creating a softer, broader illumination. This is helpful for lighting larger areas or groups of people.
Beauty Dishes and Budget-Friendly Alternatives
Beauty dishes create a unique blend of soft and hard light, ideal for portraits with well-defined features. They can be expensive, though. Budget-conscious photographers can use a simple reflector or diffuser to achieve similar results with practice.
Reflectors: Bounce light back onto the subject, softening shadows.
Diffusers: Soften the light source directly, reducing harshness.
To help you compare different lighting options, we've created the following table:
Essential Lighting Equipment Comparison
This table compares different types of lighting equipment, their ideal uses, and price ranges.
| Equipment Type | Best For | Price Range | Pros | Cons |
| Softbox | Portraits, product photography | $50 - $300+ | Directional control, soft light | Can be bulky |
| Umbrella | Large groups, even lighting | $20 - $100+ | Wide, soft light, affordable | Less control over light spill |
| Beauty Dish | Portraits, fashion photography | $100 - $300+ | Blend of soft and hard light | Can be expensive |
| Reflector | Filling shadows, outdoor portraits | $15 - $50+ | Portable, affordable, versatile | Relies on available light |
| Diffuser | Softening harsh light | $10 - $50+ | Simple to use, inexpensive | Less control over light direction |
As this table shows, there’s a lighting tool for every budget and photographic style. Choosing the right equipment can significantly impact the quality of your images.
Building Your Kit Strategically
Don't buy on impulse. Start with the basics: a key light, a reflector, and maybe a diffuser. As you improve, you'll know what your kit needs and can invest in equipment that helps your work. You might be interested in: How to master Amazon product photography.
This lets you upgrade gradually. Learn more in our article about how to master Amazon product photography. Remember, quality over quantity. A few well-chosen tools used effectively will always be better than a room full of unused gadgets.
LED Versus Traditional: What Really Works Better
The world of photography lighting is abuzz with the arrival of LED technology. But does it truly surpass traditional tungsten lighting for your photographic needs? Let's compare the two, looking beyond the marketing to discover the real advantages and disadvantages of each.
Color Accuracy and Control
One of the biggest advantages of LED lighting is its exceptional color accuracy. LEDs allow for precise adjustments to color temperature, which is measured in Kelvin. This control allows photographers to easily fine-tune the mood and atmosphere of their images. You can quickly shift from a warm glow to a cool, crisp light without needing to change physical gels. Tungsten, in contrast, offers a much more limited range of color temperature adjustment.
Heat Management: A Key Difference
Traditional tungsten lights are known for producing a significant amount of heat, making them uncomfortable to work with, particularly during long shoots. This excess heat can also affect the subject, potentially wilting flowers or making models uncomfortable. Furthermore, this heat requires more energy to produce, resulting in increased power consumption. LED lights generate considerably less heat, leading to a more comfortable and energy-efficient shooting environment. This allows for longer, more productive sessions.
Power Consumption and Cost Savings
LEDs offer substantial energy savings. They consume significantly less power than tungsten bulbs, resulting in lower electricity bills and a smaller environmental impact. Moreover, the long lifespan of LEDs means you won't need to replace them frequently, saving you money over time. This makes LEDs a more environmentally friendly and cost-effective option for your studio.
The Market Speaks: LED’s Ascendance
The growing popularity of LEDs is not just anecdotal. The photography lighting equipment market shows a clear trend towards LED-based setups, driven by their flexibility and energy efficiency. In 2024, LED lighting held a significant share of new equipment sales, with the market valued at $5.15 billion. Projections indicate this will grow to $7.80 billion by 2033, a compound annual growth rate that outpaces older technologies. Find more detailed statistics here: https://www.marketresearchintellect.com/product/photography-lighting-equipment-market/
Integrating LED Into Your Existing Setup
Switching to an LED lighting setup doesn't require you to discard your existing equipment. You can strategically incorporate LED lights into your current system. For example, begin by replacing your key light with an LED panel and observe the differences in color accuracy and heat output. As your budget allows, gradually replace other lights over time, ensuring a smooth transition and maximizing the benefits of both technologies.
Studio Setups That Create Professional Results
Moving beyond basic lighting unlocks a world of creative possibilities for photographers. This section explores studio lighting setups that professionals use to achieve consistent, high-quality results. We'll cover the fundamental three-point system and delve into more stylized approaches, such as Rembrandt lighting. Through examples, you'll discover how specific setups manipulate light and shadow to create the desired mood and enhance your subjects.
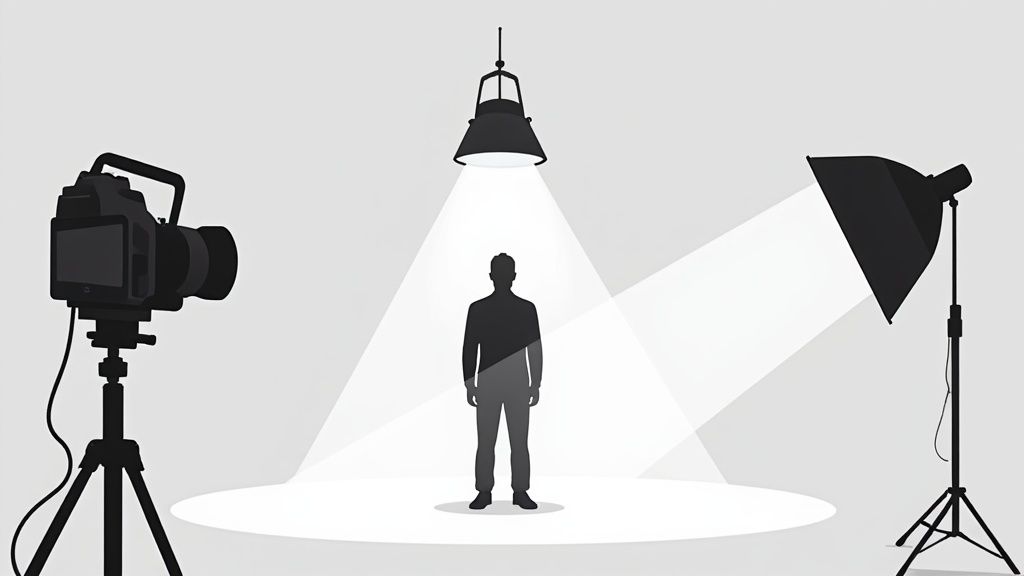
The Three-Point Lighting System: A Foundation for Success
The three-point lighting system is the bedrock of many professional photography lighting setups. This system uses three primary lights: the key light, the fill light, and the back light. The key light is the main illuminator, establishing the dominant light pattern and defining the overall exposure. Positioned slightly off-center, the key light creates depth and dimension.
The fill light, less intense than the key light, softens the shadows created by the key light. It adds detail to the subject's features. This balance between light and shadow is especially important in portrait photography. Finally, the backlight separates the subject from the background, adding depth and a touch of drama. It achieves this separation by highlighting the edges of the subject.
Key Light: The primary light source, shaping the subject's form.
Fill Light: Softens the shadows, revealing more detail.
Back Light: Creates a rim of light, separating the subject from the background.
Rembrandt Lighting: Adding Drama and Depth
Rembrandt lighting, named after the famous Dutch painter, builds upon the three-point system. It is characterized by a distinct triangular patch of light on the subject's cheek. This dramatic style is achieved by carefully adjusting the position of the key light.
When done correctly, Rembrandt lighting enhances the subject's features, creating a compelling interplay of light and shadow. This technique adds an artistic flair to images, making it ideal for character portraits and situations where you want a more moody atmosphere.
Butterfly Lighting: Enhancing Facial Features
Butterfly lighting gets its name from the butterfly-shaped shadow that it casts under the subject's nose. This lighting setup is created by placing the key light directly in front of and slightly above the subject. This technique emphasizes cheekbones and adds a glamorous feel to portraits.
Using a reflector below the subject can fill in the shadows under the chin, further highlighting facial features. Butterfly lighting is often used in fashion and beauty photography for its flattering effect.
Split Lighting: Creating Bold and Dramatic Portraits
Split lighting, as the name implies, splits the subject's face in half, illuminating one side while leaving the other in shadow. This dramatic lighting setup, achieved by positioning the key light directly to the side of the subject, creates bold and often mysterious portraits.
While effective, use split lighting carefully. It's especially impactful for highlighting strong expressions and textured surfaces.
Advanced Techniques: Rim Lights and Hair Lights
Adding rim lights or hair lights can further refine your lighting setup. Rim lights create a subtle glow around the subject, enhancing separation and adding a touch of ethereal beauty. Hair lights, meanwhile, illuminate the subject's hair, adding shine and detail. This is particularly useful when working with dark hair against a dark background.
These subtle enhancements can elevate a good image to a truly stunning one. You might be interested in learning more about the cost of professional photography: How much professional product photography costs.
Mastering these studio lighting techniques empowers you to create images that capture your artistic vision and communicate your message effectively. By understanding the purpose and effect of each light, you can experiment with infinite variations to match your subject and style.
Mastering Natural Light and Mixed Techniques
Natural light is a fantastic resource for photographers. It's readily available, free, and often creates beautiful imagery. However, its unpredictable nature presents a challenge. Understanding how to work with natural light effectively is key to producing consistent, professional results.
Reading and Adapting to Changing Light Conditions
Learning to interpret and adapt to shifting light throughout the day is the first step towards mastering natural light photography. The golden hour, the time just after sunrise and before sunset, bathes scenes in warm, soft light, perfect for portraits and landscapes. Overcast skies, conversely, provide a diffused light that softens shadows, ideal for achieving even, flattering illumination. Adjusting your techniques based on these conditions is vital for getting the best shots.
Enhancing Natural Light with Reflectors and Fill Flash
Even in ideal natural light scenarios, there are times when you might want to enhance or balance the existing light. Reflectors can be strategically placed to bounce light onto your subject, filling in shadows and creating a more balanced image. For more challenging lighting situations, a fill flash can be used to provide a burst of light that complements the natural light, illuminating shadows and adding depth.
Combining Natural and Artificial Light: Mixed Lighting Techniques
Combining natural and artificial light sources, known as mixed lighting, offers even greater control and opens up creative possibilities. This technique allows you to shape light in ways not possible with natural light alone.
Balance Color Temperatures: Managing color temperature is a crucial aspect of mixed lighting. Natural light tends to be cooler, while artificial lights can vary, from the warm glow of tungsten to the cool tones of fluorescent. Color correction gels or adjusting the white balance in post-processing with software like Adobe Lightroom can help harmonize these differences.
Seamless Integration: Blending natural and artificial light seamlessly requires careful placement and attention to intensity. The goal is to create a natural-looking result that complements the scene. For example, natural light might serve as your key light, with artificial lights used as fill or backlights.
Consistent Results: Mastering mixed lighting allows you to create consistent, professional results, regardless of the weather or time of day. This control is particularly beneficial for commercial photographers striving for a uniform look. By carefully balancing and blending light sources, you can significantly enhance your photography.
Through practice and experimentation with different lighting setups for photography, you will develop the skills and confidence to harness the power of natural and mixed lighting, adding a new dimension to your photographic work.
Creative Lighting Techniques For Standout Images
Understanding the basics of lighting is essential for any photographer. But to truly elevate your work, you need to explore creative lighting techniques. This is where technical skill meets artistic vision. Let's dive into some advanced methods used by professionals to create truly unique images.
Light Painting: Painting With Light
Light painting is a captivating technique that involves using a moving light source during a long exposure. Think of it like painting with light. You can use a simple flashlight to add streaks of light across a dark landscape or illuminate a subject in dynamic ways. This technique gives images an ethereal, almost dreamlike quality.
Colored Gels: Setting The Mood
Colored gels placed over your light sources can dramatically change the mood of your photos. A blue gel, for example, can create a cool, serene atmosphere, while a red gel can inject intensity and drama. Just like an artist chooses paint colors for a canvas, colored gels allow you to transform the overall aesthetic of your image.
Shaping Light With Flags and Barn Doors
Controlling light is crucial for creating compelling photographs. Flags and barn doors are tools that give you precise control over light placement. Flags are black panels used to block light from certain areas, preventing unwanted spill and creating defined shadows. Barn doors, which attach to lighting fixtures, have adjustable flaps that allow you to direct light with precision.
Creative Shadow Play: Adding Depth and Intrigue
Shadows aren't just the absence of light; they're a powerful element that can add depth and intrigue to your images. By strategically positioning your light sources and using tools like flags, you can shape shadows to emphasize textures, heighten drama, and guide the viewer's eye through the scene.
Multiple Exposure Lighting: Layering Light For Unique Effects
Multiple exposures involve taking multiple photos within the same frame, each with different lighting, and blending them together. This technique can create truly unique and surreal results. Imagine capturing a dancer twirling, with each rotation illuminated by a different colored light. The possibilities are endless.
The photography lighting equipment market is booming, driven by the demand for high-quality visuals. By 2025, the market is estimated to be worth $23.76 billion, projected to reach $32.47 billion by 2033. This growth is fueled by advancements in lighting technology, including wireless controls and portable, adjustable lighting systems, making professional lighting setups more accessible than ever. Learn more about this growing market: Find more detailed statistics here.
These techniques, while advanced, are achievable for any photographer willing to experiment. Practice is key to developing your own unique lighting style. As you explore these methods, you’ll discover how to transform ordinary scenes into extraordinary photographs.
Solving Common Lighting Problems Fast
Even seasoned photographers run into lighting issues. The difference is they know how to spot and fix them quickly. This section covers the most frequent lighting problems: harsh shadows, uneven lighting, color casts, and unwanted reflections. Understanding these issues and their solutions will dramatically improve your photos.
Taming Harsh Shadows
Harsh shadows, often from direct, intense light like midday sun, can ruin a photo. Imagine a portrait in bright sunlight; the subject's features could be obscured by deep shadows.
Quick Fix: Diffuse the light. A diffuser softens the light source, or you can place your subject in open shade. A diffuser acts like a cloud, softening the harsh sun.
Prevention: Shoot during the golden hour (after sunrise or before sunset) or on overcast days for naturally soft light.
Balancing Uneven Lighting
Uneven lighting throws off the mood and balance of a photo. This happens when one area of the scene is much brighter than another.
Quick Fix: Use a reflector to bounce light into the darker spots. A reflector acts like a mirror, redirecting light. Or, adjust your camera’s exposure settings.
Prevention: Carefully position your lights or shoot in locations with more even lighting.
Correcting Color Casts
Color casts are unwanted tints in a photo from various light sources. Indoor lighting can create a yellow or orange hue, making skin tones look unnatural.
Quick Fix: Adjust the white balance on your camera. Presets for different lighting are often available. You can also fix color casts later with photo editing software like Adobe Photoshop. For product photography editing tips, check out: How to master product photo editing for e-commerce.
Prevention: Use color correction gels on your lights or shoot in a controlled lighting environment.
Eliminating Unwanted Reflections
Unwanted reflections, especially on reflective surfaces like glass or water, can spoil a shot.
Quick Fix: Change your camera or light angle to minimize reflections. A polarizing filter also helps reduce glare.
Prevention: Be aware of reflective surfaces and adjust your position and lighting.
To help you quickly identify and fix these issues, here's a handy table:
Common Lighting Problems and Solutions Quick reference guide for identifying and solving frequent lighting issues
| Problem | Cause | Quick Fix | Prevention |
| Harsh Shadows | Direct, intense light | Diffuser, Open Shade | Golden Hour, Overcast Days |
| Uneven Light | Light imbalance | Reflector, Exposure Adjustment | Position Light Sources, Use Fill Light |
| Color Casts | Different light sources | White Balance, Post-Processing | Color Correction Gels |
| Reflections | Reflective surfaces | Camera/Light Angle, Polarizing Filter | Mindful Positioning |
This table summarizes the common lighting problems, their causes, quick solutions, and preventative measures. By using these techniques, you can avoid common lighting problems and capture stunning images.
For professional product photography, consider ProdShot: https://prodshot.net
Subscribe to my newsletter
Read articles from ProdShot Creator directly inside your inbox. Subscribe to the newsletter, and don't miss out.
Written by