Autoblogging: Build a Hands-Free Autopilot Blogging System with Blogbuster + Crosspost
 Emeruche Cole
The New Era of Content Creation
In the fast-paced world of digital publishing, the demand for consistent, high-quality content is relentless. Whether you run a niche blog, content-heavy startup, personal newsletter, or affiliate site, keeping up with publishing schedules can feel like a full-time job. But what if your blog could write itself — on autopilot?
That’s exactly what autoblogging makes possible. Autoblogging tools use AI and automation to generate, schedule, and even distribute blog content without manual writing. And two platforms are leading the charge in this space: Blogbuster, your go-to autopilot blog generator, and Crosspost, the one-click publishing and distribution tool.
In this feature, we’ll explore how Blogbuster can power your blog’s content engine while you sleep, and how pairing it with Crosspost transforms it into a seamless syndication powerhouse. This article will cover the Blogbuster setup, generation process, and strategic use cases and then show you how to publish and cross-post your new AI-written posts across the internet using Crosspost.
What is Blogbuster?
Blogbuster is an AI autoblogging tool that takes the manual work out of content creation. It generates original, SEO-friendly blog posts from just a few inputs — no writing, editing, or formatting needed.
BlogBuster: Turn Your Blog into an Autopilot Traffic Machine
Once set up, Blogbuster runs on autopilot, creating and scheduling articles daily, weekly, or monthly. You can choose content categories or let it pick trending topics from your niche.
Each post comes optimized for search, complete with structured headings, keywords, and even images to break up walls of text — making your blog look pro with zero effort.
What is Crosspost?
Crosspost is a content distribution tool that lets you publish your blog posts everywhere from one place. With a single click, you can send your articles to platforms like Medium, Substack, Hashnode, Dev.to, and more.
Crosspost - Write once, publish everywhere.
It’s built for creators who want maximum reach without copying and pasting across sites. Just connect your accounts, upload or paste your post, and Crosspost handles the rest.
Each version is formatted to match the destination platform, keeping your content clean and consistent — so you focus on writing once, and let Crosspost handle the rest.
Getting Started with Blogbuster
Starting with Blogbuster is surprisingly fast and intuitive. Here’s a breakdown of how to set up your autoblog in under 10 minutes:
1. Sign Up and Create a Project
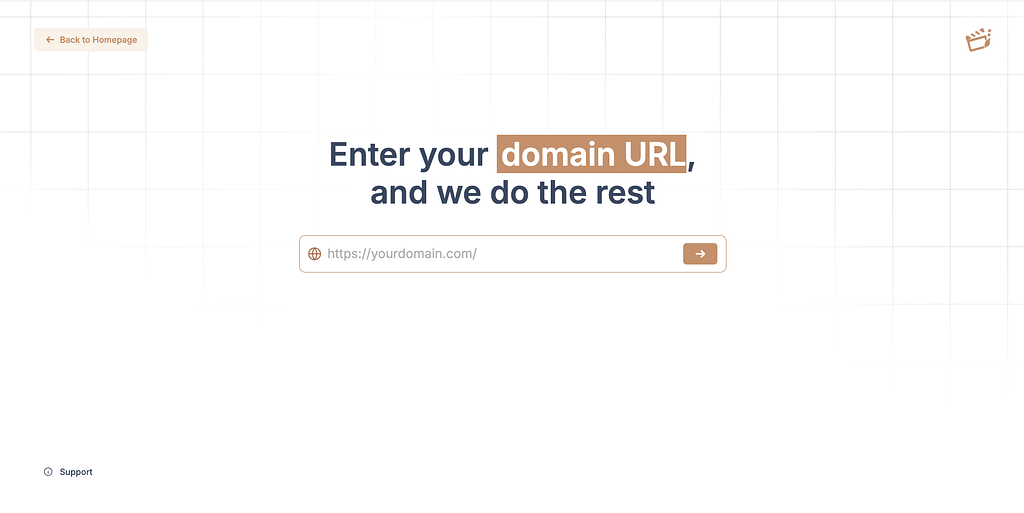
Visit Blogbuster’s website and sign up for an account. After logging in, enter your domain URL and let Blogbuster scrape your project and generate the brand info, audience and tone in 2–3 minutes. You can also customize these if you want.
To get you started, Blogbuster will let you choose one of three suggested topics to generate an article about.

2. Set Your Content Preferences
Head over to Settings in Blogbuster to set your brand and content preferences. You can set preferences for brand logo, name, description, and target audience, as well as content preferences like length, specific instructions, exclusions, and much more.
For me, because tables are not supported on Medium and can have funny behaviours in different platforms, I added the instruction “Do not generate tables or any advanced formatting”.
3. Pick Topics or Let AI Decide
Next, head over to Topics. Here you can see the topics generated by Blogbuster based on your domain, or you can generate new ones if you are a paying customer.

For each generated topic, you can choose to schedule or generate immediately. For this tutorial, click “Generate Now” to generate the articles. This could take a while, and you will receive an email once the article is fully generated!
4. Publish Articles
Head over to Article to view generated articles. Here, you can open each article to make any edits you may want. When satisfied with what you have, publish the article.
5. Generate API token
To be able to import and crosspost articles generated by Blogbuster on Crosspost, you will need a Blogbuster API key. To get this, head over to Settings > Integrations and click on Generate to get a new key.
Store this key safely!
Setting up Crosspost
Now that we are done with the Blogbuster side of the setup, we now need to setup Crosspost to import and publish the generated articles across the internet.
1. Set up a Crosspost account
Head over to Crosspost to create a new account easily.
2. Add integrations
You will need to connect your Blogbuster account on Crosspost. Also, you will need to connect target platforms where you want to publish.
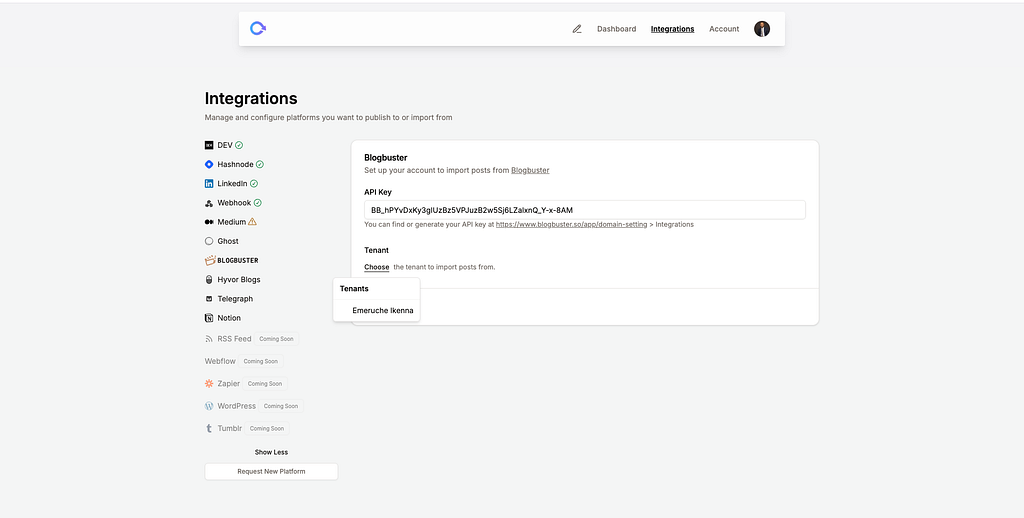
Navigate to Integrations > Blogbuster, paste in your Blogbuster API key, then click on “Choose” to select the tenant (project) you want to import from. Then save the integration.
Do this for other platforms (e.g DEV, Medium, Hashnode) where you want to publish to.
3. Import from Blogbuster
Click on the pencil icon on the navigation bar and then “New” to start a new article on Crosspost. On the edit page that shows next, click on “Import from…” and select Blogbuster.

This will open a modal that lists all published articles on Blogbuster and you will be able to choose one from the list. Select the one you wish to crosspost and “Import selected”.
4. Crosspost!
After making sure everything looks good and imported correctly — which I’m sure is the case — go ahead and click on the Continue button and select all connected platforms you wish to publish to.
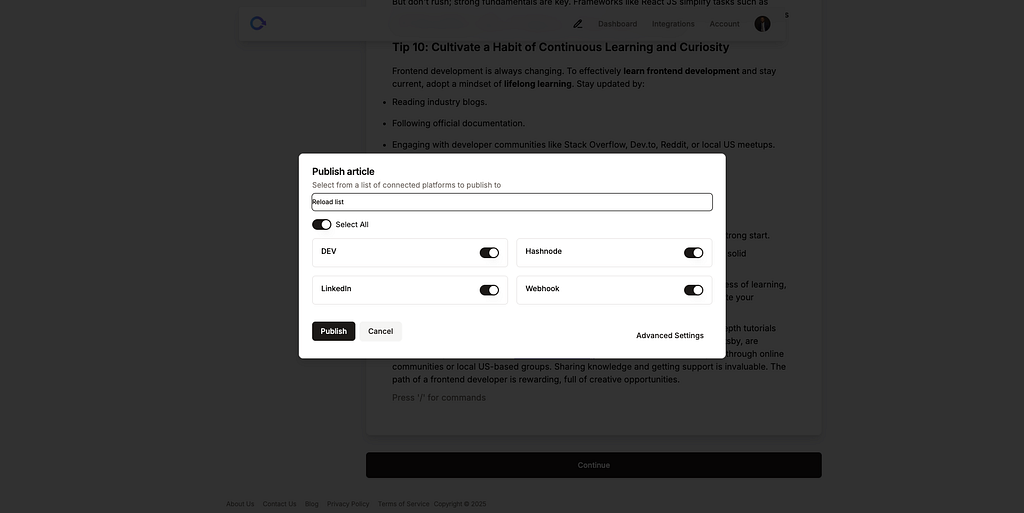
You can also click on Advanced Settings to set properties like canonical URL, tags, SEO properties and more. When ready to publish, click on Publish and watch your content distributed everywhere at once!
Further reading:
Subscribe to my newsletter
Read articles from Emeruche Cole directly inside your inbox. Subscribe to the newsletter, and don't miss out.
Written by