How to Edit Product Photos: Easy Tips to Improve Your Shots
 ProdShot Creator
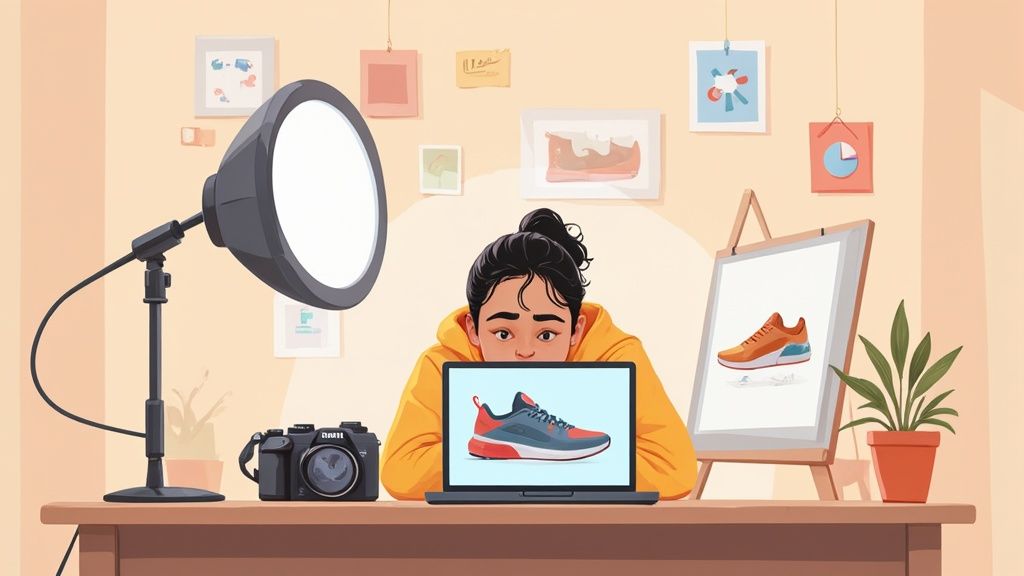
Setting Yourself Up for Product Photo Success
From years of editing product photos, I've learned one key thing: the real magic happens before you even open your editing software. Think of it like a chef prepping ingredients before they start cooking. That groundwork is everything. I've talked to tons of successful e-commerce photographers and brand managers, and they all agree: starting with high-quality raw images completely changes the editing game. You're not fixing problems, you're enhancing what's already great.
This proactive approach separates the amateurs from the pros. A blurry photo with bad lighting is a nightmare to fix, even with the best tools like Adobe Photoshop. But a sharp, well-lit photo? That's a joy to work with. You can actually focus on creative enhancements instead of spending hours on damage control.
This all starts with a practical, organized workspace. Even a small dedicated area with consistent lighting and a clean backdrop can save you so much frustration. Smart file management is also essential, especially when you're editing in bulk. Personally, I organize my files by product type or shooting date. It might seem tedious at first, but it's a lifesaver when you need to find something quickly.
Thinking Ahead Pays Dividends
Here's a peek at Photoshop, a powerhouse for product photo editing: 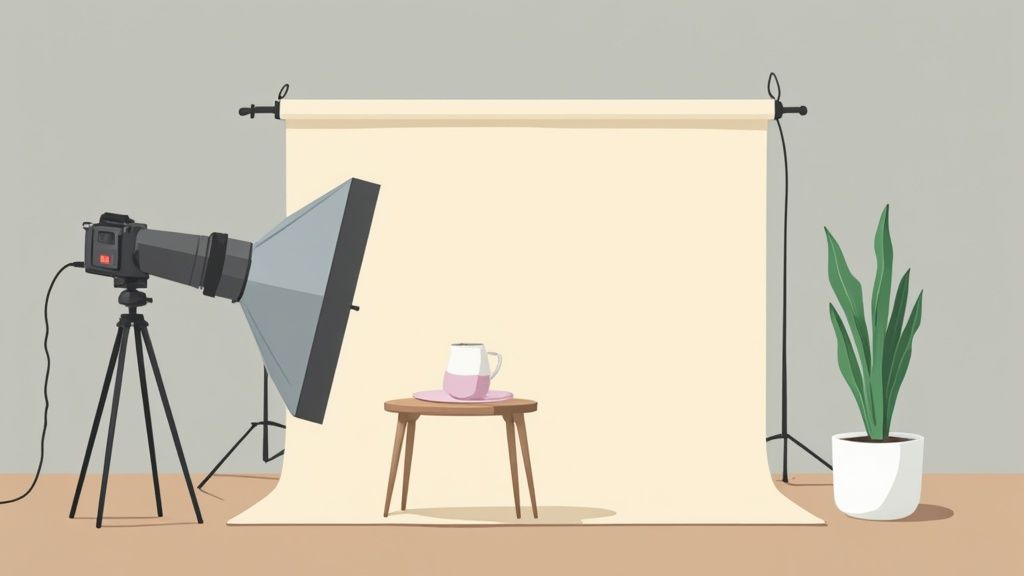 The screenshot shows just how many tools are available, from simple adjustments to complex manipulations. Mastering these tools will definitely level up your photos, but remember, good lighting in your initial photoshoot minimizes the need for heavy editing later.
Understanding your lighting setup is crucial. Some setups make editing a breeze, while others create a nightmare of shadows and color imbalances. The same goes for avoiding common shooting mistakes. Catching these errors upfront is way more efficient than trying to fix them in post-production.
The Value of Professional Photography
The importance of high-quality product photos is clearly reflected in the growth of the professional photography services market. The global market (which includes product photo editing) was valued at $55.6 billion in 2023 and is projected to reach $81.83 billion by 2032, growing at a 4.4% CAGR. This shows how vital polished product images are for e-commerce, branding, and advertising. Want to dive deeper into the photography industry? Check out these insights. In the end, setting up your workflow for maximum efficiency is a smart investment. It frees you up to create stunning product visuals that really sell.
Choosing Your Editing Arsenal Without Breaking the Bank
Let's talk photo editing software. I've spent way too much time testing different programs, from the freebies to the pricey pro suites, and I've chatted with photographers of all skill levels. What I've learned might surprise you: expensive doesn’t automatically mean better when it comes to product photography. Why is it that some pros live and breathe Adobe Photoshop while others create stunning work using completely free tools? And what impact are AI tools like ProdShot having on the industry? Take a look at this infographic – it visualizes file format distribution (JPEG 60%, PNG 25%, TIFF 15%) and compares average file retrieval times. Notice the difference between organized (30 seconds) and unorganized (2 minutes) workflows.
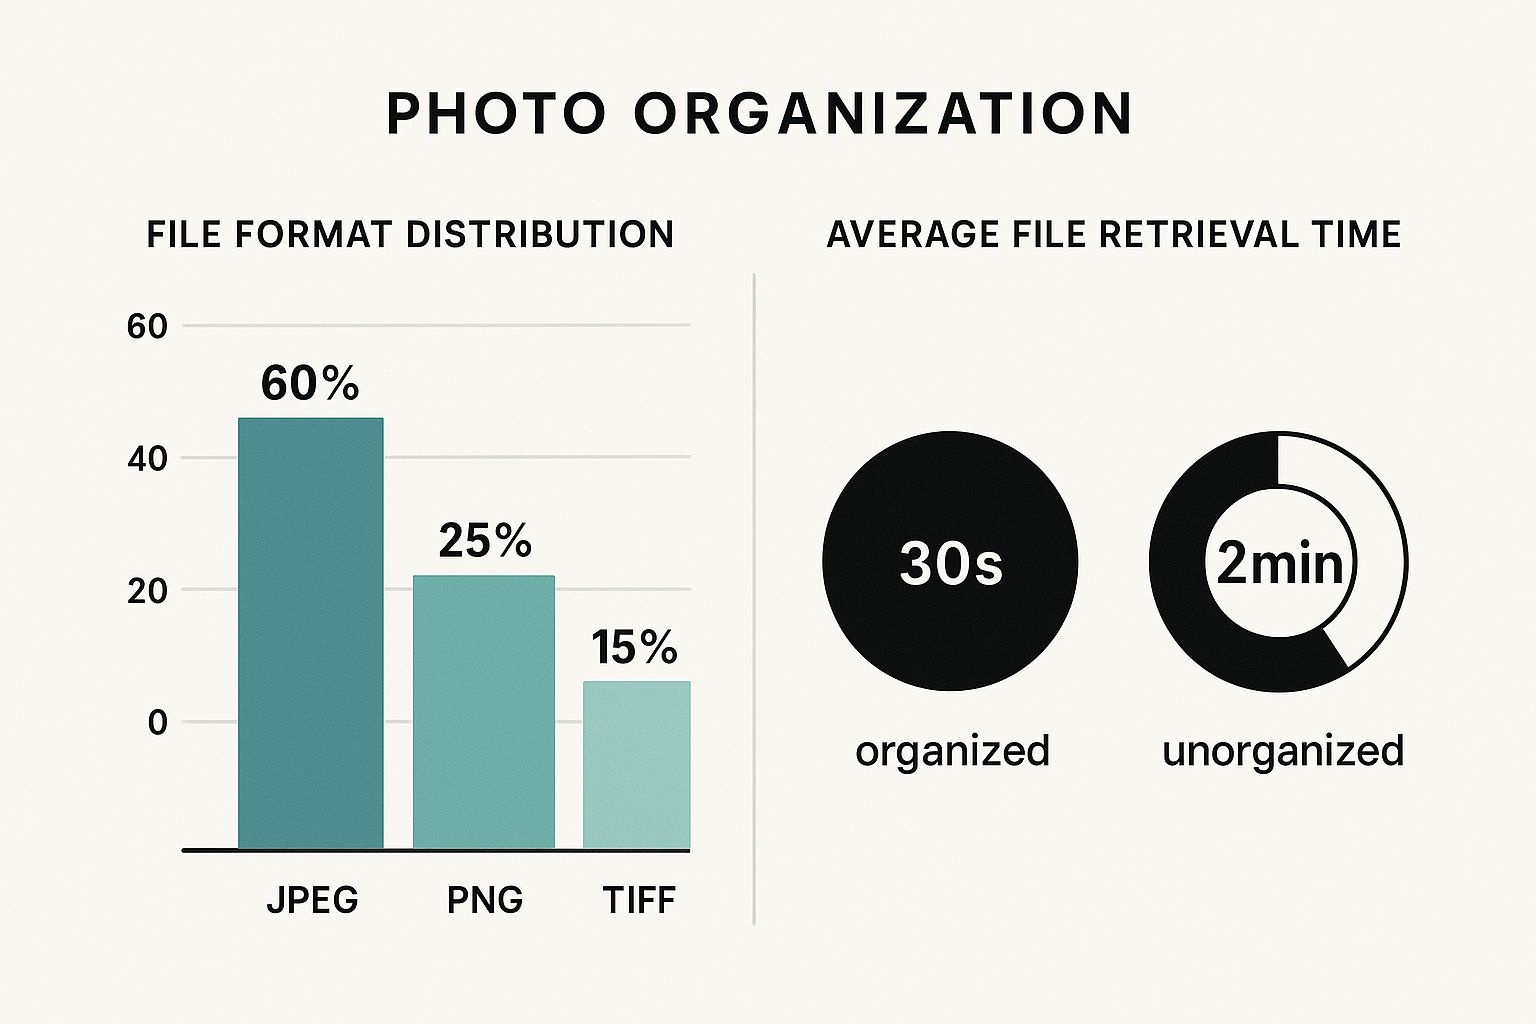
A well-organized file system is a lifesaver. Seriously, it dramatically cuts down on time wasted searching for the right image. That extra time can then be used for the actual editing process. This kind of efficiency is especially important when you’re dealing with a huge product catalog. The real key is choosing the right tools that fit your specific needs—and, of course, your budget. Don't underestimate the power of free software for basic adjustments. Here’s a peek at Canva's photo editor:
Even free platforms like Canva pack a surprising punch when it comes to features for product photos. You don’t always need expensive subscriptions to get great results.
Free vs. Paid: Finding the Right Balance
Before you jump into a subscription, think about what you actually need. Just cropping, resizing, and tweaking colors? Free tools might be all you need. However, if you’re diving into more advanced techniques like layer masking or you need batch processing capabilities, investing in premium software like Adobe Photoshop is probably a good move. Even in 2025, Photoshop is still king, used by about a third of all graphics and photo editing software users. Interestingly, the entire photo editing software market was valued at USD 4,140.4 million that same year, with projections to hit USD 10,154.2 million by 2030. Here's some more interesting data on market share if you're curious. One strategy I recommend is building your toolkit gradually. Start free and upgrade only when you feel limited. This lets you learn the basics of product photo editing without committing to expensive platforms right away.
To help illustrate the different options available, here’s a comparison table highlighting some popular choices:
Popular Product Photo Editing Software Comparison
A detailed comparison of features, pricing, and best use cases for different editing software options.
| Software | Best For | Monthly Cost | Key Features | Learning Curve |
| Adobe Photoshop | Professionals, advanced edits | \$20.99 | Layer masking, advanced retouching, extensive tools | Steep |
| GIMP | Beginners, hobbyists, open-source alternative to Photoshop | Free | Basic and some advanced features, customizable | Moderate |
| Canva | Beginners, quick edits, social media graphics | Free (Pro version available) | Simple interface, templates, basic photo editing | Easy |
| Pixlr | Beginners, quick online edits | Free (Premium version available) | Browser-based, basic and intermediate tools | Easy |
| ProdShot | E-commerce businesses, AI-powered edits | Varies based on usage | Background removal, lighting enhancement, AI tools | Easy |
As you can see, the options vary significantly in terms of features, cost, and ease of use. Consider your own skill level and the complexity of your editing needs when making your decision.
The AI Advantage: ProdShot and Beyond
AI platforms like ProdShot are changing the game. Features like automatic background removal and lighting enhancement are huge time-savers. But here's the thing about AI—it's a tool, not magic. It’s not a perfect solution on its own. Knowing when to combine AI with manual adjustments is where the real magic happens. Think of AI as the assistant doing the heavy lifting, while you, the artist, come in to add the finishing touches. It's a collaboration. When checking out AI platforms, look at processing speed, user-friendliness, and how well they integrate with your current workflow. Don't just follow the hype; focus on what your business needs.
Mastering Background Removal and Replacement
Nothing transforms a product photo like a clean background. It just looks professional. But I've removed backgrounds from thousands of product photos over the years, and let me tell you, there’s a definite art to it. Some techniques are way more effective than others. Let’s dive into the methods that consistently deliver, from old-school masking to the magic of AI.
Manual Masking: Pixel-Perfect Precision
Masking gives you ultimate control, down to the pixel. Using tools like the Pen Tool in Photoshop, you carefully trace the outline of your product. This creates a super-precise selection. It's perfect for intricate shapes and fine details – think jewelry or glassware. The downside? It's a time-consuming process, not ideal if you have a huge product catalog.
AI-Powered Background Removal: Speed is Key
AI is changing the game. Services like remove.bg offer one-click background removal. Here’s a peek at their interface: 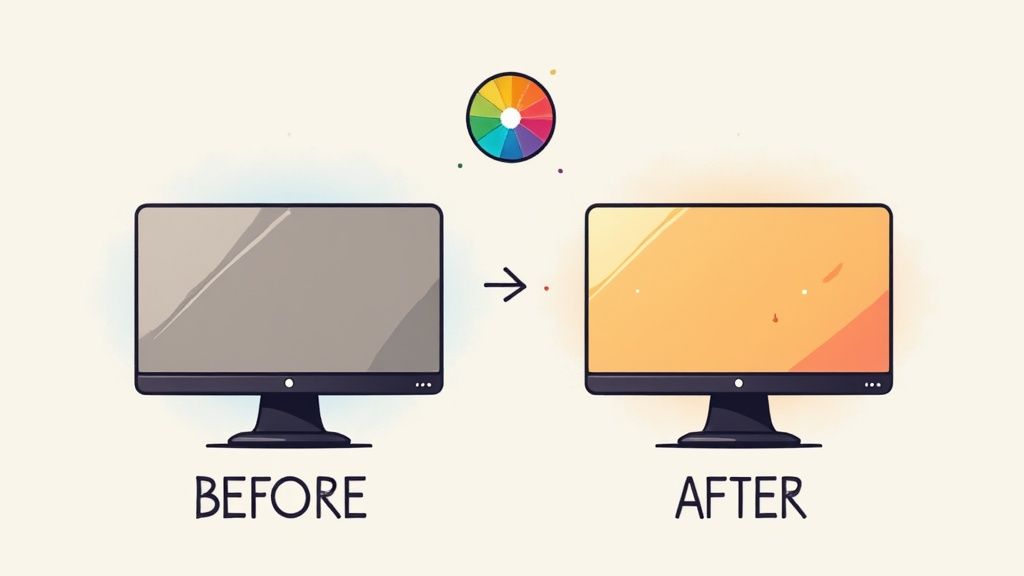 Upload an image, and boom – the AI isolates your product. Incredibly fast for bulk editing. Sometimes, though, you might need to do some touch-ups, especially with tricky textures like fur or hair. Speaking of efficiency, you might also want to check out how to remove backgrounds directly within Shopify using ProdShot's Shopify app.
Finding the Right Balance: It Depends
Knowing when to use manual masking versus AI is crucial. For a single, hero image where perfection is paramount, manual masking is worth the effort. But for hundreds of product variations? AI is a lifesaver. Honestly, I often use a hybrid approach. AI for the initial background removal, then I manually refine any rough edges or details. Best of both worlds.
Creative Backgrounds: Level Up Your Product
Removing the background isn't just about a blank canvas. It’s about choosing backgrounds that actually enhance your product. A plain white background is a classic for a reason, but think about using textures, gradients, or even lifestyle scenes to create a mood. Imagine a cozy blanket on a faux-wood background – instantly adds warmth and visual interest.
Troubleshooting: Fixing Common Problems
Even with the best techniques, you might run into some snags. Fringing (that thin line of the original background clinging to your product) is pretty common. Carefully refine your selection edges or use the Defringe tool in Photoshop to clean it up. Another challenge? Mismatched lighting and shadows. Make sure your new background complements your product's lighting for a realistic look. These little details make all the difference. Remember, the goal is to make the background disappear and let your product shine.
Color Correction and Enhancement That Actually Sells
Color drastically impacts how a product is perceived online. It can be the make-or-break factor for a customer deciding whether to click "add to cart." After looking at thousands of e-commerce listings and talking with brand managers, I can tell you firsthand – color's influence on sales is huge. Let's dive into color theory in product photography and how tweaks can sway buyers.
One crucial element is color consistency. Picture yourself browsing a site where the same product appears in different shades across multiple photos. It screams unprofessional, doesn't it? Keeping consistent color across your product line is essential for a polished brand. This gets tricky with different lighting and cameras. I’ve found that building a style guide with specific color values is key for maintaining consistency, even when shooting in different locations. That means defining your brand's exact shade of blue, for instance, and sticking to it across all your product photos.
Correcting White Balance: Avoiding the Yellow Cast
Another frequent problem is incorrect white balance, especially indoors. A yellow or blue tint can cheapen your product or make the colors look wrong. Most editing software like Adobe Photoshop has a white balance tool; you select a neutral area in the photo to correct the colors. Sometimes, though, you’ll need more powerful tools like color curves for fine-tuning. It’s a bit more involved to master but gives you serious control over the final color grading.
Enhancing Saturation: The Fine Line
Boosting saturation can make your product photos pop, but there's a delicate balance between enhancement and misrepresentation. I've seen way too many returns because of unrealistic color expectations. Oversaturated reds, for example, can make a dress look entirely different in person. The trick is to increase saturation subtly, focusing on highlighting the actual product colors, not inventing new ones. This is where understanding the psychology of color comes in. Cool blues can evoke trust and calm, while warm oranges and yellows create excitement and energy.
Setting the Mood with Color Grading
Color grading is more than just correction; it's about setting a mood. Think about how Instagram filters completely change a photo's vibe. The same applies to product photography. Warm tones create a cozy feel, while cool tones project sophistication. You can learn more about enhancing your product photos in our guide on photo editing services for ecommerce. Play around with different color palettes to find the perfect fit for your brand. For jewelry, I often use cool tones to emphasize sparkle. For food, warm tones make dishes look more appetizing. It's all about using color to tell your story.
Lighting Enhancement and Shadow Magic
Let's talk lighting. Seriously, great lighting can transform a product photo from so-so to stunning. It grabs attention, shows off the texture, and adds that professional polish that makes all the difference. And the best part? You don't need a pro studio setup to get it. I've been editing product photos for years, often shot in less-than-perfect conditions, and I can tell you, editing is where the magic happens. We're talking about boosting existing light, softening harsh shadows, and even creating the illusion of perfect lighting where there was practically none.
One of my favorite tricks is working with the natural light you already have. It's not about making drastic changes, but enhancing what’s there. A little boost in brightness, a subtle adjustment to contrast – these small tweaks can reveal hidden details and bring your product to life. Think of it like cleaning a window to let the sunshine in.
Taming Shadows and Highlighting Features
Shadows… they can be your friend or your foe. Sometimes, they add depth and interest, especially for products like jewelry or watches where you want to highlight shape and texture. Other times, they hide important details and make your product look, well, less appealing. Mastering shadow control is a game-changer in product photography.
The dodge and burn technique is a classic for a reason. It’s still incredibly relevant today. Dodging brightens areas, while burning darkens them. Used carefully, this method can create a more balanced and eye-catching image. For example, dodging can lift shadows on a fabric to showcase its weave, while burning can add depth to the edges of a metal product to create a more premium look. It's all about finding the right equilibrium.
Highlight Management for a Premium Feel
Just as important as shadows are the highlights – the brightest parts of your image. Blown-out highlights (those areas of pure white with no detail) scream amateur. On the other hand, well-managed highlights make your products look polished and high-end. This is especially true for reflective surfaces like glass or metal. Imagine how highlights on a glass bottle can convey its smooth, clean surface, or how highlights on a piece of jewelry can bring out its sparkle and facets.
Adobe Lightroom is a powerful tool for this kind of fine-tuning. This screenshot gives you an idea of the adjustments available, from basic exposure to specific highlight and shadow controls. Lightroom makes it easy to play around and see what works best.
Experimentation is key. Don’t be afraid to tweak the settings and see how they impact your photo. Over time, you'll develop an instinct for how lighting adjustments can actually change the perceived value of your products. From adding sparkle to jewelry to highlighting the texture of fabrics, lighting is all about showcasing your products in their best light—literally!
Leveraging AI Tools for Faster Results
AI is transforming product photo editing. But let's be real, there's a lot of hype to sift through. After testing numerous AI editing platforms and comparing them to traditional methods, I've found some clear advantages. Let's dive into how tools like ProdShot (and other AI solutions) can speed up your workflow without compromising quality. It's about smart integration, not replacing your skills entirely.
AI: Your New Photo Assistant
Think of AI as your trusty editing sidekick. It’s a lifesaver for tedious tasks like background removal. This frees you up to focus on the creative stuff, like color grading and those final details that really make an image pop.
Take a look at ProdShot's interface: It's clean, intuitive, and makes uploading and enhancing product photos a breeze. A user-friendly interface is crucial, especially when you're working against the clock.
From my own experience using actual product shots, some AI features, like smart cropping, are incredibly efficient. Others, like style transfer, need more manual tweaking than I sometimes find worthwhile. The key? Understanding the strengths and limitations of each AI tool. Human oversight is still essential for professional-looking results. You're the director, and AI is your crew. Speaking of streamlining, you might be interested in ProdShot's AI Product Photo Generator.
The Evolving World of Photo Editing
AI is constantly evolving. Features like automatic product tagging and AI-powered retouching are popping up left and right. The photo editing software market is booming, reflecting this growth. In 2025, the market value hit USD 345.2 million and was projected to reach USD 580.3 million by year-end, with a 5.2% CAGR. This demonstrates the growing importance of editing software in optimizing product photography. Want to explore the market's expansion? Dive into the research.
Knowing which AI tools work best for different products and editing challenges is key. AI excels at removing backgrounds from simple products on a solid backdrop. But more intricate items (like jewelry) or transparent objects might still need manual masking. It's all about choosing the right tool for the job and knowing when your expertise is needed for those truly polished, high-quality results.
To help you navigate the choices, I've put together a comparison table:
To help you choose the best AI tool for your needs, I've compiled a comparison table based on my own testing and research:
AI Photo Editing Tools Performance Analysis Comparison of processing speed, accuracy, and cost-effectiveness for popular AI editing platforms
| Tool Name | Processing Speed | Accuracy Rate | Cost per Image | Best Use Case |
| ProdShot | Fast | High | Varies with plan | Background removal, basic enhancements |
| Remove.bg | Very Fast | Medium | Free tier available, paid plans for higher usage | Quick background removal for simple images |
| Pixelcut | Fast | High | Subscription-based | E-commerce product photos |
| Clipping Magic | Medium | High | Pay-as-you-go | Images with complex edges |
| Adobe Photoshop (AI features) | Medium | Very High | Part of Adobe Creative Cloud subscription | Advanced editing and retouching |
This table provides a quick overview of several popular options. As you can see, each tool has its strengths. ProdShot shines in its balance of speed and accuracy for common tasks, while Remove.bg is great for quick background removal on simpler images. Pixelcut and Clipping Magic cater to different needs and budgets. And of course, Photoshop integrates AI into its powerful existing toolkit for more complex projects. Choosing the right tool will depend on your specific workflow and image editing needs.
Export Settings and Final Optimization
Your perfectly edited product photos won’t do you any good if they look blurry or pixelated on different websites. Trust me, I've spent years troubleshooting image quality issues, and proper export settings can make or break your online product presentation. Think of it like framing a masterpiece painting – the right frame elevates the art, while the wrong one can ruin the whole effect. Let’s dive into image optimization without getting bogged down in technical jargon.
Balancing Quality and File Size
Export settings have a huge impact on file size, loading speed, and visual quality. Large files might look stunning, but they load slowly, frustrating potential customers and impacting your SEO. Small files load quickly, but can appear compressed and pixelated. It’s a delicate balancing act. Think of trying to send a huge, high-resolution photo over a slow internet connection – it’ll take forever, and the image might suffer in the process. That's the same challenge we face with product photos online.
Platform-Specific Quirks
Every platform has its own image requirements. Amazon, Shopify, and Etsy each have their own specifications, and social media platforms like Instagram and Facebook are even more particular. Knowing these requirements is like knowing the dress code for a party – you don't want to show up in a suit when everyone else is in jeans. Amazon, for example, recommends images be at least 1000 pixels on the longest side, while Instagram prefers square images.
JPEG vs. PNG: Choosing the Right Format
Choosing between JPEG and PNG is also crucial. JPEG is excellent for photos with a wide range of colors, while PNG is better for images with sharp lines and text, like logos. Think of JPEG as a watercolor painting, blending colors smoothly. PNG is more like a line drawing – crisp and precise. I typically use JPEG for product photos and reserve PNG for graphics and logos.
Batch Processing and Troubleshooting
If you’re working with a lot of images, batch processing will be your lifesaver. Imagine editing each photo individually – what a nightmare! Batch processing lets you apply the same settings to multiple images at once, saving you hours of work. And believe me, you will run into problems. Color shifts and compression artifacts are common. Having a few troubleshooting tricks up your sleeve is essential for keeping your images looking sharp across different screens and resolutions.
Want to transform your product photos from average snapshots into professional, high-converting images? Check out ProdShot for AI-powered editing that simplifies the entire process. It’s like having a personal photo editor at your beck and call.
Subscribe to my newsletter
Read articles from ProdShot Creator directly inside your inbox. Subscribe to the newsletter, and don't miss out.
Written by