Product Photography for Beginners: Real-World Tips & Secrets
 ProdShot Creator
Why Your Product Photos Are Make-or-Break for Business
Let's be honest, your product photos are silently deciding the fate of your sales. They’re the first impression a potential customer has, the virtual handshake, the entire shop window condensed into a single image. Think about your own online shopping habits—what catches your eye first? It's rarely the product description. It's the photo that makes you stop scrolling.
I've chatted with loads of e-commerce business owners who, after investing in better product photography, saw their conversion rates jump almost instantly. I remember one jewelry maker who told me how dark, out-of-focus photos were basically hiding her beautiful handmade pieces. After she learned some lighting and composition basics, her sales tripled.
There's real psychology behind this. Compelling visuals create emotional connections. A well-composed product photo builds trust, shows the value of your product, and makes buying it feel like the right thing to do. Suddenly, a handmade necklace isn't just a piece of jewelry; it's a statement, a feeling, a whole experience. This means even the most innovative products can flop if the visuals don't tell the story. Savvy online sellers know this; they see their product photos as investments, not just another cost. You might be interested in: professional Amazon product photography.
This focus on quality visuals is part of a larger trend. The international product photography market was worth $129 million in 2021 and is expected to hit $275 million by 2028. That's huge growth potential, especially with e-commerce still on the rise. Discover more insights here. This shows how important strong visuals are becoming. Thankfully, smartphones and AI tools like ProdShot have made professional-quality product photos accessible to everyone.
Forget about needing a fancy studio or years of training. It’s all about understanding the fundamentals and using the resources you already have. Learning basic product photography can make a real difference to your business. These skills not only elevate your visuals, but they also give you control over your brand’s image and help you connect with your customers in a genuine way. This new accessibility means beginners can compete more effectively, turning a simple smartphone into a powerful marketing asset.
Building Your Photography Setup Without Breaking the Bank
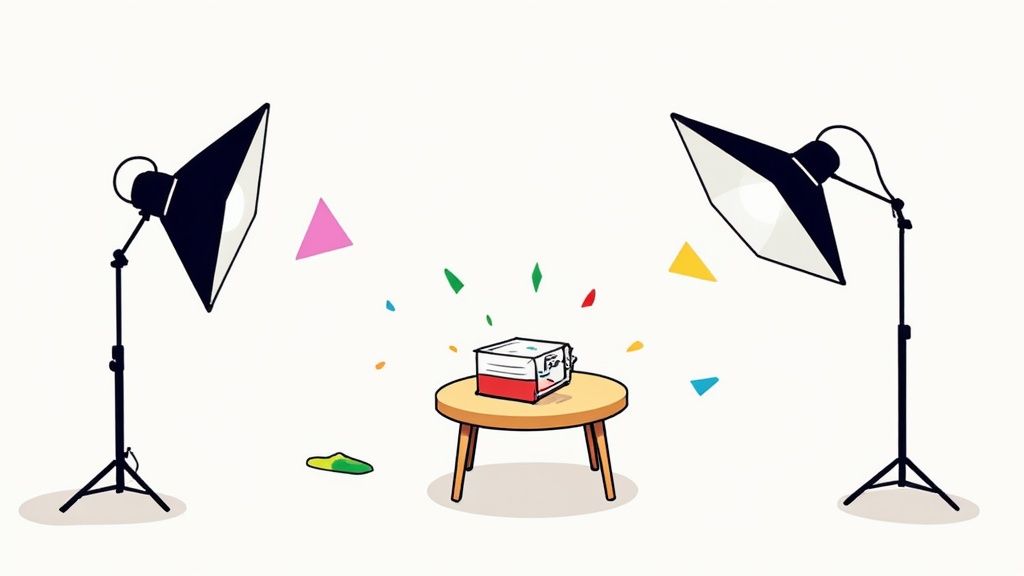
Forget fancy studios! Honestly, some of the best product photography, especially when you're just starting out, happens on a shoestring. I’ve seen amazing product shots taken on kitchen tables using clever DIY tricks. For example, a photographer friend of mine built a fantastic lightbox out of a cardboard box and some white tissue paper. It cost practically nothing, but the soft, diffused light it created was as good as expensive studio equipment. Another friend just uses a big window and a white sheet for a clean, uncluttered backdrop. It works like a charm.
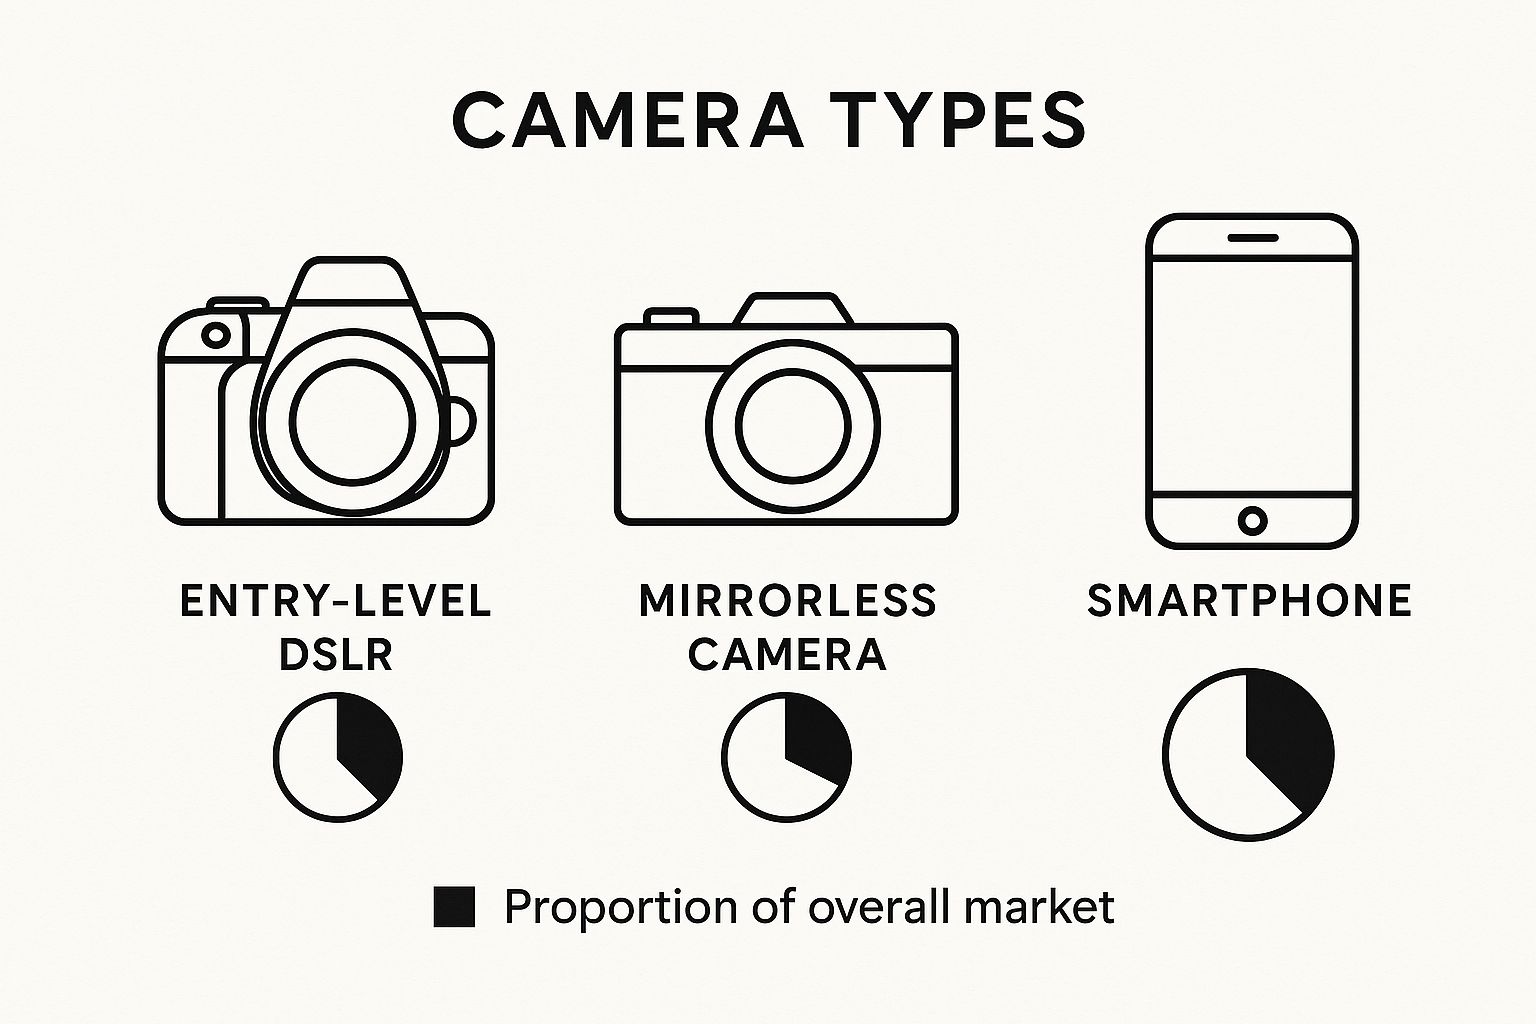
This infographic shows you three camera options for beginners: an entry-level DSLR, a mirrorless camera, and your trusty smartphone. As you can see, starting with a smartphone is totally fine! You can always upgrade to a DSLR or mirrorless camera as your skills and budget grow. The main thing to remember is that your equipment doesn't determine your success, especially in the beginning.
Essential Equipment and Budget-Friendly Alternatives
Don’t feel like you have to buy everything at once. Start with the must-haves and upgrade as you go. This lets you invest in good quality gear based on what you actually need, not what marketing tells you to buy.
- Camera: Your smartphone is a great starting point. Today’s phone cameras are seriously powerful, with features like portrait mode and HDR that can create almost professional-looking results. Down the line, an entry-level DSLR or mirrorless camera will give you more control, but there’s no need to rush.
- Tripod: This is definitely worth getting early on. Even an inexpensive tripod will make a huge difference in image sharpness and consistency, especially in low-light situations. Stability is essential for crisp, in-focus shots, and a tripod gets rid of camera shake.
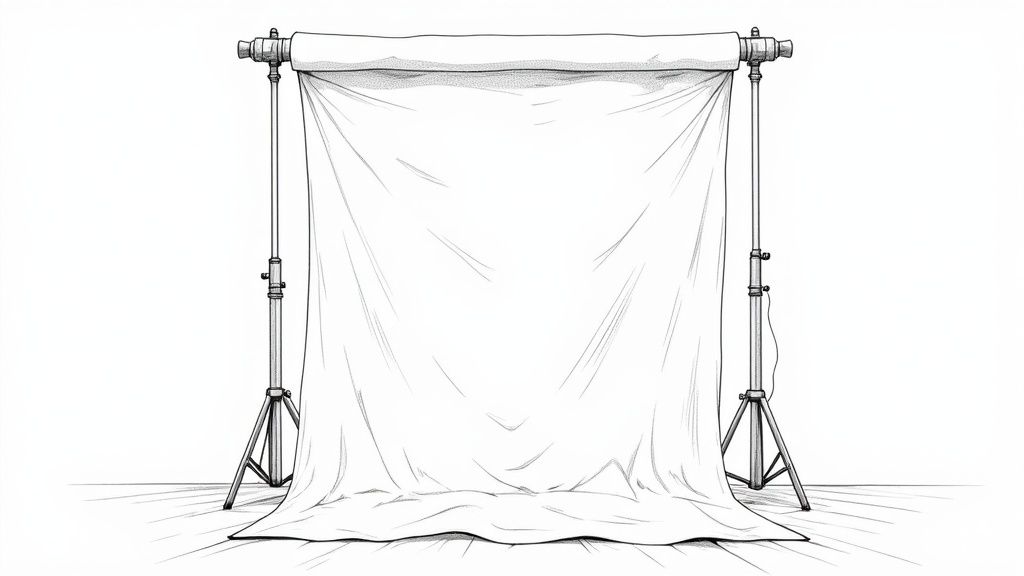
- Backdrop: A plain white sheet, a piece of poster board, or even a large sheet of white paper can create a clean, professional-looking background. Play around with different materials to see what you like best for your products. Eventually, a roll of seamless paper is a nice upgrade.
- Lighting: Natural light from a window is the best! Learn how to use it to your advantage. Reflectors (even a piece of white foam board works great) can fill in shadows and create a more balanced look. Try to avoid direct sunlight, as it can be too harsh and cause strong, distracting shadows.
- Smartphone Apps: Check out apps that give you more control over your phone’s camera settings. Some offer manual controls for ISO, shutter speed, and white balance, giving you much more creative freedom.
Let’s look at a comparison of budget-friendly and premium gear to give you a better sense of the options available.
To give you a better idea of where to start, here's a comparison of some essential gear, showing you both budget-friendly options and their premium counterparts:
Essential Equipment Comparison: Budget vs. Premium Options | Equipment Type | Budget Option | Premium Option | Beginner Recommendation | |---|---|---|---| | Camera | Smartphone with built-in camera | Professional DSLR or Mirrorless Camera (e.g., Canon EOS R6, Sony a7R IV) | Smartphone | | Tripod | Lightweight, portable tripod (around $20-$30) | Heavy-duty studio tripod (e.g., Manfrotto) | Lightweight tripod | | Backdrop | White sheet, poster board, or large paper | Seamless paper roll, professional backdrop stand | White sheet/poster board | | Lighting | Natural window light, DIY reflectors (foam board) | Studio strobes, softboxes, umbrellas | Natural light & reflectors | | Editing Software | Free mobile apps (e.g., Snapseed, Lightroom Mobile) | Adobe Photoshop, Lightroom Classic | Free mobile apps |
As you can see, there are affordable alternatives for every piece of equipment. This table emphasizes that starting with budget-friendly options won't hold you back from creating quality product photos.
Building your photography setup is an ongoing project. Start small, get the basics down, and make smart investments based on your own needs and the results you’re getting. That way, you build a kit that really works for you and your product photography goals. Don't let a limited budget stop you!
Reading Light and Composition Like a Seasoned Pro
Light isn't just about visibility. It's the secret ingredient that brings your product photos to life. Think of it as the sculptor of your image—revealing textures, setting the mood, and ultimately drawing the viewer in. There’s a world of difference between a photo blasted with harsh light and one bathed in a soft, warm glow. One screams amateur, the other whispers "must-have." Learning to "read" light takes your product photography from simple snapshots to captivating visuals.
This means understanding how different lighting conditions impact your final image. Soft, diffused light on a cloudy day? Perfect for capturing the delicate details of jewelry. Golden hour—that magical time just after sunrise or before sunset? Ideal for lifestyle product shots with a warm, inviting feel. Even “bad” lighting can be your creative playground. I once used dramatic side lighting to create strong shadows, which added depth and a touch of mystery to some otherwise ordinary objects.
Mastering Composition and Styling
Composition and lighting go hand-in-hand. It's all about arranging elements within your frame to create a balanced, visually appealing image. Think about the rule of thirds, leading lines, and negative space. But here’s the thing: rules are meant to be broken (sometimes!). Experimenting with composition can lead to unexpectedly stunning results.
Product styling is another critical piece of the puzzle. How can you use props, backgrounds, and product placement to tell a story? Imagine photographing a cozy sweater. Styling it with a warm blanket and a mug of hot chocolate instantly evokes feelings of comfort and relaxation, making that sweater even more desirable. This kind of visual storytelling can deeply impact how people perceive your product and connect with your brand.
By the way, the global photography services market is booming. It was valued at $55.6 billion in 2023 and is expected to hit $81.83 billion by 2032, growing at a CAGR of 4.4%. Check out these industry stats. This growth shows just how important high-quality visuals, including product photos, have become.
Finally, developing a keen eye for composition and styling takes practice. Start by studying successful product photos. What makes them so captivating? Analyze how lighting, composition, and styling work together. Then, grab your camera and experiment! Try different approaches, and don’t worry about making mistakes. The more you shoot, the better you'll become at understanding what works and what doesn't. This journey of trial and error, paired with careful observation, is what transforms beginners into experienced product photographers.
Unlocking Your Smartphone's Hidden Photography Potential
Your smartphone? It's a seriously underestimated powerhouse for product photography, especially when you're just starting out. I've honestly seen smartphone photos go head-to-head with professional shots, and the results are surprising. Ditch the automatic settings and explore the manual controls. Playing around with ISO and shutter speed makes a huge difference. Many phones even offer focus stacking, a cool trick where the camera takes multiple shots at different focus points and blends them into one super-crisp image. Perfect for highlighting those intricate product details.
This isn't your average point-and-shoot situation. We're talking about understanding the techniques real smartphone pros use. Take portrait mode, for example. That background blur it creates? Pure magic. It mimics the look of a fancy camera lens with a wide aperture, making your product the star of the show. Then there's HDR (High Dynamic Range). This is your lifesaver in challenging lighting, like shooting near a window. HDR combines different exposures to capture detail in both the brightest and darkest areas.
 This screenshot from Apple shows just how many shooting modes the iPhone offers. Cinematic mode, Slo-mo, Time-lapse, Pano – it's a whole toolkit right in your pocket. Apple really nails it by showing how easy it is to access all these features. They're practically begging you to get creative.
Over time, I've developed my own go-to smartphone photography workflows, and I'm happy to share. Plus, there are some amazing apps out there that unlock even more advanced features. Shooting in RAW format, for example, gives you so much more control in editing. It's like having a digital negative – pure, uncompressed image data that lets you fine-tune everything from color to exposure.
And don't forget about accessories! Macro lenses can turn your phone into a powerful magnifying glass, revealing incredible detail. There are also tons of ways to stabilize your shots without a bulky tripod. I've used stacks of books or a sturdy box as a makeshift camera support. This is a game-changer for product videos. The bottom line? Stunning product photos aren't about expensive gear, but about mastering the tech you already have. Your smartphone is a powerful tool just waiting to be unleashed.
Transforming Photos With AI-Powered Editing Tools
So, you've snapped your product photos. Great! Now comes the fun part: editing. AI tools like ProdShot are truly a game-changer, especially for those just starting out. They offer features that used to be the domain of expensive software and hours of painstaking work. Think one-click background removal, automatic color correction, and even the power to create lifestyle scenes – all without needing a design degree. I remember spending what felt like days carefully cutting out backgrounds in Photoshop. AI now handles it in seconds, which frees me up to focus on the creative side of things.
Leveraging AI for Efficiency and Authenticity
The real strength of AI in product photography isn’t about replacing the human element, it's about enhancing it. It’s about merging AI efficiency with your own artistic vision. Imagine having a highly skilled assistant who takes care of all the tedious, repetitive tasks, leaving you to focus on the bigger picture.
For example, I personally use AI to knock out backgrounds and fix colors, then I hop into Lightroom to fine-tune the mood and add my own personal flair. It’s this blend of AI and human touch that creates a workflow that is both efficient and authentic.
You might also want to check out ProdShot's AI product photo generator. It’s a great example of how AI can streamline editing without sacrificing creativity. Another bonus? AI can actually help you learn faster. By automating complex tasks, these tools allow you to play around with different looks and instantly see the results, accelerating your understanding of professional editing techniques.
Choosing the Right AI Tools
Here's a peek at ProdShot’s website. The clean interface is easy to navigate and showcases key features like background removal and image enhancement. This simplicity is a testament to how user-friendly AI editing tools can be, even for beginners.
However, it's important to remember that not all AI tools are equal. There’s a lot of marketing hype, so you need to be able to separate genuine value from empty promises. Look for tools that offer real, tangible benefits. Seamless integration with your e-commerce platform is a huge plus, as is the ability to maintain a consistent visual style across all your product photos.
The rise of digital technology and social media has dramatically changed product photography. For beginners, adapting to these trends is essential. The 2025 State of the Photography Industry report shows that roughly 10% of photographers now work across multiple business models, highlighting a move toward diversification. Discover more insights here. This adaptability is crucial in product photography, allowing you to offer services that meet the needs of different platforms and clients. Embracing AI is a big part of that. Choosing the right AI editing platform won't just improve your photos; it’ll also help you stay ahead of the curve in a constantly changing industry.
Avoiding Amateur Mistakes That Kill Your Credibility
Let's face it, some product photos just scream "amateur." These little slip-ups can seriously damage your credibility with potential buyers. I’ve seen it firsthand, and the biggest issues often come down to easily overlooked details. Think inconsistent lighting or a cluttered background. These subtle cues can be instant turn-offs for savvy shoppers.
Inconsistent lighting is a huge one. A product can appear completely different under warm indoor light compared to cool natural daylight. That vibrant red dress might look orange in one photo and maroon in the next, and that kind of inconsistency breeds distrust. Buyers start wondering if they’re even looking at the same item.
Common Beginner Pitfalls and Quick Fixes
Another common problem is cluttered backgrounds. A busy background pulls attention away from the product, making it hard for viewers to focus on what you're selling. A clean, simple backdrop, on the other hand, puts your product in the spotlight. It’s like tidying up a physical store – it makes the whole browsing experience smoother and more enjoyable.
Before we move on, let's look at some quick solutions to common photo problems. I've compiled a handy table for you:
Common Photography Problems and Quick Solutions
| Problem | Cause | Quick Fix | Prevention Tip |
| Inconsistent Colors | Mixed lighting sources (e.g., indoor and outdoor light) | Edit white balance in Adobe Lightroom or similar software. | Use a single, consistent light source. |
| Blurry Images | Camera shake or slow shutter speed | Use a tripod or increase shutter speed/ISO. | Stabilize your camera and ensure adequate lighting. |
| Dull, Flat Lighting | Insufficient light | Add more light sources or use a reflector. | Shoot in bright, diffused light. |
| Cluttered Backgrounds | Distracting elements in the frame | Use a plain backdrop or edit out distractions in post-processing. | Choose a clean, uncluttered setting. |
| Unflattering Angles | Product not positioned optimally | Experiment with different angles to find the most appealing presentation. | Consider the product's features and highlight its best aspects. |
This table highlights some common issues and provides practical solutions. Remember, addressing these details elevates your photos and presents a more professional image.
Building Consistency and Developing Your Style
Beyond individual photo mistakes, inconsistency across your product gallery can also hurt your brand. A consistent visual style is essential for building brand recognition and credibility. Think about successful brands – they have a distinct visual identity that’s recognizable across all their platforms. This strengthens their brand and builds trust with their audience.
Developing your own style isn't about copying others. It's about finding what works best for your products and your brand. Experiment with different lighting, compositions, and backgrounds. Over time, you’ll develop a signature look that sets your photos apart. What feeling do you want to evoke? Modern and minimalist? Rustic and charming? Let that feeling guide your stylistic choices.
This visual consistency builds credibility and reinforces your brand. It shows customers you’re serious about your products and your business. Even seemingly small adjustments, like correcting the white balance or straightening lines, can make a big difference. These quick fixes can transform so-so photos into professional-looking images that build trust and, ultimately, drive sales.
Your Roadmap to Product Photography Mastery
So, you've got the beginner basics of product photography down – awesome! Now, let's talk about putting that knowledge to work. Forget rigid steps, we're building a personalized roadmap that fits your goals and your schedule. Consider this your practical guide, from those first practice shots to potentially earning some cash with your new skills.
Structuring Your Practice and Building Momentum
Think of practice like building with LEGOs. Start simple, then add complexity. Maybe you photograph everyday things around the house, like a coffee mug or a book. This helps you nail lighting, composition, and styling without the pressure of perfection. Once you’re comfortable, move on to trickier products with different textures and shapes.
Setting milestones keeps you going. Don't aim for "perfect" right away. Focus on small improvements. Maybe this week it’s mastering natural window light. Next week, you experiment with different backdrops. These small wins add up and keep you engaged. It’s way better than getting bogged down trying to learn everything at once.
Building Your Portfolio and Showcasing Your Progress
As you improve, start a portfolio. It's your visual resume, showing off your best shots. At first, it might just be your favorite practice photos. As you get better, swap older photos for newer, stronger images that show how your style is developing.
When are you ready for paid work? It's a mix of confidence and skill. When you can consistently create high-quality photos that your target market needs, you're probably ready to start charging. Pricing is key. Research what other photographers charge, considering your skill level and experience. This helps you avoid underselling yourself while staying competitive.
Continuous Improvement and Long-Term Growth
Product photography is a journey. Even pros are always learning new tricks. Embrace continuous improvement by getting feedback, trying new things, and keeping up with industry trends. Maybe join an online photography community or follow inspiring photographers on Instagram or other social media. This keeps you inspired and ahead of the curve. Remember, realistic timelines and expectations are crucial. Progress takes time, so be patient and celebrate your wins along the way.
Ready to level up your product photos? Start your free trial with ProdShot and unlock the power of AI.
Subscribe to my newsletter
Read articles from ProdShot Creator directly inside your inbox. Subscribe to the newsletter, and don't miss out.
Written by