Master DIY Product Photography: Tips for Stunning Shots
 ProdShot Creator
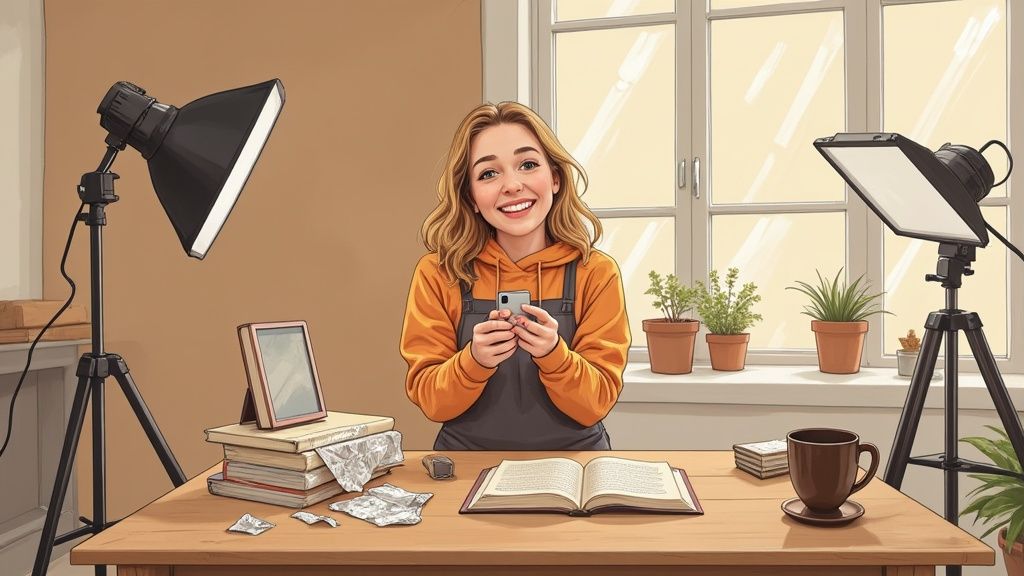
Building Your Home Photography Studio Without Breaking the Bank
Setting up a space for DIY product photography doesn’t require renting a commercial studio or spending a fortune on high-end gear. The real secret, which many successful online sellers have figured out, is simple, creative resourcefulness. You can easily turn a corner of your home into a powerhouse for creating stunning product images. The goal is to control your environment, not to own every expensive piece of equipment a professional might have.
The impact of strong visuals is hard to overstate. This infographic reveals just how critical product photos are for influencing shoppers and directly improving conversion rates.
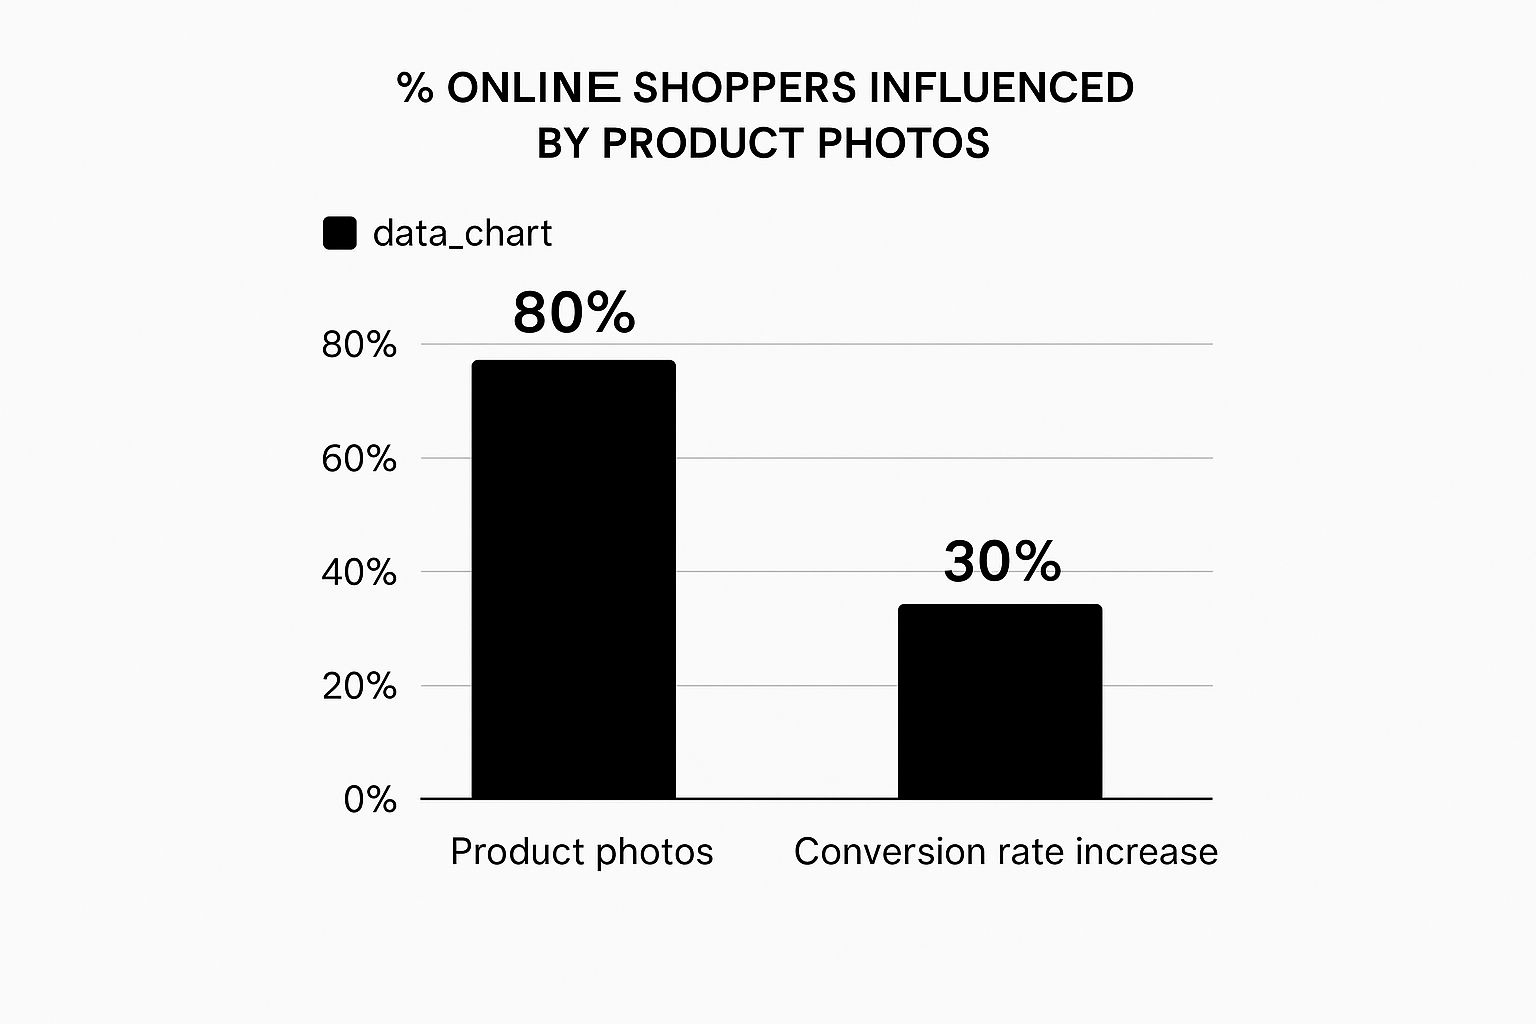
The data is clear: while a huge majority of shoppers are swayed by photos, the direct effect on sales is a substantial 30% increase. This shows a tangible return on the effort you put into your photography.
Your Essential, Budget-Friendly Toolkit
Forget those long, intimidating lists of professional gear. If you're a small business or just starting out, a handful of key items will deliver the biggest results. I've seen entrepreneurs build thriving businesses from tiny apartments using little more than a smartphone and some clever household items. Here’s what you actually need to get going:
- A Solid Surface: Any stable table will do the trick. A standard folding table that’s between 24 and 27 inches wide is a great choice. Its only job is to give you a steady, level platform for your products.
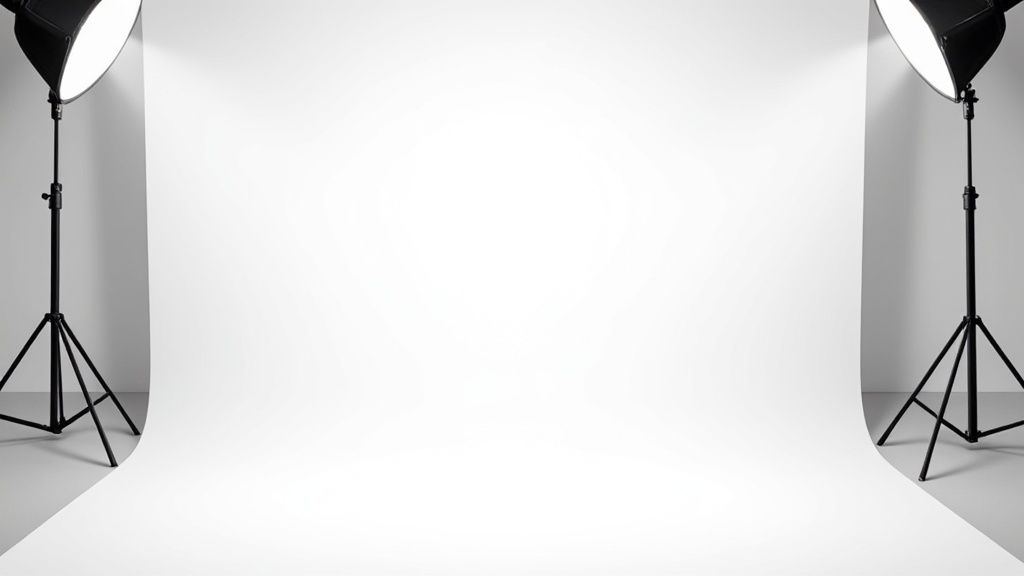
- The Seamless Backdrop: This is the key to achieving that clean, professional look. You can create a "sweep"—a background that curves smoothly from the vertical wall to the horizontal surface—with a large sheet of white poster board from any craft store. Just tape it to a wall and let it gently curve down onto your table.
- Light Modifiers (The DIY Version): You don’t need to buy fancy reflectors right away. A simple piece of white foam core or even aluminum foil wrapped around a piece of cardboard can work wonders. Use it to bounce light back onto your product, which helps fill in any harsh shadows.
- Camera Stabilization: A shaky camera is the number one enemy of sharp, crisp photos. While a basic tripod is a fantastic and affordable investment (many cost less than $30), you can easily start by propping your smartphone or camera on a stable stack of books.
To help you decide where to allocate your funds, here’s a quick comparison of equipment costs for different DIY setups.
DIY Photography Equipment Budget Comparison
| Equipment Type | Budget Option ($) | Mid-Range Option ($) | Professional Option ($) | Impact on Quality |
| Camera | Smartphone (Free) | Entry-Level DSLR ($400-$600) | Full-Frame Mirrorless ($1,500+) | A better camera offers more control and higher resolution, but a smartphone is surprisingly capable. |
| Tripod | Stack of Books (Free) | Basic Tripod ($20-$40) | Heavy-Duty Tripod ($150+) | Stability is non-negotiable for sharpness. A basic tripod is a significant upgrade. |
| Backdrop | Poster Board ($5-$10) | Paper Roll ($40-$60) | Fabric/Vinyl Backdrop ($100+) | A dedicated paper roll provides a larger, more durable, and perfectly seamless surface. |
| Lighting | Natural Window Light (Free) | LED Panel Kit ($80-$150) | Studio Strobes ($500+) | Controlled lighting is the biggest game-changer, allowing for consistent results day or night. |
| Reflectors | Foam Core/Foil (Free - $5) | 5-in-1 Reflector ($20-$30) | Professional V-Flats ($200+) | A 5-in-1 offers more versatility (gold, silver, white, black, translucent) for shaping light. |
This table shows that you can start with virtually no budget and still get decent results. The most impactful upgrades are a tripod and a basic lighting kit, which together can elevate your photos from amateur to professional-looking without a huge investment.
Smart Investments vs. Unnecessary Splurges
As your business grows, you might be tempted to upgrade your gear. It’s important to know where to spend your money for the best return. The photography services market is expanding rapidly, with a projected value of $81.83 billion by 2032, up from $55.6 billion in 2023. This growth is driven in part by small businesses like yours seeking affordable ways to create better visuals.
If you're a Shopify seller looking to improve your product pages, you can certainly explore more advanced setups, but always start simple. You can find more tips on our blog if you're curious about professional Shopify product photography. Mastering the fundamentals of light and composition with budget-friendly tools will teach you far more than any expensive camera ever could.
Mastering Light Without Expensive Studio Equipment
Let’s be honest: lighting is the single most important part of DIY product photography. It’s what separates a product that looks cheap from one that looks premium. The best part? You don’t need a bunch of expensive studio strobes to get that professional look. It all comes down to understanding and working with the light you already have.
Harnessing the Power of Window Light
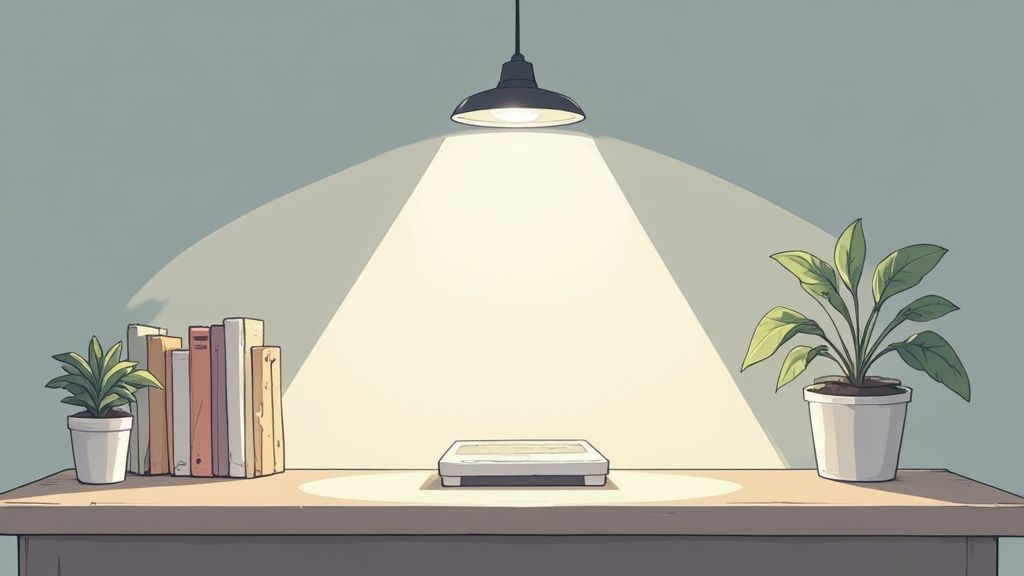
Your best light source is completely free: a large window. The idea is to capture soft, diffused light, not harsh, direct sunlight. Direct sun creates dark, distracting shadows that can hide your product's best features. Try setting up your product near a window on an overcast day or during a time when the sun isn't shining straight through it. This gives you a beautiful, even light that wraps nicely around your product.
A common slip-up is setting the product too far from the window. The closer you get to the light source, the softer the light and shadows become. A simple white foam core board, which you can find at any craft store for just a few dollars, can be a huge help. Place it on the side of your product opposite the window. It will act as a reflector, bouncing light back to fill in any dark shadows and brighten the whole shot.
For instance, if you're shooting a ceramic mug with a matte finish, putting it a couple of feet from a north-facing window will provide a gentle main light. By placing a white reflector on the opposite side, you keep one side from looking too dark and can showcase the mug’s texture perfectly.
Budget-Friendly Artificial Lighting
Depending on natural light can be a pain, especially when the weather isn't cooperating or your only free time to shoot is at night. This is where simple, affordable artificial lights can save the day. You don't need to splurge on a multi-light studio kit that costs hundreds. A single, powerful LED panel can be a total game-changer, and many starter kits are available for less than $100.
When you're using artificial light, consistency is everything. Here are a few practical tips to get you started:
- Turn Off Other Lights: Make sure to turn off all the other lights in the room. When you mix your main light source with the warm glow from overhead tungsten bulbs, you create a color temperature mess. This often leads to a weird yellow or blue tint on your products that’s a headache to fix later.
- Modify Your Lamps: If you're really in a pinch, a regular desk lamp with a bright, daylight-balanced bulb can do the job. Look for bulbs labeled 5000K-5600K on the packaging. To soften the harsh glare, you can tape a sheet of white baking parchment paper over the front to act as a makeshift diffuser.
- Strategic Placement: Don't just aim the light directly at your product. Try positioning it at a 45-degree angle from the side and slightly above. This classic setup creates a sense of dimension and looks much more natural than flat, head-on lighting.
Camera Settings and Composition That Make Products Irresistible
Alright, you've got your lighting dialed in. Now it's time to switch your camera off "auto" and really take control. Getting a handle on a few basic settings and composition rules is the secret sauce that turns a simple snapshot into a pro-level product photo that actually sells. This isn't as complicated as it sounds, and these tips work whether you're using a DSLR or your trusty smartphone for your DIY product photography.
Decoding the Exposure Triangle
Aperture, ISO, and shutter speed are the three pillars of a perfectly exposed photo. For product photography, our main goal is to capture a sharp, clean image without any distracting graininess. This is how I set up my camera for about 90% of my product shoots.
- ISO: Always start by setting your ISO to the lowest possible native setting your camera offers, which is typically ISO 100 or 200. This gives you the cleanest, most noise-free image. Since your camera is on a tripod, there’s no need to bump up the ISO to deal with camera shake.
- Aperture (f-stop): This setting controls the depth of field, or how much of your product is in focus. When shooting a single product against a plain background, you want the entire thing to be crystal clear. I suggest starting with a higher f-stop, like f/8 or f/11, to create a large depth of field that keeps everything sharp from front to back.
- Shutter Speed: With your ISO and aperture set, shutter speed is the final adjustment. Tweak it until your image is perfectly bright. This might mean using a slower speed, maybe 1/15th of a second, but because you're using a tripod, you won't get any motion blur.
Composing Your Shot Like a Pro
How you frame your product is just as vital as your camera settings. You want to direct the viewer's eye straight to your product, making it the undeniable star of the show.
A fantastic and simple technique is the rule of thirds. Picture your screen divided by a 3x3 grid. Instead of plunking your product right in the middle, try placing it along one of the lines or at an intersection. This creates a more balanced and engaging image. For instance, if you're shooting a bottle of lotion, positioning it slightly off-center and leaving some breathing room, or negative space, around it will make the photo feel much more polished.
For those must-have e-commerce images, remember to capture a variety of angles to give customers the full picture:
- The Hero Shot: A straightforward, eye-level shot that clearly displays the product.
- Detailed Shots: Get up close and personal with unique details like interesting textures, logos, or high-quality materials.
- Lifestyle Context: Show your product in action. This helps customers visualize themselves using and enjoying it.
By taking charge of these settings and applying some simple composition rules, your DIY product photos will look drastically more professional and captivating.
Why Your Product Photos Drive Sales (Or Kill Them)
In the world of online shopping, your product photos are your digital storefront, your silent salesperson, and your brand's first impression all rolled into one. Before a customer reads a single word of your carefully crafted description, they’ve already made a judgment based on your images. That split-second decision can mean the difference between them leaning in to learn more or hitting the back button without a second thought. A blurry, poorly lit photo doesn't just look unprofessional; it actively erodes trust and makes potential buyers question the quality of your product.
The Psychology of a Purchase
Think about your own online shopping habits. When you see a product with crisp, clear images from multiple angles, it communicates confidence and transparency. You get the feeling the seller has nothing to hide. In contrast, a single, low-resolution photo just feels sketchy. It suggests the product might not live up to expectations, making you hesitant to risk your money. The quality of your DIY product photography directly translates to the perceived quality of both your product and your brand in a customer's mind.
Great photos do more than just show what you're selling; they help the customer imagine the product in their own life. A photo of a handcrafted leather wallet on a rustic wooden table does more than display the wallet—it sells a lifestyle of quality and craftsmanship. This emotional connection is often the tipping point that turns a browser into a buyer.
The Hard Numbers Behind Great Visuals
This isn't just a gut feeling; it's backed by some powerful data. In a market with roughly 2.71 billion global online shoppers, visuals are the main way we communicate. An incredible 75% of these shoppers rely heavily on product images to judge quality. Even more telling, 9 out of 10 consumers say that high-quality photos are one of the most decisive factors in their buying decisions.
The difference is stark: products showcased with high-resolution images can see a 94% higher conversion rate than those with poor visuals. If you want to dive deeper, you can explore more fascinating product photography statistics to see the full picture.
The takeaway is clear: investing time into your DIY product photography isn't just a creative exercise; it's a direct investment in your sales. If you're curious how this stacks up against hiring a pro, you can learn more about the cost of professional product photography to see just how much value you're creating yourself.
AI-Powered Editing That Transforms Amateur Shots Into Pro Images
After you've captured your best shots, the final transformation happens during the editing process. This used to be the most technical and intimidating part of DIY product photography, often demanding costly software and hours of painstaking work. Today, AI-powered editing tools have completely changed the game, putting professional-level results within reach for everyone. Think of it as having a digital photo assistant who handles the heavy lifting, letting you focus on the creative side of things.

What AI Editing Does Best
Imagine AI editors as specialists trained to perfect product photos. They are particularly good at tasks that once required a seasoned graphic designer. These tools can automatically and cleanly remove the background from your image, leaving you with a transparent asset ready for any e-commerce platform. For example, if you photographed a silver necklace on a slightly off-white poster board, an AI tool can isolate the necklace in seconds, saving you from the frustrating task of manually tracing its delicate chain.
Beyond background removal, these tools can instantly fix common issues that affect DIY setups:
- Lighting Inconsistencies: AI can analyze your photo and automatically balance exposure, brighten shadowy areas, and soften harsh highlights, creating a more even and professional appearance.
- Color Correction: This ensures your product’s color is true to life. AI can remove unwanted color casts from mixed lighting and boost vibrancy so that a “burgundy” sweater doesn’t look brown on screen.
- Instant Scene Generation: Some advanced tools can take your isolated product and place it into various realistic lifestyle scenes or on different colored backgrounds, giving you a diverse set of marketing images from a single photo.
To help you choose the right tool for your needs, here's a comparison of some popular options available today.
AI Photography Tools Feature Comparison
| Tool Name | Key Features | Pricing | Best For | Learning Curve |
| Canva Magic Studio | Background Remover, Magic Edit (object replacement), Magic Eraser, extensive templates. | Freemium with pro features at ~$15/month. | All-in-one content creation for social media, ads, and product listings. | Beginner |
| Adobe Photoshop (with Generative Fill) | Advanced object removal/addition, background generation, precise selection tools, full manual control. | Part of Creative Cloud (~$22.99/month). | Professionals needing precise control and integration with other Adobe apps. | Intermediate to Advanced |
| Fotor | AI Photo Enhancer, Background Remover, Object Remover, AI Replacer, AI Image Generator. | Freemium; Pro plans start around $3.33/month. | Quick, one-click enhancements and creative effects for marketing images. | Beginner |
| PhotoRoom | Instant Backgrounds, AI Shadows, batch editing, Magic Studio for scene creation. | Freemium; Pro plans start around $9.99/month. | E-commerce sellers who need to quickly create multiple professional-looking product shots. | Beginner |
This table shows a range of tools from simple, one-click solutions like PhotoRoom to powerful, all-in-one platforms like Adobe Photoshop. Your best choice will depend on your budget, technical comfort, and specific editing goals.
The Impact of AI on Small Businesses
The rise of AI in this space has been a huge help for small businesses. In fact, recent data shows that 76% of small businesses that adopted AI photography tools in 2025 saw cost savings of over 80%. This technology automates time-consuming tasks, turning simple snapshots into quality marketing images in minutes. By removing the need for expensive outsourcing or software subscriptions, it levels the playing field, allowing smaller brands to compete visually with industry giants. You can read more about how AI is boosting businesses and changing the e-commerce world.
However, it’s important to know AI’s limits. While it’s fantastic for correcting and improving photos, it can’t fix a fundamentally bad one. A blurry, out-of-focus image will still be blurry after AI editing. That's why combining the shooting techniques we’ve discussed with smart AI editing is the formula for success. For those who need more advanced work, exploring dedicated product photo editing services can be a great next step. By pairing your own creativity with AI efficiency, you can produce consistently great visuals that help drive sales.
Solving DIY Photography Problems That Drive You Crazy
Even when you follow all the tutorials, a DIY product photography session can go off the rails. You’ve set everything up perfectly, but the final image just looks… wrong. These common problems are enough to make you want to give up, but thankfully, they usually have simple, practical solutions. Let’s walk through some of the biggest headaches you might face and how to fix them.
Banishing Unwanted Reflections and Glare
Photographing anything with a shiny surface, like jewelry or glassware, often feels like you're fighting your own reflection. The trick isn't to get rid of reflections completely but to control what they show. You want the surface to reflect a clean, white space, not your camera or the messy corner of your room. This is where those trusty white foam boards come in handy.
Position large foam boards on either side of your product, just outside the camera’s view, creating a kind of "light tunnel." This simple setup surrounds your shiny item with a neutral white surface, which immediately cleans up the distracting glare. If you're still fighting a persistent bright spot, known as a hotspot, try moving your light source farther back or softening it by placing a thin white sheet or some parchment paper in front of it.
Managing Inconsistent Natural Light
Using window light is a great, budget-friendly option until the clouds decide to play games, causing your lighting to shift from one minute to the next. This inconsistency can ruin your chances of creating a cohesive product gallery. If you see the light changing quickly, just take a break. It's much better to wait a few minutes for the light to stabilize than to spend hours trying to correct drastic exposure differences in post-production.
For a more reliable setup, you can pair natural light with a single, continuous artificial light source to create more stability.
- Let the window light be your primary light source.
- Place a small LED panel or even a simple desk lamp on the opposite side of the product.
- Keep the artificial light at a lower brightness.
This second light serves as a fill light. It softens shadows and, more importantly, provides a steady base of illumination. This constant light makes the fluctuations from the window less obvious in your final photos, saving you from a major editing headache and ensuring your images look consistent.
Your Systematic Approach to Consistent Professional Results
Consistency is the secret sauce of any professional brand. When it comes to your DIY product photography, getting those consistently great shots boils down to one thing: a repeatable system. This isn't about being rigid; it's about creating a reliable workflow that ensures every time you start a photoshoot, your results are predictable and high-quality. What works for a small jewelry business shooting on a tabletop won’t be the same for a furniture maker in a garage. Your system has to fit your products, your space, and your schedule.
This means leaving behind the "point, shoot, and hope for the best" method and adopting a more structured process. A simple way to get started is by making a quick checklist for each part of the process: setup, shooting, and editing. It doesn't need to be some complicated document. It’s just a simple tool to make sure you don't forget a critical step, like turning off the overhead room lights or setting your camera's ISO to 100.
Creating Your Personalized Workflow
Think of your workflow as a living document, something you'll tweak and improve as you go. A huge efficiency win is to batch your tasks. For instance, you could set aside one day just for shooting all your new products, and another day dedicated entirely to editing. This focused approach is so much more effective than trying to shoot, edit, and upload one product at a time.
Here’s a practical way to organize your shooting day:
- Setup Checklist: List every single piece of gear you need. This includes the camera, tripod, backdrop, reflector cards, tape, and of course, the product itself. Tick them off as you get everything in place.
- Shooting Checklist: Note your go-to camera settings (e.g., Aperture: f/11, ISO: 100). More importantly, list the specific angles you need for every single product—front, back, 45-degree angle, and a detail shot. This guarantees you never miss a required image for your online store.
- Editing Checklist: Map out your post-production steps in order. Maybe you always start with background removal, then move on to color correction, and finish by cropping to the perfect aspect ratio for your e-commerce platform.
Measuring and Improving Your Results
The most valuable part of any system is the feedback loop. In other words, are your photos actually working? Start tracking key metrics like the conversion rates on your product pages. Don't be afraid to A/B test different image styles. For example, does a lifestyle shot sell more of a particular item compared to a clean white background photo? This data-first approach lets you make smart improvements over time. The goal is to make sure your photos don't just look good, but actively help your business grow. By building and refining this process, your DIY product photography will shift from a chore into a powerful asset for your brand.
Ready to skip the setup and editing checklists altogether? ProdShot takes your simple smartphone pictures and uses AI to instantly create perfect, professional product shots. Get conversion-optimized images in seconds, not hours. Start your free trial with ProdShot today!
Subscribe to my newsletter
Read articles from ProdShot Creator directly inside your inbox. Subscribe to the newsletter, and don't miss out.
Written by