Clothing Product Photography Tips to Boost Sales
 ProdShot Creator
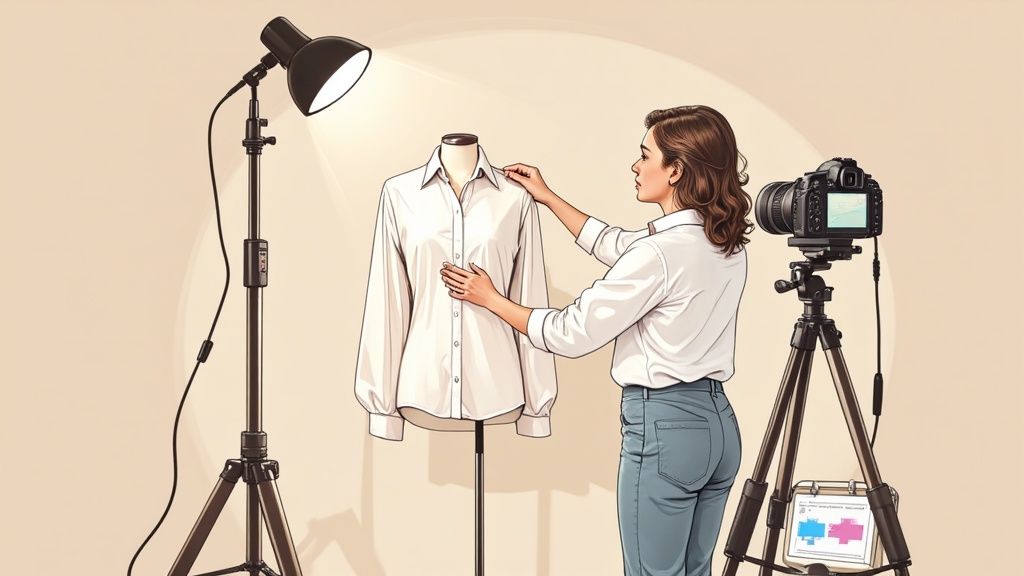
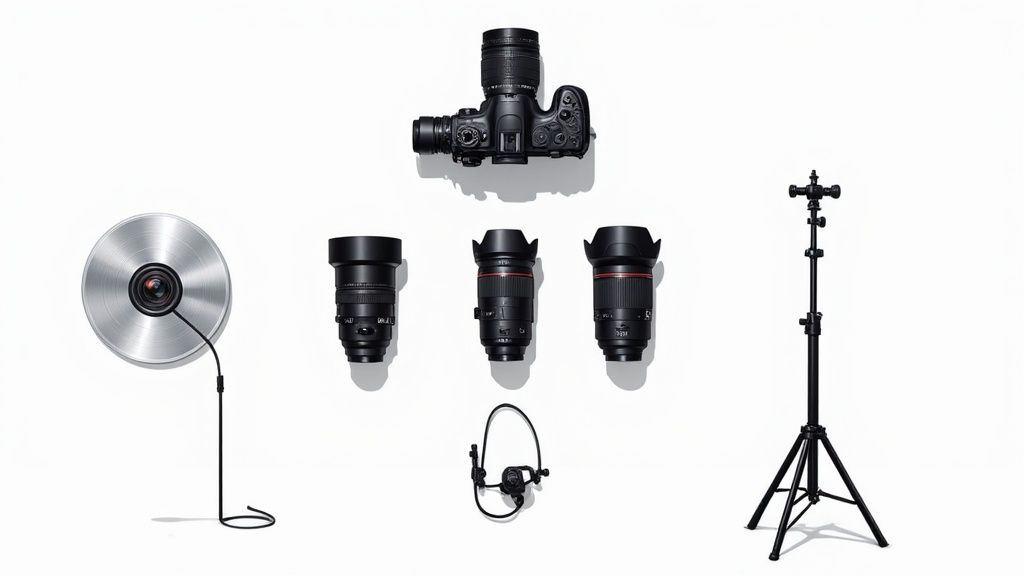
Building Your Photography Arsenal That Actually Matters
Let's cut through the gear obsession for a minute. You absolutely do not need a five-figure budget to start creating high-quality clothing product photography. I’ve seen so many aspiring photographers get caught up in buying the most expensive equipment, only to find it barely changes their final images. The truth is, a smart, lean setup almost always outperforms a bloated, pricey one. It’s about choosing the right tools for the job, not just the most expensive ones.
The Camera: Your Digital Canvas
When it comes to cameras, the debate between DSLR and mirrorless can feel endless. Honestly, for most e-commerce needs, either will serve you well. A modern mirrorless camera or a reliable DSLR with manual settings is all you need to capture stunning detail in fabrics, from delicate silk to structured denim. In a pinch, even a high-end smartphone can produce great results, especially when you nail the lighting.
What really matters here isn’t the brand name, but the ability to have manual control over settings like aperture, shutter speed, and ISO. This control is what allows you to adapt to different lighting situations and clothing styles, giving you creative command over the final shot.
For lenses, a 50mm prime lens is often called the "nifty fifty" for good reason. It’s incredibly versatile, performs well in lower light, and captures subjects with a natural perspective that’s perfect for on-model shots. To show off fine details like stitching or fabric texture, a macro lens is invaluable. If you need more flexibility, a standard zoom lens (like a 24-70mm) lets you switch from wide shots to close-ups without having to physically move.
Essential Support Gear
Beyond the camera, a few key pieces of equipment will make the biggest difference in your clothing photography workflow. Don’t ever underestimate the power of a sturdy tripod; it’s non-negotiable for achieving sharp, consistent images and is critical for more advanced techniques like creating ghost mannequin composites. A wobbly tripod is a recipe for blurry photos and hours of frustration.
Your lighting setup is where you'll see the most dramatic improvement. You can start simply:
- Natural Light: If you have a large window, you have a fantastic light source. Position your setup nearby to get soft, diffused light that looks amazing and costs nothing.
- A Reflector: Even a simple white foam board from a craft store can work wonders. Use it to bounce light back onto your product, filling in shadows for a much more professional and balanced look.
- Basic Lighting Kit: An affordable softbox kit provides consistent, controlled lighting. This is crucial for maintaining a uniform look across your entire product catalog, which is a key part of building a strong brand identity. You can find great resources on how this impacts your store's visual appeal by looking into guides on professional Shopify product photography.
Ultimately, your gear should be built around efficiency and quality, not brand names. My advice? Invest in a solid tripod and decent lighting before splurging on the latest camera body. This strategic approach ensures your budget directly improves your image quality and helps you produce photos that actually drive sales.
Lighting Techniques That Transform Amateur Shots Into Sales Magnets
If your gear is the foundation, then lighting is the single most important element that brings your clothing product photography to life. Poor lighting can make a premium silk blouse look cheap or a vibrant print appear dull, directly influencing a customer's decision to buy. The goal isn't just to show the product; it's to accurately represent its color, texture, and fit in a way that gives someone the confidence to add it to their cart. This is why getting your lighting right is non-negotiable for creating images that actually sell.
Natural vs. Artificial Light: Choosing Your Source
Many people start out with natural light because it's free and can give you beautiful, soft results. If you have a large window, you essentially have a studio. For the best effect, position your setup to the side of the window, not directly in front of it. This creates a gentle, directional light that shows off fabric texture without casting harsh shadows. The big challenge? Natural light is unpredictable. It changes with the weather and the time of day, making it a headache to maintain a consistent look across your entire product catalog.
This is where artificial lighting becomes a game-changer. A basic setup with one or two softboxes provides you with total control. You can recreate the exact same lighting for every product, which is key for making your online store look cohesive and professional. This consistency is a huge factor in building brand trust. For most clothing, a large softbox is your best friend. It diffuses the light, wrapping it around the garment to soften shadows and produce a clean, high-end feel.
Mastering Light for Tricky Fabrics
Different materials react to light in completely different ways. A setup that works for a simple cotton t-shirt will completely fail for a sequined dress. Here’s a practical guide for handling common challenges:
- Denim & Heavy Cottons: These fabrics are all about texture. Use a key light (your main one) at a 45-degree angle. This creates small shadows that define the weave of the denim. You can then add a reflector or a second, less powerful fill light on the opposite side to soften those shadows just enough.
- Silks & Satins: These materials are very reflective and can easily get "blown out" with too much shine. The secret here is diffusion. Use the biggest softbox you can get your hands on, or try bouncing your light off a white wall or ceiling. This creates a massive, soft light source that cuts down on those distracting shiny spots, known as specular highlights.
- Sequins & Metallics: These are probably the toughest. Pointing a light directly at them creates a chaotic mess of glittery hotspots. A great trick is to use backlighting, where you position the light behind the garment to make it glow. Another effective method is to aim two lights at the white walls on either side of the product, letting the bounced, indirect light illuminate it.
- Knitwear: With chunky knits, you want to emphasize that cozy, detailed texture. Side lighting is perfect for this. It rakes across the surface, creating depth and highlighting the intricate patterns of the knit.
The power of high-quality visuals is huge. A staggering 60% of online shoppers rank product photos as the most important factor in their buying decision. Getting your lighting perfect can directly impact your revenue, with some studies showing that excellent images can boost conversion rates by as much as 250%. You can learn more about these numbers to understand just how vital great photography is for e-commerce success.
Styling Secrets That Make Customers Click Buy Now
Even with the best gear and lighting, it’s the styling that truly connects with a customer and convinces them to buy. Great styling doesn’t just show a piece of clothing; it tells a story, making the garment feel both aspirational and relatable. This is how you transform a simple photo of a sweater into an image that makes someone feel its cozy warmth. The way you present your apparel—be it on a model, a mannequin, or in a flat lay—is your most direct line to sparking that "I need this" feeling.
Flat Lay vs. Ghost Mannequin: Telling Different Stories
Two of the most common styling methods in clothing product photography are flat lays and the ghost mannequin effect. Each one communicates something different to your customer, and knowing when to use each is key.
To help you decide which style is right for your products, here's a quick comparison of how these photography styles perform for different clothing types.
| Photography Style | Best For | Conversion Impact | Production Time |
| Flat Lay | Casual wear, t-shirts, jeans, accessories, kids' clothes | Good for social media and inspirational content; shows how items can be styled together. | Low to Medium |
| Ghost Mannequin | Structured items like blazers, dresses, coats, and fitted shirts | High for showing accurate fit and shape, which builds buyer confidence and reduces returns. | Medium to High |
| On-Model | All clothing types, especially activewear and formalwear | Highest, as it shows movement, real-world fit, and creates an emotional connection. | High |
| Simple Draped | Flowy items, scarves, delicate fabrics | Good for showing texture and drape without the complexity of a mannequin. | Low |
This table shows there isn't a single "best" style. A structured blazer benefits immensely from the ghost mannequin to show its tailoring, while a casual t-shirt and jeans combo shines in a lifestyle-focused flat lay.
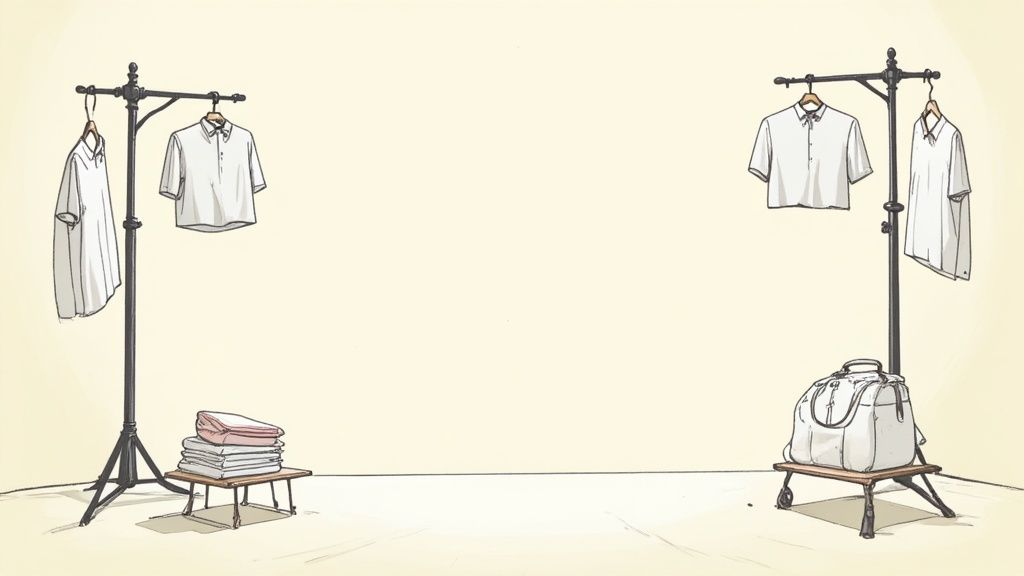
Flat Lay Photography
This technique involves arranging garments on a flat surface and shooting from directly above. It's a fantastic way to create visually pleasing compositions, show off entire outfits, and highlight specific patterns or prints. Picture a neatly folded shirt next to a pair of jeans, a watch, and some sunglasses. This setup tells a lifestyle story and offers instant styling ideas. The downside? It doesn't give a clear sense of how the garment will actually fit or hang on a person.
Ghost Mannequin Photography
This approach is more technical but incredibly powerful for demonstrating fit. You photograph the item on a mannequin and then use editing software to remove the mannequin, creating the illusion of an invisible person wearing the clothing. This gives a clean, unobstructed view of the garment's structure, drape, and even the interior lining. It’s a polished, professional look that puts the product front and center. While it excels at showing form, you’ll still want to supplement your fashion product photos with other shots to provide a complete view.
This infographic shows a simple but effective lighting setup you can use for either ghost mannequin shots or basic draped photos to get that professional look.
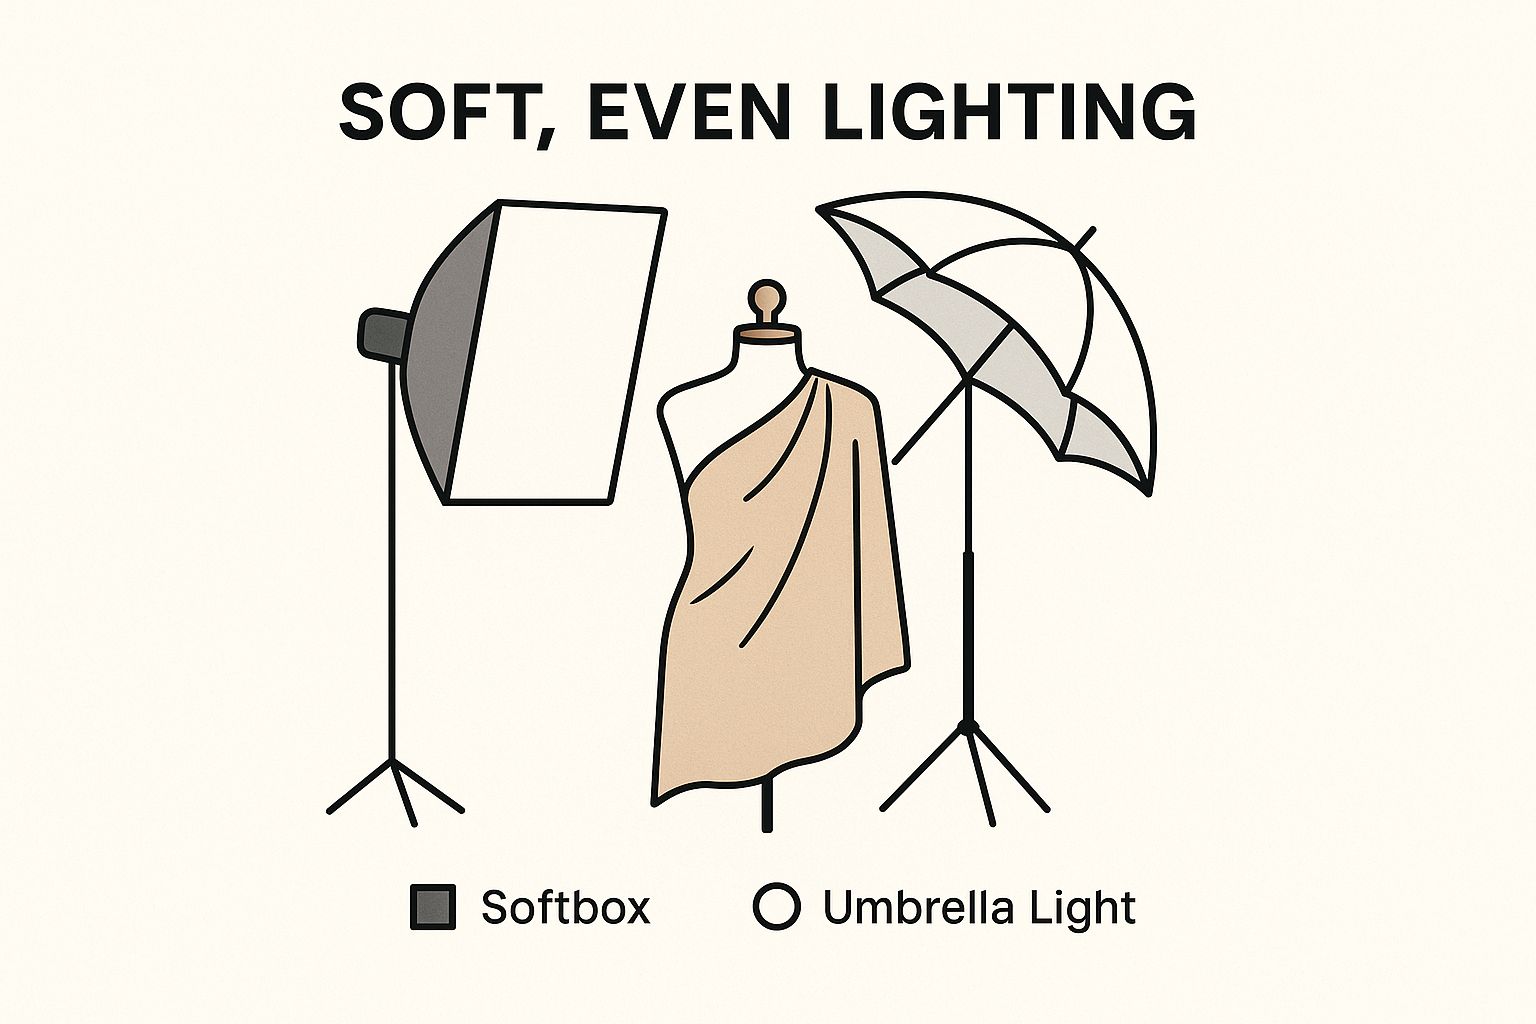
The diagram shows how a large softbox paired with an umbrella light creates soft, even lighting. This setup is ideal for capturing fabric details accurately without creating any distracting, harsh shadows.
The Power of a Multi-Faceted Approach
You don't have to—and shouldn't—stick to just one style. The most successful e-commerce brands use a combination of photography types to give shoppers a full, 360-degree understanding of their products. In fact, compelling research shows an overwhelming 91.17% of high-end fashion retailers use multiple types of product photos. You can discover more about these e-commerce photography statistics and how they influence shoppers.
They blend on-model shots, detailed close-ups, flat lays, and even 360-degree views to give customers the confidence they need to make a purchase. This strategy proactively answers every question a potential buyer might have: How does it fit? What's the texture of the fabric? How could I wear this? By showing your clothing from every angle and in different contexts, you build trust and dramatically lower the uncertainty that often leads to abandoned carts.
Workflow Systems That Save Hours While Improving Quality
When you have a rack full of products to get through, creativity often takes a backseat to the ticking clock. A messy, unplanned shoot can easily lead to expensive mistakes and the dreaded need for a complete reshoot. The real secret to handling large inventories isn't just about speed; it's about building smart, repeatable systems that keep your quality high even when you're under pressure. This is precisely how high-volume fashion studios stay efficient and profitable.
Before the Camera Even Turns On
The most significant time-saving happens long before you press the shutter button. A detailed shot list is your best friend in preventing a chaotic photoshoot. This document is more than just a list of items; it’s your game plan. For every piece of clothing, you should map out:
- Product Name/SKU: So there’s no confusion about what you're shooting.
- Required Shots: Be specific. Note down every angle (front, back, 45-degree, detail) and style (flat lay, on-model, ghost mannequin) needed for each product.
- Styling Notes: List any specific props, accessories, or clothing pairings required.
- Priority Level: Always tackle the most important items first, just in case you run short on time.
Prepping the clothes themselves is equally vital. Make sure every garment is steamed, lint-rolled, and arranged on a rack in the exact order of your shot list. I’ve personally witnessed shoots come to a grinding halt because someone had to find a different size or spend 20 minutes steaming a single wrinkled shirt. Remember this: every minute you spend on prep will save you five minutes during the shoot.
The Tethered Shooting Advantage
For anyone getting serious about efficient clothing product photography, shooting tethered is a must. This process involves connecting your camera directly to a computer, which displays each photo on a large screen the moment you take it. The benefits are massive and immediate:
- Instant Quality Check: You can immediately see if a shot is out of focus, if the lighting is off, or if a pesky wrinkle has appeared. Catching these on a big screen is far better than finding them hours later during editing.
- Faster Client Approvals: If your client is on set, they can give a thumbs-up on the spot, which gets rid of any guesswork and keeps the session moving.
- Consistent Naming & Organization: Software like Capture One or the free utilities from Canon or Nikon can automatically name and sort your files into the right folders as you shoot. This is a huge organizational win.
This real-time feedback transforms the photoshoot. Instead of a "spray and pray" approach, you create a controlled, precise production line for turning out excellent images, one after another.
To give you a better idea of how these efficiencies play out, the table below shows how a solid system impacts your shoot as the number of products increases.
Shooting Efficiency Metrics by Volume
Time and cost analysis for different shooting volumes and approaches
| Volume Range | Setup Time | Per Item Time | Total Session Time | Cost Per Image |
| 1-10 Items | 30 mins | 10-15 mins | 2-3 hours | $25 - $40 |
| 11-50 Items | 45 mins | 5-8 mins | 4-7 hours | $15 - $25 |
| 51-100+ Items | 60 mins | 3-5 mins | 8+ hours | $8 - $15 |
As you can see, the time spent per item drops dramatically with higher volumes, but only if you have an organized workflow. This efficiency is what makes high-volume shoots profitable and manageable.
Post-Production Magic That Converts Without Misleading
The click of the shutter is really just the starting line. The work that actually drives sales happens in post-production. Raw images, straight out of the camera, rarely have the professional shine needed to convince a customer to click "buy." Strategic editing is what takes a good shot and makes it great, but you have to walk a fine line between enhancing an image and accidentally misleading a customer. Nailing this balance is everything, because while great editing boosts sales, deceptive editing will bury you in costly returns and destroy customer trust.
Essential Edits for Every Clothing Photo
Your editing workflow should always begin with the fundamentals. These aren't flashy, dramatic changes, but they build the clean, consistent look that online shoppers have come to expect. The most important first task is color correction. Your one and only goal here is to make the garment in the photo look exactly like the one that arrives at your customer's door. Getting this right can single-handedly slash your return rate from buyers who feel the color they received wasn't what they ordered.
Next, it's time for background removal or cleanup. A crisp, consistent background—usually a clean white or light gray—makes your entire product catalog look cohesive and professional. It gets rid of any distractions and pulls the shopper's eye straight to the product. This is also your chance to fix any minor imperfections you might have missed during prep, such as:
- Removing tiny dust specks or stray threads.
- Smoothing out minor wrinkles that the steamer couldn't quite beat.
- Fixing small symmetry problems in a flat lay shot.
You can see in this screenshot from Adobe Photoshop some of the powerful tools available for these kinds of precise tweaks.
The interface shows things like layer masks and selection tools, which are perfect for separating the product from its background and making specific edits without permanently altering the original image.
Advanced Techniques and the Rise of AI
Once your basics are locked in, you can explore more advanced techniques like enhancing fabric texture. Using sharpening tools on a chunky knit sweater or adding a little contrast to define the weave on a pair of jeans can make the material feel more real and high-quality. This, however, is where ethical editing becomes critical. You can enhance the texture that's already there, but you should never add a texture that doesn't exist or fundamentally change the fabric's character. For this level of detail, many brands find it's worth looking into specialized product photo editing services to get a truly professional result.
The great news is that AI-powered tools are making these advanced edits much easier and more affordable. AI can now automate tedious jobs like background removal with stunning accuracy, match colors perfectly across hundreds of photos, and even batch-process an entire shoot to maintain brand consistency. This automation saves a massive amount of time, letting you focus on the creative side of your clothing product photography. This trend is shaking up the industry; the global product photography services market is set to grow at a CAGR of 11.1%, on track to hit $1.78 billion soon. You can read the full report about this growing market to see where things are headed. The key is to use these tools to perfect your images, not to deceive your customers.
Platform Optimization Strategies That Get Your Images Discovered
Taking a stunning photo is only half the battle; if it doesn't get discovered, for all intents and purposes, it doesn't exist. Optimizing your images isn't just a technical chore—it's a critical marketing step that directly impacts how many people see your products. Every platform, from your Shopify store to your Instagram feed, has its own rules for what performs best. Mastering these details is how you turn your clothing product photography into a powerful tool for customer discovery.
The process starts before you even think about uploading the image. Something as simple as the file name can make a real difference for search engine optimization (SEO). Instead of uploading IMG_8472.jpg, rename it with a descriptive, keyword-rich title like black-wool-turtleneck-sweater-front.jpg. This gives search engines like Google immediate context about your product, helping it show up in relevant searches.
Metadata and Technical SEO for Images
Beyond the file name, your image’s metadata, specifically the alt text (alternative text), is incredibly important. This piece of text serves two key functions: it makes your site accessible to visually impaired users who rely on screen readers, and it provides another strong signal to search engines about the image's content. A good alt text for our sweater photo would be: "Model wearing a black wool turtleneck sweater against a clean white background." This is far more helpful than just stuffing keywords.
Technical specifications also play a huge role in performance. Here are a few quick wins that can make a big impact:
- Image Format: Use JPEG for most product photos, as it offers a great balance between quality and file size. For images that need a transparent background, like ghost mannequin shots, PNG is the format you need.
- File Size: Large image files can seriously slow down your page loading speed, which is a major factor in both user experience and search rankings. A good rule of thumb is to keep your product images under 100 KB whenever possible without a noticeable drop in quality.
- Image Sizing: Upload images at the exact dimensions they will be displayed. If your product grid shows 200x200 pixel thumbnails, don't upload a 2000x2000 pixel image and force the browser to shrink it. This creates unnecessary work for the browser and slows everything down.
Preparing for the Future of Search
Getting your technicals right is also about preparing for what's next. Visual and voice search are becoming more common ways for people to shop. When you use descriptive file names and detailed alt text, you’re not just optimizing for traditional text-based searches. You’re also feeding valuable data to visual search engines like Google Lens and making it easier for voice assistants to find your products when someone asks, "Show me black turtleneck sweaters."
Ultimately, the goal is to make sure your images are clear, color-accurate, and easily discoverable. Professional photographers have long used specialized gear and editing to capture customer attention and build a brand's reputation. Making your high-quality photos technically sound is a strategic move that helps you stand out. You can learn more about the growing importance of professional photography services and how they affect sales. By building a library of assets that are fine-tuned for every channel, you ensure your hard work in the studio translates into real results.
Building a Profitable Photography Business That Scales
Taking beautiful pictures is only half the battle. To build a lasting business in clothing product photography, you need to run your operation like, well, a business. That means keeping a close eye on the numbers and having a clear plan for growth. I’ve seen many talented photographers stumble because they ignore the business side, but understanding a few key metrics can completely change your path to profitability.
Key Metrics That Actually Matter
Forget about vanity metrics like social media likes. For a photography business to succeed, you need to track the numbers that directly feed your bottom line. I always recommend starting with these:
- Cost Per Image (CPI): This is your foundational number. Tally up everything that goes into a shoot—your time, gear rentals, editing software, model fees—and divide it by the number of final images you deliver. This gives you a clear baseline for setting profitable prices.
- Client Lifetime Value (CLV): How much does a typical client pay you over the entire time you work together? A high CLV is a sign of happy, returning clients, which is always more profitable than constantly chasing new leads.
- Return on Investment (ROI) for Gear: Did that shiny new $800 lens actually help you land bigger jobs or speed up your workflow? You have to track how your investments translate back into real income. If they don't, it was a purchase, not an investment.
Keeping tabs on these figures helps you make smarter decisions. You’ll quickly see which types of shoots bring in the most money and which clients deserve more of your attention.
Smart Pricing and Scaling Your Operation
Your pricing should reflect the value you bring to a brand, not just the hours you put in. If your photos consistently help a client boost their sales, your service is incredibly valuable. Don’t hesitate to raise your rates as your skills and portfolio grow. A great way to increase your average project size is by offering tiered packages, like a bundle that includes both flat lay and on-model shots.
Scaling doesn't have to mean hiring a massive team right away. It can start with simply refining your workflow to take on more projects without letting the quality slip. As your business grows, you might look into hiring a freelance editor or a virtual assistant to handle client emails. This frees you up to do what you do best: create amazing images.
The wider photography industry is seeing massive growth; its value was recently pegged at $55.6 billion and is expected to climb to $81.83 billion, driven largely by the demands of e-commerce. You can explore more on these industry growth statistics to understand the scale of the opportunity. This trend shows there’s more than enough room for photographers who treat their craft like a strategic business to succeed.
Tired of the endless cycle of shooting and editing? ProdShot turns your simple photos into high-converting product images with the power of AI. Stop spending hours on manual edits and start creating a stunning, consistent product gallery in seconds. Try ProdShot for free and see how easy it is to elevate your brand.
Subscribe to my newsletter
Read articles from ProdShot Creator directly inside your inbox. Subscribe to the newsletter, and don't miss out.
Written by