Pro Beauty Products Photography on a Budget
 ProdShot Creator
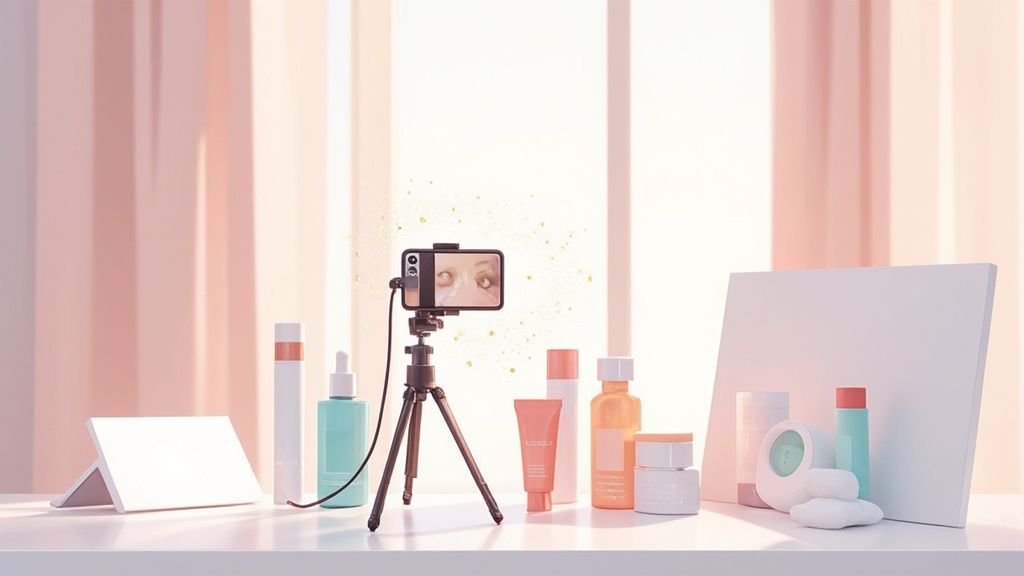
Great beauty product photography can be the single most important factor that turns a casual scroller into a loyal customer. It’s what separates a product that gets ignored from one that lands in the shopping cart. These images aren't just pictures; they build instant brand credibility, show off a product's luxurious feel, and spark an aspirational desire that directly drives sales.
Why Great Beauty Photography Sells More Products
In a market as packed as beauty, your product photos are your hardest-working sales tool. They're often the very first impression a potential customer has of your brand, and that first look sets the tone for how they perceive your quality and value. Think about it: a blurry, poorly lit photo immediately signals a cheap or untrustworthy product. On the other hand, a crisp, vibrant image builds immediate trust and makes the item feel premium.
This guide is built on a simple premise: you don't need a massive budget or a fancy studio to create incredible cosmetic photos. The smartphone in your pocket, combined with some clever techniques and the right tools, is more than enough to get professional-level results.
The Power of Visuals in a Massive Market
The beauty industry is a global powerhouse, generating over $500 billion in revenue in 2023 and on track to top $650 billion by 2025. With e-commerce grabbing over 35% of those sales and social media influencing a massive 70% of beauty purchases, your image quality is no longer optional. Your visuals are fighting for attention in a fast-paced digital feed where people make snap judgments.
To get ahead, you need to understand the fundamental elements that make a beauty photo work. Here's a quick look at the key pillars we'll explore in this guide, showing how each one directly impacts the final image and your sales.
Core Elements of High-Converting Beauty Photos
A quick look at the key pillars we'll explore in this guide, showing how each one directly impacts the final image and your sales.
| Element | Impact on Brand | Core Goal |
| Planning & Story | Establishes a cohesive brand narrative. | Define the mood, target audience, and key message for the shoot. |
| Lighting | Communicates quality and professionalism. | Illuminate the product to reveal its true color, texture, and form. |
| Composition | Guides the viewer's eye and creates interest. | Arrange elements in a visually pleasing way that highlights the product. |
| Styling & Props | Creates context and aspiration. | Use supporting items to tell a story and enhance the product's appeal. |
| Editing | Ensures consistency and polish. | Refine colors, remove imperfections, and create a high-end finish. |
Each of these elements plays a critical role. Mastering them means you're not just taking pictures; you're creating strategic assets for your brand.
Your product image isn't just a picture; it's a digital handshake. It must convey texture, quality, and the feeling someone will get when they use your product, all without them ever touching it.
From Simple Snapshots to Selling Assets
Turning a basic photo into a powerful marketing asset is about more than just pointing your camera and shooting. It’s about learning to tell a story visually. This guide will walk you through everything you need to know, from initial planning and lighting setups to composition tricks and final editing. We’ll show you how to create a variety of images that each serve a distinct purpose:
- Clean E-commerce Shots: The workhorses of your online store. These are crisp, clear photos on a plain background for your product pages.
- Styled Lifestyle Images: Aspirational photos that show your product in a real-world setting, perfect for social media and ads.
- Textural Macro Shots: Gorgeous close-ups that highlight the unique shimmer of a highlighter or the rich consistency of a face cream.
By mastering these different styles, you can build a versatile visual library for your brand. And with today's tools, getting there is easier than you might think. For an even deeper dive, you can check out our complete guide to creating excellent beauty product photos for more specific tips and examples.
Planning Your Shoot for Flawless Results
Great beauty product photos almost never happen by accident. They’re the result of a clear, well-thought-out plan. Before you even touch your camera, taking the time to map out your shoot's direction will save you a ton of headaches and lead to a much more polished, cohesive set of images. The real goal is to stop just showing your product and start telling its story.
I always recommend starting with a mood board. A platform like Pinterest is perfect for this. Just start searching for terms that match the vibe you're after—think "clean minimalist skincare" or "vibrant luxury makeup." Pin everything that captures the feeling you want your brand to radiate. This collection of images becomes your North Star for every creative decision you make from here on out.
Define Your Visual Story
Once you have a mood board, you can start to nail down the specific story you want to tell. Are you shooting an organic, earthy face mask? Your whole aesthetic should probably lean into natural elements and textures. On the other hand, if your product is a bold, glittery eyeshadow, your visuals need to match that high-energy, dynamic feel.
Think about which of these two common paths fits your brand best:
- Clean and Minimalist: This look is all about simple backgrounds, soft, gentle light, and plenty of negative space. It screams purity, simplicity, and even clinical effectiveness. It’s a fantastic choice for skincare or "clean beauty" lines.
- Rich and Vibrant: Here, we're talking deeper colors, more dramatic lighting, and intricate prop styling. This approach is perfect for communicating luxury, decadence, or bold self-expression. Think high-end fragrances or vivid color cosmetics.
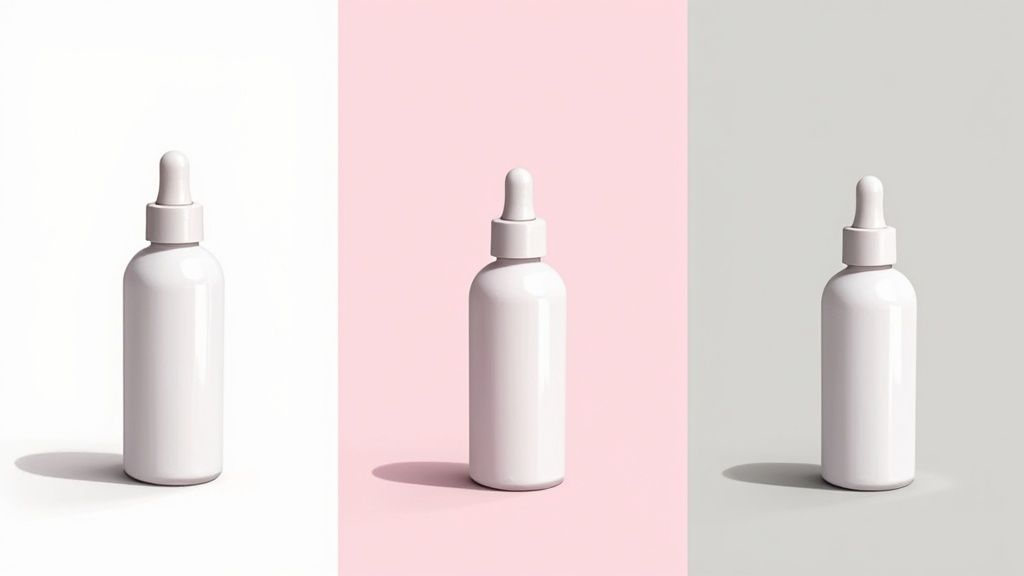
Selecting Backgrounds and Props
With your visual story locked in, picking out backgrounds and props suddenly gets a lot easier. These aren't just space-fillers; they add crucial context and texture that make your product's story more compelling.
For that earthy clay mask we mentioned, a slab of dark slate or a piece of unfinished wood could be the perfect backdrop. A few fresh, dewy rose petals placed next to a facial mist instantly communicates its hydrating and natural qualities.
My rule of thumb is this: your props should feel like a natural extension of your product’s ingredients or benefits. They’re there to support the hero, not steal the spotlight.
The infographic below walks through a simple workflow for lighting, which is another key element you should be thinking about during this planning stage.
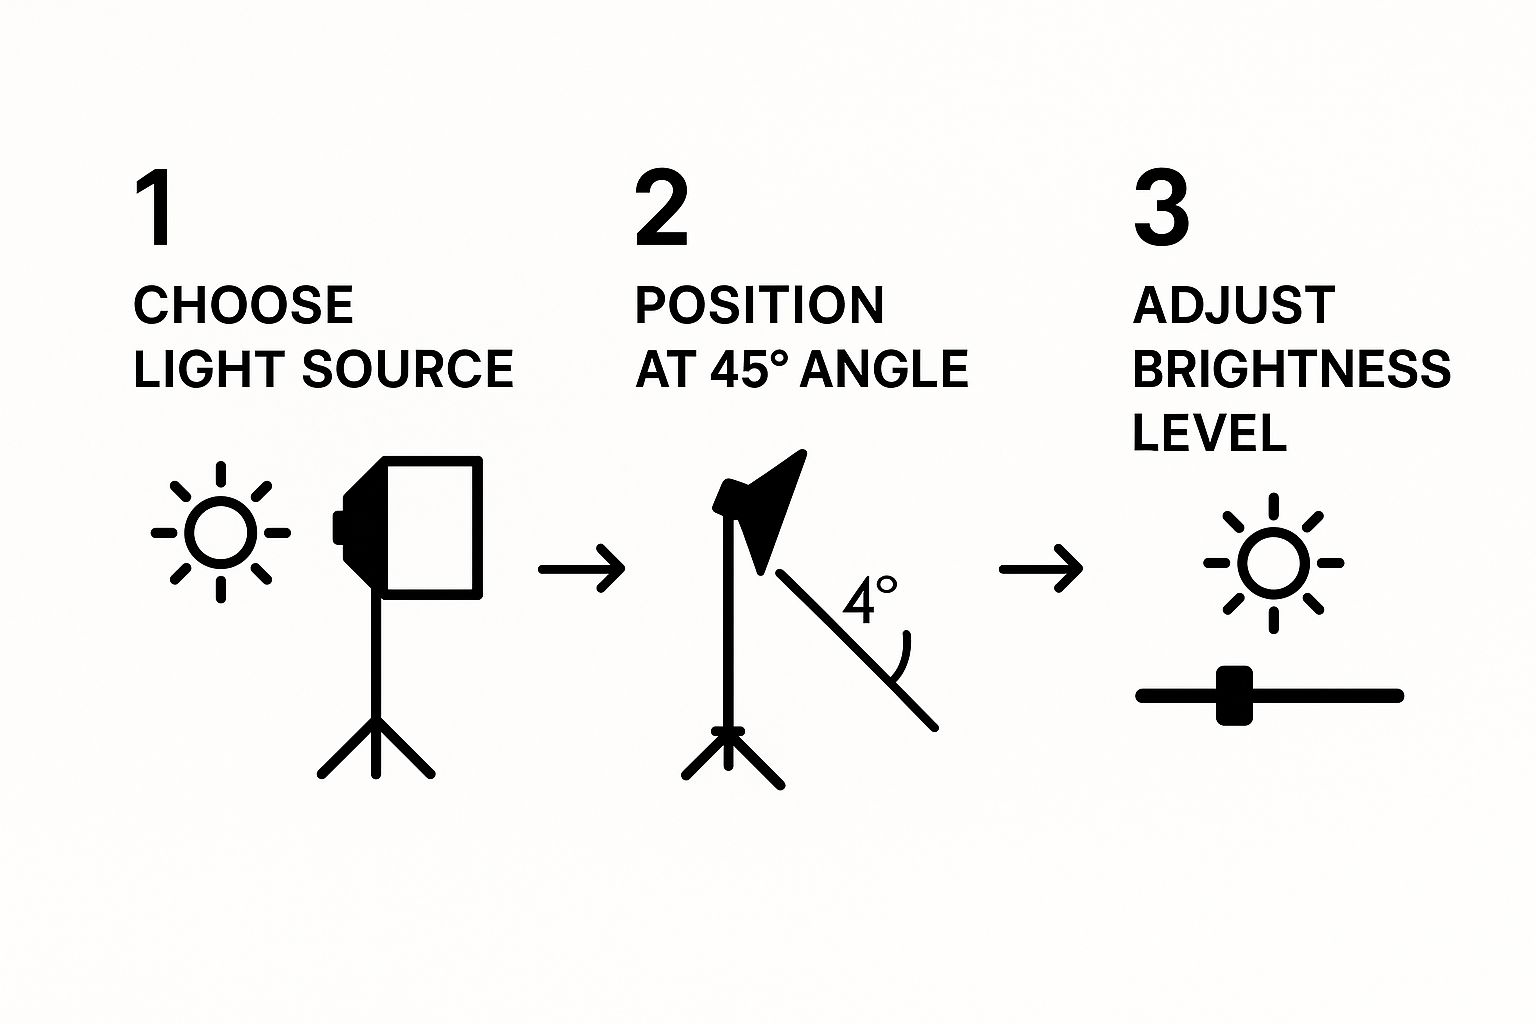
This just goes to show how thinking through the technical details ahead of time makes the actual shoot run much more smoothly.
The Final, Crucial Step: Product Prep
Last but not least, let's talk about the single most overlooked part of planning: preparing the product itself. I can't stress this enough—spending an extra 10 minutes here can literally save you hours of frustrating cleanup in editing software later.
Get meticulous. Wipe down every single surface of your product. I mean every fingerprint, speck of dust, and smudge needs to go. Make sure all the labels are perfectly straight and facing the camera. If you have a pump bottle or a tube, dispense a tiny bit of product to ensure the nozzle is clean and ready.
A pristine product looks premium. A dusty, smudged one looks cheap. This small bit of effort makes a world of difference in the final shot.
Mastering Light Without Expensive Gear
Let's talk about the single most powerful element in beauty products photography: light. It’s what sculpts your product, defines its texture, and ultimately sets the entire mood. Great lighting can make a simple lipstick look like a must-have luxury, while bad lighting can make a premium serum fall completely flat.
But here's a secret from the trenches: mastering light doesn't require a studio packed with expensive gear. Some of the most compelling cosmetic photos I've seen were created with incredibly simple setups. The key isn't how much equipment you have, but how well you understand the quality of your light.
Understanding Hard Light Versus Soft Light
Every light source, from the sun to a desk lamp, produces either hard or soft light. Figuring out which one to use is how you start telling your product’s story.
Hard Light: This gives you sharp, dramatic shadows and a ton of contrast. Think direct, midday sun. It's fantastic for creating bold, edgy images that grab attention. If you're shooting a vibrant eyeshadow palette or a product with a modern, graphic feel, hard light can be your best friend.
Soft Light: This creates gentle, feathered shadows and smooth, even tones. Picture the light on an overcast day or what streams through a sheer curtain. For most beauty photography, this is your holy grail. It’s incredibly flattering, minimizes distracting reflections, and gives products a clean, high-end look.
Here's the pro tip for anyone on a budget: soft, diffused light is your shortcut to professional-looking photos. It’s forgiving, easy to manage, and makes just about any beauty product look fantastic.
Your Best Free Lighting Tool: A Large Window
Honestly, the best and cheapest light source available to you is a big window—ideally on an overcast day or one that isn't getting hit with direct sun. This gives you a gorgeous, diffused light that wraps around your product beautifully, highlighting its shape without creating nasty glare or deep, dark shadows.
To get the most out of it, set up your product on a table right next to the window. You'll want to be positioned between the window and your product, shooting from the side. This technique, called side-lighting, is brilliant for bringing out the subtle textures in creams, powders, and packaging.
A Simple One-Light Upgrade
When you're ready to dip your toes into artificial light, you don't need a complicated kit. A single, affordable LED light and a cheap piece of white foam board from any craft store can be a total game-changer.
Here's a go-to setup:
- First, position your LED light at roughly a 45-degree angle to your product. This acts as your main light, creating nice, natural-looking shadows.
- Next, take that white foam board and place it on the opposite side. This is your "bounce card." It will catch the light from your LED and reflect it back into the shadows, softening them up and bringing out more detail.
This simple arrangement gives you a massive amount of control, letting you craft polished visuals that look like they came from a professional studio. And in today's market, quality visuals are non-negotiable. The global photography services market was valued at around $55.6 billion in 2023 and is projected to climb to nearly $82 billion by 2032, fueled almost entirely by e-commerce and social media. You can explore more data on the value of professional visuals to see just how much of an edge these simple lighting techniques can give you.
Composition Techniques to Tell Your Product's Story
Great lighting shows off your product, but great composition sells the feeling behind it. It's really the art of arranging everything in the frame to tell a silent story and guide the viewer's eye exactly where you want it to go. When it comes to beauty products photography, strong composition is what separates a decent snapshot from an image that feels balanced, intentional, and genuinely high-end.
So, let's break the habit of trying to perfectly center every single shot. Instead, we'll dive into a few simple but powerful ways to frame your products that will capture attention and look far more professional. Trust me, these techniques are easy to pick up and will make a huge difference in your final images.
Beyond the Center: The Rule of Thirds
One of the first and most useful principles I ever learned was the Rule of Thirds. It’s incredibly simple. Just imagine your phone screen is divided by a tic-tac-toe grid. The core idea is to place your product not in the dead center, but along one of the lines—or even better, right at one of the four intersection points.
This small adjustment immediately creates a more dynamic and visually interesting photo. For example, if you place a bottle of facial serum along the right vertical line, you give the rest of the frame some breathing room. This negative space invites the viewer's eye to wander through the scene much more naturally. It just feels right.
Adding Depth with Layers and Textures
A flat image is a boring image. If you want to create depth and give your products a tactile sense of quality, you need to think in layers. You can pull this off by thoughtfully placing props in both the foreground and the background.
A few ideas to get you started:
- Foreground Elements: Try placing a silk ribbon or a soft-focus leaf slightly in front of your product. This creates a dreamy, layered effect that pulls the viewer in.
- Background Textures: Don't underestimate the power of a good surface. Shooting a face cream on a piece of rough slate or a lipstick on a marble tile adds instant context and visual interest.
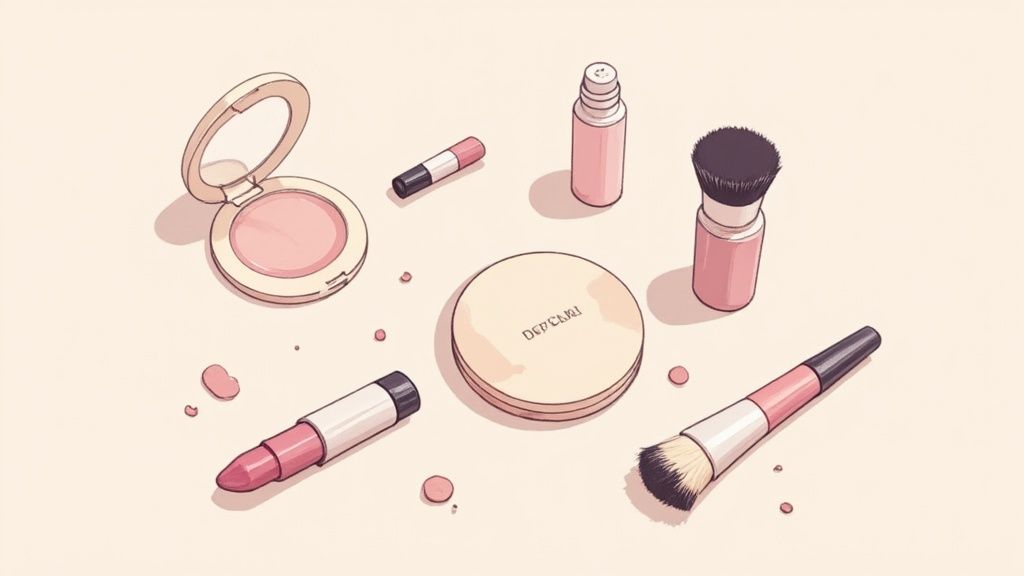
- Product Swatches: For makeup, nothing works better than showing the product in use. A rich smear of lipstick or a swatch of eyeshadow next to the container adds texture and demonstrates the payoff.
These elements aren't just clutter; they work together to build a complete scene, making someone feel like they could almost reach out and touch the product.
A well-composed shot does more than just show a product; it creates an atmosphere. Your goal is to make the viewer feel something—whether it's the calming purity of a skincare line or the vibrant energy of a new makeup collection.
Using Different Angles to Build a Story
Getting stuck shooting everything from the same perspective is a trap. If you want a versatile library of images for your website, social media, and marketing, you have to vary your camera angles.
Here are the three angles I use most often:
The Flat Lay: This classic top-down shot is a social media staple for a reason. It's perfect for arranging multiple products, props, and even ingredients into a beautiful, organized scene. Think of a complete skincare routine laid out neatly on a clean background.
The Hero Shot: Shooting at eye-level, or sometimes from slightly below, makes your product look important and dominant. This is the perfect angle for the main product images on your e-commerce site—it commands attention.
The Angled Shot: A 45-degree angle is often the sweet spot. It usually gives the most natural and flattering view, showing off a product's shape, label, and dimension all at once. It’s my go-to for a reliable, great-looking shot.
Mixing up these angles gives your brand a much more dynamic visual narrative. You can show the product in a clear, straightforward way for purchasing decisions and then in an aspirational, styled way to build brand desire. By consciously using these composition rules, you'll stop just taking pictures and start designing truly compelling visual stories.
Bringing It All Together with an AI Editing Workflow
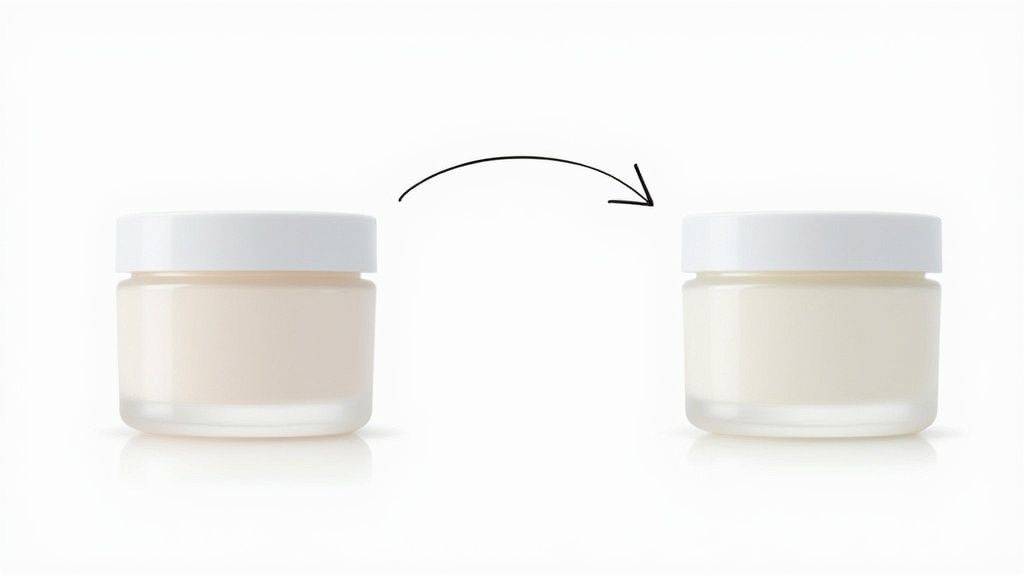
Okay, you've taken some great shots with your phone. Now it’s time for the final, crucial step: editing. This is where you transform those good raw photos into polished, professional images that drive sales.
Thankfully, you no longer need a degree in Photoshop to get this done. Modern AI editing tools have completely changed the game, giving everyone the ability to produce high-end, e-commerce-ready assets in minutes.
These tools are designed to automate the most time-consuming parts of photo editing. Think about the old way of removing a background—painstakingly tracing around your product, pixel by pixel. Now, a good AI editor does that for you with a single click, leaving you with a perfect cutout on a transparent background.
From Raw Photo to Polished Product Shot
The real breakthrough with an AI workflow is how it handles tasks that used to take hours of skilled manual labor. It's a genuine shift in how small brands can approach beauty products photography. Instead of just stripping out the background, these tools can generate brand-new, photorealistic ones based on a simple description.
This is a massive advantage when you're trying to build a cohesive look across your online store. You can instantly place your product in a stylish lifestyle setting or on a clean, solid color that perfectly matches your branding. The result is a gallery where every image has consistent lighting, backgrounds, and shadows, which goes a long way in building customer trust.
When you're choosing an AI editor, here are the non-negotiable features you should look for:
- One-Click Background Removal: It needs to cleanly and accurately isolate your product from its original background. No fuzzy edges.
- AI Scene Generation: The ability to create new, realistic backgrounds from a simple text prompt (e.g., "on a marble countertop next to a small plant").
- Realistic Shadow Creation: This is key. The tool must be able to add soft, natural-looking shadows that ground your product and give it depth.
- Intelligent Adjustments: Look for automatic corrections for color balance, brightness, and contrast that make your product look vibrant and true-to-life.
Adding Depth with AI-Generated Shadows
A product just floating on a white background can look cheap and unnatural. This is where AI-generated shadows make a huge difference. With just a click, you can add a subtle, realistic shadow that gives your product weight and makes it feel like it was shot in a professional studio.
The goal of editing is simple: make your product look its absolute best while staying true to what the customer will actually receive. AI tools are fantastic for this because they enhance reality without creating a false impression.
This kind of visual polish isn't just a "nice-to-have" anymore; it's essential. The beauty and personal care market in the United States is projected to reach $104.74 billion by 2025, with a huge chunk of that coming from online sales. Visual-first platforms like Amazon and TikTok have fundamentally changed how people discover and shop for beauty products, as highlighted in this deep dive into e-commerce's impact on the beauty market.
In this competitive space, professional-grade imagery is what sets you apart. If you want a closer look at what goes into getting that final look, our overview of photo editing services for ecommerce can offer more insight. By embracing an AI-powered workflow, you can build a stunning product gallery that looks like you spent a fortune—without having to.
Tackling Common Beauty Photography Questions
When you first dive into shooting beauty products, a few common roadblocks always seem to pop up. It's totally normal. Getting the small details right is what really makes a photo shine, and everyone—even seasoned pros—has wrestled with these exact challenges.
Let’s walk through some of the most frequent questions I get and find some practical solutions to get you past those hurdles.
How Do I Stop Reflections on Glossy Products?
Ah, the classic battle with shiny packaging. Reflections can completely wash out your product, but the fix is all about managing your angles. The big rule is to never place your light source and your camera directly opposite each other. That’s a recipe for glare.
The secret is to use a large, soft light source. Think of a big window with a sheer curtain drawn across it—this diffuses the light, making it wrap gently around your product instead of bouncing harshly back into your lens. If you're still seeing stubborn reflections, grab some black cards (even black construction paper works) and place them just out of the frame. They act like little light sponges, soaking up stray reflections and adding beautiful, defining shadows to your product's edges.
What Are the Best Camera Settings for My Smartphone?
Your phone’s built-in camera app is surprisingly powerful, so always use it instead of shooting directly in a social media app. The native app saves the highest quality file.
Before you take the shot, tap the screen right on your product's label or its most important feature to lock in the focus. If your phone has a 'Pro' or 'Manual' mode, even better. Here’s a solid starting point:
- Keep Your ISO Low: Set your ISO between 100 and 200. This keeps the image clean and prevents that grainy, "digital noise" look.
- Tweak the Exposure: Use the exposure slider (it usually looks like a little sun icon) to brighten or darken the image before you shoot. It gives you more control than trying to fix it later.
- Don't Use Digital Zoom: Seriously, just don't. Pinching to zoom absolutely destroys your image quality. Instead, physically move your phone closer to the product.
How Can I Create More Interesting Textures?
Texture is what makes a photo feel real and luxurious. You want someone to look at your image and almost feel what it’s like to use the product. The best way to do this is by adding materials that tell a story about your product or its ingredients.
Think about the product itself. For a silky-smooth serum, a single, perfect drop running down a clean glass surface looks stunning. For an exfoliating body scrub, a small smear on a piece of slate or textured tile instantly communicates its gritty, effective feel.
Side-lighting is your secret weapon here. When you place your main light source to the side of the product, it casts tiny shadows across the surface. This simple trick makes every little detail pop and brings the texture to life.
Should All of My Product Photos Look Identical?
This is a great question. The answer is yes… and no. It all depends on where the photo is going.
For your main e-commerce listings—the ones on your product pages—consistency is king. A clean, uniform background (usually white or light gray) creates a professional, distraction-free experience that helps customers focus on the product. But getting professional shots for every single angle and variation can add up. It's worth looking into the cost of professional product photography to see where it makes sense to invest versus doing it yourself.
On the other hand, for social media, ads, or your website homepage, you need variety. This is where you can get creative with lifestyle backgrounds and styled scenes. These shots show your product in a real-world context, creating desire and building your brand's personality. Having both types of photos gives you the best of both worlds: clarity for conversions and creativity for connection.
Ready to take your own phone photos and give them a professional, high-converting finish? With ProdShot, you can get AI-powered backgrounds and edits in seconds. Try it for free and see just how easy it is to create scroll-stopping images for your store.
Subscribe to my newsletter
Read articles from ProdShot Creator directly inside your inbox. Subscribe to the newsletter, and don't miss out.
Written by