How to Swap Tokens Using a Web3 Wallet on Uniswap
 Chioma Ebe
Imagine a neighborhood market where people trade goods directly with each other - no cashiers, no shops, no banks. It’s like a trade-by-barter system.
For example, you have some oranges but want apples. At this market, you can walk up to a fruit stand where everyone leaves fruit they want to trade.
You simply drop off your oranges and take the equivalent amount of apples, based on what people agree is fair (like how many oranges equal one apple).
Now here’s the twist: in a DEX (Decentralized Exchange), there’s no shop owner. Also, instead of fruit, you're swapping cryptocurrencies.
And instead of a shop owner or bank managing the trade, smart contracts handle everything securely, automatically, and directly from your wallet. Also, instead of fruit, you're swapping cryptocurrencies.
In all, a DEX is a system that ensures trades are fair and automatic.
What You’ll Learn in This Beginner Guide
How to connect your Web3 wallet to a DEX.
How to select tokens and swap them.
What You Need Before You Start
- A Web3 Wallet
We’ll use MetaMask in this guide.
Note for those who have no clue how to get started with metamask, kindly use this guide: MetaMask How-To-Guide
Some Ethereum (ETH)
You’ll need ETH in your wallet to pay for transaction (gas) fees.Access to the Internet
You’ll be using web-based DEX platforms.A Curiosity for How Web3 Apps Work
The more curious you are, the easier it’ll be to grasp.
How to Swap Tokens on Uniswap
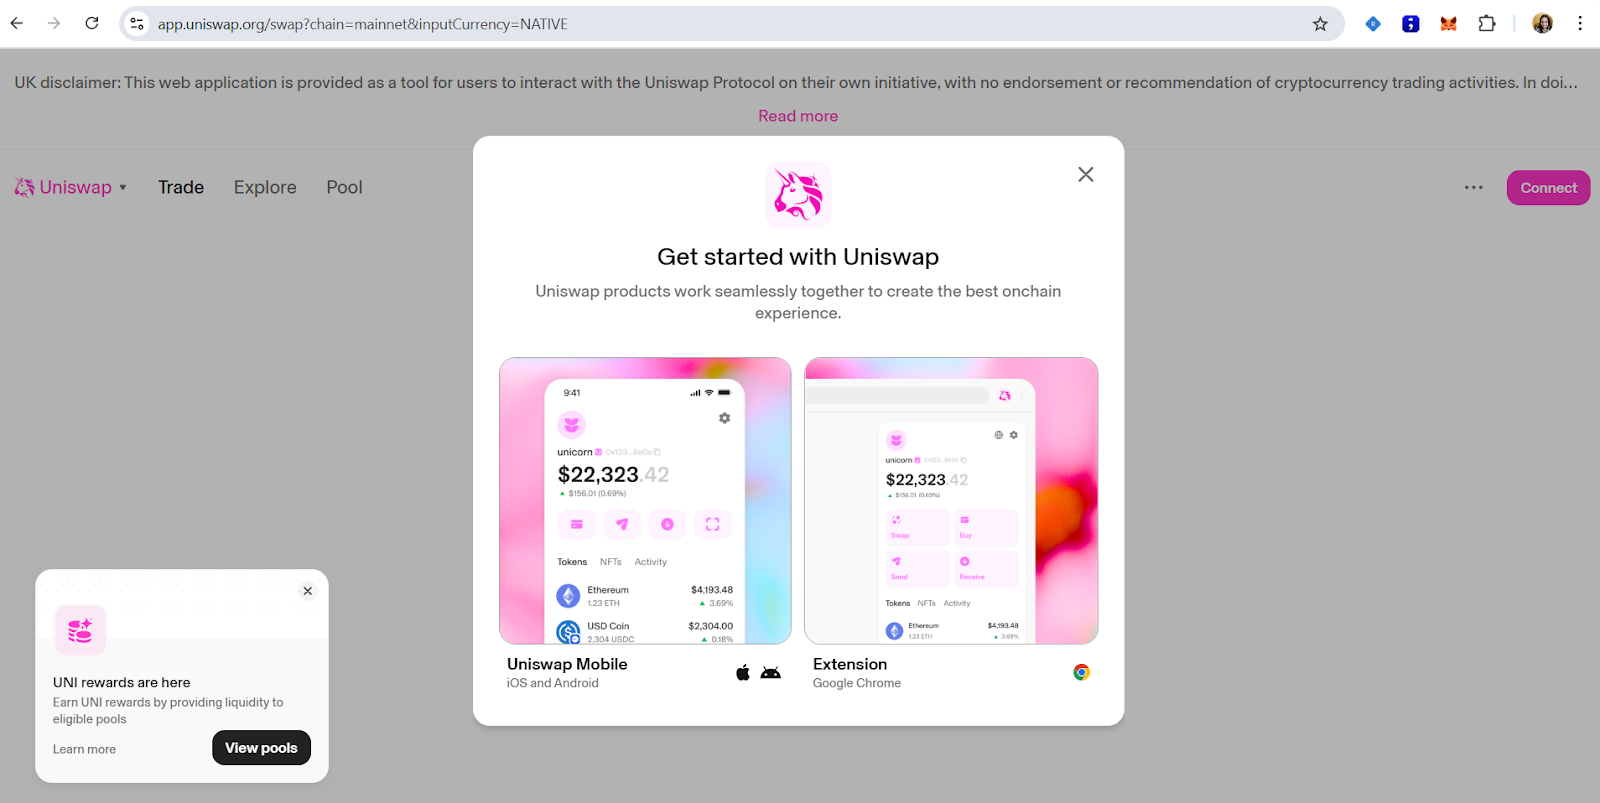
✅ Step 1: Open the Uniswap dApp
1. Go to https://app.uniswap.org.
You’ll land on a simple interface that lets you connect your wallet and start swapping tokens.
✅ Step 2: Connect Your Wallet
1. Click the “Connect Wallet” button at the top-right.
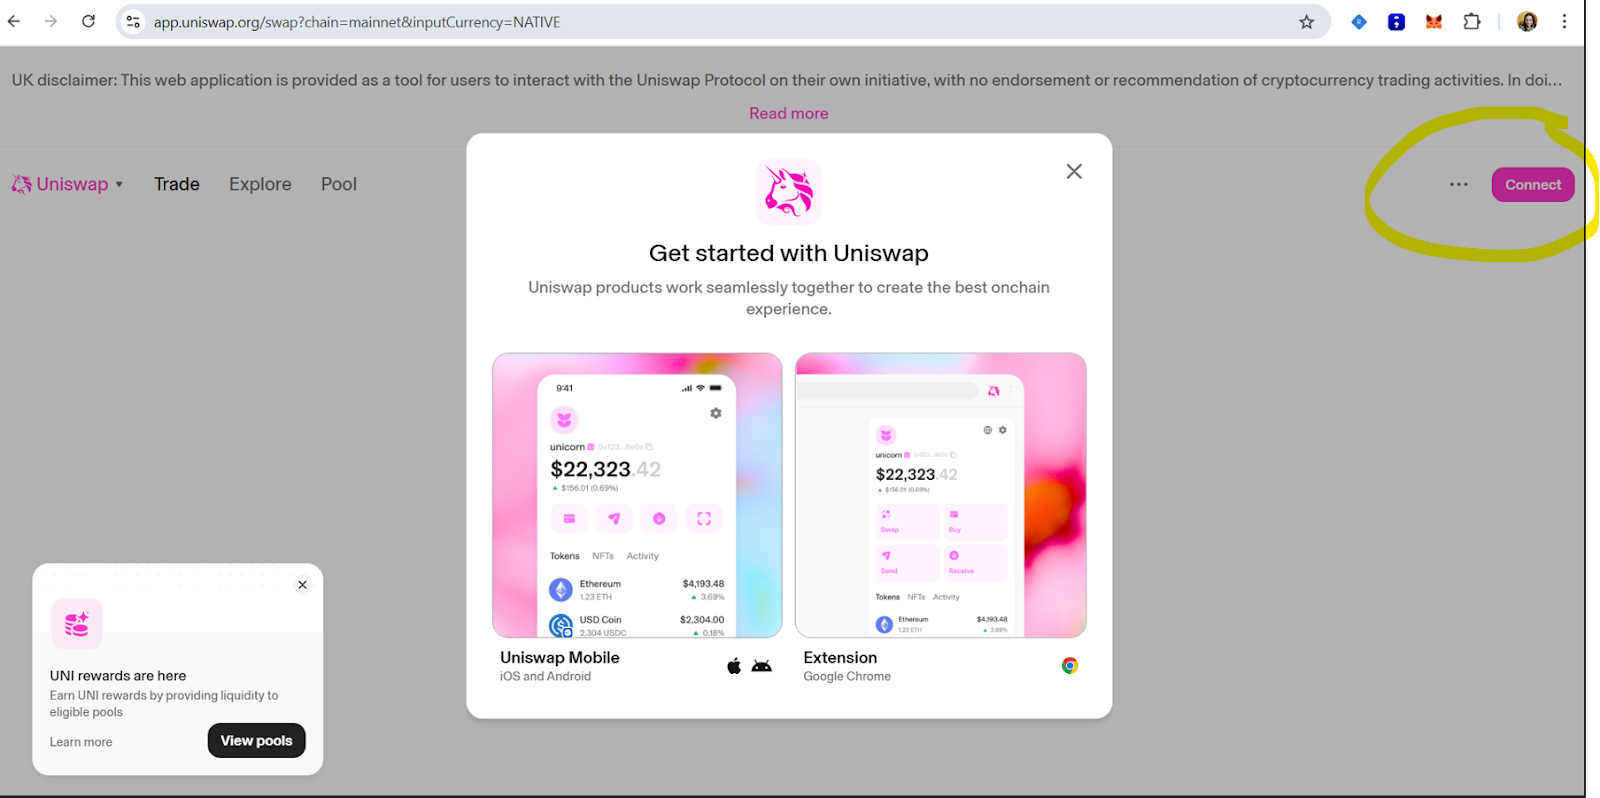
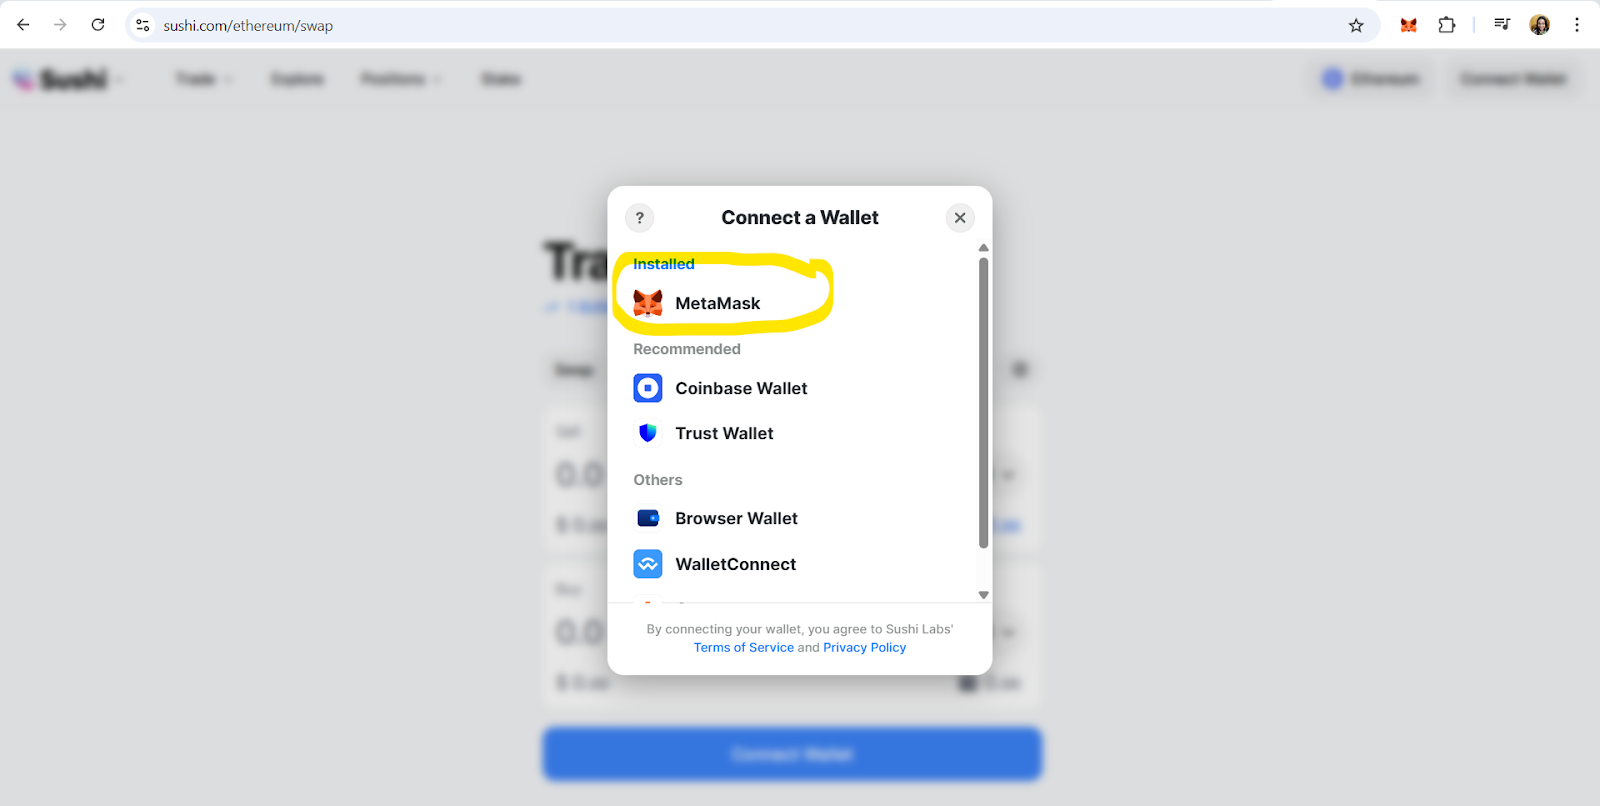
- Choose MetaMask from the list of supported wallets. For the purpose of this guide, i’ll be making use of metamask because my tokens are domiciled there. Feel free to choose from the list of supported wallets.
3. Approve the connection request in your MetaMask popup.
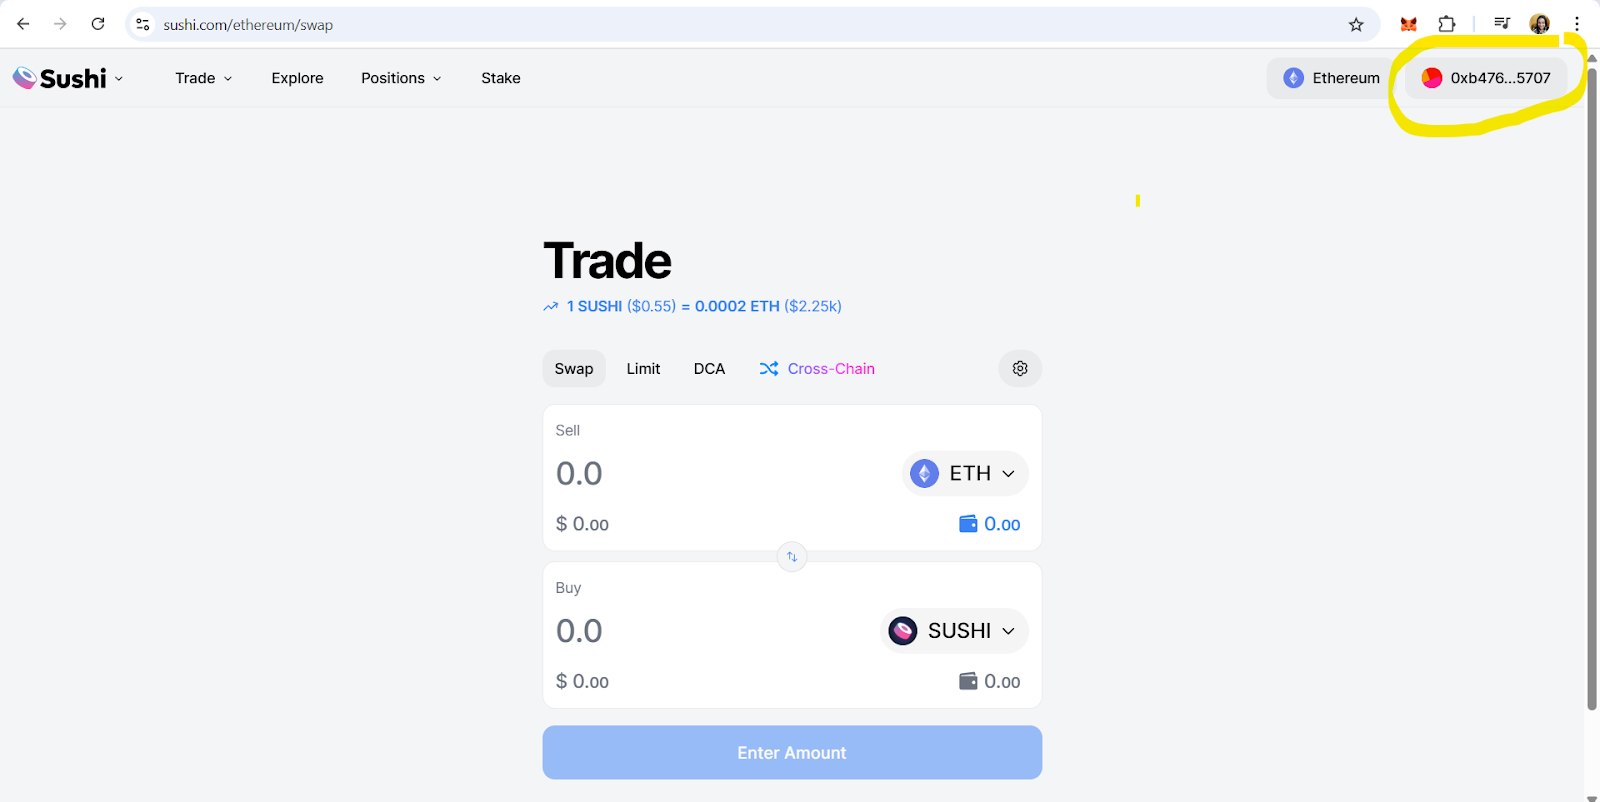
Once connected, your wallet address will appear at the top of the screen.
✅ Step 3: Select Tokens to Swap
1. Click on the “Select Token” dropdown.
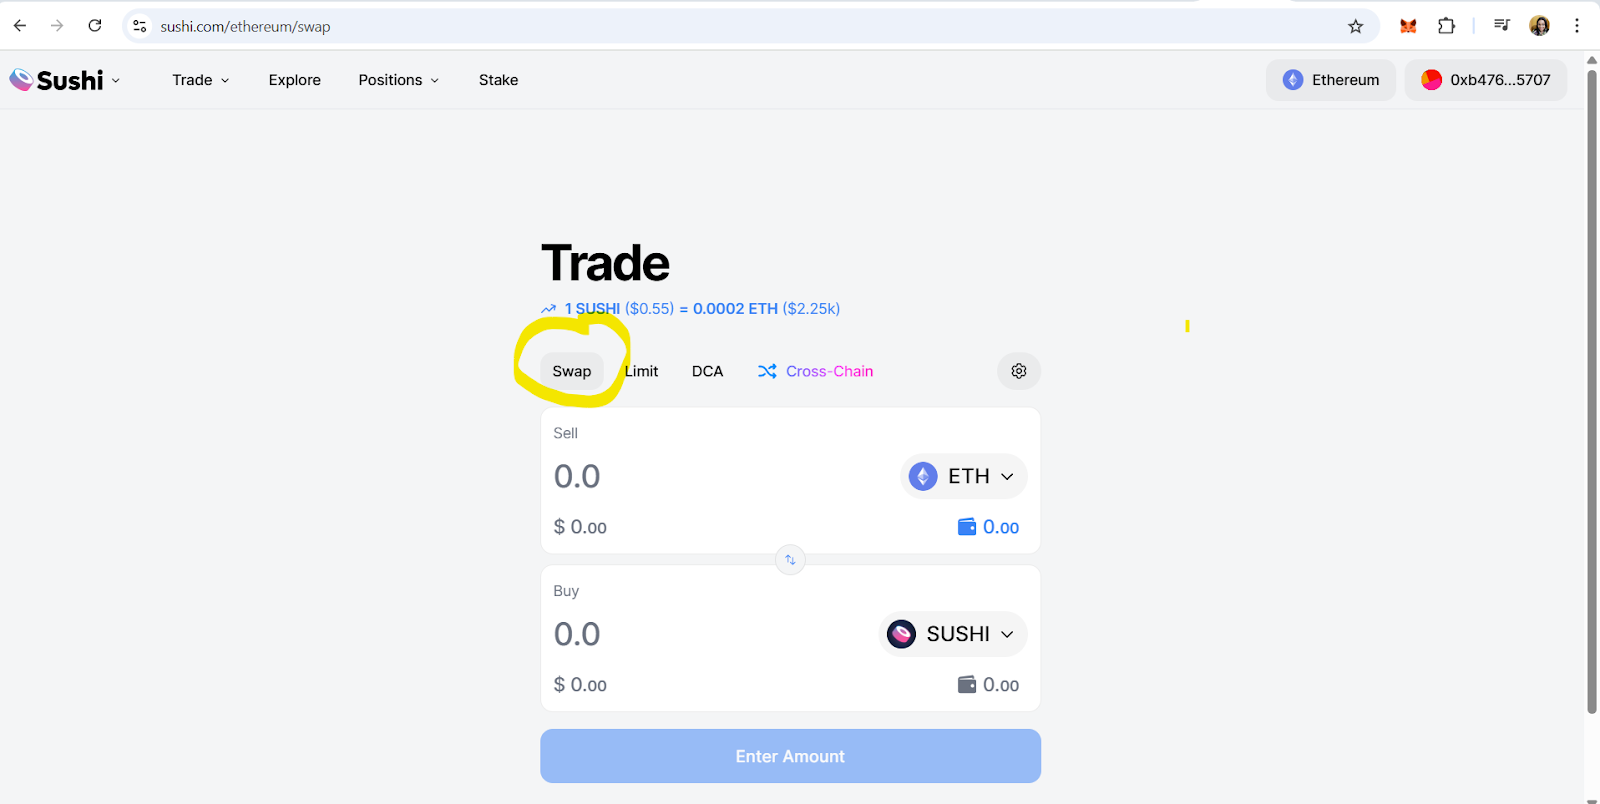

2. Choose the token you want to swap from (e.g., ETH).

3. Choose the token you want to receive (e.g., USDC).
4. Enter the amount to swap.
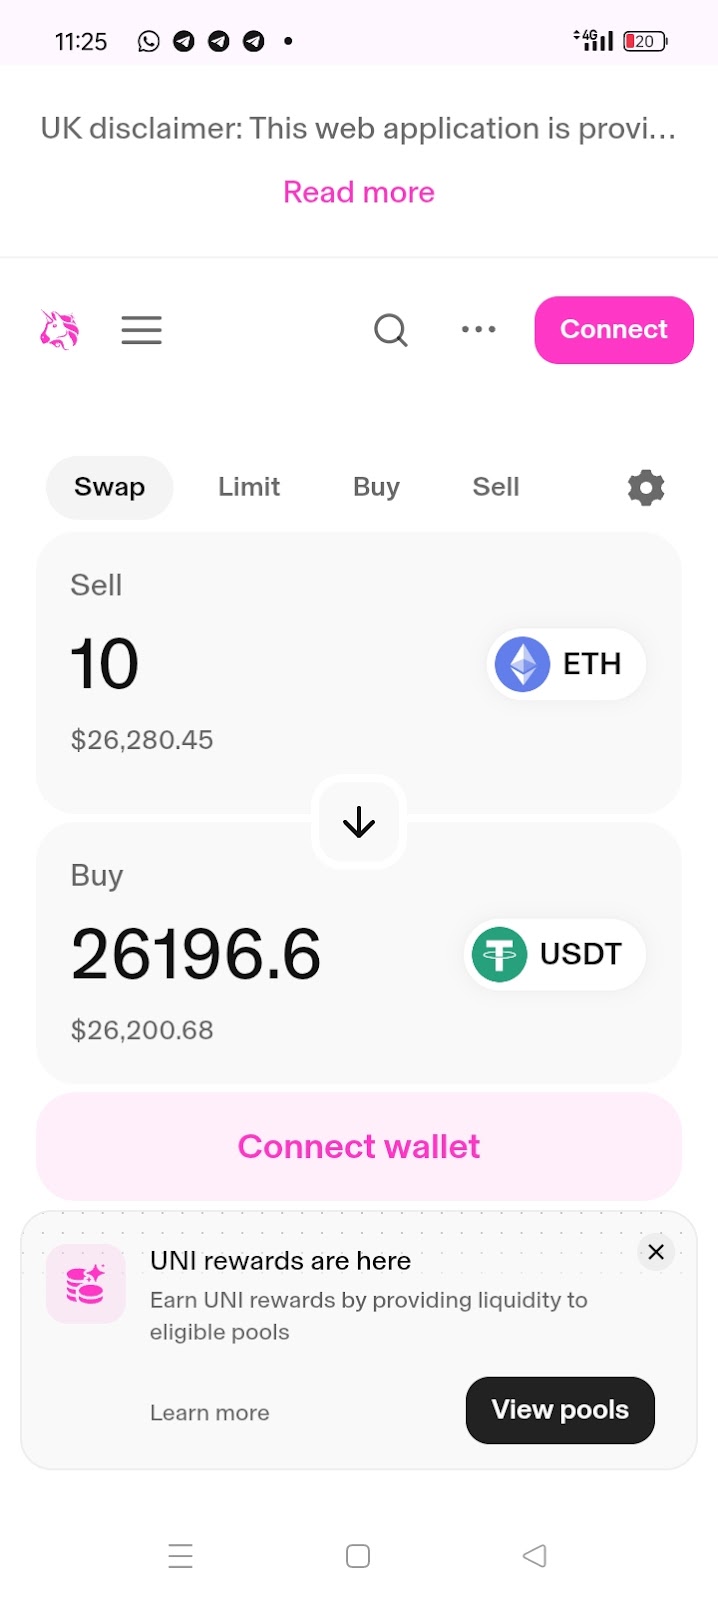
Uniswap will automatically display:
Estimated output
Slippage tolerance
Network (gas) fees
**
✅ Step 4: Confirm the Swap**
1. Click the “Swap” button.
2. Review the confirmation screen.
3. Confirm the transaction in your MetaMask popup.
4. Wait a few seconds for the transaction to process.
You’ll see “Transaction Pending...” and then “Success!”
You've just completed your first Web3 token swap!
Conclusion
Swapping tokens on a DEX like Uniswap might seem complex at first, but once you understand the steps, it’s as smooth as visiting your neighborhood market, only this time, you’re trading digital assets instead of fruit.
By following this guide, you've learned how to:
Connect your MetaMask wallet
Select the tokens you want to swap
Review and confirm the transaction securely
The best part? You did it all without relying on a bank or middleman. That’s the power of Web3, giving you full control over your assets in a decentralized and transparent way.
As you explore further, remember that every click, swap, and confirmation builds your confidence in using decentralized tools.
Keep experimenting, stay curious, and enjoy the freedom that comes with understanding how DEXs work.
Subscribe to my newsletter
Read articles from Chioma Ebe directly inside your inbox. Subscribe to the newsletter, and don't miss out.
Written by