Adding Texture to a Lion Fish Using 3D CAD Software
 Juliana Misiko
Adding Texture to a Lion Fish Using 3D CAD Software
Texture is a vital element in 3D modeling that brings depth, realism, and visual interest to digital creations. When working with detailed models like a lionfish, known for its striking fins and complex surface patterns, applying the right textures can dramatically enhance the final result. In this article, we will explore how to add texture to a lionfish model using SelfCAD, a user-friendly browser-based 3D design tool. From selecting appropriate texture types to applying them accurately on different parts of the model, this process demonstrates how digital sculpting techniques can turn a simple model into a lifelike, visually rich representation of marine life.
To access the interactive tutorial to this article, check out; https://www.selfcad.com/tutorials/124a3t61n363k1f163c2f1f3cm3z6v6k3d4y
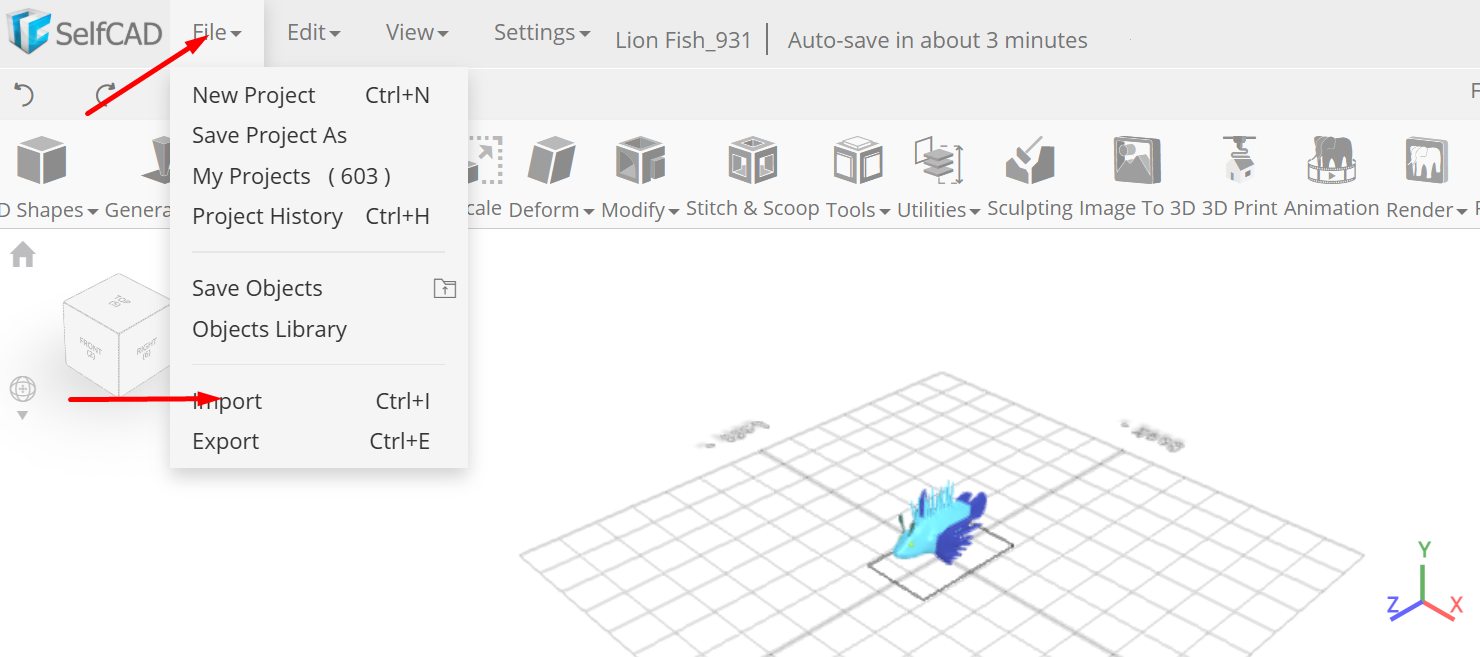
From the file menu on the top toolbar click import, Click load object from tutorial button to add object
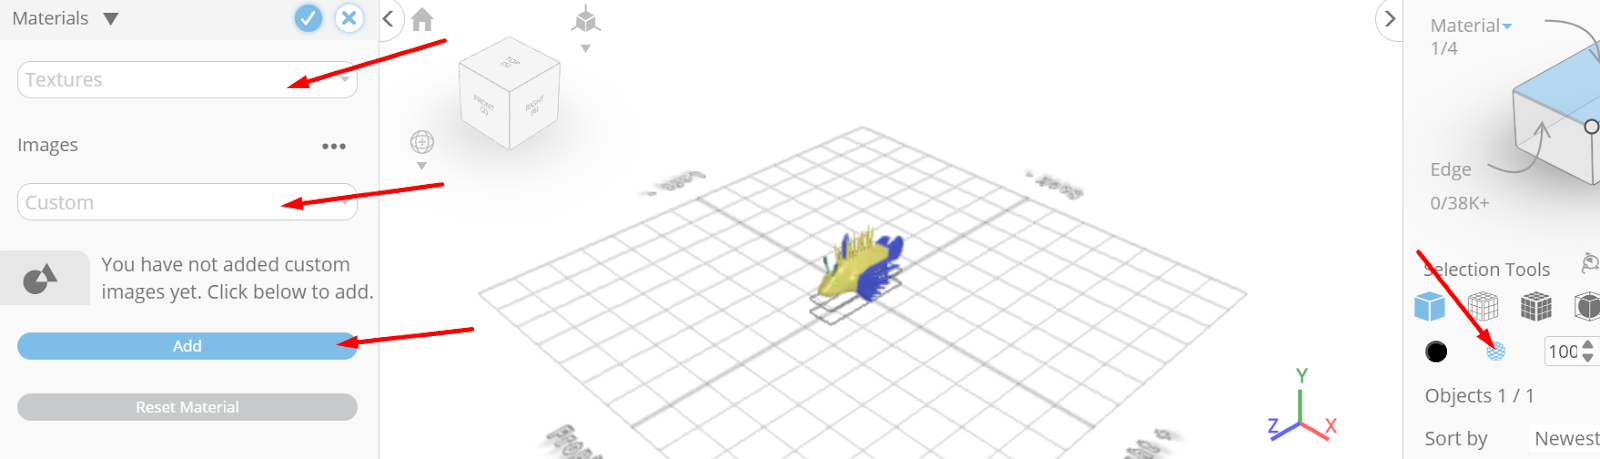
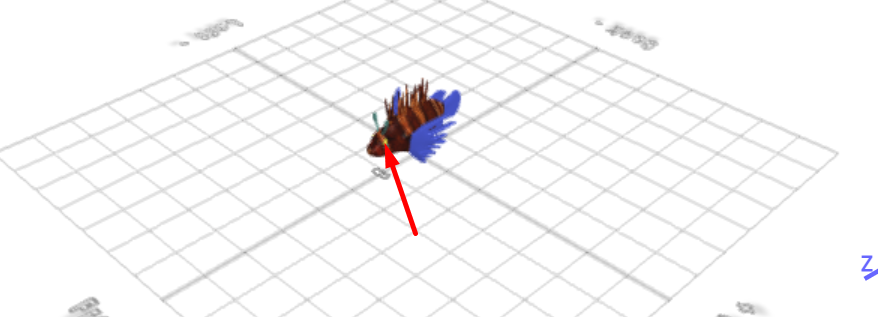
Click to activate material selection; Click on highlighted region to select it
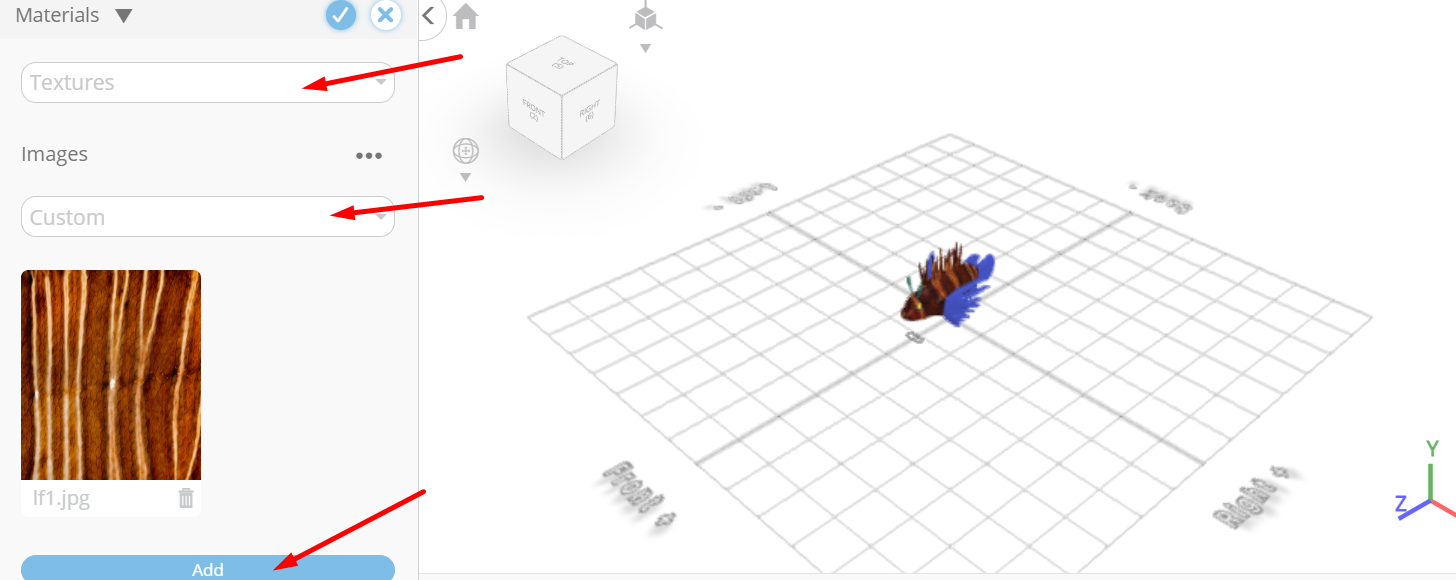
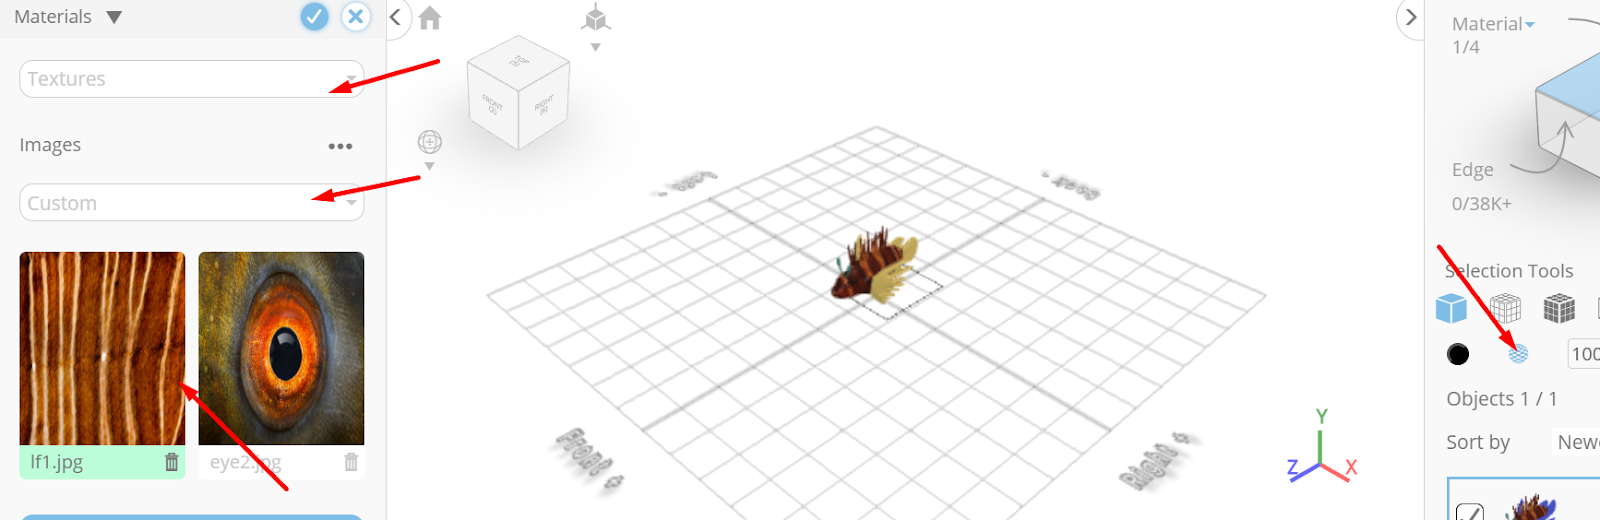
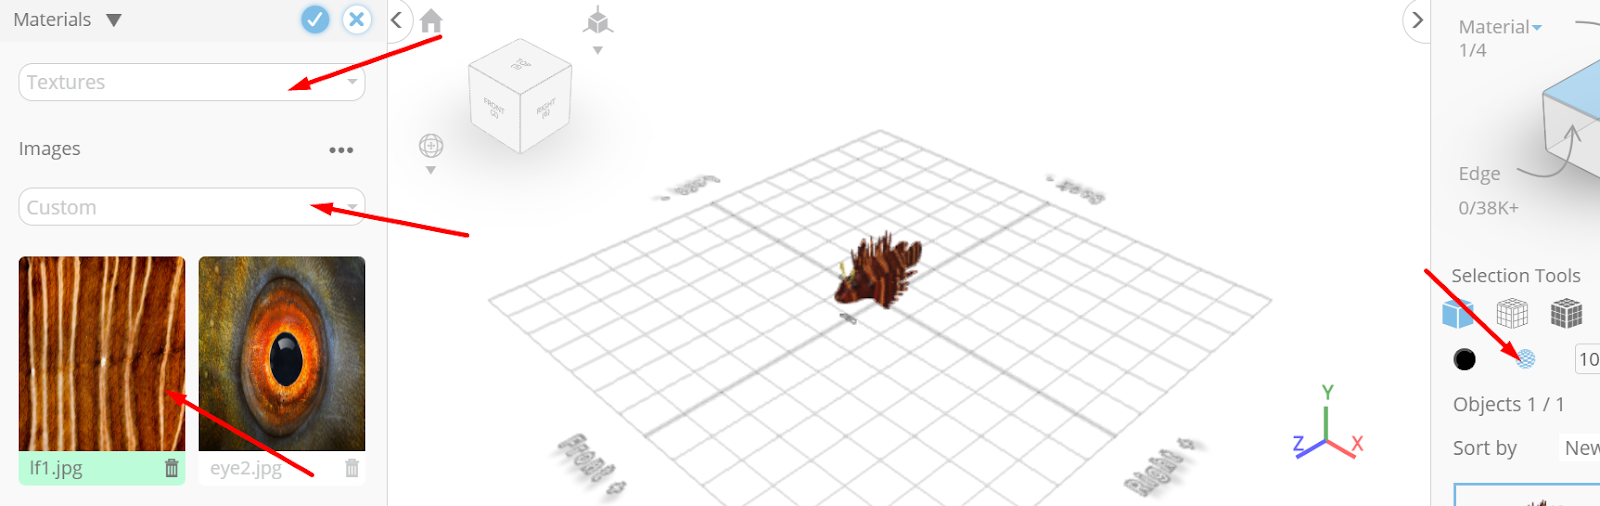
From the right panel choose materials; Set settings to textures, texture category to custom, Click add image button to load new image
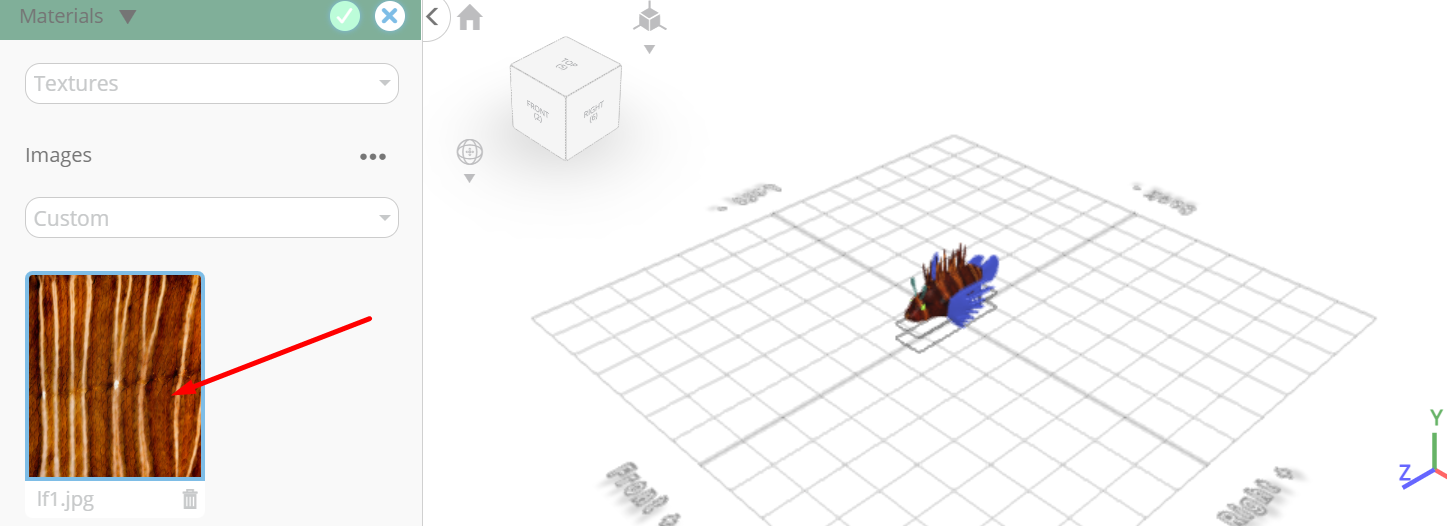
Click load image from tutorial button to add image, Click If1.jpg button to apply texture
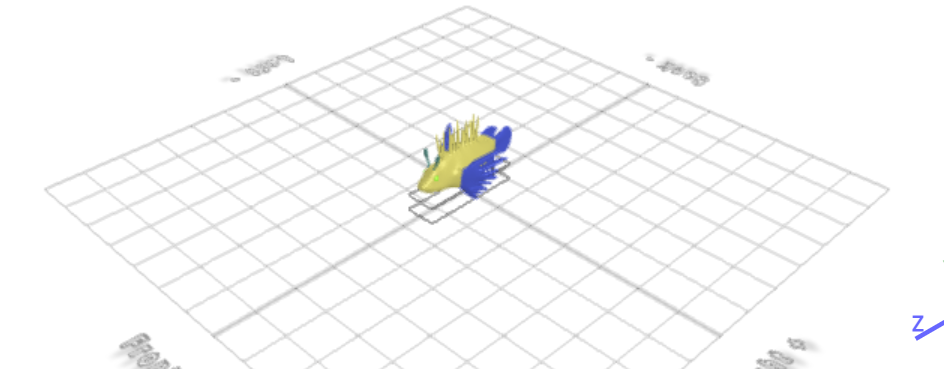
Tick the checkmark to finalize materials
Click on highlighted region to deselect it
Click on highlighted region to select it
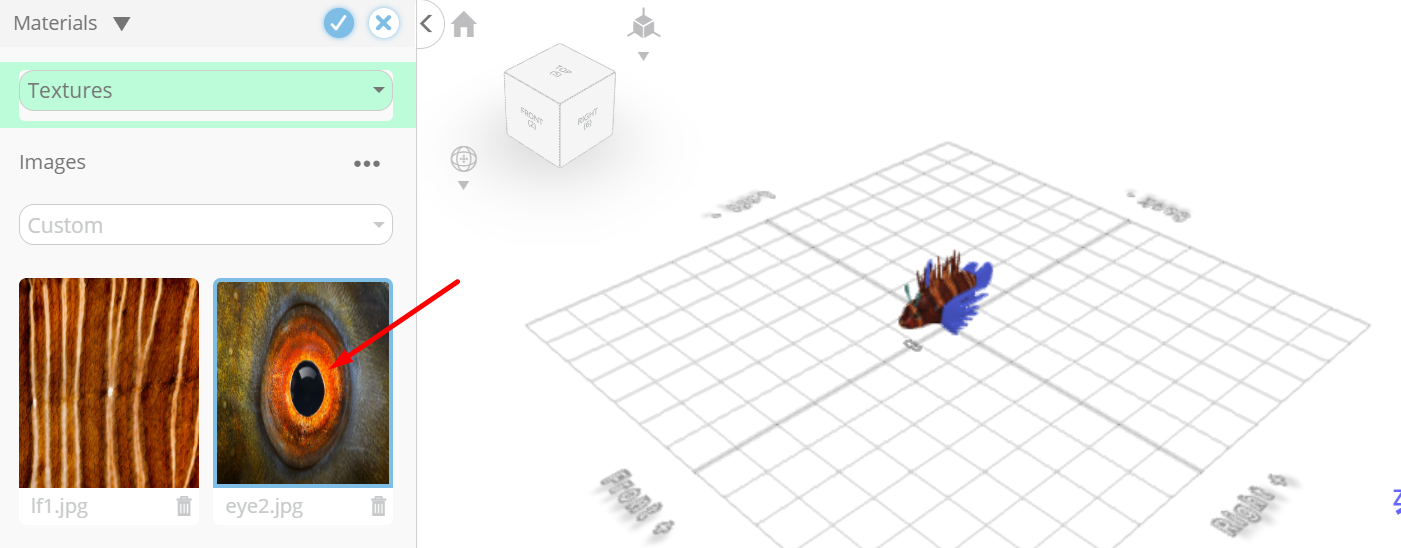
From the right panel choose materials; Set settings to textures, texture category to custom, Click add image button to load new image
Click load image from tutorial button to add image, Click eye2.jpg button to apply texture
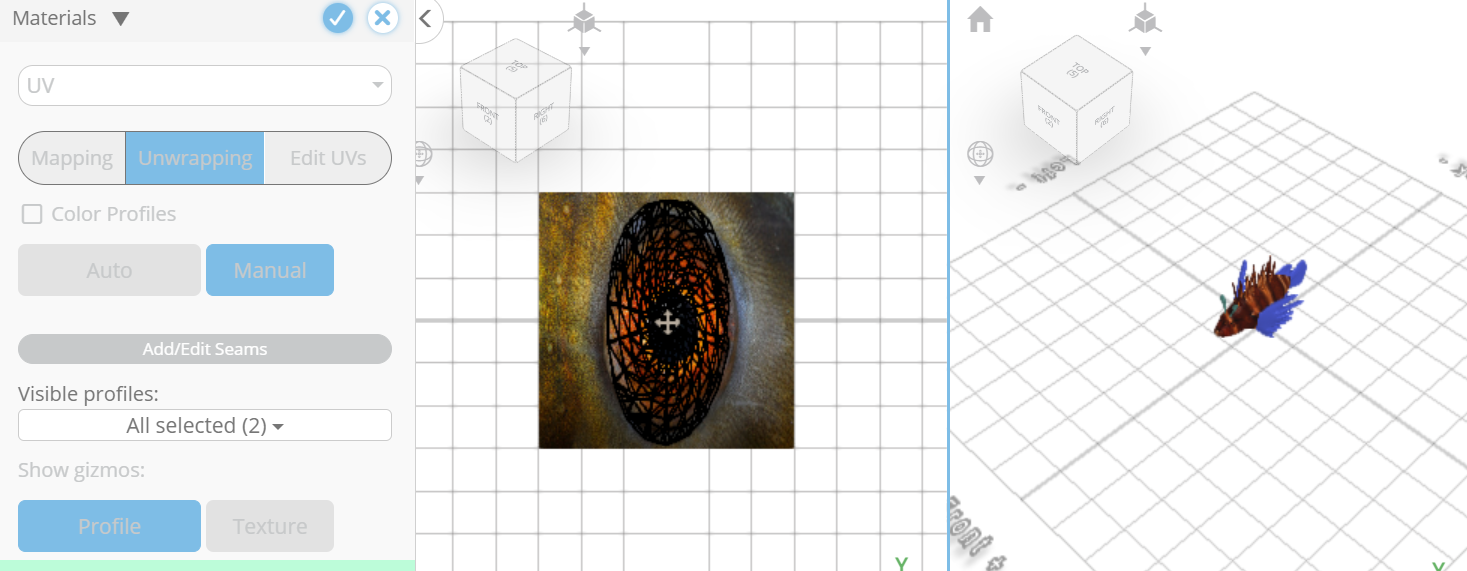
Set settings to uv, uv Generate mode to unwrapping, uv unwrapping mode to manual, Click add/edit seams button to add seams, Set automatic loop finding to true
Click finalize seams adding button to finalize seams adding
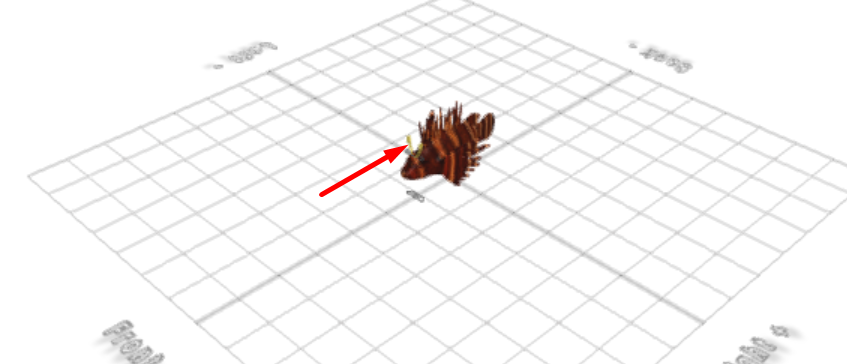
Click unwrap button to unwrap object, Drag highlighted gizmo to highlighted point to move profile

Drag highlighted gizmo to highlighted point to move profile
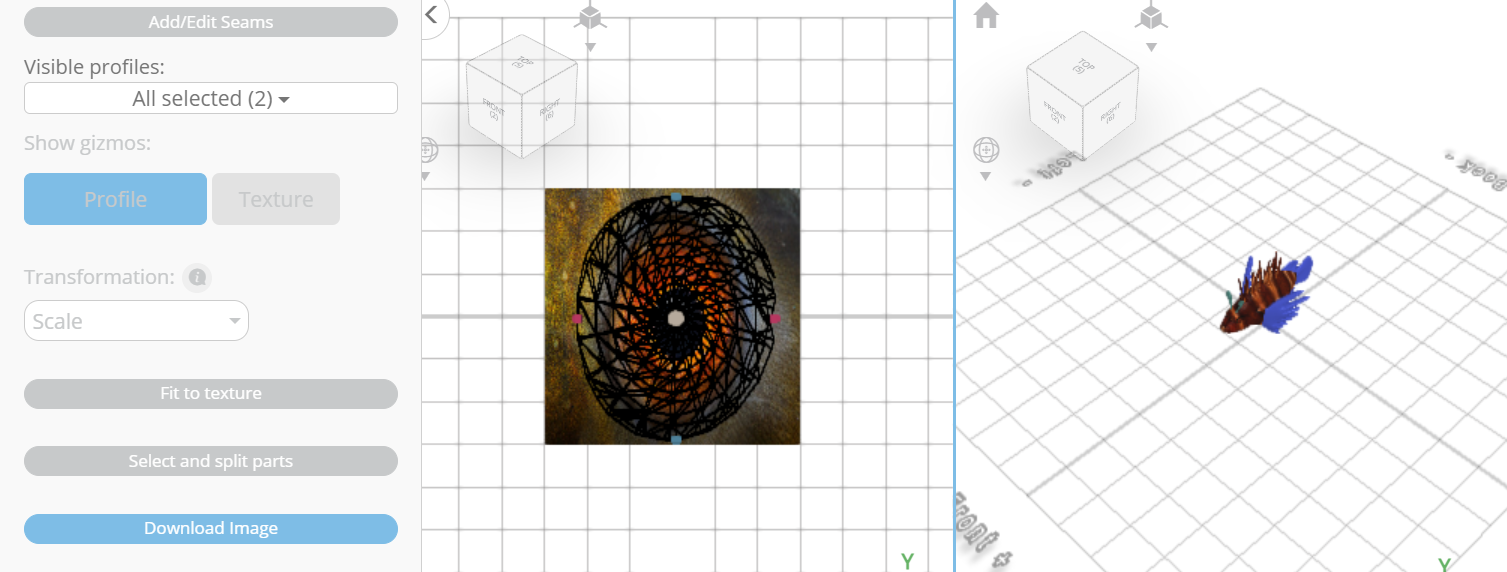
Set transformation to scale, Drag highlighted gizmo to highlighted point to scale profile
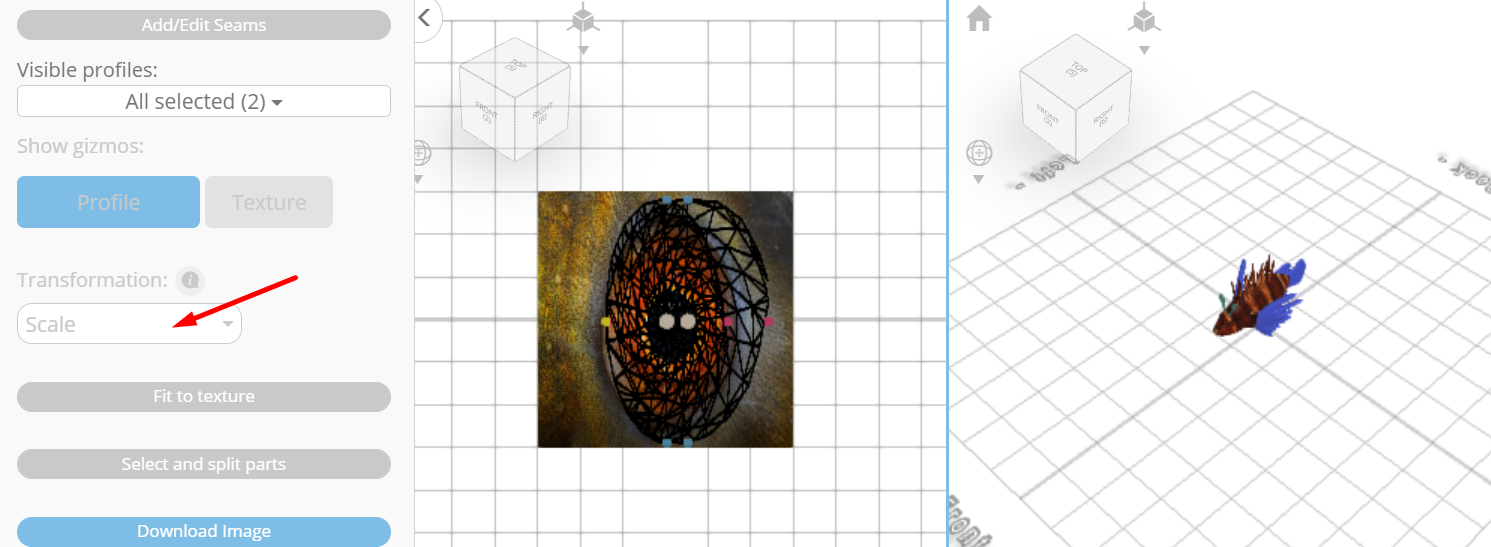
Drag highlighted gizmo to highlighted point to scale profile
Tick the checkmark to finalize materials
Click on highlighted region to deselect it
Click on highlighted region to select it
From the right panel choose materials; Set settings to textures, texture category to custom, Click If1.jpg button to apply texture
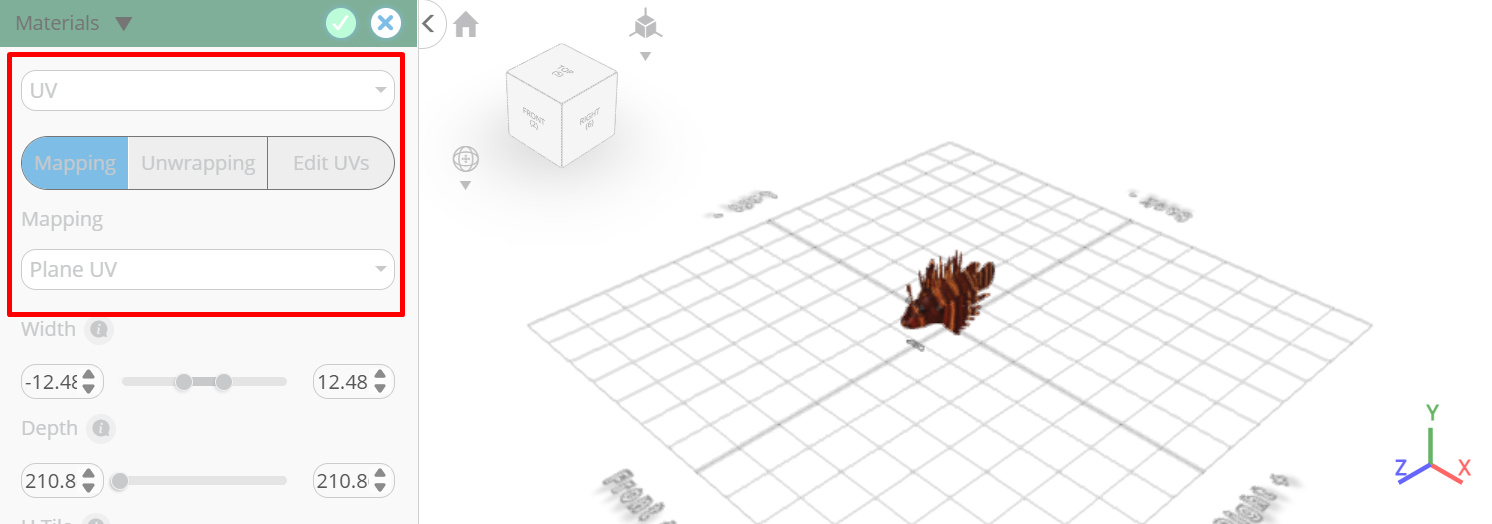
Set settings to uv, mapping to plane uv
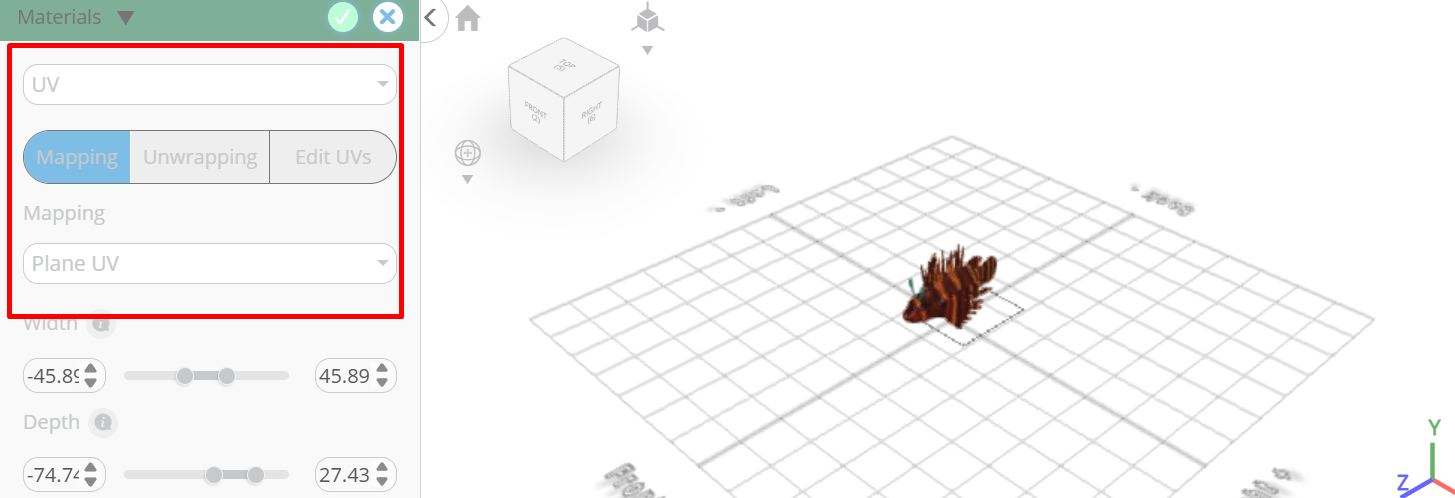
Tick the checkmark to finalize materials
Click on highlighted region to deselect it
Click on highlighted region to select it
From the right panel choose materials; Set settings to textures, texture category to custom, Click If1.jpg button to apply texture
Set settings to uv, mapping to plane uv
Tick the checkmark to finalize materials
As you continue honing your design skills, remember that SelfCAD offers a wealth of resources to support your learning journey. To deepen your understanding and explore more advanced features, consider checking out the interactive tutorials (https://www.selfcad.com/tutorials) available on the SelfCAD website. The tutorials page provides a treasure trove of guides, tips, and tricks that cater to designers of all levels.
More structured learning experience can also be accessed at the SelfCAD Academy (https://www.selfcad.com/academy/curriculum/), https://www.youtube.com/@3dmodeling101, and 3D Modeling 101 series (https://www.youtube.com/playlist?list=PL74nFNT8yS9DcE1UlUUdiR1wFGv9DDfTB). This comprehensive resource offers in-depth courses taught by industry experts, allowing you to master the intricacies of SelfCAD at your own pace.
Subscribe to my newsletter
Read articles from Juliana Misiko directly inside your inbox. Subscribe to the newsletter, and don't miss out.
Written by