HarmonyOS Flutter in action: 20 - Flutter integrates AutoNavi maps and renders them on the same
 shaohushuo
This article takes same-layer rendering as an example to introduce how to integrate AutoNavi maps
See [Flutter Harmony Edition Demo] (https://gitee.com/zacks/flutter-ohos-demo/commit/2b16c6f34abd4c61eea89805bc314a10874c305f) for the full code.
Overview
Dart side
The core code is as follows, and the native view is hosted through OhosView
OhosView(
      viewType: 'com.shaohushuo.app/customView',
      onPlatformViewCreated: _onPlatformViewCreated,
      creationParams: const <String, dynamic>{'initParams': 'hello world'},
      creationParamsCodec: const StandardMessageCodec(),
    )
where viewType is the name of the custom ohosView, onPlatformViewCreated is the callback after creation, creationParams is the parameter passed in during creation, and creationParamsCodec is the parameter encoding format.
ArkTS side
In this case, we follow the example in "How to Use PlatformView", first of all, we need to create a view that displays the AutoNavi map, and its core code is as follows:
Full file AmapWidgetFactory.ets
MapsInitializer.setApiKey("e4147e927a1f63a0acff45cecf9419b5");
MapViewManager.getInstance().registerMapViewCreatedCallback((mapview?: MapView, mapViewName?: string) => {
  if (!mapview) {
    return;
  }
  let mapView = mapview;
  mapView.onCreate();
  mapView.getMapAsync((map) => {
    let aMap: AMap = map;
  })
})

@Component
struct ButtonComponent {
  @Prop params: Params
  customView: AmapWidgetView = this.params.platformView as AmapWidgetView

  build() {
    Row() {
      MapViewComponent().width('100%').height('100%')
    }
  }
}
Next create one AmapWidgetFactory.ets
export class AmapWidgetFactory extends PlatformViewFactory {
  message: BinaryMessenger;

  constructor(message: BinaryMessenger, createArgsCodes: MessageCodec<Object>) {
    super(createArgsCodes);
    this.message = message;
  }

  public create(context: common.Context, viewId: number, args: Object): PlatformView {
    return new AmapWidgetView(context, viewId, args, this.message);
  }
}
Eventually one needs to be created AmapWidgetPlugin.ets
export class AmapWidgetPlugin implements FlutterPlugin {
  getUniqueClassName(): string {
    return 'AmapWidgetPlugin';
  }

  onAttachedToEngine(binding: FlutterPluginBinding): void {
    binding.getPlatformViewRegistry()?.
    registerViewFactory('com.shaohushuo.app/customView', new AmapWidgetFactory(binding.getBinaryMessenger(), StandardMessageCodec.INSTANCE));
  }

  onDetachedFromEngine(binding: FlutterPluginBinding): void {}
}
Once the plugin is created, remember to register the plugin in EntryAbility
this.addPlugin(new AmapWidgetPlugin())
It should be noted that the view ID must be consistent on both sides, such as 'com.shaohushuo.app/customView', otherwise it will not be displayed normally
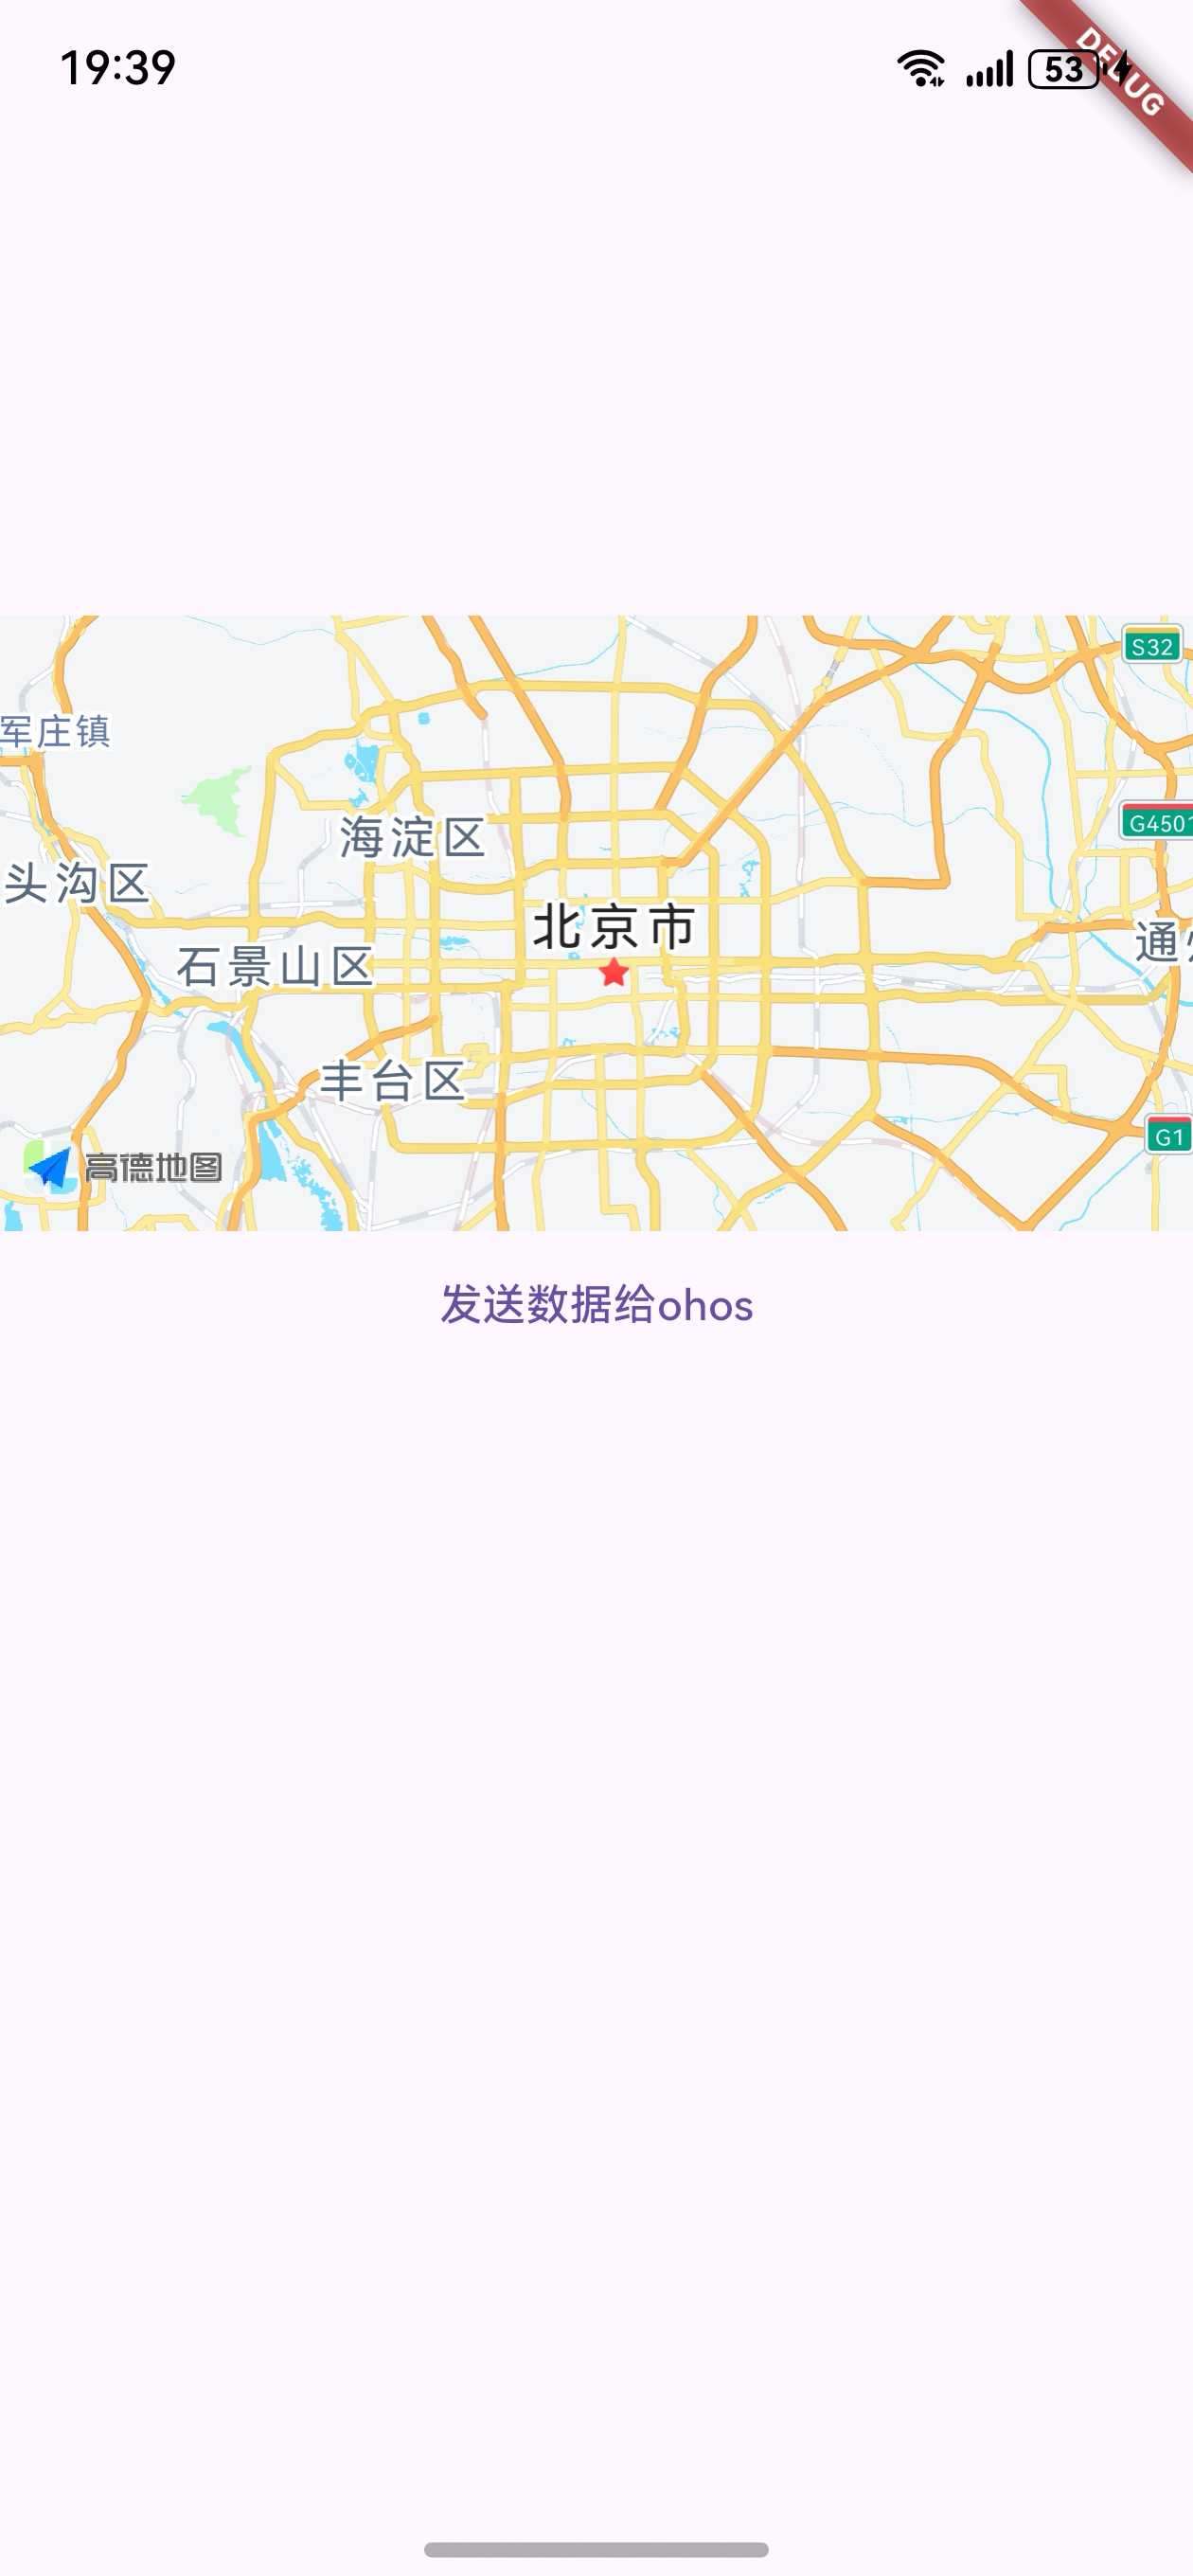
Screenshots
References
[How to use PlatformView] (How to use PlatformView.md https://gitcode.com/openharmony-sig/flutter_samples/blob/br_3.7.12-ohos-1.0.5/ohos/docs/04_development/)
[PlatformView Same-Layer Rendering New Scheme](https://gitcode.com/openharmony-sig/flutter_samples/blob/master/ohos/docs/04_development/PlatformView Same-Layer Rendering Scheme Adaptation and Switching Guide.md#platformview New Solution)
Subscribe to my newsletter
Read articles from shaohushuo directly inside your inbox. Subscribe to the newsletter, and don't miss out.
Written by