How to Install Yarn Using npm?
 Mateen Kiani
Yarn is a popular package manager for Node.js projects, known for its speed and reliability. If you're accustomed to using npm and want to switch to Yarn for managing your project dependencies, the process is straightforward. Here's how to install Yarn using npm:
1. Install Node.js and npm
Before you can install Yarn using npm, you need to have Node.js and npm installed on your system. If you haven't done so already, you can download and install them from the official Node.js website: Node.js Downloads.
2. Install Yarn
Once Node.js and npm are installed, you can use npm to install Yarn globally on your system. Open your terminal or command prompt and run the following command:
npm install -g yarn
Output:
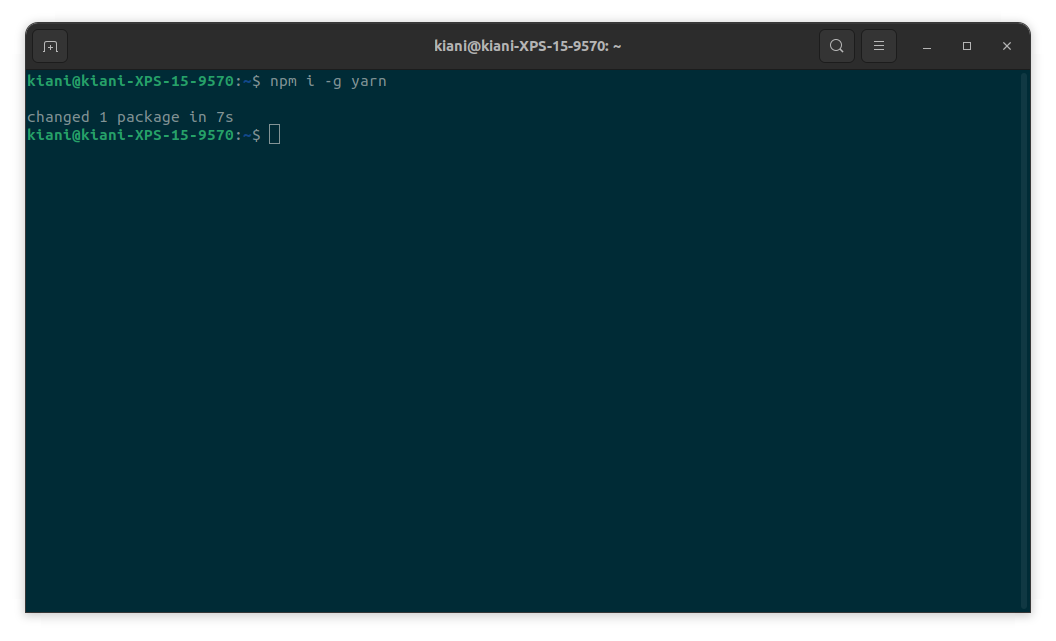
This command will install Yarn globally, making it available as a command-line tool on your system.
3. Verify Installation
To verify that Yarn has been installed successfully, you can run the following command in your terminal:
yarn --version
Output:

If Yarn has been installed properly, this command will output the version number of Yarn that is installed on your system.
##Conclusion:
Congratulations! You've successfully installed Yarn using npm. You can now start using Yarn to manage your Node.js project dependencies efficiently. If you encounter any issues during the installation process, refer to the Yarn documentation for troubleshooting tips.
Subscribe to my newsletter
Read articles from Mateen Kiani directly inside your inbox. Subscribe to the newsletter, and don't miss out.
Written by