How to Turn Your VPS into a Personal Internet Time Machine with ArchiveBox
 THE.Hosting
Many people think that running a virtual or even a dedicated server isn’t so exciting. What can you really do with it? Host an online store or a basic website? Not much fun.
That’s why I’ve taken it upon myself to add a bit of rock’n’roll and show that a server is actually a virtual tech lab for cool projects, experiments, and even professional growth. All you need is a computer or smartphone with OpenSSH installed — and all of this for the price of a couple of cups of coffee per month.
If you want to try it out, you can always rent a fast and reliable server for testing from THE.Hosting. Just follow the link, pick a plan, and start learning Linux and experimenting today.
In this first episode, I’ll walk you through ArchiveBox — a tool that lets you build your own version of the Wayback Machine.
A Few Words About ArchiveBox
ArchiveBox is an open-source utility for archiving websites. It lets you capture, save, and organize snapshots of pages you’re interested in.
Overall, it replicates the functionality of the well-known Wayback Machine. But there’s one key difference: ArchiveBox allows you to archive private sites — including content from social networks, YouTube, SoundCloud, and more.
Just like other self-hosted tools, you have full control over your data and don’t depend on the platform owners. And remember — anything can happen to the Internet Archive. Take, for example, the multi-day outage that has recently happened .
What Kind of Hardware You’ll Need
According to the official docs, ArchiveBox doesn’t require powerful hardware. In theory, it can even run on a single-board Raspberry Pi 3 — which came out 8 years ago.
For testing, I’m using our entry-level VPS with a single Xeon E5-2697A core, 1 GB of RAM, and a 25 GB SSD. That should be more than enough for ArchiveBox.
Before You Install
Technically, you can install ArchiveBox using apt, pip, or pacman, but the developers strongly recommend using Docker. So let’s be chill and follow their advice.
If Docker isn’t installed on your server yet, here’s a quick guide for setting it up via the apt repository.
First, update your package list and add GPG keys:
sudo apt-get update
sudo apt-get install ca-certificates curl
sudo install -m 0755 -d /etc/apt/keyrings
sudo curl -fsSL https://download.docker.com/linux/ubuntu/gpg -o /etc/apt/keyrings/docker.asc
sudo chmod a+r /etc/apt/keyrings/docker.asc
Since my server is freshly deployed, I also had to install Docker.
Now let’s add the Docker repository and update the package list again:
echo \
"deb [arch=$(dpkg --print-architecture) signed-by=/etc/apt/keyrings/docker.asc] https://download.docker.com/linux/ubuntu \
$(. /etc/os-release && echo "$VERSION_CODENAME") stable" | \
sudo tee /etc/apt/sources.list.d/docker.list > /dev/null
sudo apt-get update
Then install Docker itself:
sudo apt-get install docker-ce docker-ce-cli containerd.io docker-buildx-plugin docker-compose-plugin
To verify that everything is working, run:
sudo docker run hello-world
If everything is ok l, you’ll see a confirmation message in the terminal.
Installing ArchiveBox
There are several ways to install ArchiveBox, but I’ve opted for the KISS route — using docker run. It’s the simplest method, and I already have enough complexity in my workday.
First, create a directory to store website snapshots:
mkdir -p ~/archivebox/data && cd ~/archivebox/data
Then run the installer:
docker run -v $PWD:/data -it archivebox/archivebox init --setup
The installer will ask you to create a web interface user — you’ll need it later.
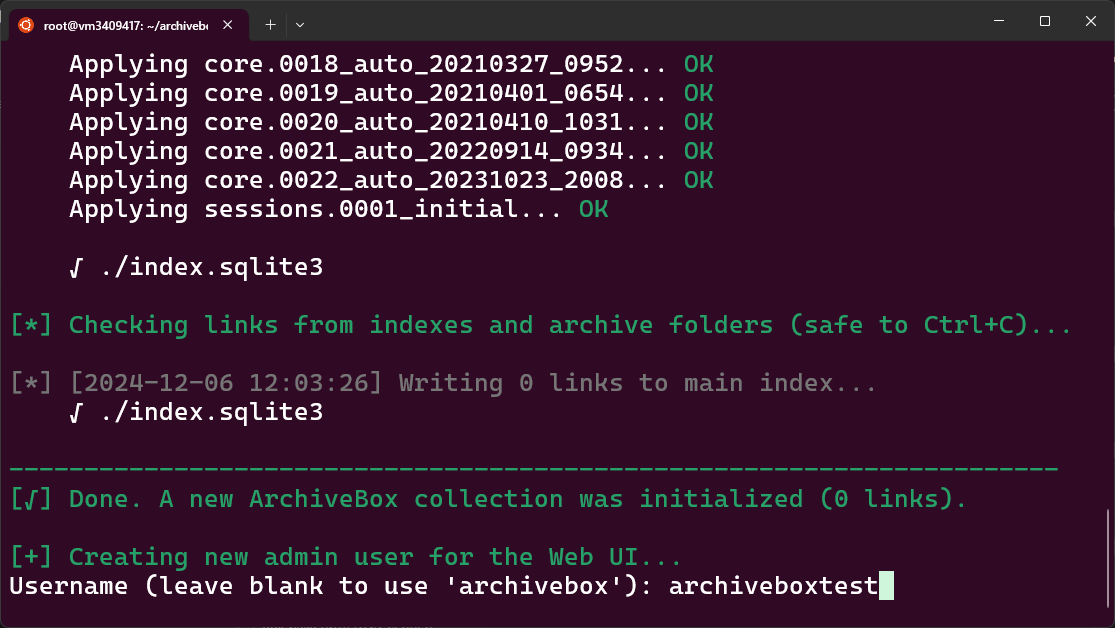
Come up with a username, enter your email and password.
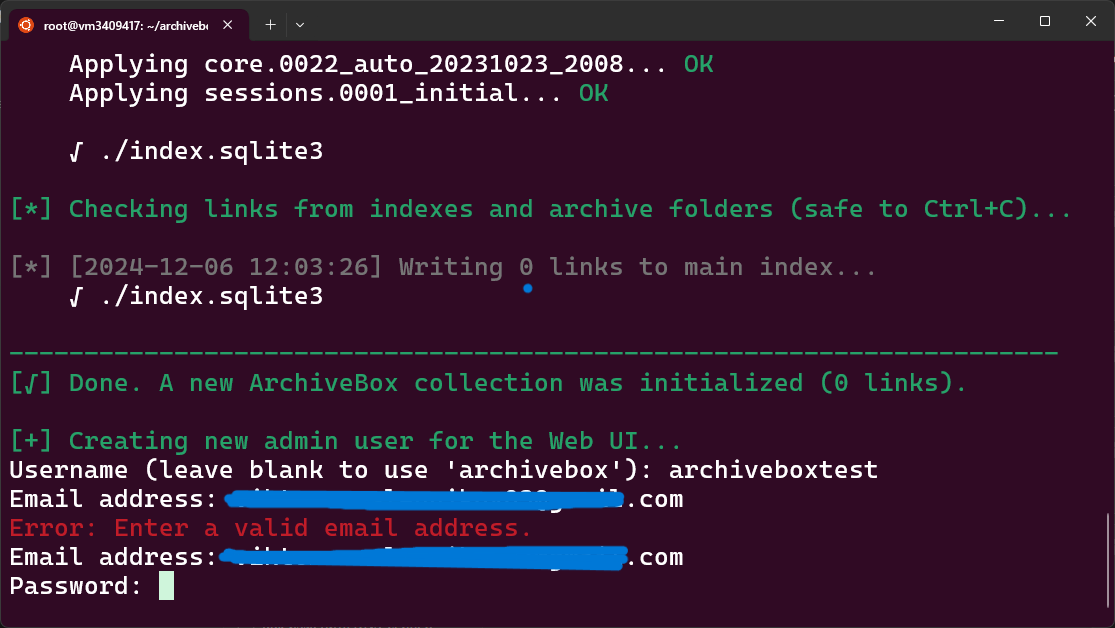
Note: The installer gave me an error when I tried to paste my email address. I recommend typing it by hand .
And that’s it — you're ready to go!
Using ArchiveBox
You have two options here. First — continue working from the terminal. For example, to add a link you want to archive:
echo 'https://example.com' | docker run -i -v $PWD:/data archivebox/archivebox add
To view all saved sites:
docker run -v /path/on/host:/path/inside/container
You can find the full list of commands on the project’s GitHub page.
The second option — use the GUI. Whether that’s useful or not is up to you. Hardcore Linux fans might roll their eyes, but it’s nice to leave the terminal for a graphical interface every now and then.
Just run the following two commands:
docker run -v $PWD:/data -p 8000:8000 archivebox/archivebox
docker run -v $PWD:/data -it archivebox/archivebox help
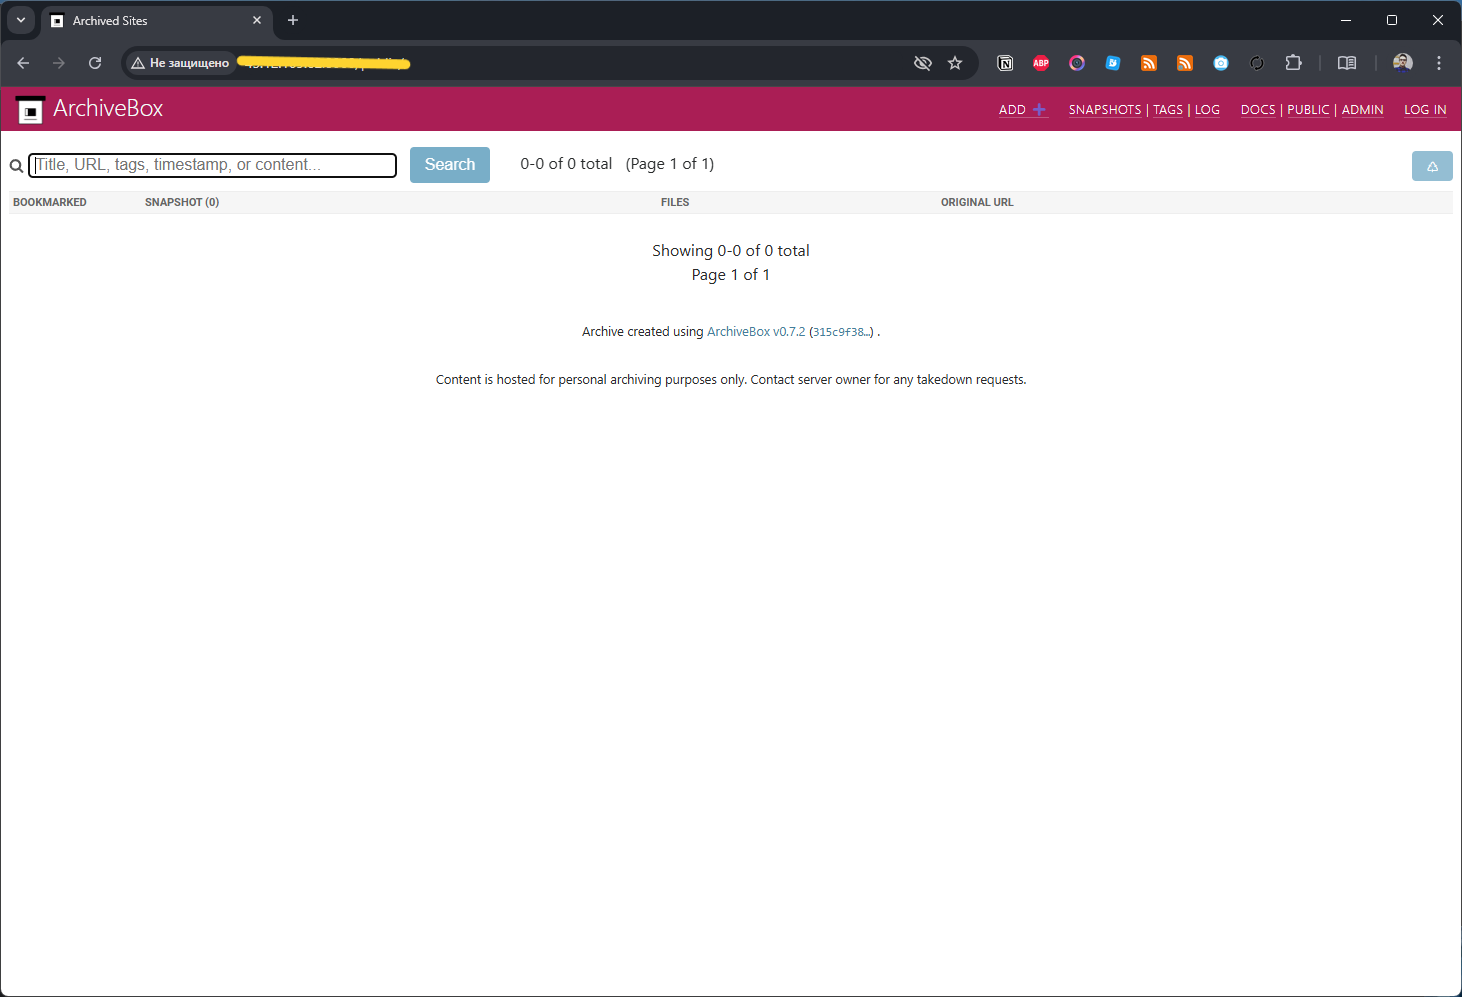
Then open your browser and go to:
http://your-server-ip:8000
You’ll see the ArchiveBox interface. Now all that’s left is to start adding the sites you want to archive!
Final Thoughts
That’s it — your own personal internet time machine! The one that doesn’t depend on external factors. No one’s going to take down the content stored on your private VPS, and you can preserve whatever information you want and need for the future.
And remember: servers aren’t boring. They’re a canvas for creativity and hands-on learning. ArchiveBox is just the beginning — I’ve got more self-hosted gems to share with you soon!
Subscribe to my newsletter
Read articles from THE.Hosting directly inside your inbox. Subscribe to the newsletter, and don't miss out.
Written by