A Seller’s Guide to eBay Image Size
 ProdShot Creator
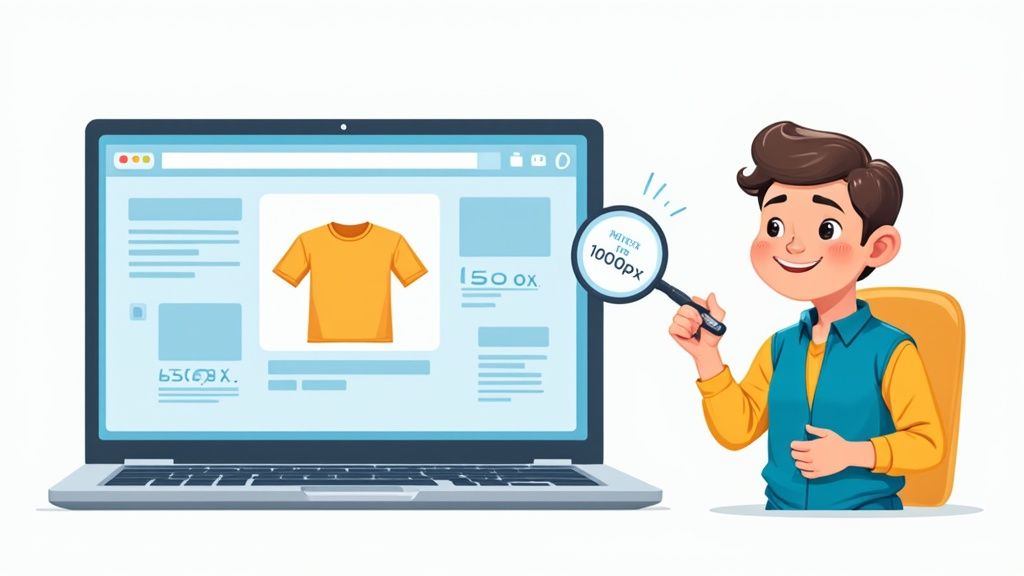
The sweet spot for eBay image size is 1600 pixels on the longest side.If you take away just one number from this guide, let it be this one: the best eBay image size is 1600 pixels on the longest side. While you can technically get away with a minimum of 500 pixels, hitting that 1600px mark is a game-changer. It's what unlocks eBay's zoom feature, giving buyers the clear, up-close look they need to click "Buy It Now" with confidence.
Why Your eBay Image Size Is a Powerful Sales Tool
Think of your eBay photos as your digital handshake. They’re the very first thing a shopper sees and often the only thing that convinces them to click on your listing over someone else's. Getting the image size right isn't just about checking a box on eBay's to-do list; it's a core part of your sales strategy.
Sharp, correctly sized images do so much more than just display an item. They build instant trust. They answer a buyer's unasked questions. When a potential customer can zoom in to inspect every stitch, corner, and detail, their confidence in you and your product skyrockets. It's the difference between a quick glance and a serious consideration.
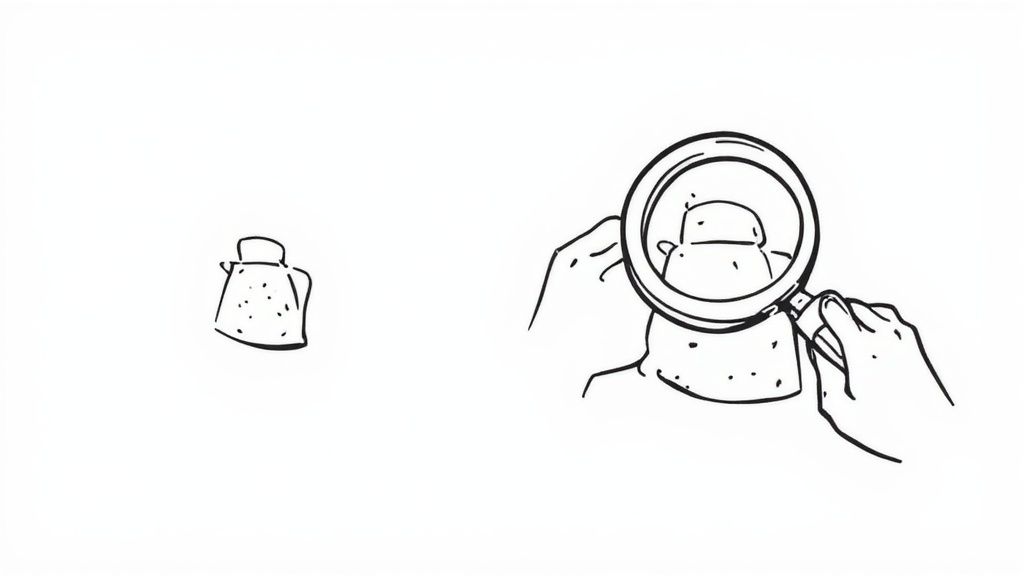
The Power of the Zoom Feature
eBay's platform is built to reward sellers who create a fantastic visual experience for buyers. And that’s where the magic of 1600 pixels really shines.
While eBay requires a bare minimum of 500 pixels on the longest side of your photo, they strongly recommend sizing your images between 800 and 1600 pixels. Why? Any image under 800 pixels won't activate the all-important zoom and enlarge feature. Losing that feature is a massive handicap for any serious seller.
The zoom function is more than a simple bell or whistle; it’s a critical conversion tool. It lets a buyer go from just seeing your product to virtually holding it—examining the texture, reading the fine print, and checking for any imperfections.
Impact on Sales and Search Ranking
Don't forget that your image quality directly feeds into eBay's 'Best Match' search algorithm. Listings with high-resolution, zoomable photos get a leg up because they result in better buyer engagement and, ultimately, more sales. Taking the time to get your image size right can give you a real, measurable edge over the competition.
Great photos are a cornerstone of any successful selling strategy. For more great advice, you can explore some general marketplace selling tips that apply beyond just eBay. To really master your visuals, take a look at our deeper guide on how https://prodshot.net/ebay-sellers-product-photos.
For a quick summary of the most important specs, here’s a handy reference table.
eBay Image Size Quick Reference
This table breaks down eBay's key image requirements and our top recommendations to help you optimize your listings quickly.
| Image Specification | Requirement or Recommendation |
| Minimum Size | 500 pixels on the longest side (absolute minimum). |
| Recommended Size | 1600 pixels on the longest side (for best results). |
| Zoom Feature | Enabled for images between 800-1600 pixels. |
| File Size | Under 12 MB per photo. |
| File Format | JPEG, PNG, GIF, TIFF, BMP. JPEG is recommended. |
Sticking to these guidelines, especially the 1600px recommendation, is one of the simplest and most effective ways to make your eBay listings more professional and profitable.
The Evolution of eBay's Picture Policy
To really get a handle on today's eBay image requirements, it helps to take a quick trip back in time. These rules weren't just made up one day; they grew and changed right alongside the internet itself. Back in the early days of screeching dial-up modems, speed was everything. Large images were the enemy, taking forever to load and sending potential buyers clicking away in frustration.
This technical reality directly influenced eBay's first set of guidelines. As far back as 1995, their official photography recommendations suggested a minimum image size of 100 x 150 pixels, capping out at a maximum of 1000 x 1600 pixels. This huge range was a compromise, designed to make sure pictures would actually load on slow connections but still be clear enough for a buyer to know what they were looking at. Digging into historical guidelines shows how eBay has always tried to balance technology with the shopper's experience.
The Shift to High-Resolution Standards
Then, everything changed. As broadband internet became the norm and smartphones put a high-definition screen in everyone's pocket, customer expectations skyrocketed. Those tiny, fuzzy photos that were once acceptable suddenly looked unprofessional and untrustworthy. Buyers now wanted to see every detail with perfect clarity, almost as if they were holding the item in their hands.
So, eBay adapted. They began to consistently update their picture policy to keep up with what buyers wanted. This evolution from small, functional thumbnails to the large, detailed photos we see today tells a pretty clear story.
The timeline below really puts this journey into perspective, showing the key moments when eBay raised the bar for image quality.
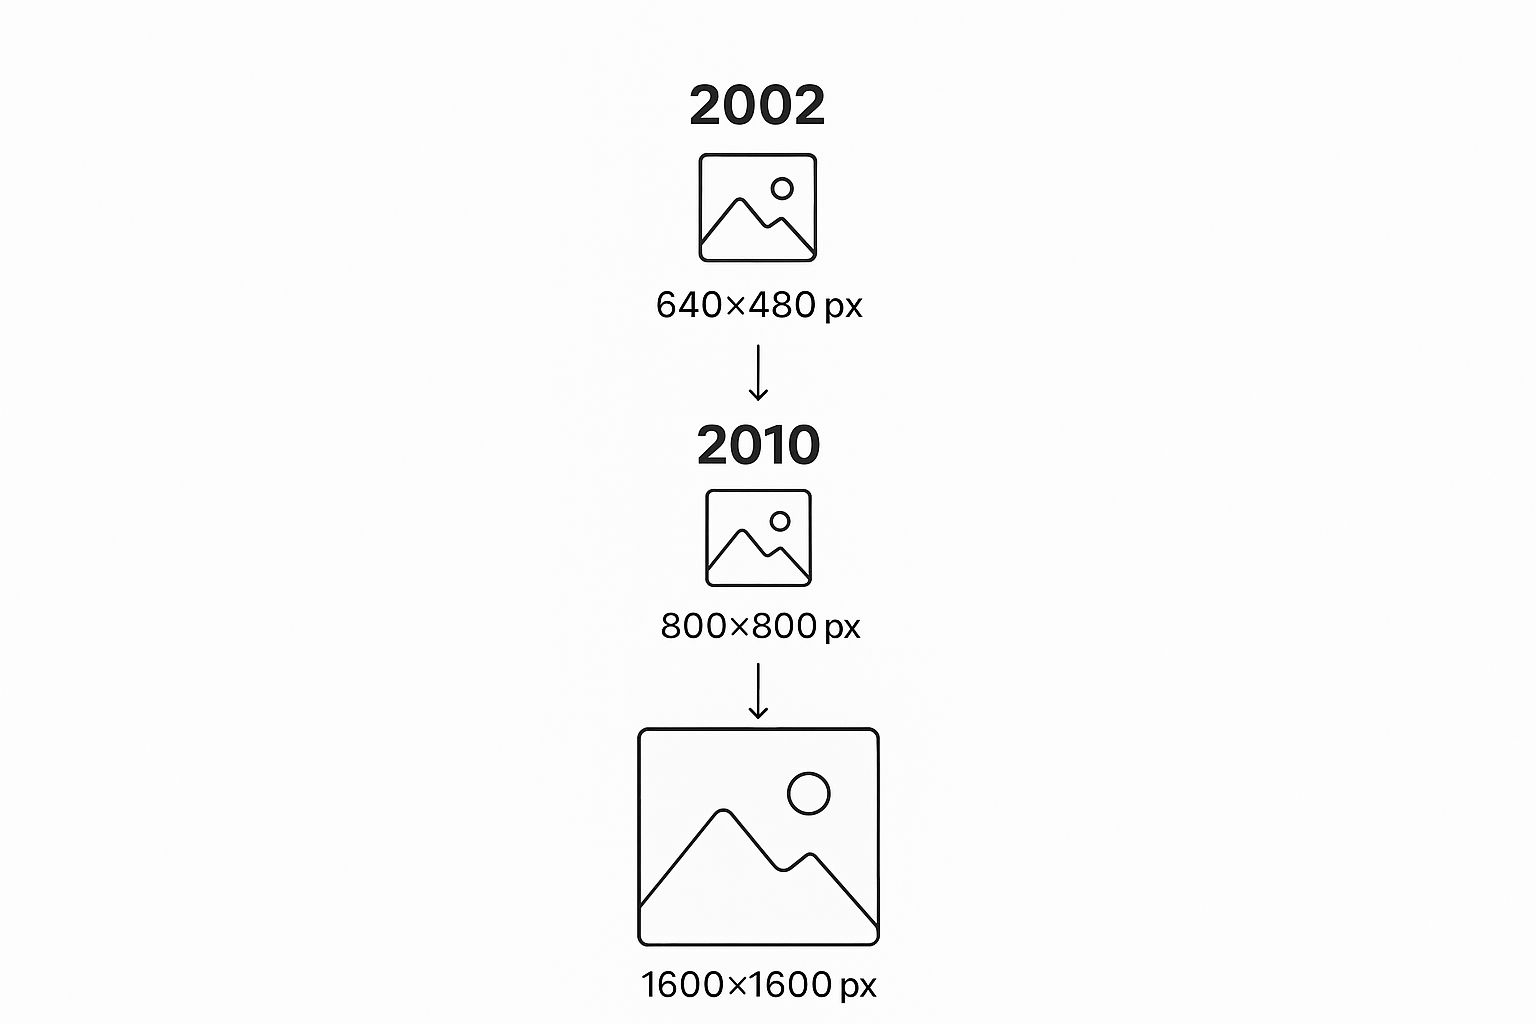
As you can see, the recommended dimensions have marched steadily upward, directly tracking the improvements in our screens and internet speeds over the decades.
Why This History Matters Today
So, why does any of this old history matter to a seller in the present? Because it shows that eBay’s rules, like the current 1600-pixel recommendation, aren't random. They are the result of years of learning what it takes to build a competitive and trustworthy marketplace that fits how people shop now.
By meeting today's high-resolution standards, you are not just following a rule; you are providing the visual proof and confidence that contemporary online buyers demand.
When you look at it this way, the context becomes clear. The journey from tiny, dial-up-friendly pictures to the crisp, zoomable images required today underscores a core truth of selling online: high-quality visuals are what drive sales. Keeping up with these standards isn't just about compliance; it's fundamental to your success on the platform.
How to Prepare Your Images for Peak Performance
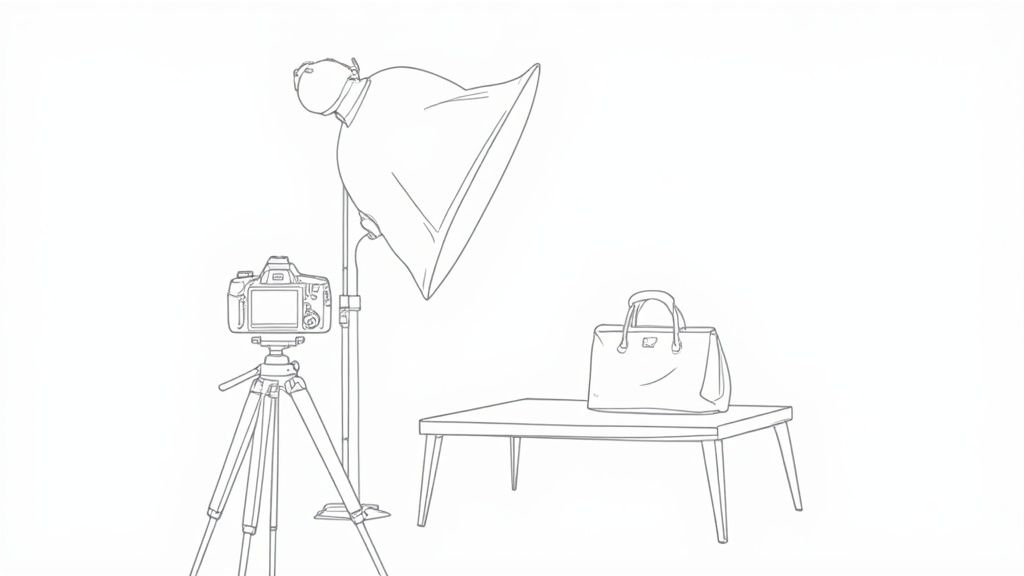
Knowing the right eBay image size is one thing, but actually preparing your photos is what separates the pros from the amateurs. The good news? You don't need a fancy studio or expensive software to create images that sell. Just follow a few practical steps, and you'll be uploading photos that attract buyers and boost your sales.
The first rule of product photography is simple: always shoot in the highest resolution your camera allows. Think of your original photo as a big slab of high-quality clay. You can easily pinch off pieces and reshape it into a smaller, perfect sculpture. But you can't add more clay to a tiny piece once it's fired. It's the same with images—you can always shrink a large, detailed photo without losing quality, but you can never magically add detail back into a small, blurry one.
Choosing the Right File Format
When you save your photos, the file format you pick has a huge impact on both image quality and how fast your page loads for a potential customer. eBay accepts a few different formats, but for most sellers, one stands out from the rest.
For almost every product photo, JPEG is your best friend. It gives you that perfect sweet spot between great-looking images and a small file size. This means your listings will pop with clarity but still load quickly, which is crucial for keeping impatient shoppers engaged.
Mastering Sizing and Aspect Ratios
After you've got your high-resolution shots, it’s time to get them ready for eBay. The magic number here is 1600 pixels. You'll want to resize your images so their longest side is exactly 1600 pixels. This is the key to unlocking eBay’s zoom feature, letting customers get a crystal-clear, up-close look at what you’re selling.
Just as important is the aspect ratio—the relationship between the photo's width and height. Sticking to a consistent aspect ratio, especially a square 1:1 ratio, is a game-changer. It stops eBay from randomly stretching or cropping your images, which can look sloppy and unprofessional. This consistency across your photos gives your entire listing a clean, polished feel.
A consistent visual presentation does more than just look nice. It sends a powerful signal to buyers that you’re a serious, detail-oriented seller they can trust. When every image is framed and sized the same way, it builds confidence.
Simple Tools for a Professional Finish
You don't need to splurge on Adobe Photoshop to get this done. There are tons of fantastic free online tools that make resizing and tweaking your images a breeze. They let you nail eBay's image size requirements without any technical headaches.
If you find that editing is eating up too much of your time, you could always look into professional photo editing services for ecommerce to take care of it for you.
One last tip: get into the habit of naming your files clearly (e.g., "blue-sneaker-front.jpg," "blue-sneaker-side.jpg"). This tiny bit of organization will save you a world of pain later on as your business grows. And for sellers who really want to dial in their strategy, exploring methods for optimizing eBay popularity with Terapeak can offer a huge advantage, helping you align your photos with what’s currently trending on the market.
Navigating Advanced eBay Photo Policies
While nailing the perfect eBay image size is crucial, it’s really just one piece of the puzzle. To truly succeed, you need to understand eBay's other photo policies—the ones that many sellers, especially new ones, often overlook. Getting these wrong can get your listings buried in search results or, in a worst-case scenario, removed altogether.
Think of these policies as the "house rules" for the entire eBay marketplace. They exist to keep the platform looking professional, clean, and trustworthy for buyers. Once you get the hang of them, you’ll ensure your photos are always playing by the rules and working for you, not against you.
Ditching Distractions: Borders and Text
One of the most common mistakes I see sellers make is adding flashy borders or promotional text to their main images. eBay's stance on this couldn't be clearer: no borders are allowed on your photos. This means no simple colored frames, no fancy decorative designs, nothing. The idea is to keep the buyer’s focus locked entirely on your product.
The same goes for plastering text or marketing messages over your images. You simply can't do it. Things like this are off-limits:
- "Free Shipping!"
- "50% Off"
- Your store’s logo or web address
These kinds of additions just create visual clutter. From eBay’s perspective—and frankly, from a buyer’s—it can make a listing look unprofessional or even a bit spammy.
Think of your product photo as a clean window for the buyer to look through. Borders, text, and logos are like smudges on the glass—they only distract from the view and can erode a buyer's trust before they've even clicked.
Understanding Watermarks and Shadows
Now, you might be thinking, "What about protecting my photos?" While slapping your logo on an image is a no-go, eBay does allow watermarks for ownership, but they have very specific rules.
A compliant watermark is subtle. It’s a faint, semi-transparent mark that shows you own the photo without getting in the way of the product. It’s meant to be a signature, not a billboard.
To keep your watermarks in line with eBay's policy, they must:
- Have an opacity of 50% or less, making them semi-transparent.
- Cover no more than 5% of the total image area.
- Never contain any promotional text, logos, or links.
This approach lets you protect your hard work from image thieves while keeping your listings looking clean.
Finally, a quick word on shadows. Natural shadows created by your lighting are perfectly fine. Even adding a subtle, realistic drop shadow in post-production is acceptable. What you want to avoid are harsh, distracting, or obviously artificial-looking shadows that pull focus from your item. Mastering these finer points is just as important as getting the eBay image size right, and it's what separates amateur sellers from the pros.
Using eBay's AI for Professional Photos
Let's be honest—most of us don't have a professional photography studio sitting in our spare room. But that shouldn't stop you from creating product photos that look like they came from one. eBay has stepped up in a big way, packing powerful AI tools right into its app to help you get that clean, high-quality finish without any fancy gear.
The star of the show is the Image Clean-Up tool, available on the eBay mobile app. It’s basically a photo editor in your pocket. Using some pretty slick computer vision, it instantly finds the background in your picture and poof—it’s gone, replaced with a crisp, pure white. This isn't just a cool trick; it's a proven e-commerce strategy that makes your product the absolute center of attention.
How AI Enhances Your Listings
Getting that perfect white background used to mean wrestling with software like Photoshop and spending hours learning how to do it right. Now, it's literally a one-tap job. This is a game-changer, especially if you’re snapping pictures in a busy garage, your living room, or a cluttered stockroom. The AI intelligently erases all the distractions, so buyers see your item, not the mess behind it.
The payoff is twofold. First, your listings immediately look more professional, which builds trust with potential buyers. Second, clean images with white backgrounds are exactly what external platforms like Google Shopping love to see, which can get your products more eyeballs well beyond eBay's own search results.
By making background removal an automatic, one-click process, eBay gives every seller the power to meet professional e-commerce standards. It’s a simple feature that can seriously boost how people perceive your products and you as a seller.
eBay rolled out this clever tool back in early 2020 to help sellers sidestep common problems like bad lighting or a simple lack of photo skills. A neat technical detail is that all the editing happens right on your phone. This means the process is fast, and your photos aren't being sent off to a server, which is great for privacy. If you want to geek out on the details, you can read more about how this computer vision technology works from eBay’s own tech team.
Here’s a perfect example of just how dramatic the results can be.

The difference is night and day. The "before" shot looks cluttered and amateur, while the "after" is polished, professional, and ready to sell.
Beyond Background Removal
While eBay's built-in tool is fantastic for quick, clean edits, the world of AI photography is growing fast. For sellers who want more creative flair or want to build a unique brand look, other platforms are popping up with more specialized features.
If you're curious about what else is out there, take a look at our guide to using an AI product photo generator to create truly stunning visuals. In the end, these AI tools are all about saving you a ton of time and effort, automating what used to be a painful manual task so you can easily meet the high visual standards of today's online shoppers.
Common Questions About eBay Images Answered
Even after laying out all the rules, it's completely normal to have a few questions buzzing around. When you're in the thick of listing items, you don't have time for guesswork—you need fast, clear answers.
Think of this section as your go-to FAQ for all things eBay image-related. We'll break down the most common headaches and sticking points sellers run into so you can get your photos right and get back to what matters: selling.
How Big Can My Image File Be?
This is one of the most practical questions sellers have, and for good reason. Your image's file size is directly tied to how quickly your listing page loads for a customer. A slow page is a sales killer.
eBay gives you a hard limit: each photo you upload must be no larger than 12 MB. Honestly, that's pretty generous. It gives you plenty of room to upload a high-resolution, super-detailed picture.
But just because you can doesn't always mean you should.
For the perfect sweet spot between stunning quality and lightning-fast loading, try to keep your JPEG files well below that ceiling. Aiming for around 1-2 MB is a fantastic goal. This ensures your photos look crisp on a big monitor but still pop up instantly for shoppers on their phones.
What Should I Do If My Photos Won't Upload?
There’s nothing more frustrating than having the perfect set of photos, only for eBay's uploader to reject them. It’s a real momentum-stopper. The good news is that when this happens, the culprit is almost always one of a few simple, fixable issues.
If your images are failing to upload, run down this quick troubleshooting list:
- Check the File Size: Is your image file pushing past that 12 MB limit? This is the number one reason for upload errors. Use a free online image compressor to shrink it down, then try again.
- Verify the Dimensions: Remember that 500-pixel minimum on the longest side? If your image is too small, eBay will reject it. It needs to be big enough to be useful for buyers.
- Confirm the File Format: Are you using a supported format? Stick to the tried-and-true options: JPEG, PNG, GIF, TIFF, or BMP. If you're using something unusual, convert it to a JPEG first.
- Review the File Name: Oddly enough, special characters in your file name (like $, #, or &) can sometimes confuse the uploader. Keep it simple. Rename your file to something like "blue-vintage-jeans-back-pocket.jpg" using only letters, numbers, and hyphens.
Working through these four steps will solve the problem 99% of the time.
Should I Use PNG or JPEG for My eBay Images?
While eBay accepts a few different file types, this is the classic showdown. The right choice really comes down to what you're actually taking a picture of, as each format has a specific job it does best.
For virtually all of your product photos—whether it's clothing, electronics, books, or car parts—JPEG is the way to go. It delivers fantastic image quality while keeping the file size small and manageable. Smaller files mean faster load times, and that’s exactly what you want on an e-commerce site. It’s the industry standard for a reason.
So, when would you ever use a PNG? The main advantage of a PNG file is its ability to support a transparent background. This is useful for graphic design elements or if you’re creating a custom composite image. For a standard product photo shot against a plain white background, a JPEG will give you all the quality you need without the hefty file size of a PNG.
How Many Pictures Should I Upload?
eBay gives you up to 24 photos for free with every listing, and my best advice is to use as many of them as it takes to tell your item's complete story.
Put yourself in the buyer's shoes for a moment. What would you absolutely need to see before you felt confident enough to click "Buy It Now"?
- Show every angle imaginable: front, back, top, bottom, and all the sides.
- Zoom in on the details that matter—brand logos, texture, hardware, or special features.
- Most importantly, be transparent. Photograph any scratches, scuffs, or imperfections. This honesty builds incredible trust with buyers and dramatically cuts down on return requests.
As a rule of thumb, aim for at least 4-5 excellent photos for even simple items. For anything more complex, don't be afraid to use all 24 slots. More photos provide more information, and more information creates more confident, decisive buyers.
Ready to stop worrying about photo editing and start creating stunning, sales-driving visuals in seconds? ProdShot uses powerful AI to instantly transform your simple smartphone pictures into professional, marketplace-ready images. Remove backgrounds, perfect the lighting, and get consistent, high-quality photos for all your listings.
Elevate your eBay store today by visiting https://prodshot.net to start your free trial.
Subscribe to my newsletter
Read articles from ProdShot Creator directly inside your inbox. Subscribe to the newsletter, and don't miss out.
Written by