Connecting GitHub with Obsidian
 Abdelwahab A. Shandy 🦅
Now I’ll explain how to connect Obsidian to GitHub step by step, so that all your notes in Obsidian are automatically saved to GitHub as a backup, so you can access or share them at any time.
🛠️ Prerequisites:
✅ A GitHub account
✅ A Git installation on your device
✅ An Obsidian folder (the Vault) is ready
✅I will use the simplest method, which is GitHub Desktop.
🧭 Steps in detail:
1️⃣ Create a Repository on GitHub :
- Log in to GitHub Or GitHub Desktop :
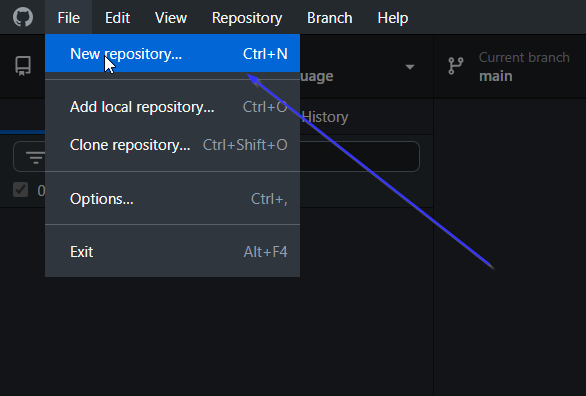
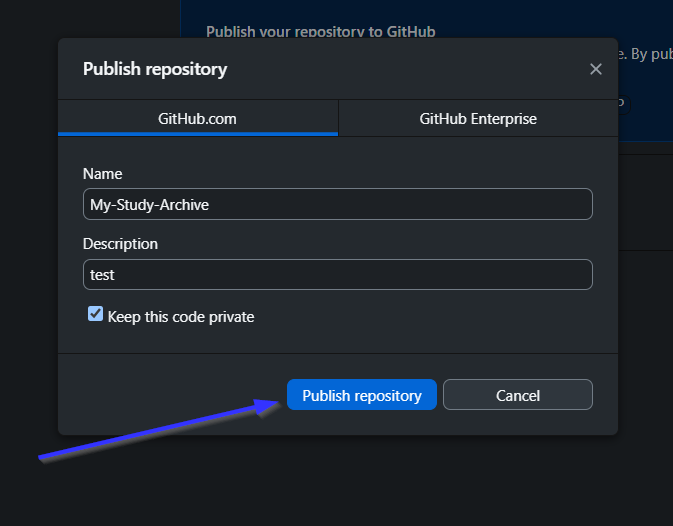
Click the New button to create a new Repo
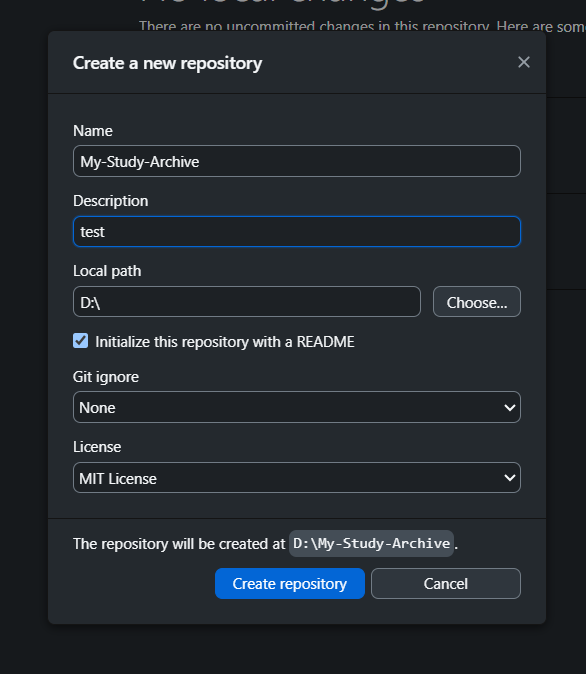
Name it, for example: My-Study-Archive
Make it Public or Private as you wish
Important: Do add README or any other files
On Your Pc
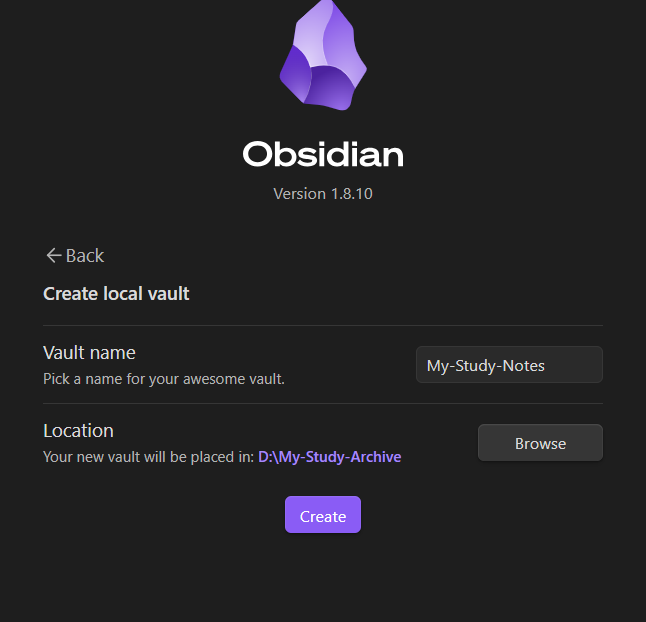
2️⃣ Prepare the Obsidian folder :
- Open Obsidian :
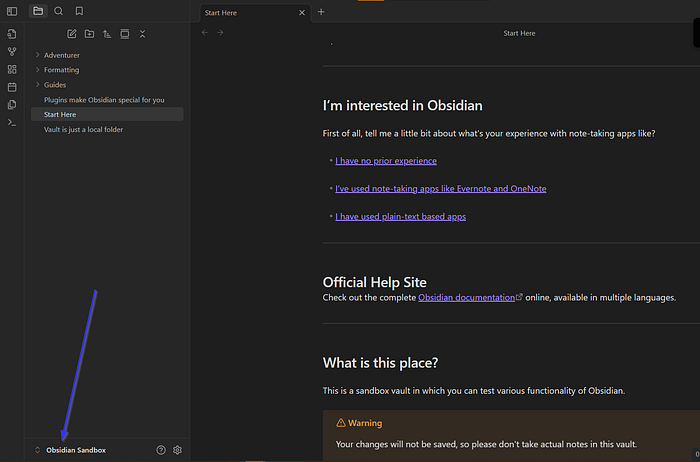
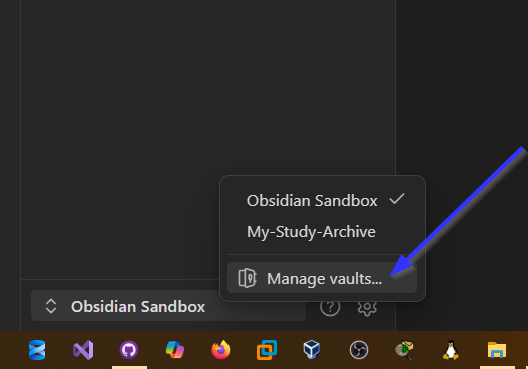
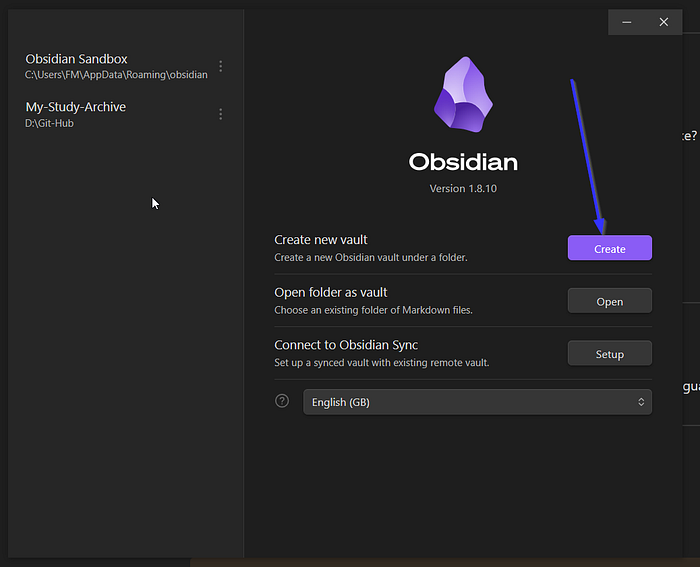
Create a New Valut :
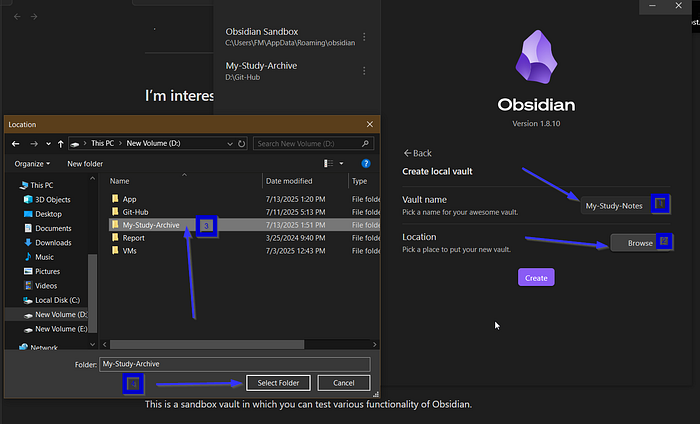
You will give the file a name and choose a location .
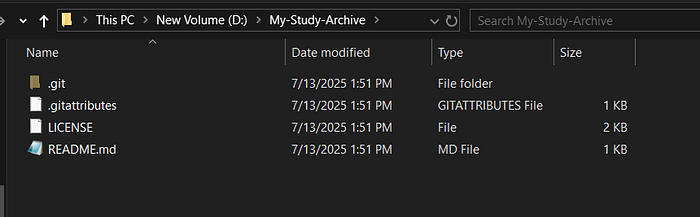
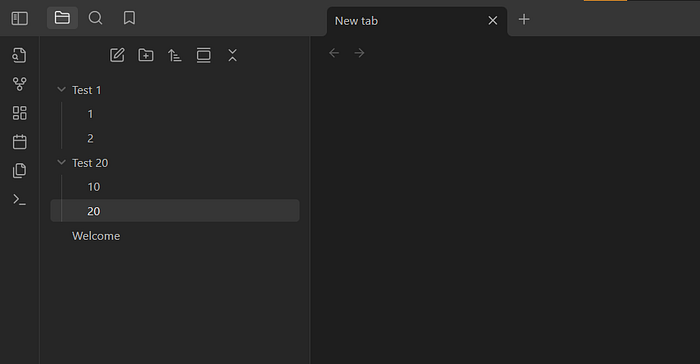
This is the final form with different names and storage location.

This is our final form you can add files and folders and do everything and I will simultaneously recite inside GitHub
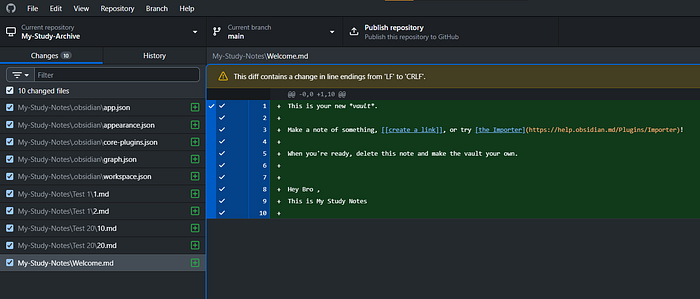
Here we are testing. We have created folders and files. We will now upload them and take a backup copy on GitUp using the following methods:
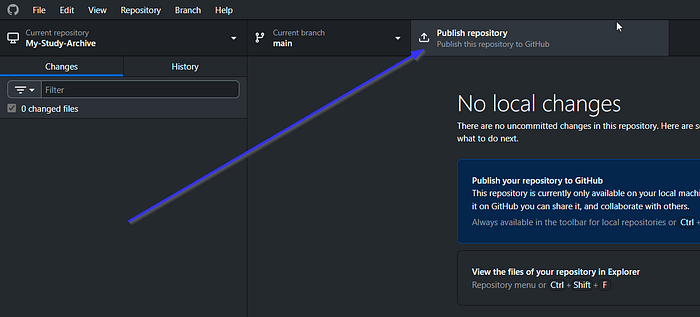
First, when you open GitHub Desktop it, you will find the following:
In order for the places to be connected, we will make a comment now. Everything we have done is available to you on the machine. We must always take a backup copy. Do not forget this by doing the following:
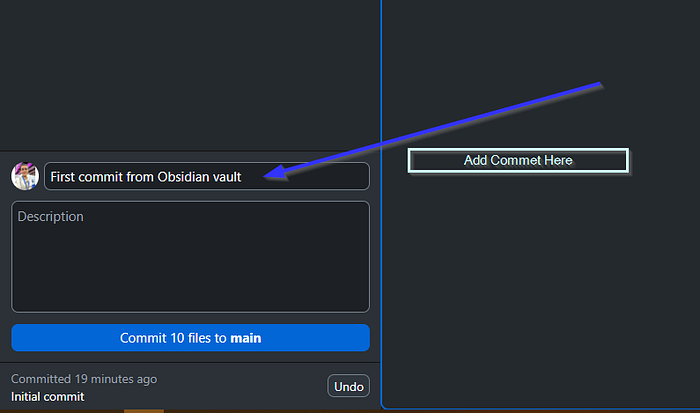

Comment on the data
Save the commit
Whenever you make a change:Go to GitHub Desktop
You’ll find some time
Write a simple description (e.g., updating the networking lecture)
Click the commit to the main page → then push the original
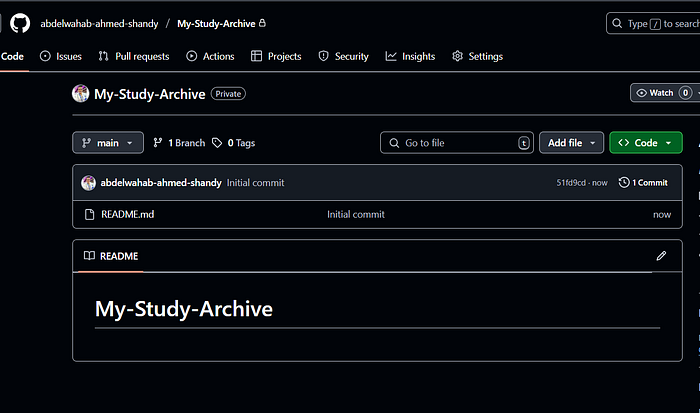
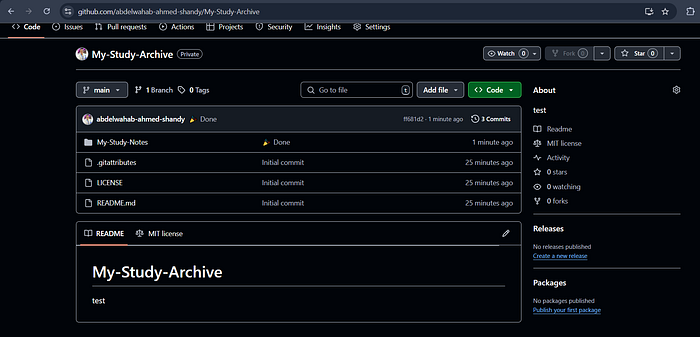
Now to make sure, open GitHub on the browser and you will find the following:
This is my friend, the simplest way to save everything you have learned and through which you can search and browse. Thus, you must now learn Obsidian manually with yourself and through experience. Also, below I will add some additions that you can do to improve the process, but if you are a beginner in this matter and do not want to do this, then do not do it. We agree.
🎉 Congratulations!
All your notes are now:Organized within Obsidian
Saved on GitHub
Available from anywhere
And easily shared with any colleague or study community
⚠️ A simple warning
Personally, I don’t like using full automatic sync without review.**
Imagine if you accidentally deleted something important?
And the sync happened automatically?
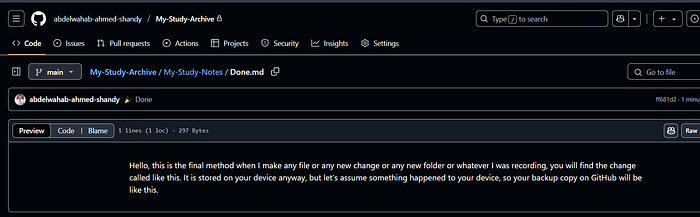
Then the problem would have been logged and uploaded without you even noticing!Yes, Git allows you to restore files…
But why take the risk?✅ Review your changes before uploading them
✅ And if you like automation, use the Obsidian Git plugin intelligently.🔄 Plugin (Optional): Obsidian Git for automatic sync
If you want Obsidian to automatically sync (commit + push), use this plugin:🪛
Installation steps:
Open ObsidianSettings → Thired-Party plugin → Community Plugins
Disable Safe Mode
Click Browse
Find Obsidian Git → Click Install → Enable
⚙️ Suggested Settings:
| preparation | value | Description |
| Auto Pull on Boot | ✅ Enabled | When the application runs, it automatically pulls the latest updates from the remote repository. |
| Auto Commit | ✅ Enabled | Changes are automatically saved (committed) to Git without manual intervention. |
| Auto Push | ✅ Enabled | After commit, changes are automatically pushed to the remote repository (push). |
| Auto Commit Message | Auto update from Obsidian | The default message used in every auto-commit. |
| Update Duration (ms) | 300000 (every 5 minutes) | Automatic operations (commit + push) are executed every 300,000 milliseconds (5 minutes). |
✅ Result:
Every time you open Obsidian or edit a file:The edit will be automatically logged
It will be uploaded to GitHub without any manual commands
🎉 Congratulations!
You now have:🧠 An organized note system within Obsidian
☁️ A backup on GitHub
🌍 Accessible from anywhere
🔄 And easy sharing of notes with your colleagues or the community
💬 "Control the code, and you control the world." 🔐 From wiping metadata to gaining root access — every step is documented and my goal is to deeply understand the system, not just hack!
See You Soon
AS Cyber “)).
Subscribe to my newsletter
Read articles from Abdelwahab A. Shandy 🦅 directly inside your inbox. Subscribe to the newsletter, and don't miss out.
Written by
Abdelwahab A. Shandy 🦅
Abdelwahab A. Shandy 🦅
Welcome to my profile! I'm an Information Systems student with a strong passion for cybersecurity and backend development. My curiosity drives me to dive deep into the complex mechanisms of the digital world and uncover the behind-the-scenes magic of programming. I hold certifications from Google, Infosec, Cisco, Try Hack Me, and the Information Technology Institute (ITI), I'm on an exciting journey of continuous learning and skill expansion—ready to embrace the future of technology! 🌇 Let’s connect, collaborate, and explore the vast world of tech together!