Introduction to AWS Elastic Beanstalk
 Nilesh Ganvir
Elastic Beanstalk simplifies management without sacrificing control or choice. Elastic Beanstalk takes care of the capacity provisioning, load balancing, scaling, and application health monitoring; all you have to do is upload your application.
Basically this Elastic Beanstalk service supports Go, Java, .NET, Node.js, PHP, Python, and Ruby language.
This AWS Elastic Beanstalk service has no cost but whatever you will use EC2 instance and S3 bucket for storage this cost you will be required.
Platform as a Service (PaaS)
This Service gives us to launch our application and operates our application while abstracting the underlying infrastructure. The underlying servers, networking, and other infrastructure components don’t need to be managed by developers; they may concentrate solely on writing their application code. All the infra part will managed by AWS only.
Auto Scaling
Your application can be automatically scaled by Elastic Beanstalk based on demand. To adapt to variations in demand, you can set up auto-scaling rules that will vary the number of instances executing your application.
Load Balancing
Load balancing is integrated into Elastic Beanstalk and allows you to split up incoming traffic among several instances of your application. This enhances your application’s failure tolerance and availability.
If you want to go with Load Balancing we will need two subnets in different availability zone.
Environment Configuration
With Elastic Beanstalk, you may set up many environments (such development, testing, and production) for your application. It is possible for every environment to have unique configurations, resources, and settings.
*****************************************************************************************************
Demo: -
Let’s try to deploy one sample application on AWS Elastic Beanstalk service and will see how it will works.
Step1: -
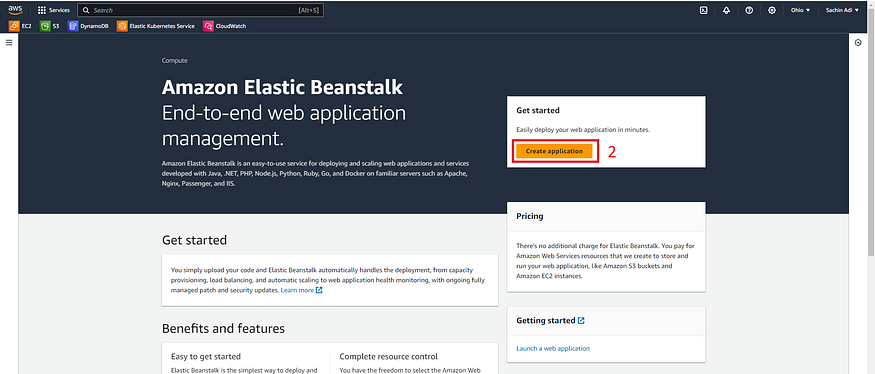
- Navigate to All Services and look for Elastic Beanstalk

- Click on Create Application
- Select the Web Server Environment, input the Application Name
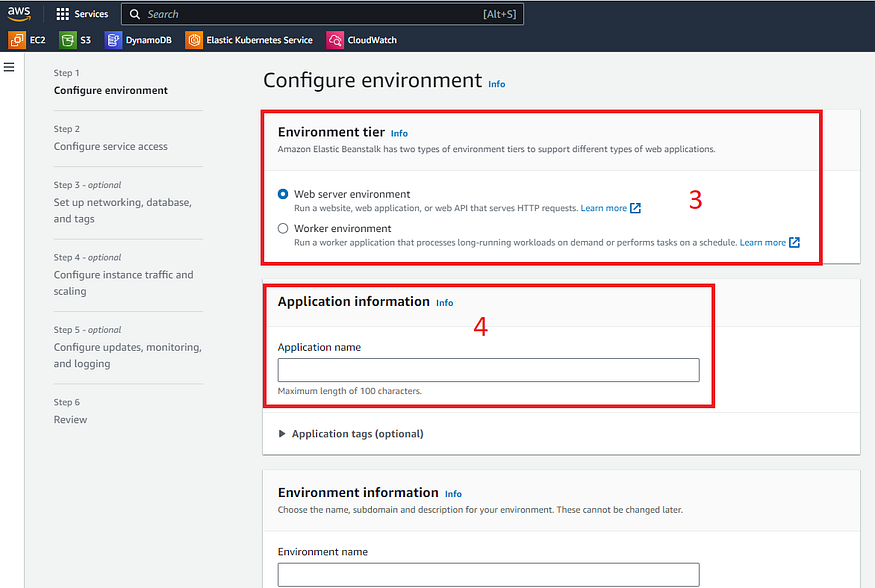
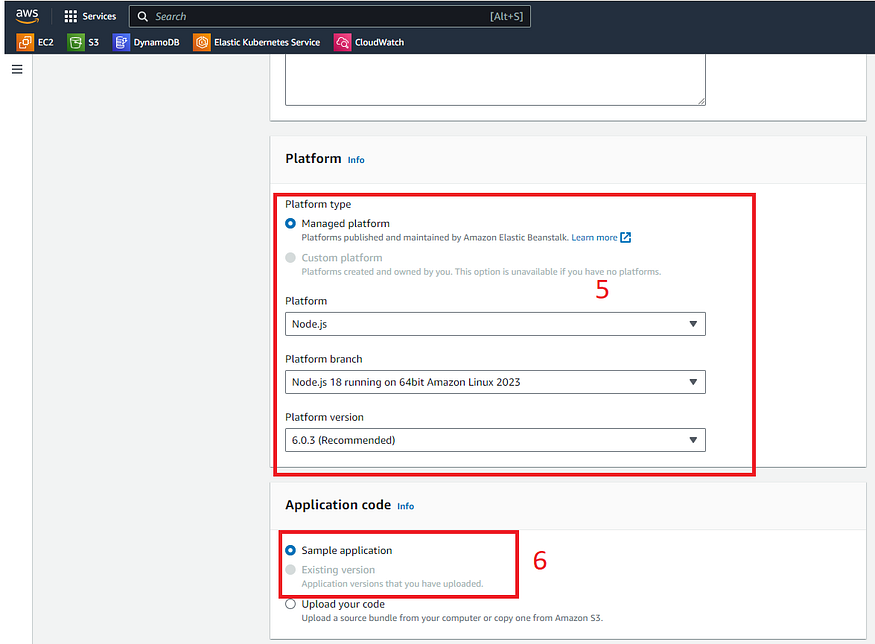
- Enter the platform type.
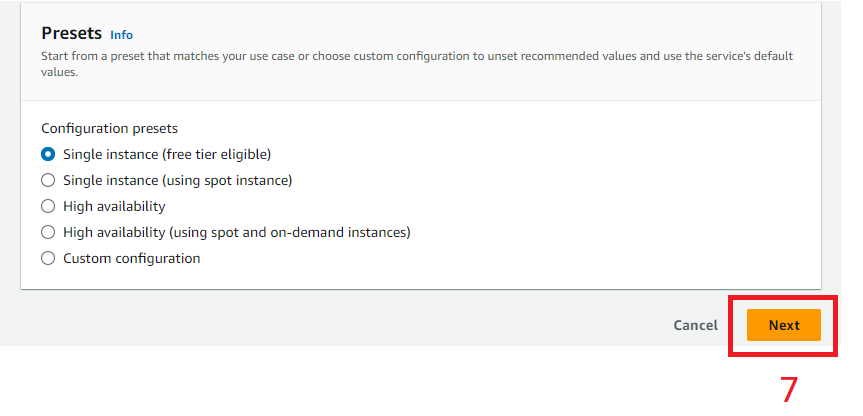
- Since we are just doing a test, I would keep it to a single instance
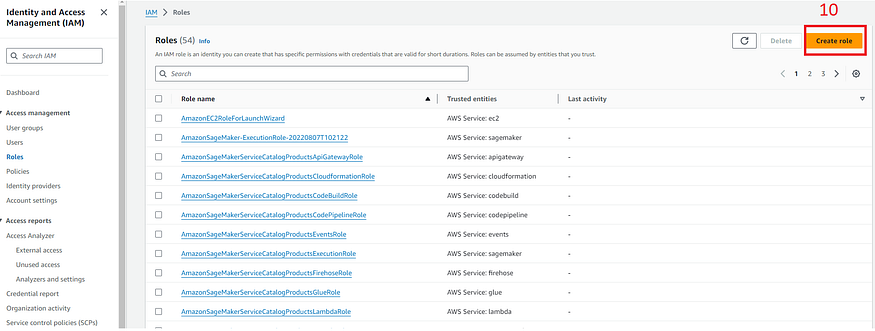
Now before we go any further, we would need an IAM role to work out with this project. So lets start creating this role.
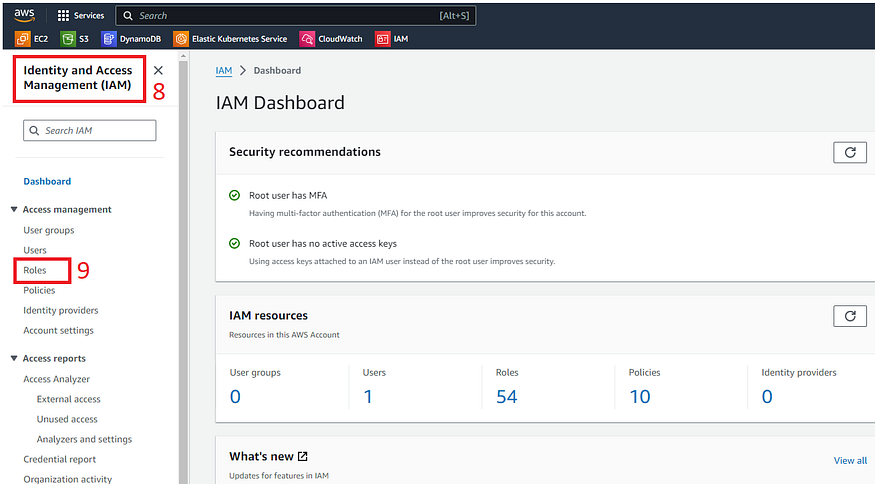
Identity and access Management configurations
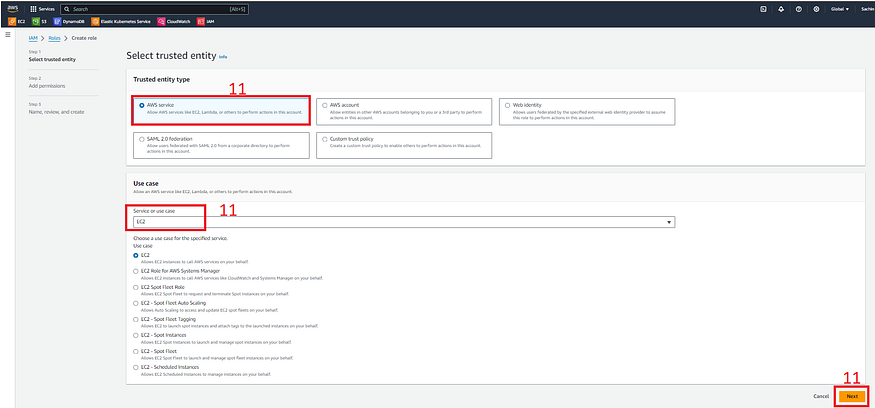
Add below permissions into the role which we are going to create AWSElasticBeanstalkMulticontainerDocker,
AWSElasticBeanstalkWebTier, and
AWSElasticBeanstalkWorkerTier roles. Provide a name to this role and create the role.
One more role we need to add related to service role and add the below permissions.
AWSElasticBeanstalkEnhancedHealth
AWSElasticBeanstalkManagedUpdatesCustomerRolePolicy


Back to the console where we were configuring the Elastic Beanstalk, we will need to add this IAM role
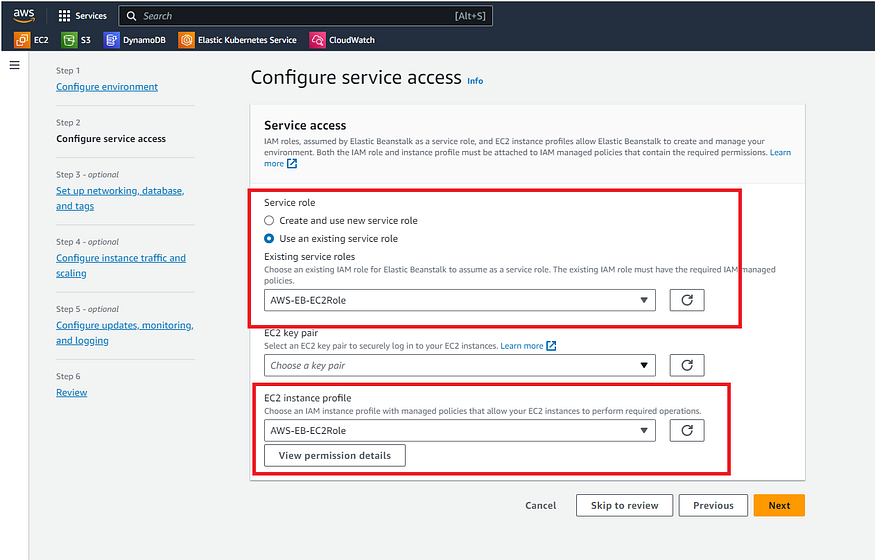
Once you select all this and click on the Next button, the environment starts building up your architecture automatically.
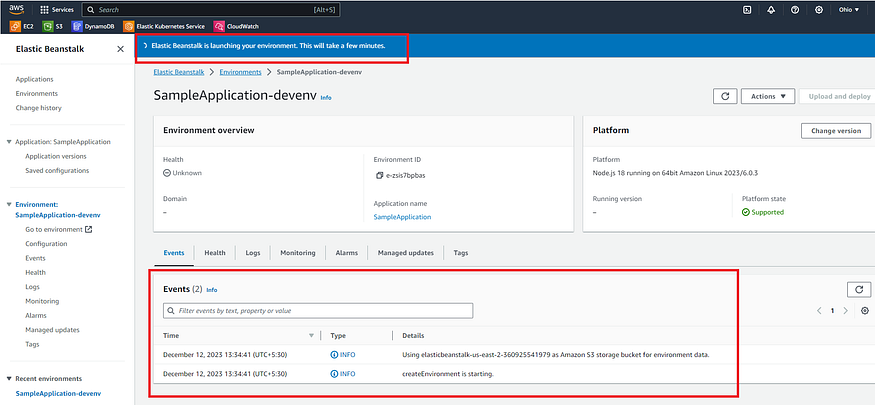
Elastic Beanstalk console
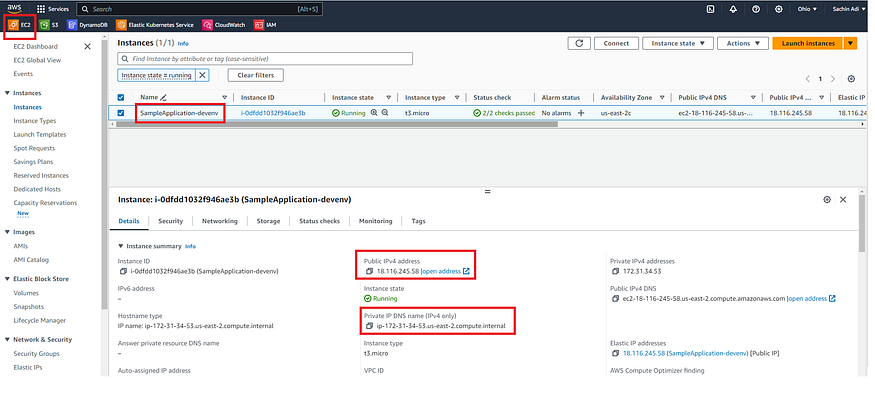
EC2 console displaying the virtual machine created during process
Look at the Domain that is shown on a successful creation of the environment:

Let’s access this and see if we can see a sample application page loading up:
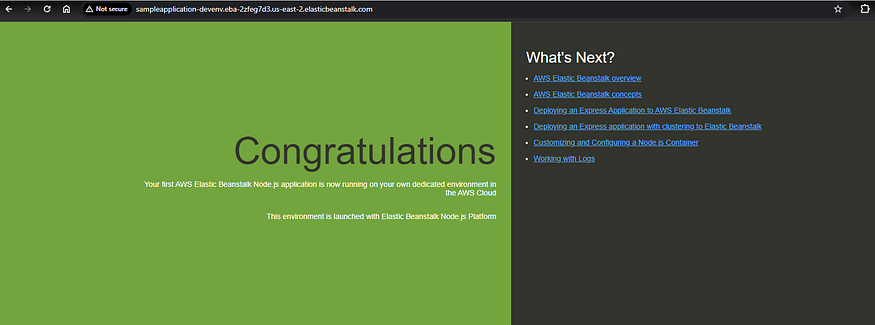
Awesome! The deployment was successful, and the app is now live in your browser. Now, before we wrap things up, don’t forget the final important step — to avoid any charges, make sure to delete the resource you created.
Hope you all got the some information about how AWS Elastic Beanstalk service works. If you have any doubt please ping me in the comment section.
Thank you all ! Happy Learning !
Subscribe to my newsletter
Read articles from Nilesh Ganvir directly inside your inbox. Subscribe to the newsletter, and don't miss out.
Written by