A Step-by-Step Guide to Installing Outdoor LED Displays
 topviewdisplay
Outdoor LED Displays are widely used in advertising, public information, and event promotion. Proper installation is essential to ensure optimal performance, durability, and safety. This guide covers the key steps for successfully installing outdoor LED screens.
Step 1: Site Survey and Preparation
Before installation, conduct a thorough site survey to assess the location, structural support, sunlight exposure, and power supply. Ensure the mounting surface is strong and level.
Step 2: Designing the Display Layout
Plan the screen size, pixel pitch, and module arrangement based on viewing distance and audience needs. Accurate measurements and design help avoid installation issues.
Step 3: Electrical and Structural Setup
Prepare electrical wiring, grounding, and weatherproofing. Install mounting brackets or frames securely according to manufacturer specifications.
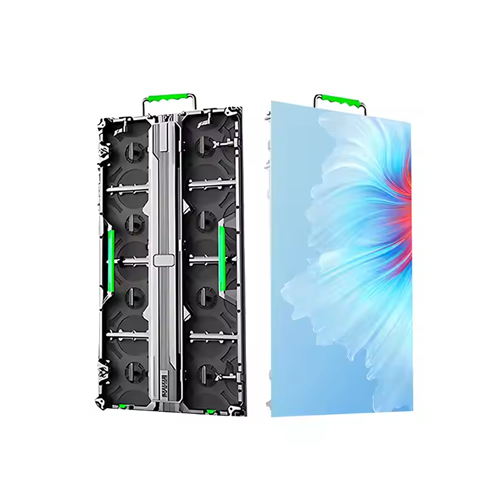
Step 4: Installing LED Modules
Carefully mount LED panels onto the structure, ensuring tight alignment to maintain a seamless image. Connect cables and verify proper power and signal flow.
Step 5: Calibration and Testing
Calibrate brightness, color uniformity, and refresh rate. Test the display under various lighting conditions and viewing angles to ensure optimal visibility.
Step 6: Final Inspection and Maintenance Planning
Conduct a final safety check and create a maintenance schedule for cleaning, firmware updates, and component checks to prolong display life.
At Topview Display, we offer not only top-quality LED Displays but also professional installation services and technical support to ensure your project’s success.
Need expert help with your LED display installation?
Contact Topview Display for professional guidance.
Subscribe to my newsletter
Read articles from topviewdisplay directly inside your inbox. Subscribe to the newsletter, and don't miss out.
Written by