What is Illuminating Makeup and Why it Matters
 Mary G
Illuminating makeup is all about enhancing your skin’s natural radiance. Unlike traditional highlighter that enhances specific areas, illuminating products and techniques enhance your entire face, creating a softly lit appearance as if your skin itself glows from within. This trend is especially relevant in today’s busy world—when stress, pollution, blue-light from screens, and lack of sleep dull our complexions, makeup that revives and brightens is a lifesaver.
Glow-based makeup not only refreshes tired faces but also gives a more youthful, healthy presence—ideal for selfies, Zoom calls, night-outs, or everyday confidence.
Step 1: Prep Your Skin With Illuminating Products
A luminous look starts with skincare:
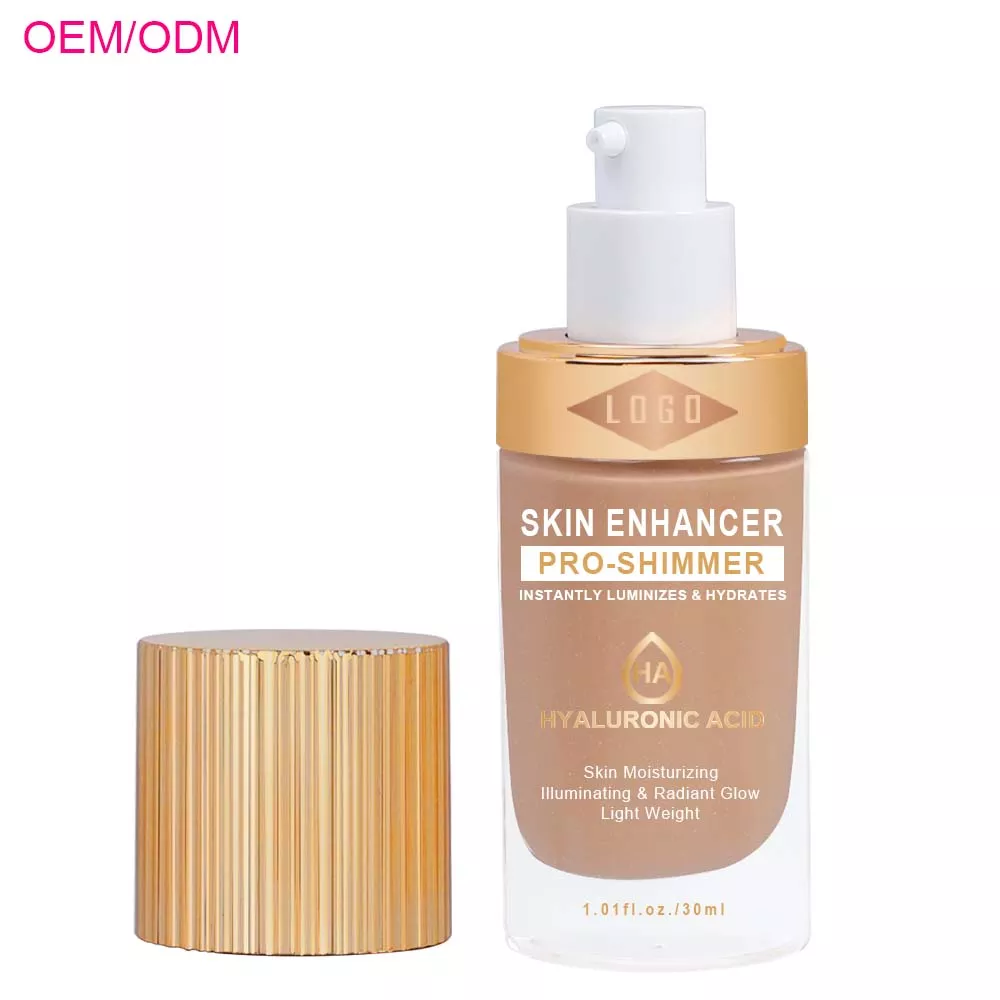
Hydration is key: Use a rich moisturizer with glycerin or hyaluronic acid to plump your skin.
Illuminate from underneath: Apply a luminizing primer on high points (cheekbones, nose bridge, forehead, chin). This acts as both hydration and subtle glow base.
Let it absorb: Wait 1–2 minutes before moving on, for even, undisturbed base application.
Step 2: Build a Radiant Foundation Base
**A glowing canvas needs the right foundation:
Use a radiant finish foundation.
Apply with a damp sponge or brush, starting in the middle of your face, blending outward.
If desired, mix a drop of liquid illuminator into foundation before applying—for extra glow and lightweight feel.
Pay attention to blend areas like jawline and hairline for a seamless finish.
**
**Step 3: Conceal and Brighten Strategically
**
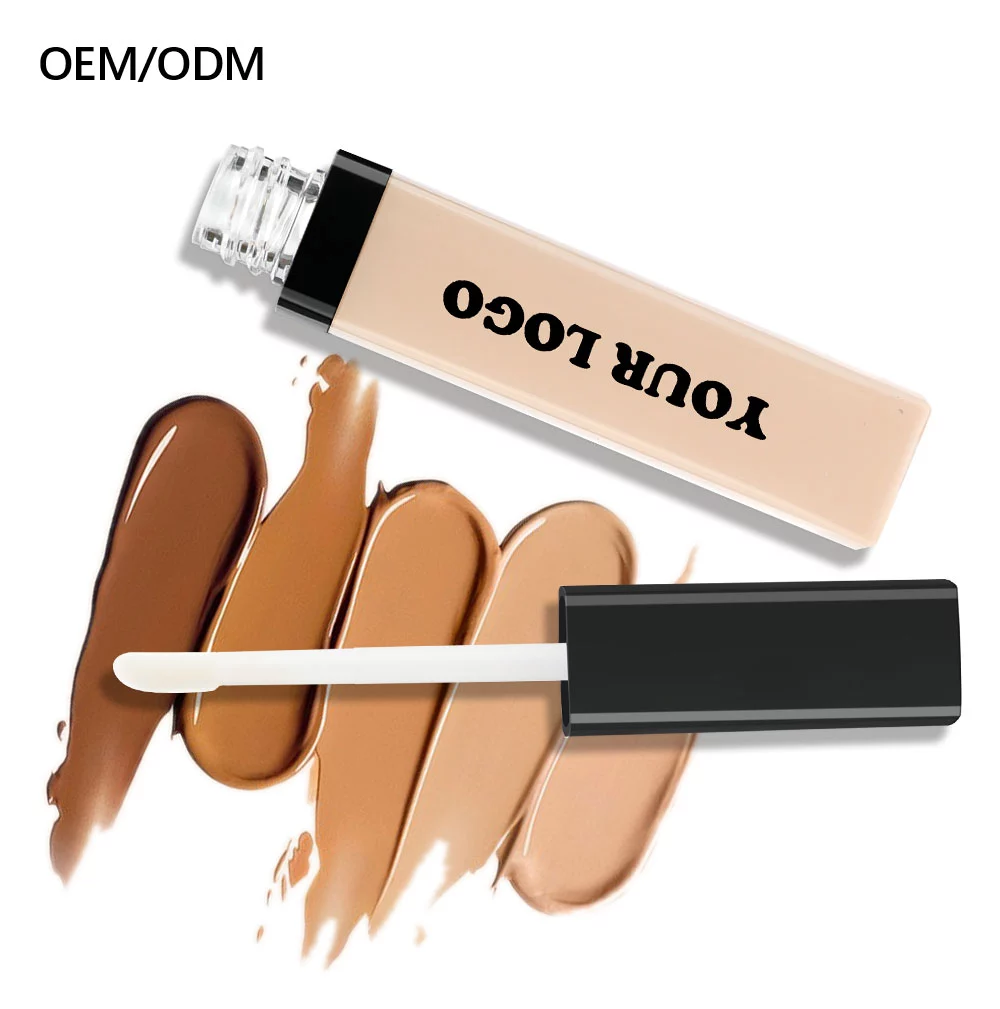
**Use concealer not just for coverage, but to enhance brightness:
Apply concealer in a triangle shape under the eyes for a lift.
Dab spots of concealer on redness or pigmentation trouble zones.
Blend with a sponge or brush, ensuring edges fade naturally into the foundation.
Choose a concealer with skin-perfecting, light-reflecting qualities.
**
**Step 4: Emphasize High Points With Highlighter
**
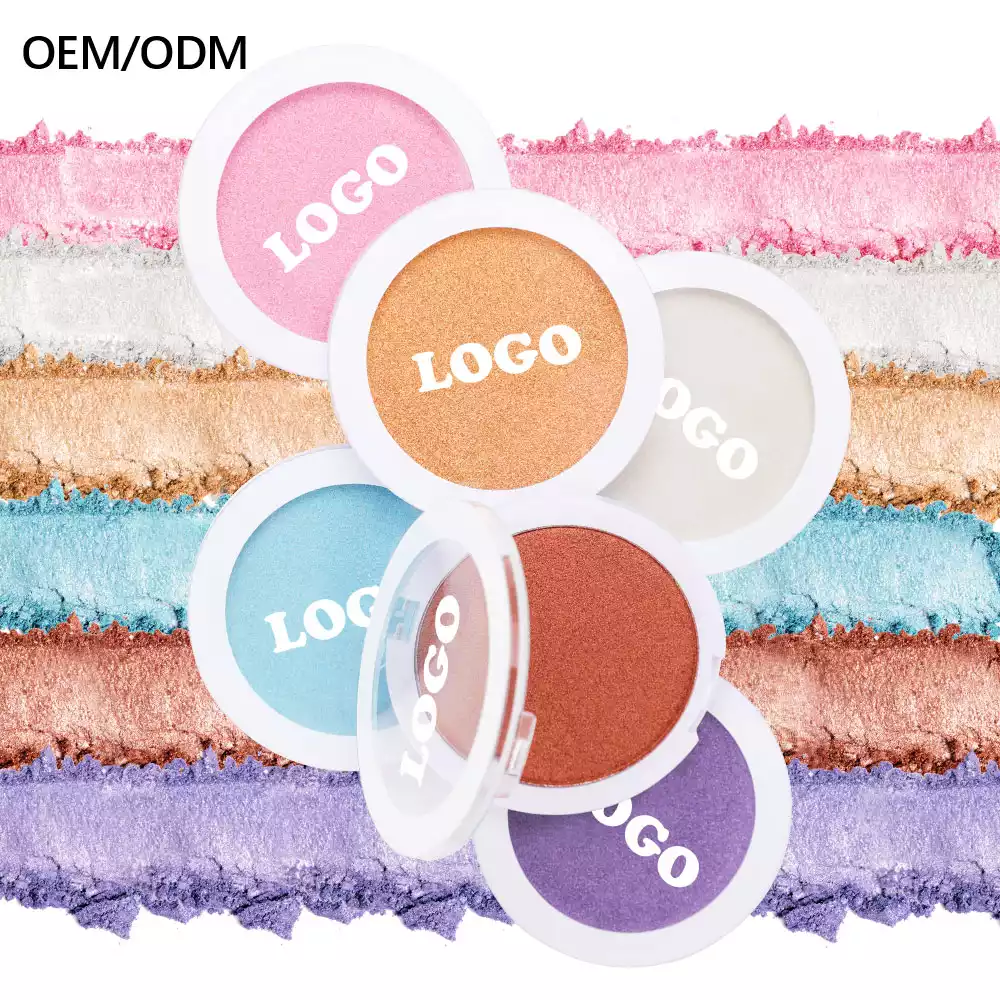
**Targeted highlighter application amplifies your glow:
Use liquid or cream highlighter on cheekbones, brow bones, nose bridge, inner eye corners, cupid’s bow, and chin center.
Blend gently with ring finger or brush for skin-melted finish.
For stronger glow, layer powder highlighter over cream in the same tone.
Choose shades that suit your skin tone (champagne for fair, gold for medium, copper for deeper).
**
**Step 5: Set and Illuminate With Highlighting Powder
**
**Lock in your glow:
Dust a shimmer-infused setting powder gently over highlighted areas to set cream products and enhance shine.
Avoid mattifying powders—focus on luminous formulas.
Refresh midday glow with a light sweep of candlelight dust or radiant powder.
**
**Step 6: Brighten the Eyes
**
**Bring sparkle to your eyes:
Dab a dot of cream illuminator in the inner corners of eyes.
Sweep a touch under the brow bone for open, awake appearance.
Use shimmer eyeshadow on the center of lids to catch light and balance glow.
**
**Step 7: Sculpt Cheekbones With Highlight
**
Add 3D shape to the glow:
Over cheek contour, apply powder highlighter along the hanging part of your cheekbones in a curved sweep.
Blend downward softly to avoid a stark line.
Lightly tap the nose bridge and cupid’s bow to complement sculpting.
Step 8: Use Luminous Blush
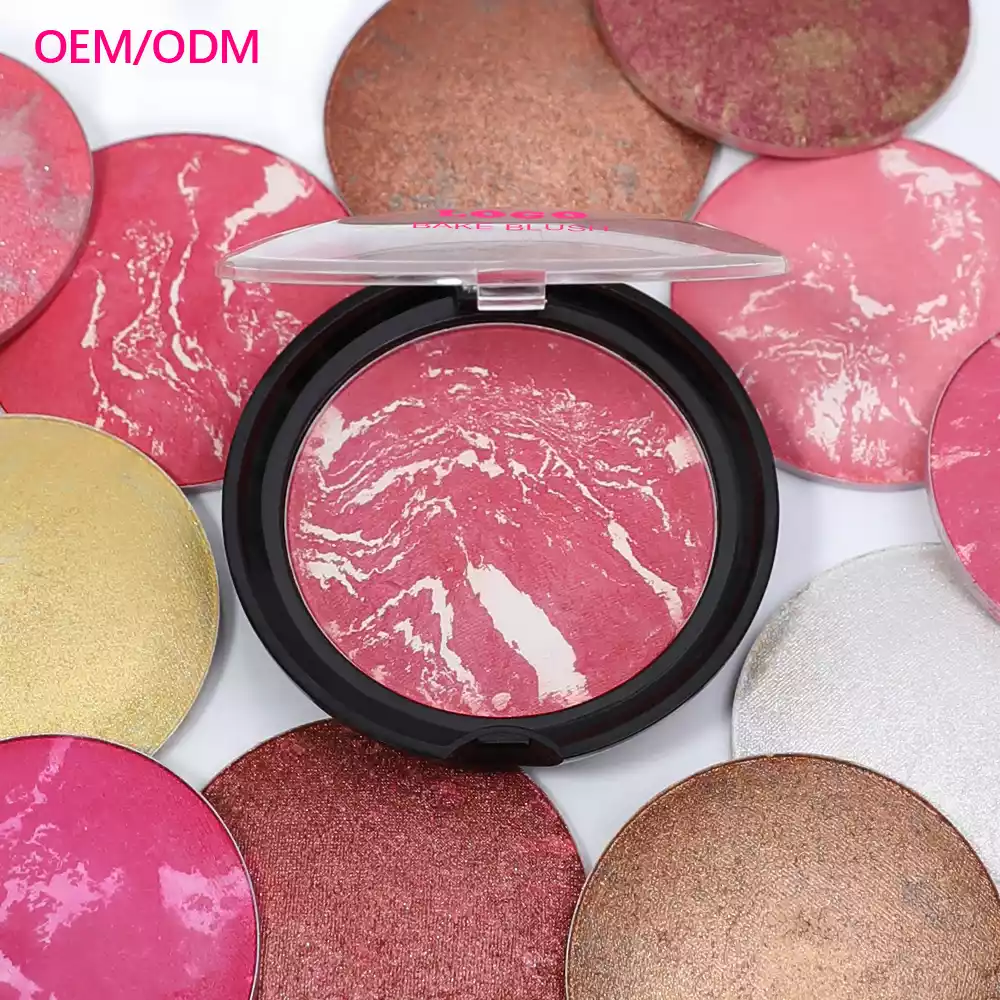
Warm up with rosy tones:
Pick a blush with a satin or slight glow finish—like Visible Lift.
Smile and apply to apples of cheeks, blending upward toward temples.
For added warmth, lightly sweep blush over powder highlight for a unified glow.
Step 9: Illuminate the Lips
Finish with lip light:
Dab a small amount of highlighter right on your cupid’s bow or center of lips.
It visually plumps your lips and adds a fresh sheen.
Optional: Swipe clear gloss with shimmer for extra shine.
Step 10: Refresh and Set for Longevity
Final steps for a lasting glow:
Spritz with a glow-setting spray to melt powders together.
Lightly blot overly shiny zones to preserve glow without greasiness.
Blot + more glow = long-lasting luminosity, instead of greasy look.
As a leading cosmetics factory, we specialize in crafting on-trend Illuminating Makeup tailored to your brand’s vision. Contact us today to discuss your next product line!
Subscribe to my newsletter
Read articles from Mary G directly inside your inbox. Subscribe to the newsletter, and don't miss out.
Written by