Add Shadow to Image: Easy Tips to Enhance Your Photos
 ProdShot Creator
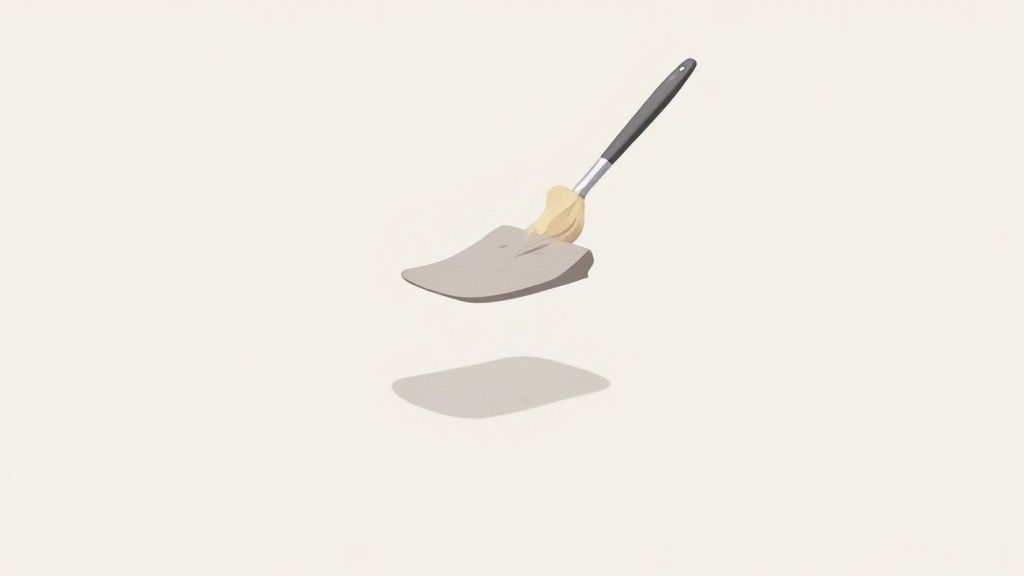
Whether you're using a robust tool like Photoshop, a free alternative like GIMP, or an AI generator for quick results, the basic idea is the same. You need to create a new layer for the shadow behind your subject, then gently tweak it with blur and opacity settings until it looks just right.
Why a Realistic Shadow Can Make or Break Your Image
A well-executed shadow is often the unsung hero of professional-looking visuals. It’s the subtle detail that takes a flat, disconnected product photo and turns it into something that feels grounded and real.
Without a shadow, an object can look like it's just floating awkwardly in a digital void, completely lacking weight and context. This isn't just about artistic flair; it's a strategic choice that taps directly into how our brains perceive the world around us.
Creating Depth and a Professional Vibe
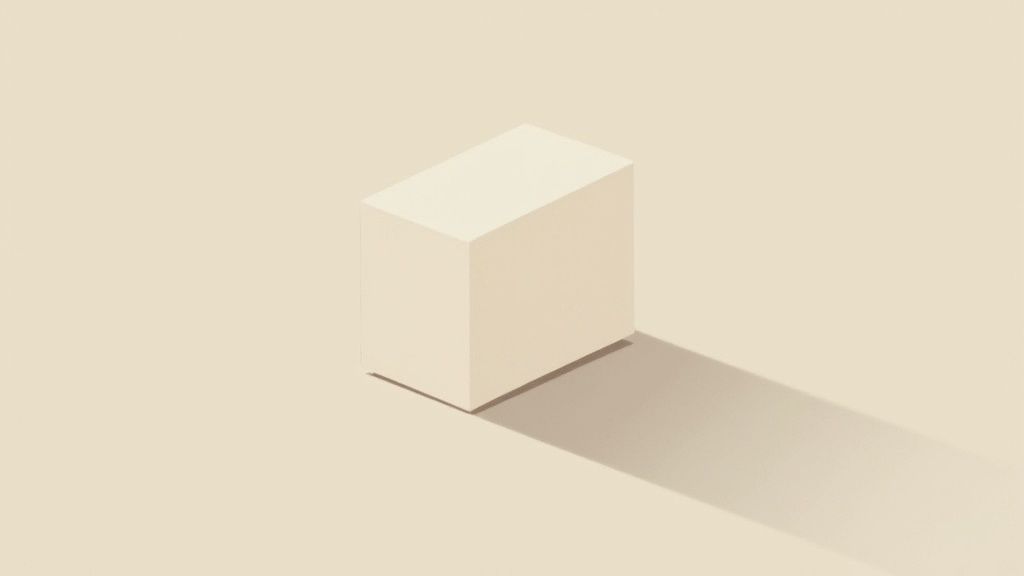
Shadows are powerful visual cues that signal quality. They instinctively tell our brains where an object sits in relation to its surroundings, which is what creates that believable, three-dimensional look. Just think about it—a product photo with a soft, natural shadow instantly feels more tangible and has a much higher perceived value.
This one detail accomplishes several key things:
- Adds Realism: A shadow anchors an object, giving it a physical presence in its space.
- Provides Context: The shape and softness of a shadow can hint at the light source and environment, even on a simple background.
- Boosts Professionalism: Clean, well-crafted shadows are a hallmark of high-quality, professional imagery. It shows you care about the details.
The power of a realistic shadow goes far beyond just looking good. It can seriously impact how your images perform, especially in marketing. Visual details are what capture attention, and learning how to make a thumbnail that truly stands out is a great example of how these small enhancements drive real results.
The goal isn't just to slap a dark shape behind your product. The real art is making the shadow look so natural that the viewer doesn't even consciously notice it—they just feel that the image looks right.
For any e-commerce brand, that subconscious feeling of "rightness" can directly build trust and boost conversions. For designers, it’s all about enhancing UI clarity and making graphic elements pop. Mastering this fundamental skill is a worthwhile investment in better visual communication, no matter your field.
Choosing Your Shadow Creation Toolkit
When it's time to add a shadow to an image, your decision really boils down to a classic trade-off: speed versus control versus cost. There’s no single "best" tool, only the right tool for the job at hand. Let's walk through the main options so you can figure out what makes the most sense for you.
AI Tools for Speed and Consistency
If you’re looking for raw speed and effortless consistency, especially for e-commerce, it's hard to beat modern AI generators like ProdShot. Imagine you need to update hundreds of product photos overnight. AI tools are built for exactly that kind of high-volume work, ensuring every single image has the same clean, professional shadow without you having to touch a single pixel manually.
The best part? The learning curve is practically flat. You don't need any design background to get great results, making it perfect for marketers, store owners, and anyone who just needs to get the job done fast.
The Manual Control Powerhouses
At the other end of the spectrum, you have the industry-standard software for a reason: Adobe Photoshop. If you're an art director or a designer who needs to craft a completely custom shadow—maybe one that perfectly mimics a unique, real-world lighting setup for a campaign hero shot—this is your playground. It gives you complete, granular control over every aspect of the shadow. Of course, all that power comes with a steeper learning curve and a subscription fee.
Then there's the beloved open-source champion, GIMP (GNU Image Manipulation Program). It’s a fantastic, completely free alternative that packs a serious punch. GIMP offers many of the same powerful manual controls you'd find in Photoshop, making it a go-to for anyone on a budget who doesn't mind investing a little time to get familiar with its interface.
The real question isn't about which tool is superior, but which one fits your immediate goal. Are you overhauling your entire product catalog, or are you meticulously crafting a single, stunning image for a magazine ad?
This image breaks down the kind of manual controls you'll be working with in editors like Photoshop or GIMP—things like offset, blur, and opacity.
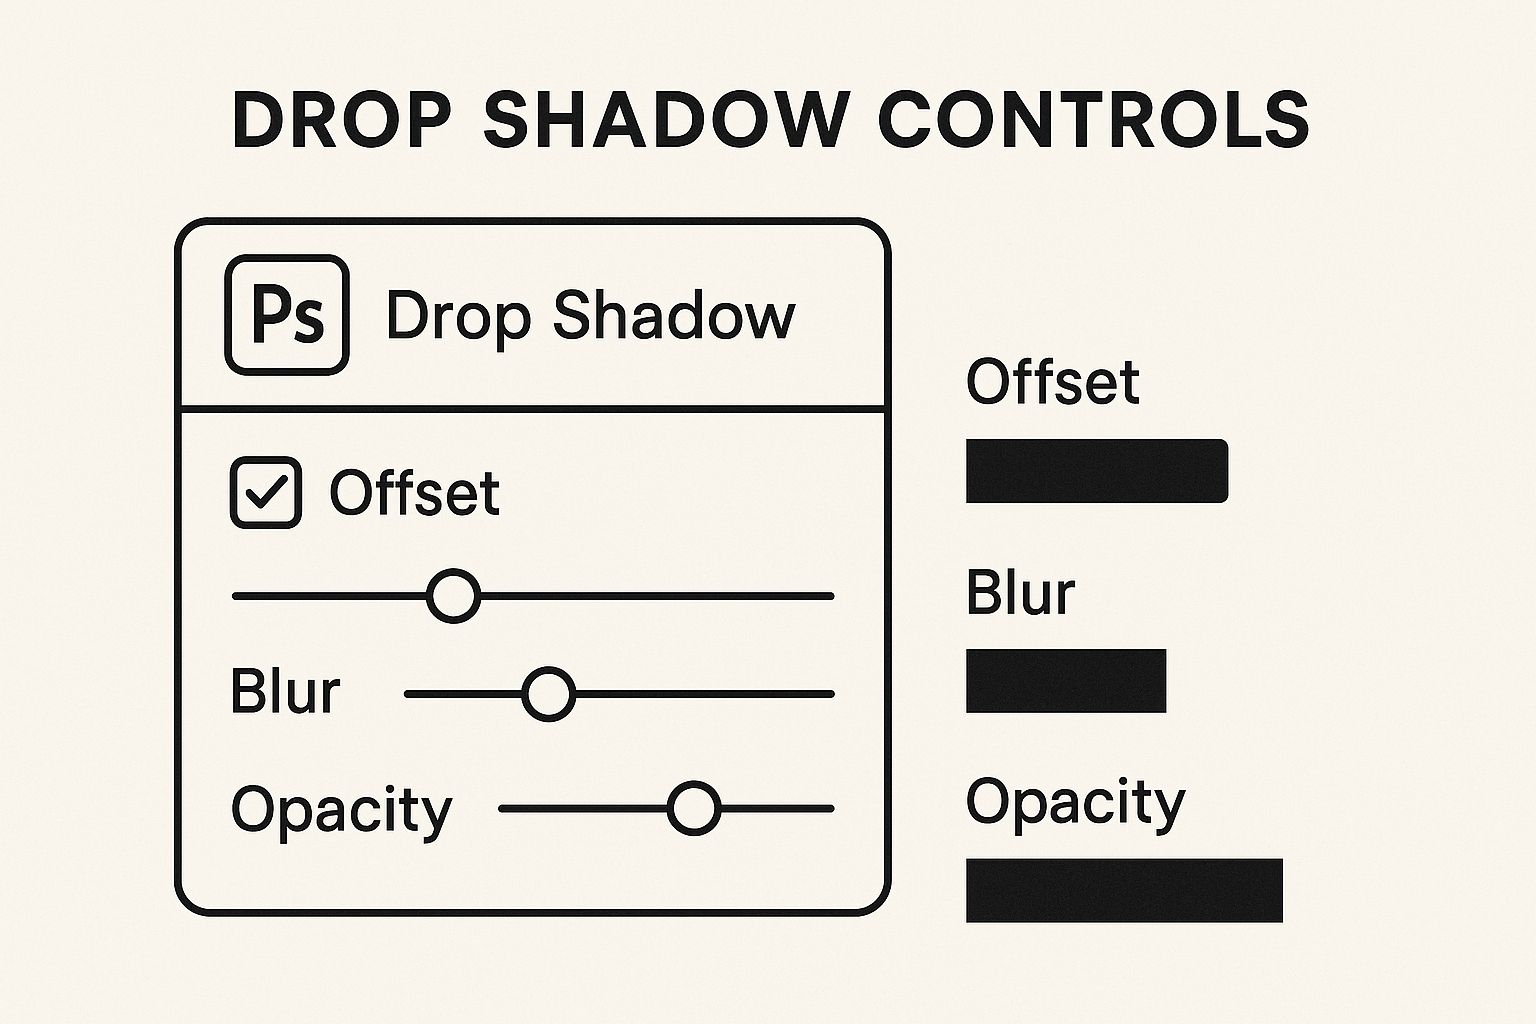
Getting comfortable with these sliders is how you achieve true creative freedom. On the flip side, AI tools are designed to automate all of that for you, prioritizing efficiency above all else. Making the right choice from the get-go will save you a ton of headaches down the line.
To make things even clearer, here's a quick side-by-side look.
Shadow Tool Comparison at a Glance
| Feature | AI Tools (e.g., ProdShot) | Adobe Photoshop | GIMP |
| Best For | E-commerce, bulk processing | Custom artistic effects | Budget-conscious users |
| Speed | Extremely fast (seconds per image) | Slow, requires manual work | Slow, requires manual work |
| Ease of Use | Very easy, minimal learning | Steep learning curve | Moderate learning curve |
| Control | Limited (pre-set styles) | Complete creative control | High degree of control |
| Cost | Subscription or credit-based | Monthly/annual subscription | 100% Free |
| Consistency | Excellent across many images | Depends on user skill | Depends on user skill |
Ultimately, whether you pick an AI tool for its speed or a manual editor for its control, understanding the strengths of each will help you produce better images, faster.
Adding Shadows Instantly with an AI Generator
Let's be real—spending hours in Photoshop tweaking shadow layers just isn't practical for most of us. If you’re trying to get a new product line live on your e-commerce site, you could be dealing with dozens, or even hundreds, of images that all need to look consistent. That manual editing process can quickly become a serious bottleneck, holding up your entire launch.
This is exactly where AI shadow generators come in. They’re built to handle the tedious parts of photo editing, letting you add a shadow to an image in a matter of seconds.

The One-Click Workflow
The beauty of these tools is their simplicity. You start by uploading your product photo—ideally one that already has the background removed or was shot against a clean, plain surface. From there, you just pick a shadow style from a menu. It’s that easy.
Most tools offer a few core options:
- Natural Drop Shadow: This is your go-to for a soft, diffused shadow. It grounds the product, making it look like it's actually sitting on a surface without being distracting.
- Hard Cast Shadow: Think bright, direct sunlight. This style creates a crisp, defined shadow for a more dramatic, high-impact look.
- Floating Shadow: A very subtle effect that makes the object appear to lift off the background. It’s a popular choice for tech gadgets and luxury goods to give them a premium, almost weightless feel.
You don't have to fiddle with sliders for blur, distance, or opacity. The AI is smart enough to analyze the shape of your product and apply a photorealistic shadow that just works. For similar automated visual enhancements, exploring AI-powered dynamic image tools can also be a huge time-saver.
Why AI Is a Game-Changer for E-commerce
The real magic here is scalability and consistency. Imagine you’re launching a new collection of 30 different handbags. Manually trying to give each one the exact same shadow angle and softness is a recipe for frustration and wasted time. An AI tool, on the other hand, delivers perfect consistency across the entire batch in one go.
An AI generator can get your entire product gallery updated with perfectly matching shadows in minutes, not days. This frees you up to focus on what actually grows your business.
This level of consistency makes your online store look more polished and professional, which builds trust with customers. Many modern tools are designed with exactly this in mind. An AI product photo generator can help you create stunning visuals without needing a design degree, removing a major hurdle for many entrepreneurs.
Creating Custom Shadows in Adobe Photoshop
When a project demands absolute creative control and photorealistic results, there's a reason professionals still turn to Adobe Photoshop. While AI tools are incredible for speed, Photoshop gives you the granular power to manually craft a shadow that perfectly matches your image's unique lighting and environment.
This level of precision is non-negotiable for hero images, key ad creatives, and high-end product shots where every detail counts.
The whole process starts with one critical step: isolating your product from its background. Getting a clean cutout of your subject onto its own layer is the foundation for building any believable shadow. Once that's done, you simply create a new layer underneath it that will be dedicated entirely to the shadow effect.
Sculpting a Believable Shadow
Forget one-click filters. A professional workflow is all about having fine-tuned control. After creating your new shadow layer, you can grab the Brush Tool with a soft edge and literally paint where the shadow should fall. This is how you mimic the way light naturally wraps around an object, creating areas of deeper, darker shadow and others that are softer and more diffused.
For example, a shadow should always be darkest and sharpest right where the object makes contact with the surface. As the shadow extends away from the object, it should naturally become softer and more transparent.
You can nail this effect by combining a few core techniques:
- Gaussian Blur: Applying a subtle Gaussian Blur to the shadow layer is perfect for softening its edges and getting rid of any harsh, digital-looking lines.
- Opacity Adjustments: Never leave a shadow at 100% opacity. Lowering it makes the shadow feel like a natural, semi-transparent part of the scene, not just a solid black shape.
- Layer Masks: This is the pro's secret weapon. Using a layer mask lets you refine the shadow's shape non-destructively. You can paint with black on the mask to hide parts of the shadow or with white to bring them back, all without permanently damaging your work.
Here's a tip I learned the hard way: real-world shadows are never pure black. They always pick up subtle color casts from the environment. Instead of using
#000000, try sampling a dark, desaturated color from your background for a much more convincing result.
Advanced Techniques for Realism
To truly add a shadow to an image that looks authentic, you have to think like a photographer and consider the light source. Is it soft, diffused light from a big window, or a harsh, direct light from a small studio lamp? The answer determines everything—the shadow's color, its softness, and its direction.
If you're looking for a detailed walkthrough, this tutorial shows you exactly how to add drop shadow in Photoshop.
This emphasis on nuanced control is why Photoshop remains a staple. In fact, according to 2023 market analytics, tools with advanced shadow capabilities hold approximately 65% of the professional market share. The demand for detailed editing is clearly still there.
Of course, not every project needs this level of manual work. If you need a simpler alternative that works directly with your e-commerce platform, a dedicated Shopify photo editor can strike a great balance between quality and convenience.
Ultimately, mastering manual controls in Photoshop allows you to create a final image that is polished, professional, and perfectly aligned with your brand’s aesthetic.
Mastering Shadows in GIMP: The Free Alternative
Think you need to shell out for expensive software to get professional-looking product shots? Not at all. GIMP is a seriously powerful, free, and open-source tool that gives you incredible control over your images. For anyone on a budget who isn’t willing to compromise on quality, GIMP is the answer.
The interface might feel a little different if you're coming from Photoshop, but the core ideas are exactly the same. The first, most crucial step is always to get your product onto its own layer with a transparent background. This gives you a clean canvas to build your shadow on.
Your First Shadow in GIMP
With your product nicely isolated, the quickest way to get started is by using GIMP's built-in filter. Just make sure your product layer is selected, then head up to the menu and click Filters > Light and Shadow > Drop Shadow.
This pops open a dialog box, and you’ll instantly see a preview of the shadow on your image.
Resist the temptation to just hit "OK"! The default shadow is usually a bit stark and generic. The real artistry comes from tweaking the settings to get a look that feels authentic to your product and lighting.
This filter is a fantastic starting point, but the magic truly happens when you start fine-tuning the details.
Fine-Tuning for a Realistic Look
Inside the Drop Shadow tool, you’ll find three sliders that are your key to creating a believable effect. Mastering these will help you ground your product in the scene without it looking slapped on.
- Offset X and Y: This is all about direction. Ask yourself, "Where is my light source?" If the light is coming from the top left, your shadow needs to fall to the bottom right. These sliders let you control that position precisely.
- Blur Radius: Honestly, this is the most critical setting for realism. A higher blur radius softens the edges of the shadow, making it feel more diffused. This is exactly what you want to mimic soft, natural light.
- Opacity: Real-world shadows are rarely pitch-black. Pulling the opacity down to somewhere between 50-75% makes the shadow semi-transparent, allowing it to blend seamlessly into whatever background you place it on.
The quest to realistically portray light and shadow in a digital format has a long history, going back to the very roots of digital imaging. A major breakthrough was the invention of the charge-coupled device (CCD) way back in 1969, which first made it possible to turn light into an electronic signal. If you're curious, you can dive into the fascinating history of photography and the pioneers behind it. This foundational technology is what ultimately led to the powerful editing tools we have at our fingertips today.
Frequently Asked Questions About Image Shadows
Even when you've got the basics down, a few questions always pop up when you’re trying to perfect your shadows. Here are some real-world answers to the common snags people hit when they add shadow to an image.
What Is the Best Color to Use for a Shadow?
This is a big one. The most common mistake I see is people defaulting to pure black (#000000). It's a dead giveaway of an amateur edit because it just looks fake and jarring. Think about it—shadows in the real world are never truly black. They’re always influenced by the light and colors around them.
A much better way to go is to pick a very dark, slightly desaturated color. For the most realistic effect, I like to use the eyedropper tool and sample a dark, moody tone from the product itself or its background. A deep navy, a rich brown, or a dark charcoal will blend into your scene far more naturally than pure black ever will.
For classic e-commerce shots on a simple white or light-gray background, a semi-transparent dark gray is the industry go-to. I usually start with a hex code like
#333333and set the opacity somewhere between 50% and 75%. It gives you that clean, professional look without feeling harsh.
How Do I Make My Drop Shadow Look More Realistic?
The secret to a believable shadow is all in the subtleties. The single best trick is to make the shadow softer and more transparent the farther it gets from your product. This perfectly mimics how light actually behaves.
If you're working in a tool like Photoshop or GIMP, you can pull this off beautifully by applying a gradient to your shadow's layer mask. It creates a soft, natural fade that instantly elevates the realism. Also, don't forget to match the shadow’s angle and length to the main light source in your photo—inconsistency here is a quick way to break the illusion.
Should Every Product Image Have a Shadow?
Not at all. This really comes down to your brand’s vibe and where the image is being used.
- For a super clean, minimalist aesthetic, or for those uniform catalog grids, going shadowless on a pure white background often works best. It creates a very tidy, consistent feel.
- For lifestyle photos, hero images, or social media posts, a well-executed shadow is practically a must. It grounds the product, making it feel like it's really there in the scene.
If you find yourself stuck on what works best for your brand, getting a professional opinion can make all the difference. Expert product photo editing services can help you nail down a consistent style that fits your specific goals.
Ready to create stunning, professional product photos without the hassle of manual editing? Try ProdShot today and see how our AI can instantly generate perfect, conversion-boosting images for your online store. Get started for free at ProdShot.net.
Subscribe to my newsletter
Read articles from ProdShot Creator directly inside your inbox. Subscribe to the newsletter, and don't miss out.
Written by