How To Securely Convert HTML To PDF In .NET Using Syncfusion
 syncfusion
TL;DR: Learn how to convert HTML to PDF using Syncfusion’s HTML to PDF Converter in .NET. This guide shows how to transform dynamic HTML templates into secure, password-protected PDFs with data binding, encryption, and permission controls, ideal for financial and legal document workflows.
Ever tried turning dynamic HTML into a secure, compliant PDF and hit a wall?
Industries like banking, finance, and legal services rely on HTML templates to generate sensitive documents like statements and audit reports. But converting them into secure, distribution-ready PDFs isn’t always straightforward.
Most HTML-to-PDF tools lack critical features like password protection, encryption, and permission controls, leaving organizations exposed to data breaches and compliance risks.
That’s where Syncfusion’s HTML to PDF Converter comes in. It empowers developers to generate secure PDFs from HTML with user and owner passwords, fine-grained access restrictions, and encryption, ensuring confidentiality and compliance at scale.
In this blog, we’ll demonstrate how to generate a Secure Monthly Bank Statement using Syncfusion’s converter. The process includes:
Setting up the project environment
To begin automating the generation of secure PDF documents, you’ll need a .NET development environment and the Syncfusion® HTML to PDF converter library.
Prerequisites:
.NET SDK (version 8.0 or later)
Syncfusion® HTML to PDF Converter NuGet package
A basic HTML bank statement template with placeholders
A JSON file or any other data sources containing customer data.
Install Syncfusion® NuGet Package:
Use the following command in your terminal or package manager console to install the Syncfusion® HTML to PDF converter:
dotnet add package Syncfusion.HtmlToPdfConverter.Net.Windows
Designing the HTML template for secure PDF statements
The HTML template serves as the structural foundation for your secure bank statement PDF. It includes dynamic placeholders replaced with real data at runtime, such as the customer’s name, account number, statement period, and transaction history.
You can create a custom-designed HTML file tailored to your organization’s branding and layout standards. This ensures that the final PDF output is not only professional and visually consistent but also compliant with industry regulations for presenting sensitive financial data.
In our example, the HTML template includes:
A statement summary section with account holder details and the reporting period
A dynamic transaction table listing debits, credits, and balances
Placeholders such as
{{bank.customername}},{{statement.period_start}}, and{{transaction_rows}}for injecting real-time data
Here’s the snippet of the template:
<!DOCTYPE html>
<html lang="en">
<head>
    <meta charset="UTF-8">
    <title>Bank Statement</title>
    <link rel="stylesheet" href="style.css">
</head>
<body>
<div class="container">
    <div class="header">
        <div class="bank-logo">
            <img src="./bank-logo.jpg" alt="Bank Logo">
            <h2>G2 Bank</h2>
        </div>
        <div class="bank-info">
            <p><strong>Branch Name: G2 Bank at Santa Monica</strong></p>
            <p>231 Valley Farms Street<br>Santa Monica, CA<br>bickslowbank@domain.com</p>
        </div>
    </div>

<div class="statement-info">
    <p><strong>Account Holder Name:</strong>{{bank.customername}}</p>
    <p><strong>Account Number:</strong> {{bank.account_number}}</p>
    <p><strong>Issue Date:</strong> {{statement.issue_date}}</p>
    <p><strong>Period:</strong> {{statement.period_start}} to {{statement.period_end}}</p>
    <p><strong>{{bank.name}}</strong><br>{{bank.address}}</p>
</div>
<div class="account-activity">
    <h3>Account Activity</h3>
    <table class="table-container">
        <thead>
            <tr>
                <th>Date</th>
                <th>Payment Type</th>
                <th>Detail</th>
                <th>Debited</th>
                <th>Credited</th>
                <th>Balance</th>
            </tr>
        </thead>
        <tbody>
            {{ transaction_rows }}
        </tbody>
        </table>
</div>
<div class="note-section">
    <p><strong>Note:</strong> A finance charge of 1.5% will be made on unpaid balances after 30 days.</p>
</div>
The following image shows the output of the HTML template with styled CSS.
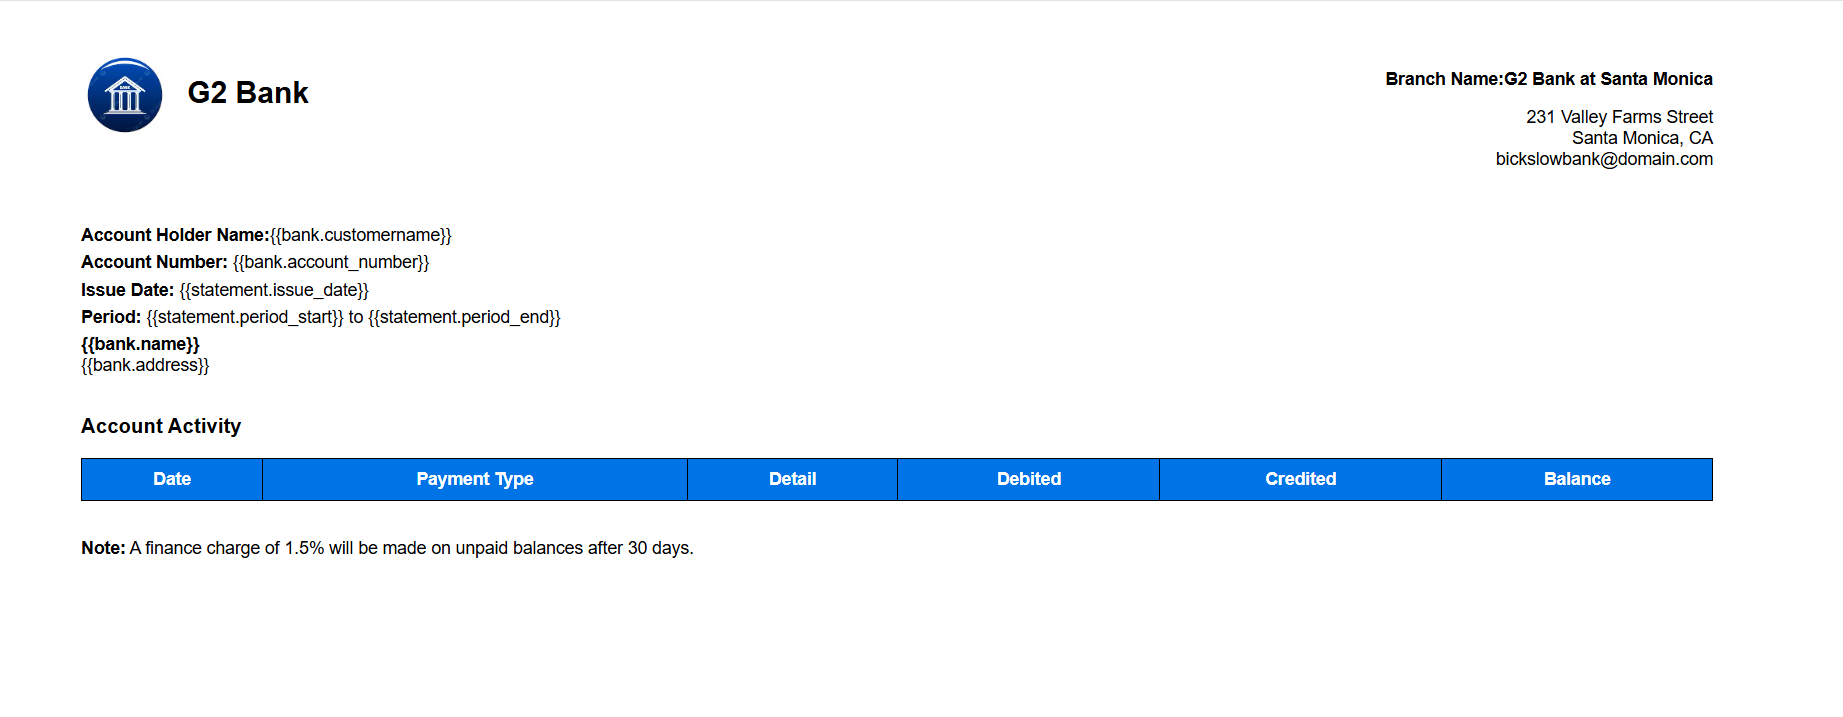
HTML bank statement template for secure PDF creation with Syncfusion
Binding dynamic data to the HTML template
To populate your HTML bank statement template with real-time values, you need structured data that maps directly to the placeholders defined in your layout. JSON is an ideal format for this purpose; it’s lightweight, easy to manage, and integrates seamlessly with .NET applications.
In this example, we use a JSON file named UserAccountDetails.json to supply the required data, including bank details, account information, and a list of transactions. This approach is highly flexible and can be adapted to other data sources such as SQL Server, MySQL, CSV, XML.
To bind this data in C#, we define a corresponding object model across multiple files: StatementBuilder.cs, BankDetails.cs, AccountStatement.cs, and TransactionalDetail.cs. These classes are designed to mirror the structure of the JSON file, enabling seamless deserialization into strongly typed objects using the System.Text.Json library.
Replacing placeholders with real data
With your HTML template and deserialized statement data ready, the next step is to inject the actual values into the template by replacing the predefined placeholders. This is typically achieved using string replacement logic within your .NET application.
Each placeholder in the HTML, such as {{bank.name}}, {{statement.issue_date}}, and {{transaction_rows}}, is mapped to corresponding properties from the deserialized StatementBuilder object. This object contains all the necessary information, including bank details, customer profile, and transaction history.
For placeholders like {{transaction_rows}}, which represent a list of entries, the application dynamically generates HTML table rows using a loop. This ensures that the final PDF accurately reflects the customer’s complete financial activity, regardless of the number of transactions.
By separating data from presentation, this approach enables the generation of personalized, data-driven bank statements without modifying the underlying layout or hardcoding values, making the solution scalable and maintainable.
/// Loads and deserializes the bank statement data from a JSON file.
string jsonPath = "UserAccountDetails.json";
string jsonContent = File.ReadAllText(jsonPath);
StatementBuilder statement = JsonSerializer.Deserialize<StatementBuilder>(jsonContent, new JsonSerializerOptions { PropertyNameCaseInsensitive = true });

// Load HTML template
string templatePath = "bank-statement-template.html";
string htmlTemplate = File.ReadAllText(templatePath);

// Replace top-level placeholders with actual data.
string filledHtmlContent = htmlTemplate
.Replace("{{statement.issue_date}}", statement.Statement.IssueDate)
.Replace("{{statement.period_start}}", statement.Statement.PeriodStart)
.Replace("{{statement.period_end}}", statement.Statement.PeriodEnd)
.Replace("{{bank.name}}", statement.Bank.Name)
.Replace("{{bank.account_number}}", statement.Statement.AccountNumber)
.Replace("{{bank.address}}", statement.Bank.Address)
.Replace("{{bank.customername}}", statement.Statement.CustomerName);

/// Builds the HTML table rows for each transaction in the bank statement
/// and replaces the {{ transaction_rows }} placeholder in the HTML template.
StringBuilder transactionRows = new StringBuilder();
foreach (var txn in statement.Transactions)
{
    transactionRows.AppendLine($@"
        <tr>
            <td>{txn.Date}</td>
            <td>{txn.Type}</td>
            <td>{txn.Detail}</td>
            <td>{txn.Debited}</td>
            <td>{txn.Credited}</td>
            <td>{txn.Balance}</td>
        </tr>");
}
filledHtmlContent = filledHtmlContent.Replace("{{ transaction_rows }}", transactionRows.ToString());
Converting the HTML into a PDF document
After the HTML template has been fully populated with dynamic customer and transaction data, the next step is to convert this content into a polished PDF document. This transformation ensures that the final output is not only visually consistent but also secure, portable, and ready for distribution or archival.
Below is an example of Syncfusion’s HTML to PDF conversion in C#:
/// Converts the filled HTML content into a PDF document using Syncfusion's HTML to PDF converter.
HtmlToPdfConverter htmlConverter = new HtmlToPdfConverter();
BlinkConverterSettings settings = new BlinkConverterSettings
{
    Scale = 0.7f
};

// Apply the settings to the converter
htmlConverter.ConverterSettings = settings;

// Convert the filled HTML content into a PDF document
PdfDocument document = htmlConverter.Convert(filledHtmlContent, Path.GetFullPath("."));
Securing the PDF with passwords and permissions
Once the PDF document has been generated, the final step is to secure it before distribution. Applying password protection and permission restrictions ensures that sensitive financial information remains confidential and accessible only to authorized users, helping organizations maintain compliance and prevent unauthorized access.
To safeguard the PDF, we apply a user-specific password derived from the customer’s personal details, along with an owner password that retains full administrative control. Additionally, we restrict permissions to printing only, preventing unauthorized editing, copying, or content extraction.
This security layer not only reinforces data privacy but also aligns with compliance standards for document handling in financial workflows.
Here’s how to apply protection using Syncfusion’s PDF security features in C#:
/// Sets PDF security by applying a user password and restricting permissions to printing only. // Access the security settings of the PDF document
PdfSecurity security = document.Security;
// Retrieve customer name and date of birth from the statement
string customerName = statement.Statement.CustomerName;
string dateOfBirth = statement.Statement.DateOfBirth;

// Extract the first 4 characters of the customer name and convert to uppercase
string namePrefix = (customerName.Substring(0, Math.Min(4, customerName.Length))).ToUpper();

// Parse the date of birth and format it to get day and month as "ddMM"
DateTime dob = DateTime.Parse(dateOfBirth);
string dateAndMonth = dob.ToString("ddMM");

// Combine name prefix and date/month to form the user password
string userPassword = namePrefix + dateAndMonth;

// Set the owner password to retain full control over the PDF, including editing and security settings.

// Required to enforce user-level restrictions like printing-only access and prevent unauthorized changes.
security.OwnerPassword = "G2bank1234";

// Set the user password for the PDF document
security.UserPassword = userPassword;

// Restrict permissions to allow only printing security.Permissions = PdfPermissionsFlags.Print;

//Save the PDF document
Directory.CreateDirectory("../../../Output");
string outputPath = $"../../../Output/BankStatement_" + statement.Statement.CustomerName + "_" + statement.Statement.IssueDate + ".pdf";
MemoryStream stream = new MemoryStream();
document.Save(stream);
File.WriteAllBytes(outputPath, stream.ToArray());

// Close the document to release resources document.Close(true);
Note: The final secured PDF is saved locally on the system for secure distribution, archival, or integration into your document delivery workflow, with the user password generated by combining the first four uppercase letters of the customer’s name and the day and month of their birth in ddMM format.
Running the projects
To test the application, run the project to generate a secure bank statement. The process will automatically do the following:
Populates the HTML template with real-time customer and transaction data
Converts the filled HTML into a professionally formatted PDF
Applies password protection and permission restrictions for security
When the recipient opens the PDF, they’ll be prompted to enter a personalized password. Upon successful authentication, they’ll see a clean, well-structured statement containing all relevant account and transaction details, ready for secure sharing or archiving.
Below is a sample output showing the password prompt that appears when opening the secured PDF document, along with a preview of what the generated bank statement might look like.

Password prompt for secure PDF

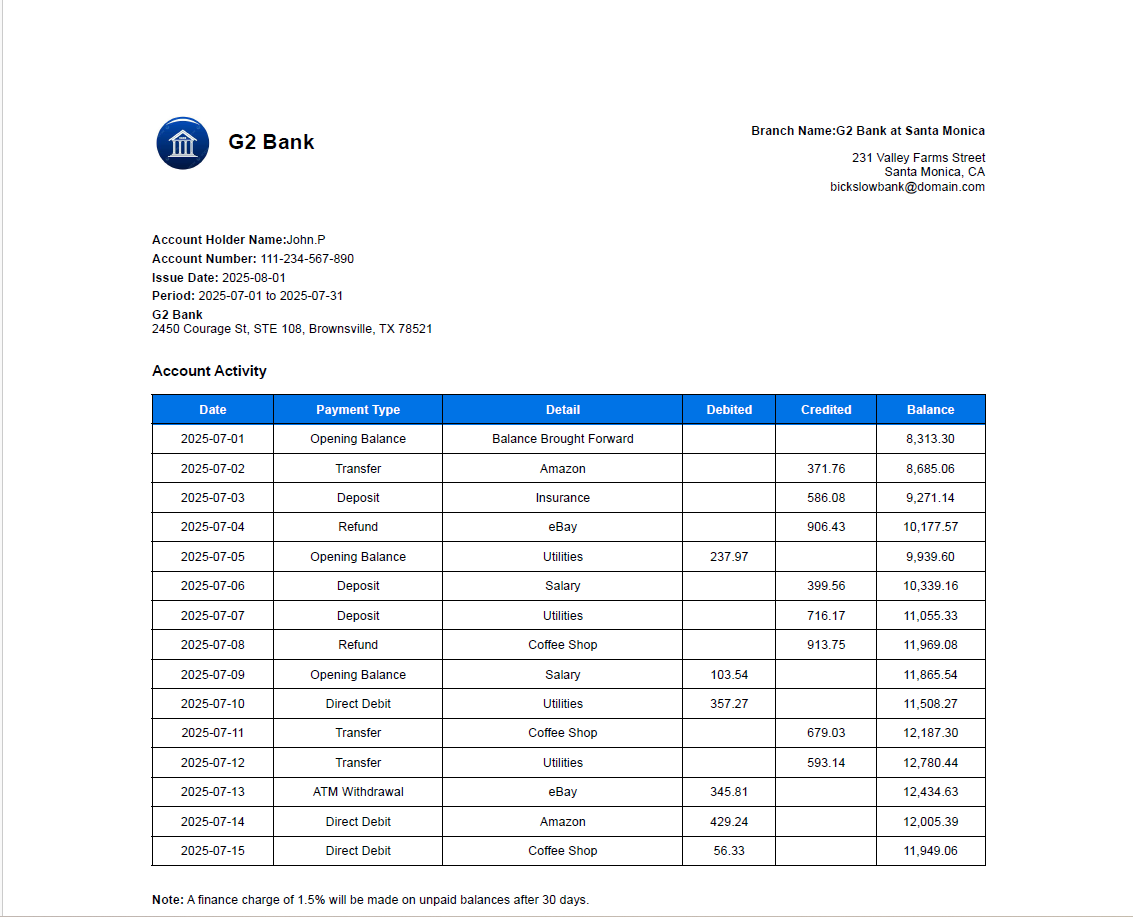
Secure PDF bank statement generated by Syncfusion HTML to PDF
GitHub reference
For a complete project, refer to the GitHub demo.
Conclusion
Thanks for following along! In this blog, we’ve explored the complete process of generating a secure, dynamic bank statement using C# and Syncfusion’s HTML to PDF converter.
By automating this workflow, you can produce personalized, professional-grade documents that are visually consistent and secure. This approach is especially valuable for financial reporting, customer communications, and any document-driven process where data privacy and compliance are essential.
Try Syncfusion’s HTML to PDF converter today to streamline your document security.
Download the latestlicense and downloadsversion or start your 30-day free trial.
You can also contact us through our support forums, support portal, or feedback portal. We are always happy to assist you!
Related Blogs
This article was originally published at Syncfusion.com.
Subscribe to my newsletter
Read articles from syncfusion directly inside your inbox. Subscribe to the newsletter, and don't miss out.
Written by
syncfusion
syncfusion
Syncfusion provides third-party UI components for React, Vue, Angular, JavaScript, Blazor, .NET MAUI, ASP.NET MVC, Core, WinForms, WPF, UWP and Xamarin.