CI/CD with GitOps – Part 2: Hands-On Implementation
 Sravya Bolla
Hello tech enthusiasts!
In Part 1, we explored the theory behind CI/CD with GitOps. Today, we’re making it real – a full hands-on guide from Jenkins setup to deploying apps on Kubernetes via ArgoCD.
Clone or fork the repo: ultimate-cicd-pipeline.
Interactive Tip: Open your terminal or EC2 console alongside this blog and follow along step by step!
Step 1: Launch AWS EC2 Instance
Go to AWS Console → EC2 → Instances → Launch instances.
Select Ubuntu 22.04.
Choose t2.medium.

Pro tip: t2.medium ensures smooth installation and parallel execution of tools.
Step 2: Jenkins Setup
Before Jenkins, we need Java:
sudo apt update
sudo apt install openjdk-17-jre
java -version
All good? Let’s move on to Jenkins:
curl -fsSL https://pkg.jenkins.io/debian/jenkins.io-2023.key | sudo tee /usr/share/keyrings/jenkins-keyring.asc > /dev/null
echo deb [signed-by=/usr/share/keyrings/jenkins-keyring.asc] https://pkg.jenkins.io/debian binary/ | sudo tee /etc/apt/sources.list.d/jenkins.list > /dev/null
sudo apt-get update
sudo apt-get install jenkins
Heads up: Open port 8080 in your EC2 security group. Otherwise, Jenkins will be shy and hide from the outside world.
Allow 9000-sonarqube
Login Time:
Go to
http://<ec2-public-ip>:8080Grab the initial admin password:
sudo cat /var/lib/jenkins/secrets/initialAdminPassword

Install suggested plugins.
Click on Install suggested plugins
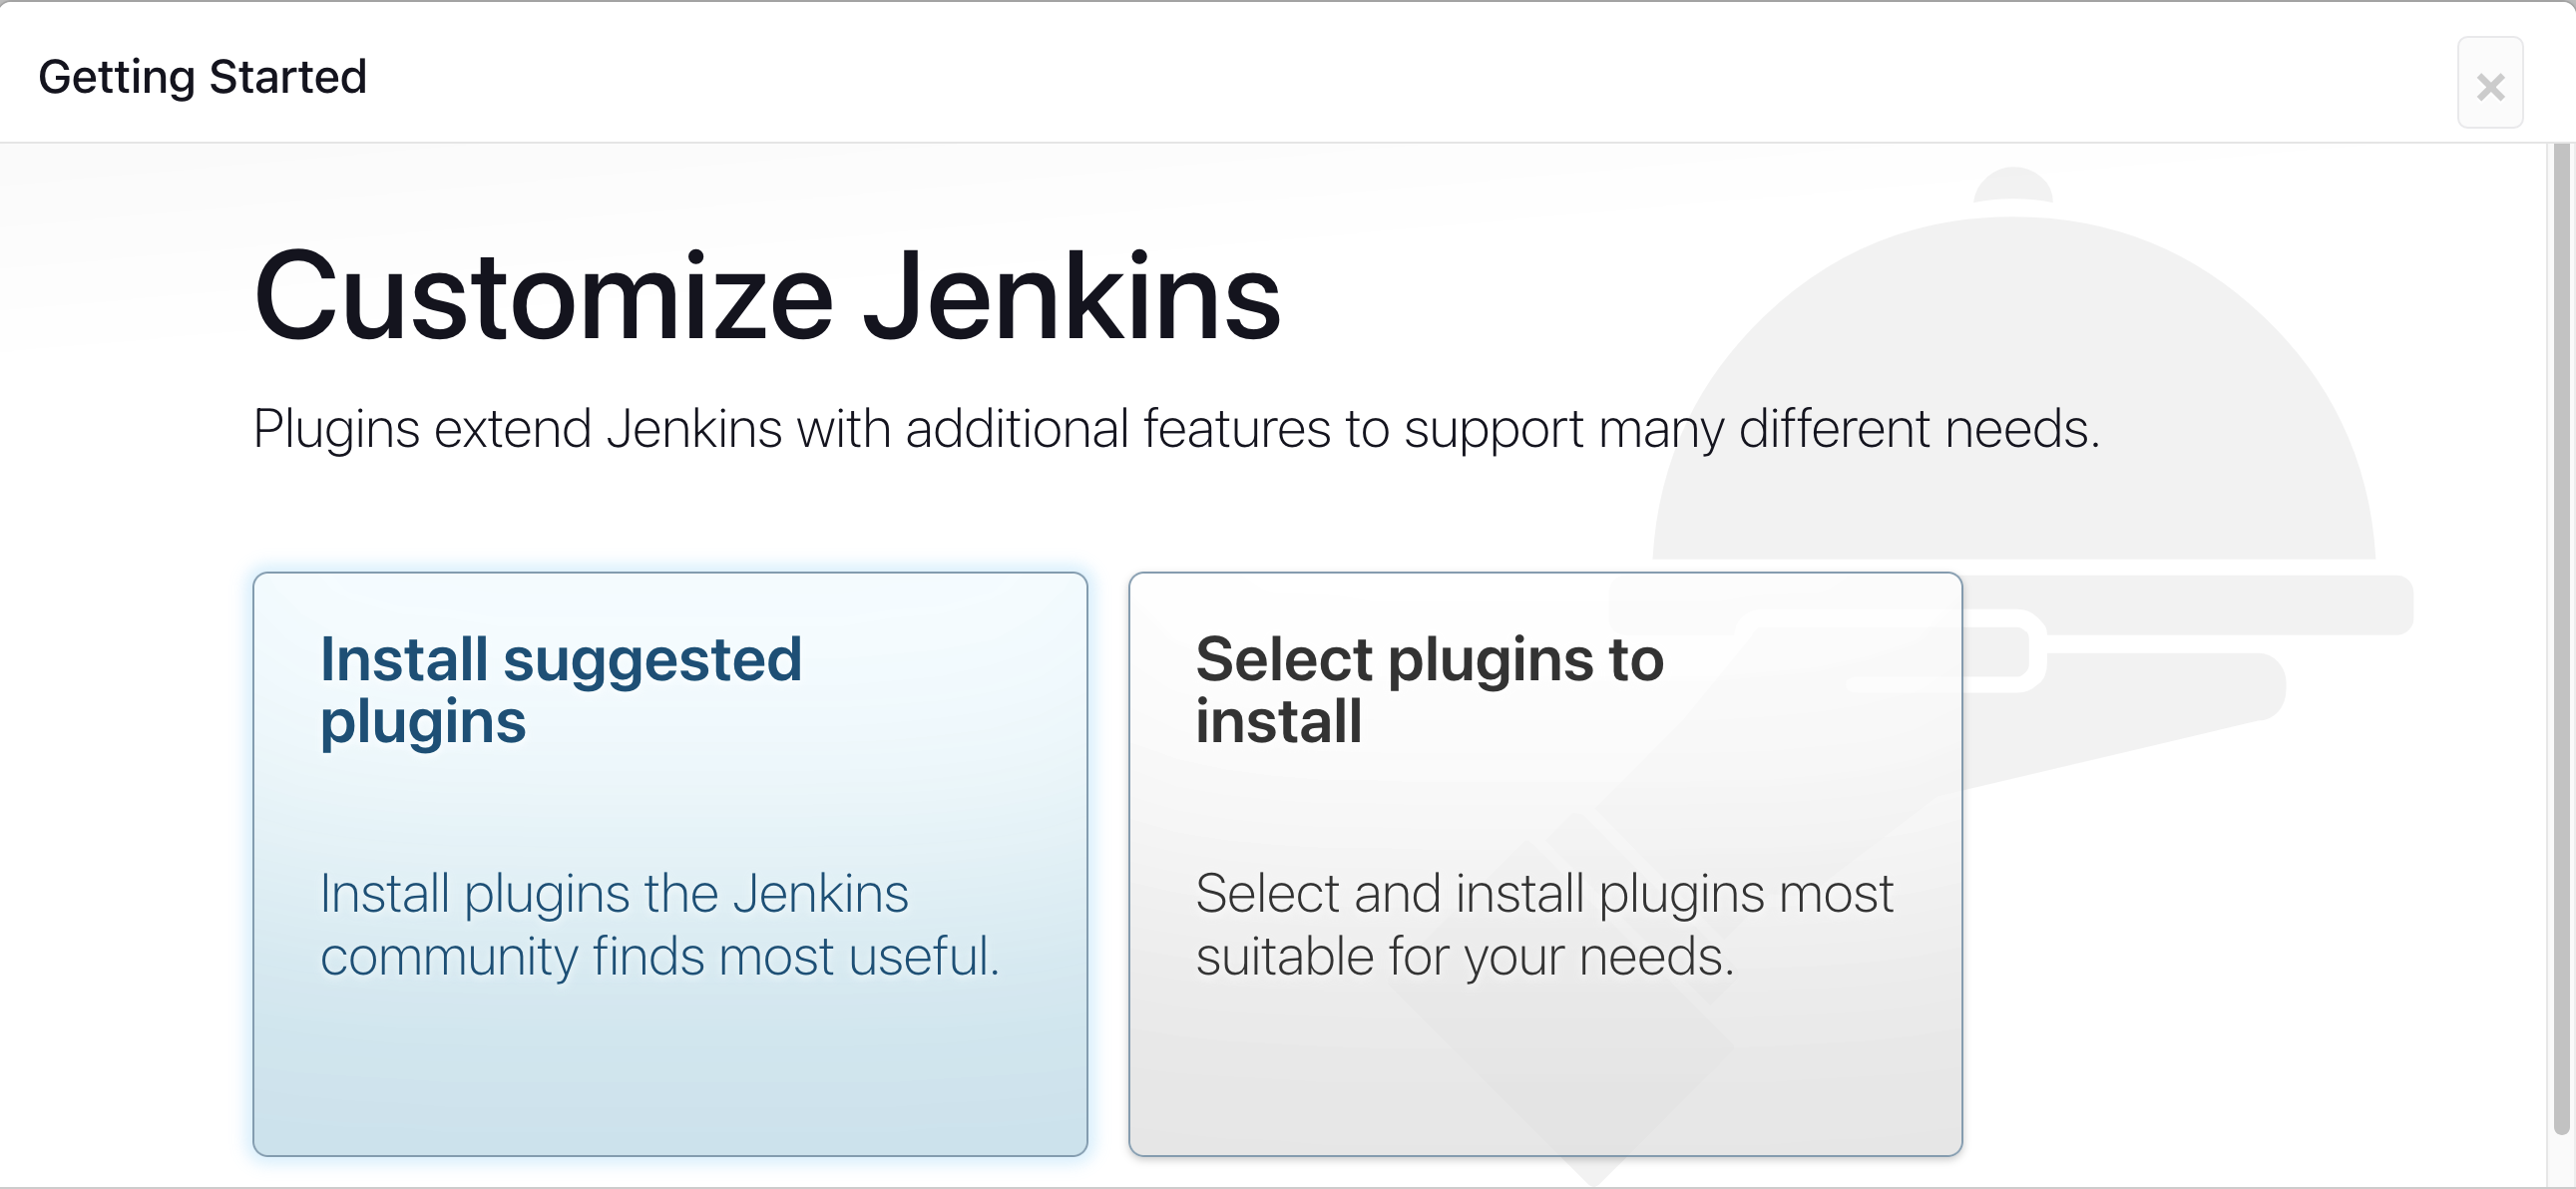
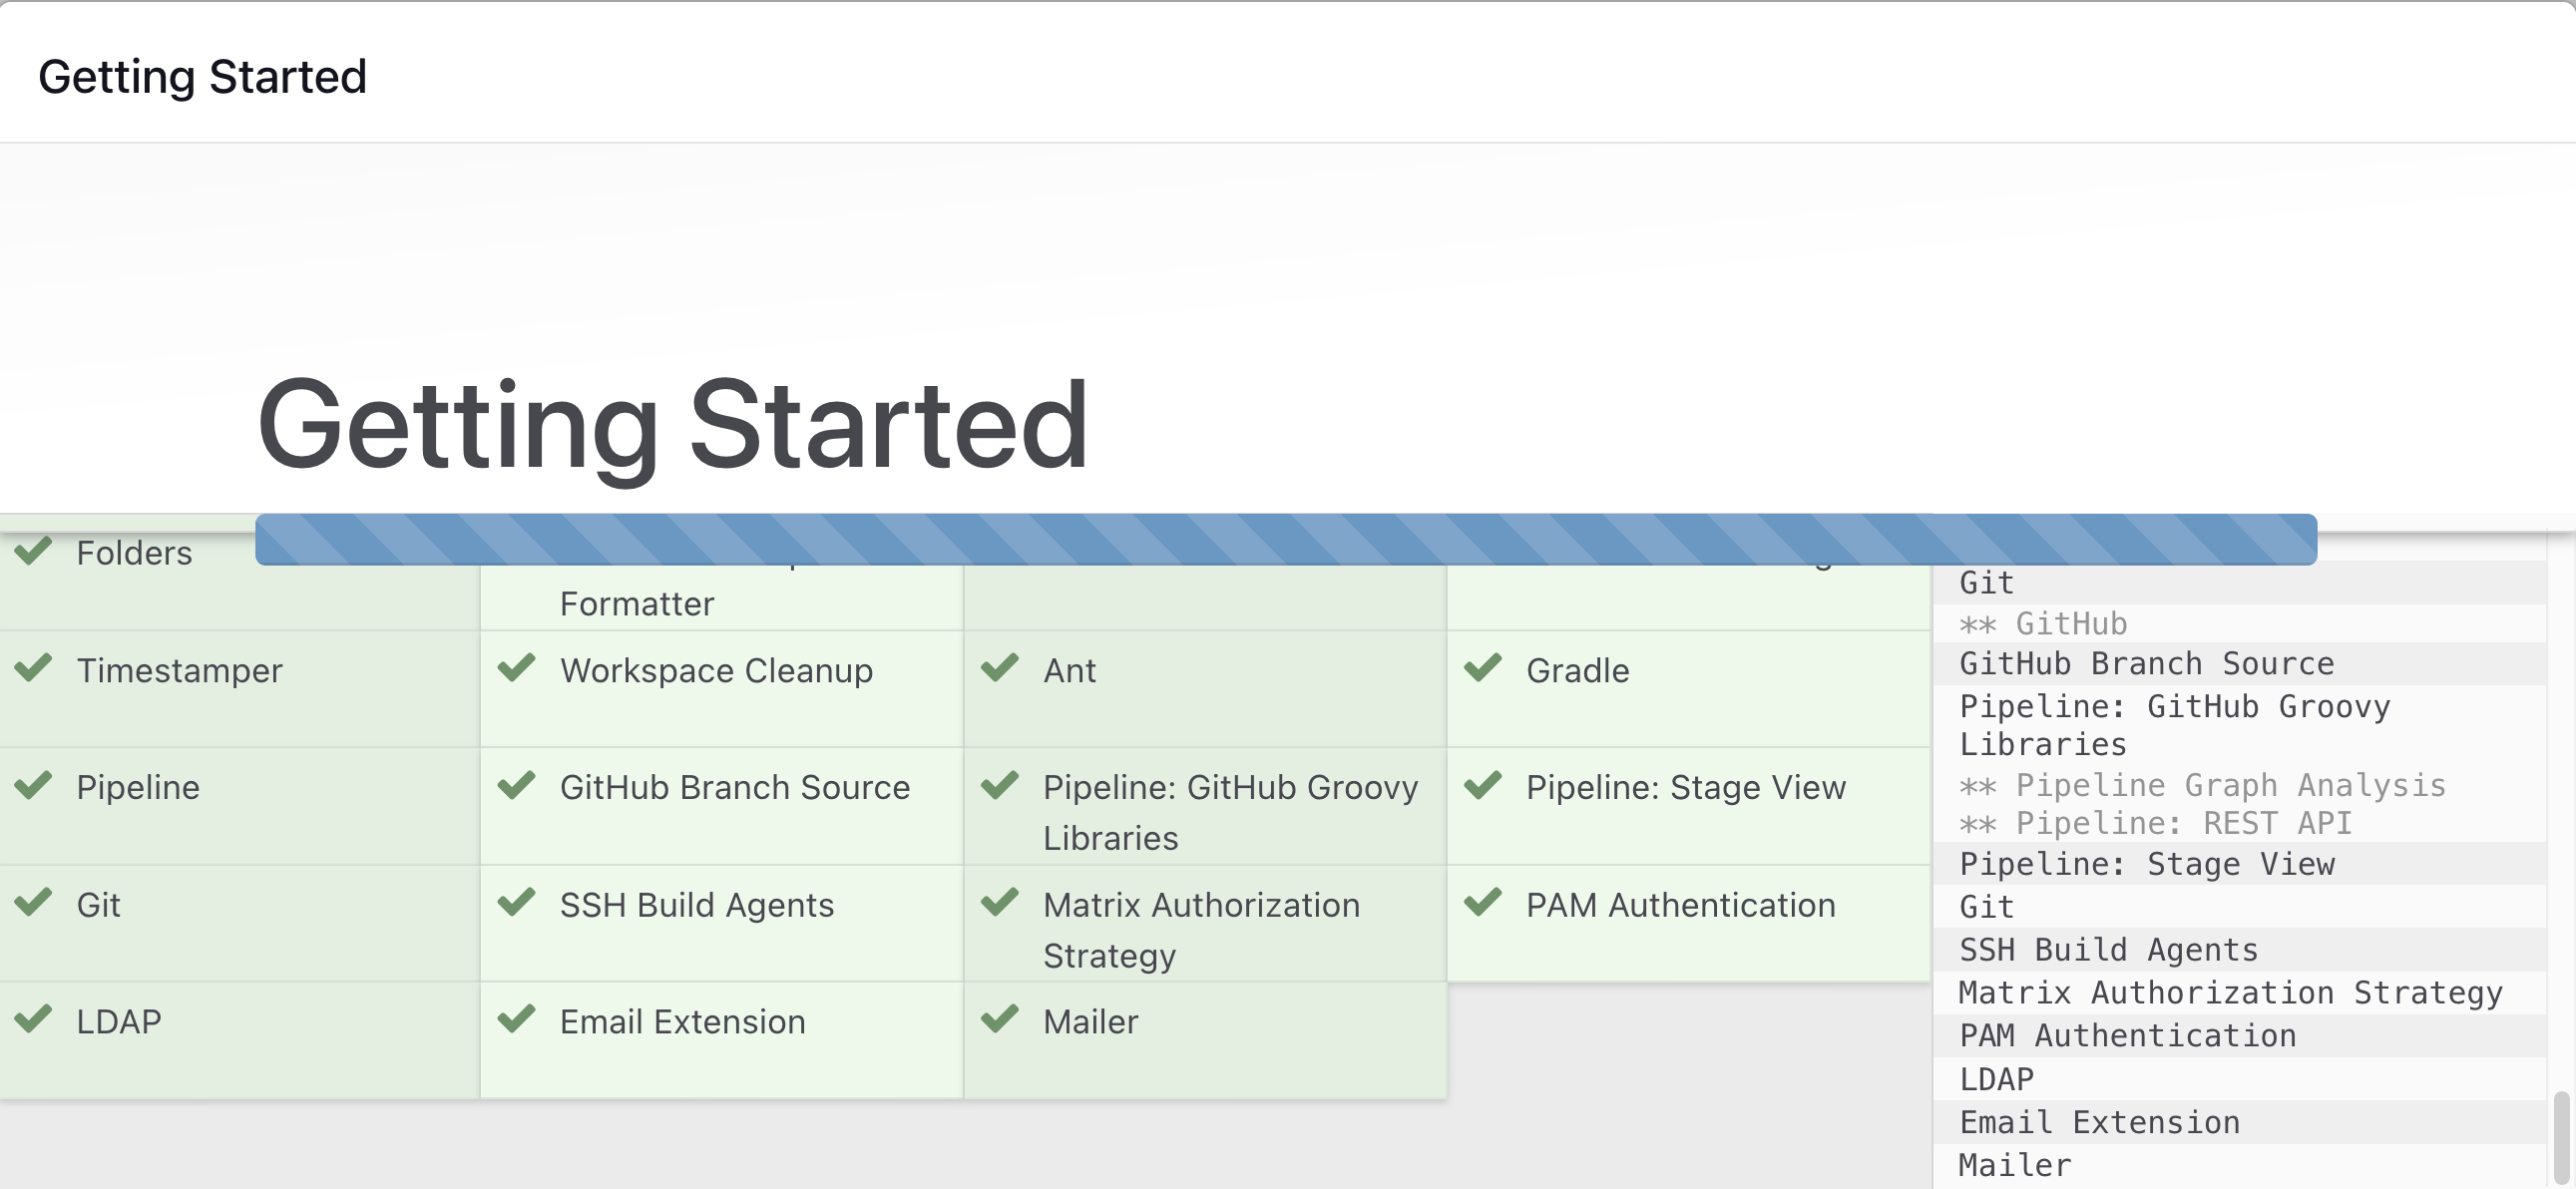
Wait for the Jenkins to Install suggested plugins
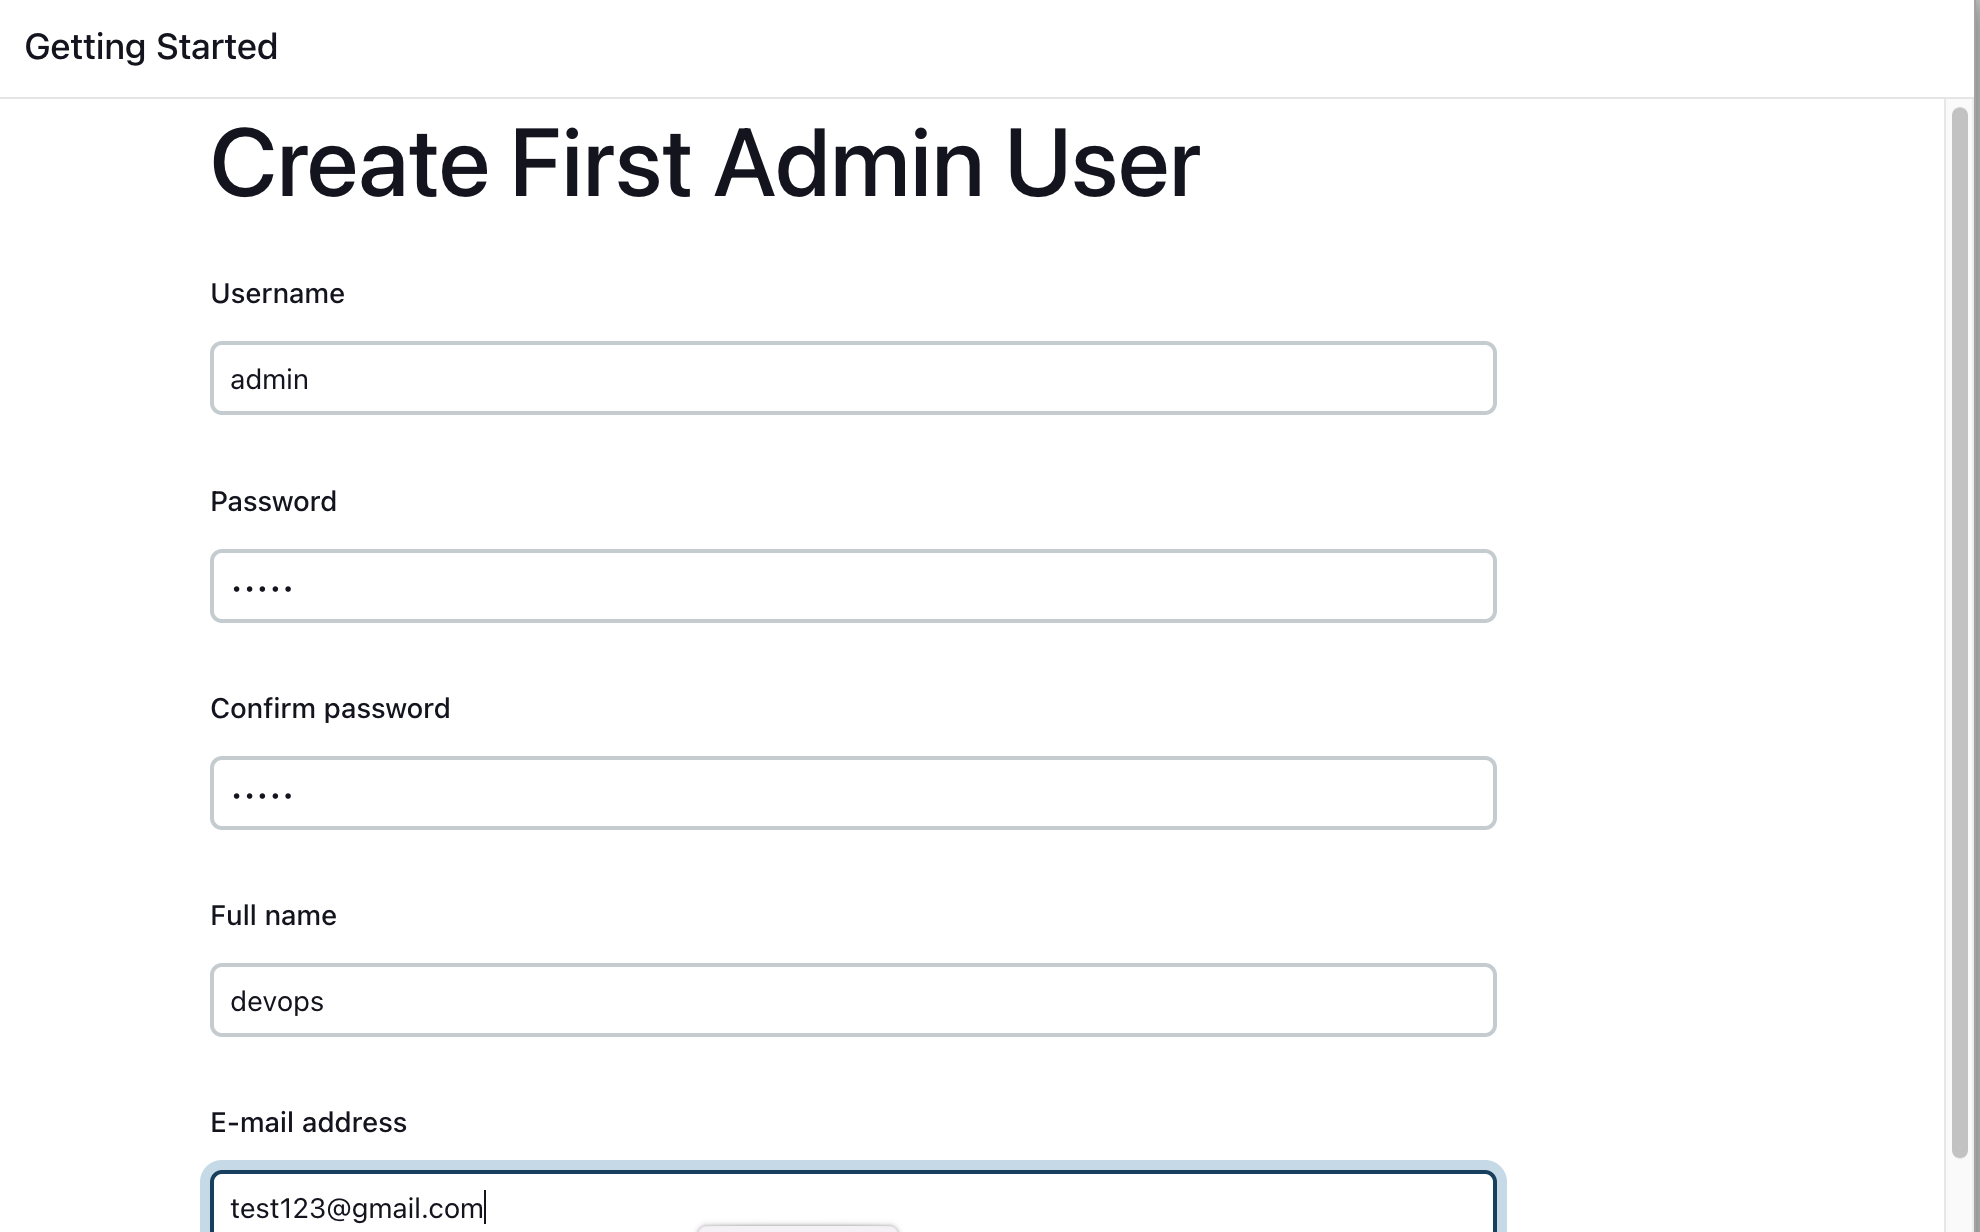
Create First Admin User or Skip the step [If you want to use this Jenkins instance for future use-cases as well, better to create admin user
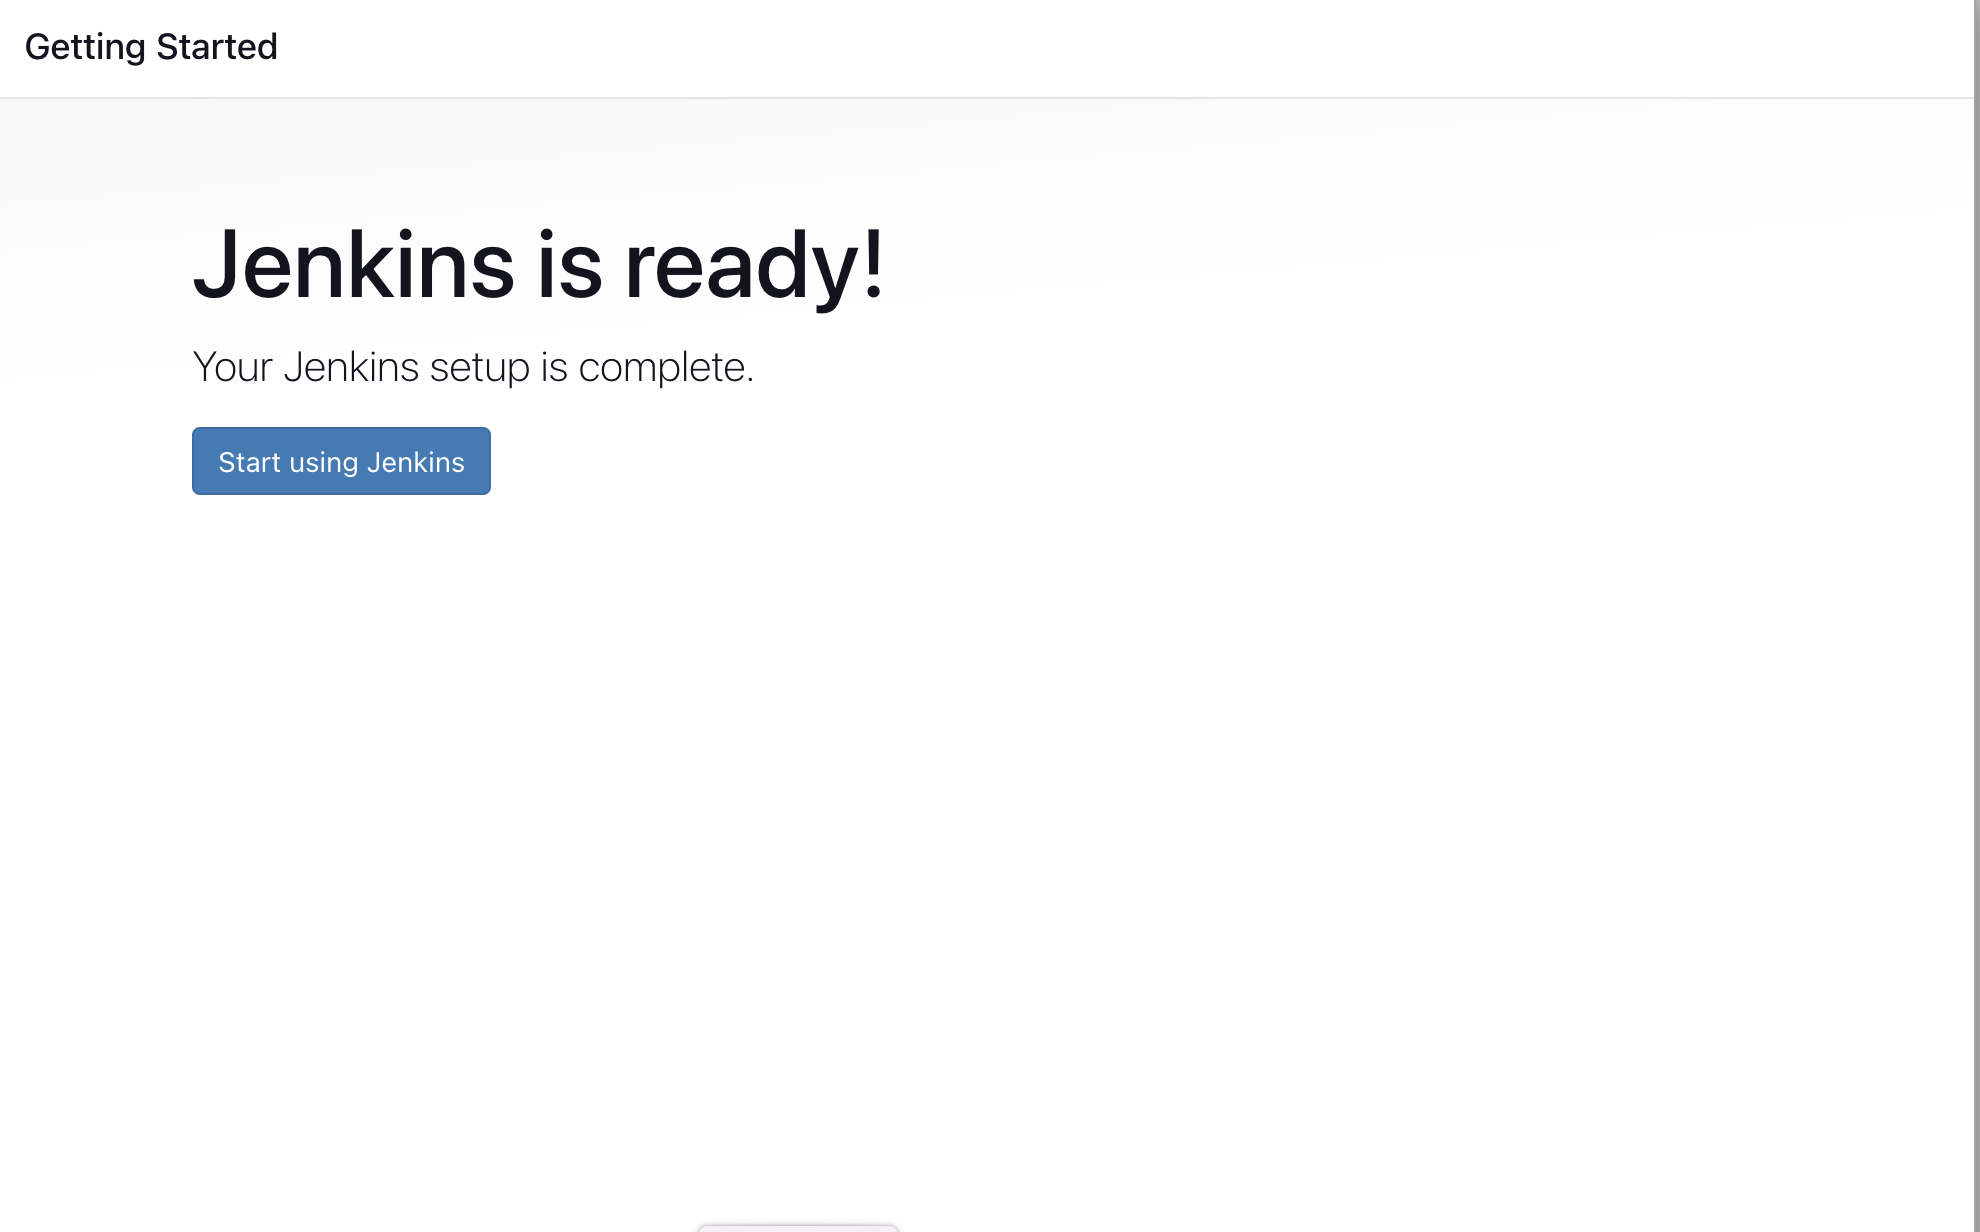
Jenkins Installation is Successful. You can now starting using the Jenkins
Step 3: Docker as Jenkins Agent
Here’s why Docker agents rock:
No idle VMs wasting resources.
Parallel jobs? No problem.
Pre-configured tools like Maven are ready to go.
Plugins you’ll need:
Docker Pipeline Plugin
SonarQube Scanner Plugin

Step 4: SonarQube Setup
Time to check our code quality.
adduser sonarqube
sudo apt install unzip
sudo su - sonarqube
wget https://binaries.sonarsource.com/Distribution/sonarqube/sonarqube-10.4.1.88267.zip
unzip *
chown -R sonarqube:sonarqube /opt/sonarqube
chmod -R 775 /opt/sonarqube
cd /opt/sonarqube/bin/linux-x86-64
./sonar.sh start
Check it out at http://<ec2-ip>:9000 – default credentials: admin/admin.
Step 5: Docker Setup on EC2
sudo apt install docker.io
sudo usermod -aG docker jenkins
sudo usermod -aG docker ubuntu
Quick Tip: We use Docker-outside-of-Docker (DooD) – faster, simpler, and avoids headaches of DinD.
Step 6: Add Credentials in Jenkins
We need tokens for:
SonarQube → ID:
sonarqubeGitHub → ID:
githubDockerHub → ID:
docker-cred
Make sure the IDs match what’s in your Jenkinsfile.
Step 7: Pipeline Configuration
Modify your Jenkinsfile:
stage('Static Code Analysis') {
    environment { SONAR_URL = "http://<your-sonarqube-ip>:9000" }
}
stage('Update Deployment File') {
    environment {
        GIT_REPO_NAME = "<your-repo-name>"
        GIT_USER_NAME = "<your-github-username>"
    }
}
Restart Jenkins → New pipeline → SCM → Provide repo, branch, Jenkinsfile → Build.
✅ Watch as Docker builds images, SonarQube checks quality, and deployment files update automatically.


Step 8: GitOps CD with ArgoCD on Minikube
Start Minikube
minikube start --driver=docker
Install Operator Lifecycle Manager (OLM)
curl -sL https://github.com/operator-framework/operator-lifecycle-manager/releases/download/v0.33.0/install.sh | bash -s v0.33.0
Install ArgoCD Operator
kubectl create -f https://operatorhub.io/install/argocd-operator.yaml
Check operator status: kubectl get svc -n operators
Create ArgoCD Controller YAML in repo (in repo there is argocd-basic.yaml) and apply it:
kubectl apply -f argocd.yaml
Controller is created as NodePort (as specified in YAML)
Access URL:
minikube service example-argocd-server
Username:
adminPassword:
kubectl get secret argocd-cluster -o jsonpath="{.data.adminpassword}" | base64 --decode

Create an ArgoCD Application:
Provide repo details, path, cluster URL (
local), and namespaceClick Sync


Verify in cluster:
kubectl get deploy
kubectl get pods
You’ll see your deployment, replicas, and pods running successfully.

✅ Congratulations!
Your CI/CD pipeline with GitOps approach is now fully functional—code builds, quality checks run, Docker images are pushed, and deployments are synced to Kubernetes via ArgoCD.
Happy CI/CD-fying! :)
Subscribe to my newsletter
Read articles from Sravya Bolla directly inside your inbox. Subscribe to the newsletter, and don't miss out.
Written by
Sravya Bolla
Sravya Bolla
🌱 Just a fresher, vibin’ through tech life. ☁️ Cloud & DevOps rookie, tryna get my hands dirty with real stuff. 🛠️ Writing blogs in my own chill style ’cause most guides feel way too pro-level. 🚀 Learning, breaking, fixing, and sharing my journey—no sugarcoat, just raw curiosity.