Adding Proxmox Partations - Local and Local LVM
 Aniket Sharma
Increase the storage by adding both the partations into a single storage volume - Deleting the Local-LVM Volume.
NOTE: Please make sure the steps mentioned below are done before deploying any machines on the Proxmox Server.
Go to Datacenter > Storage in the Proxmox GUI.
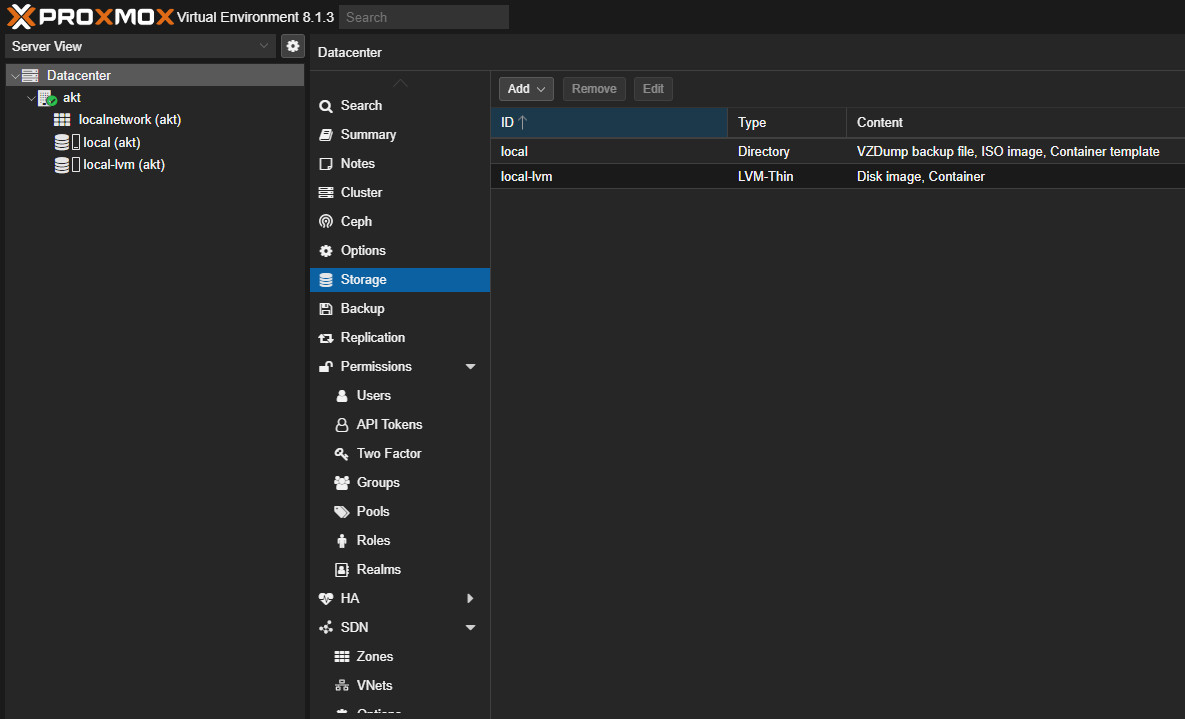
Click on Local-LVM Storage.
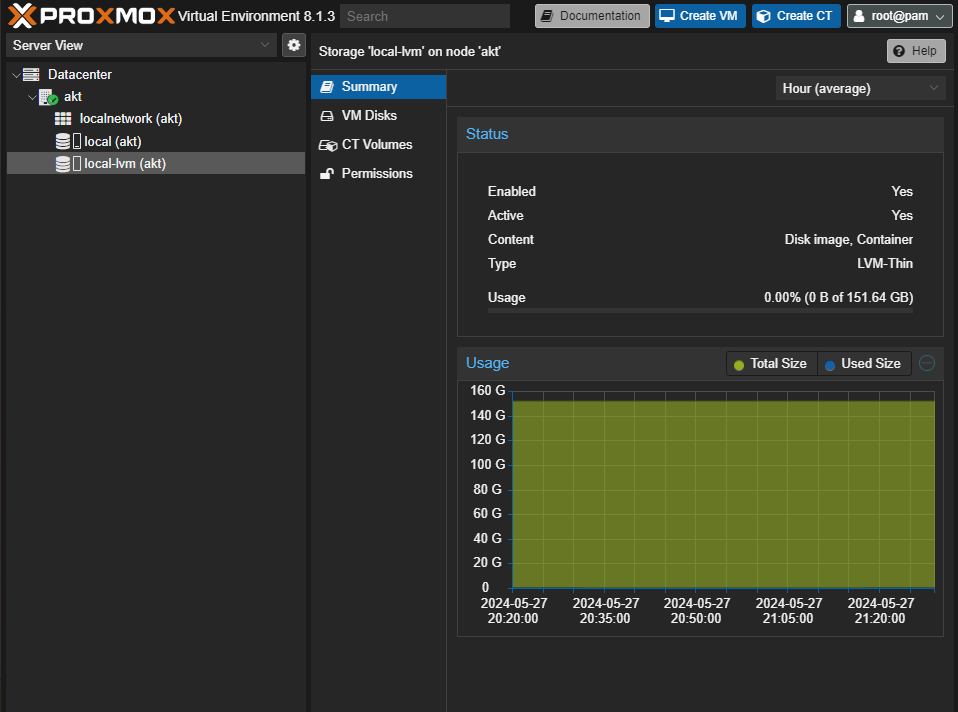
Delete the Local-LVM Partation by going to: Datacenter > Storage > Click on Local-LVM and Click on Remove.
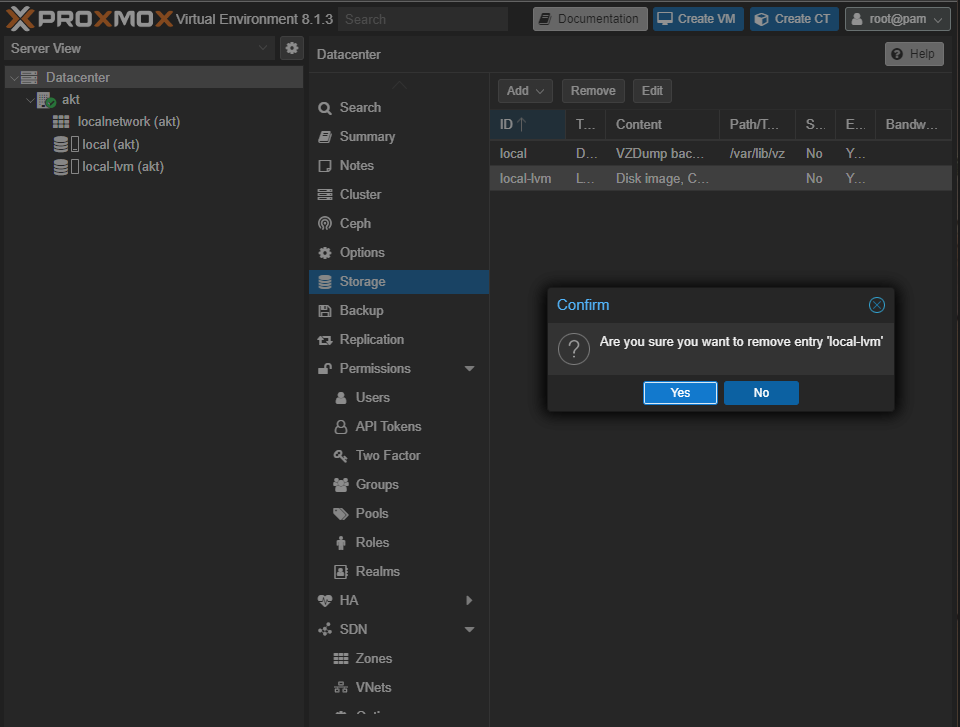
Local-LVM is now deleted but the size will not reflect immediately on the Local Partation of the Proxmox Server.

Now we have to run a few commands in the Command Line of the Proxmox Server: akt (proxmox-server-name) > Shell.
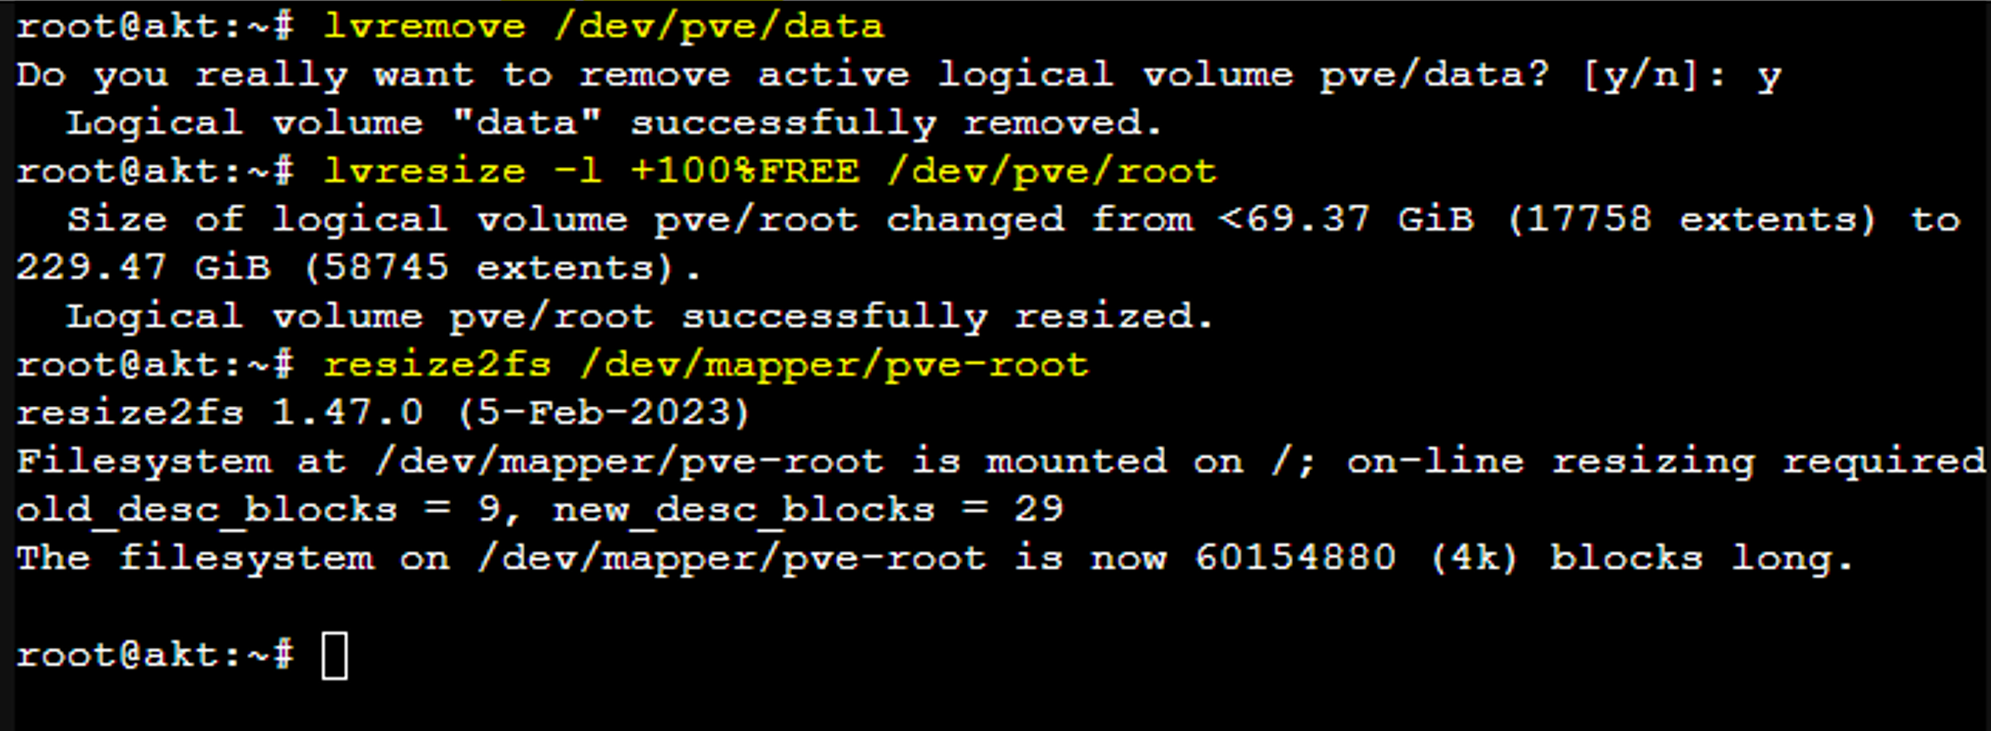
    lvremove /dev/pve/data
    lvresize -l +100%FREE /dev/pve/root
    resize2fs /dev/mapper/pve-root
Local Partation now resized to it’s max capacity (after deleting the Local-LVM Partation).
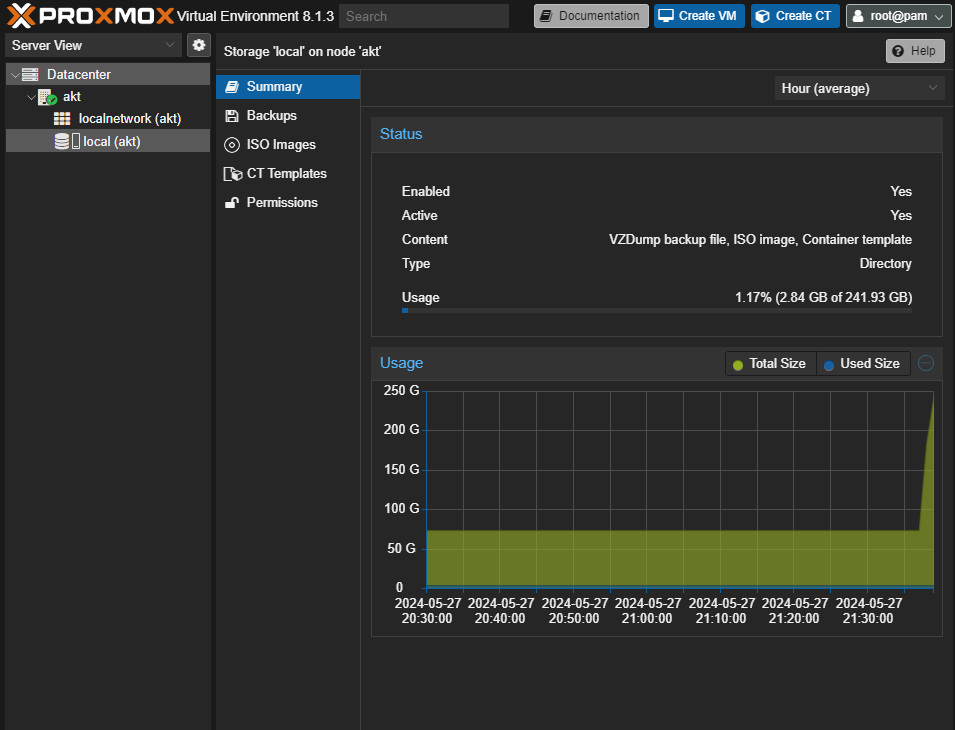
To make sure we can deploy Container and VM Disks into the Local Partation: Datacenter > Storage > Click on Local > Click on edit.
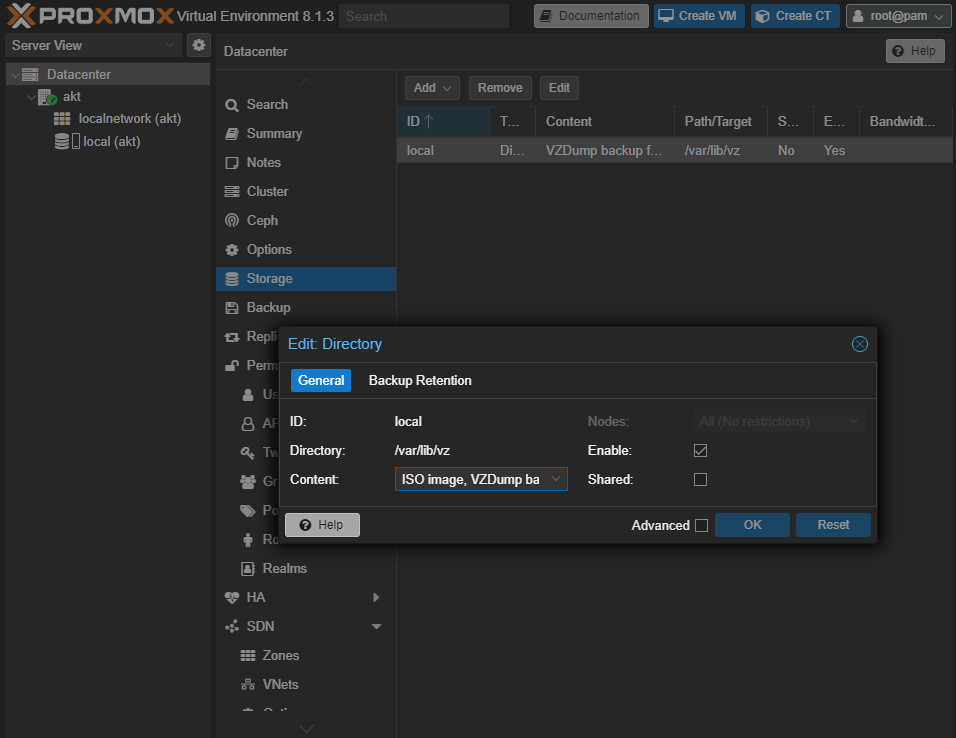
In the drop-down menue of Content - Select “Disk Image” and “Container”. After doing this click on “OK”.
Feel free to deploy anything on the Local Volume of your Proxmox Server :)
Subscribe to my newsletter
Read articles from Aniket Sharma directly inside your inbox. Subscribe to the newsletter, and don't miss out.
Written by

Aniket Sharma
Aniket Sharma
I am an Engineering Student, Sharing my various tech experiments through this blog! :)