Step-by-Step Guide: Setting Up Linux for OpenGL Development
 Pratyush Soni

Introduction
As we know, Linux is the choice of many developers because of its flexibility and robustness, keeping that in mind i would like to share the way I develop an OpenGL project in Linux.
This step by step guide will make sure to make clear how to setup libraries and code editors necessary for the development of the projects.
Instructions:
Before going ahead, make sure your system and graphic drivers are up to date.
Step 1 : Install Libraries and Download Source Code
sudo apt install libglfw3-devGet the source code for GLAD from here.
Step 2 : Install Visual Studio Code (with following extensions)
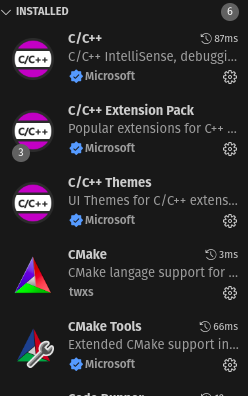
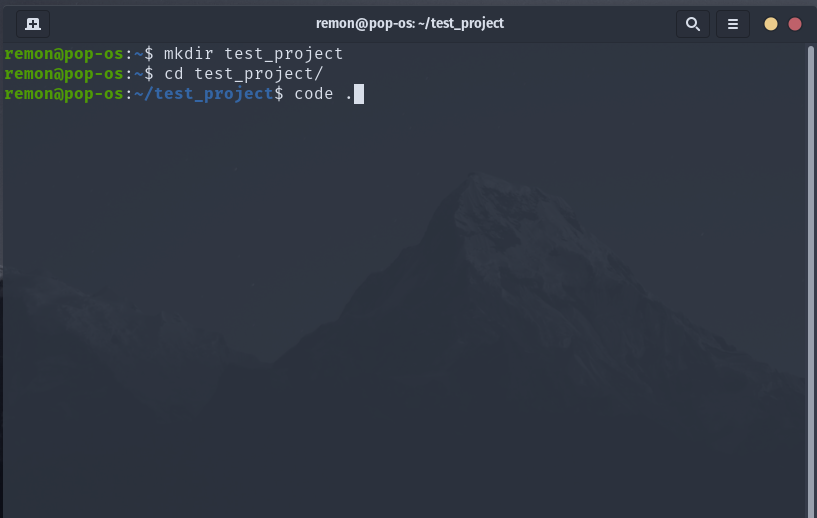
Step 3 : Select a folder and Run-
code .
Step 4 : Make Project using CMake Tools
Press Ctrl + P, then type ">quick", select the following option: CMake : Quick Start
Now enter the project name (here we will use "test_project")
Select C++ project option
Check all the boxes in next menu
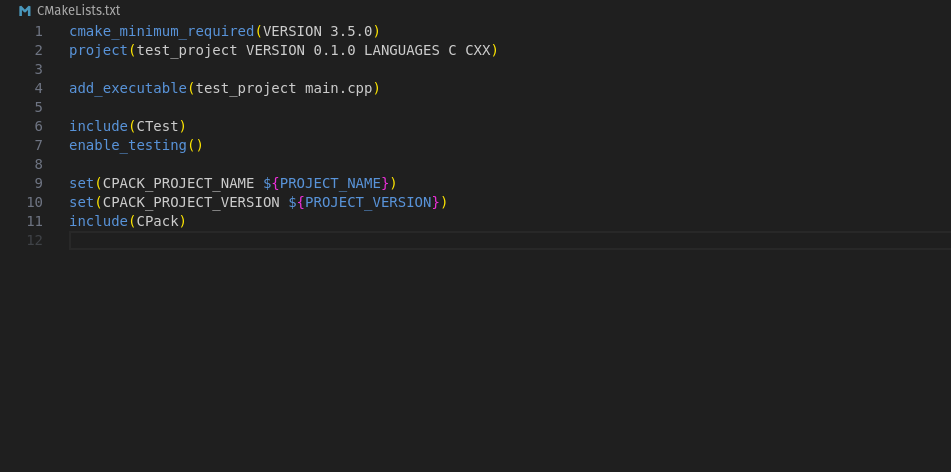
If followed correctly you will end up with a CMakeLists.txt like this :
Step 5 : Edit your CMakeLists.txt
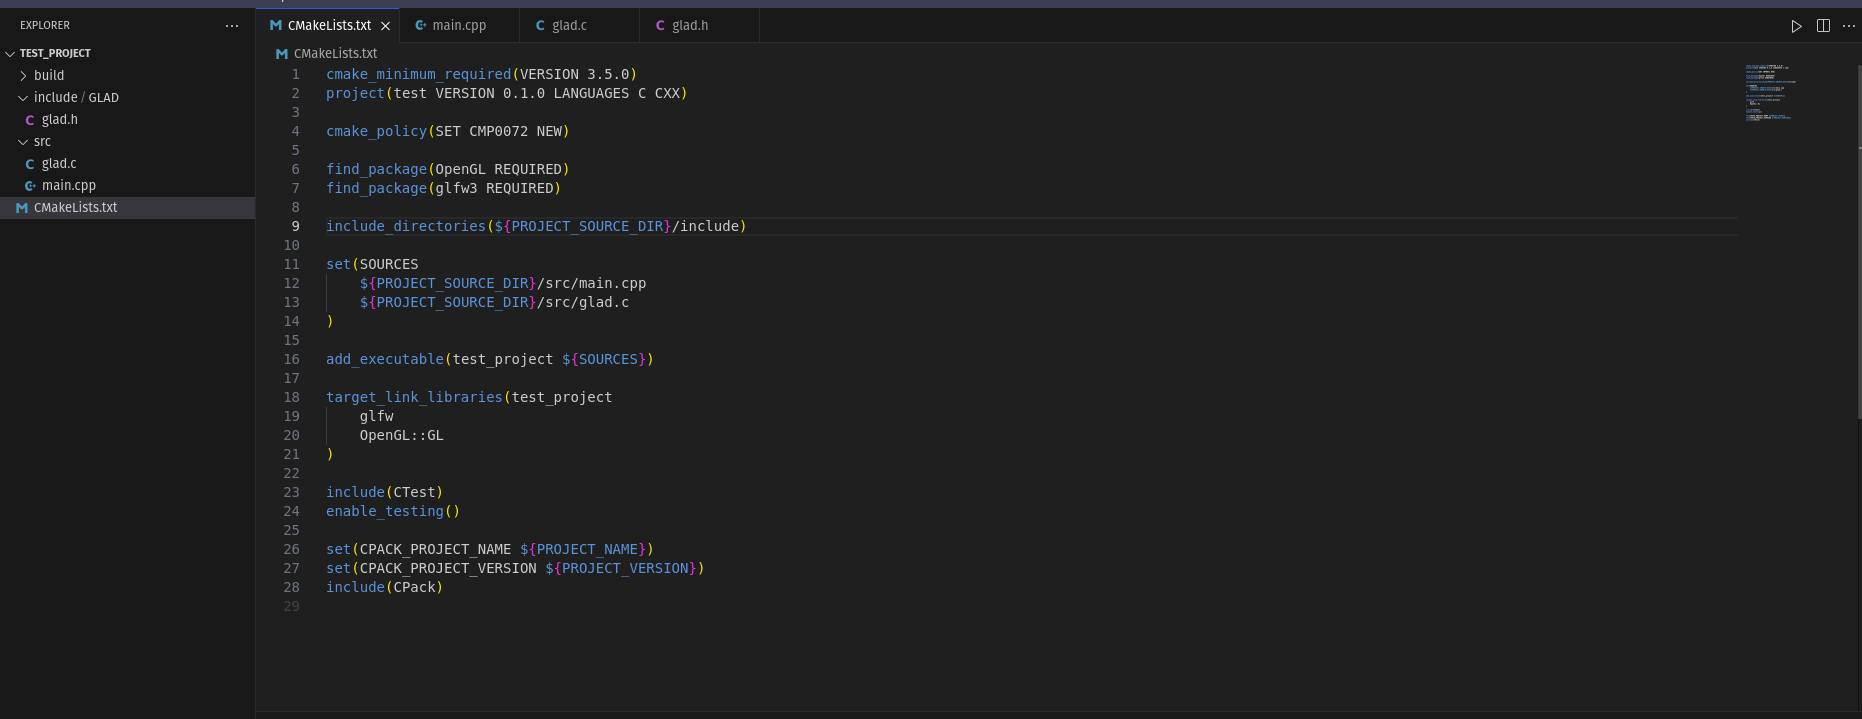
cmake_minimum_required(VERSION 3.5.0)
project(test VERSION 0.1.0 LANGUAGES C CXX)

cmake_policy(SET CMP0072 NEW)

find_package(OpenGL REQUIRED)
find_package(glfw3 REQUIRED)

include_directories(${PROJECT_SOURCE_DIR}/include)

set(SOURCES
    ${PROJECT_SOURCE_DIR}/src/main.cpp
    ${PROJECT_SOURCE_DIR}/src/glad.c
)

add_executable(test_project ${SOURCES})

target_link_libraries(test_project
    glfw
    OpenGL::GL
)

include(CTest)
enable_testing()

set(CPACK_PROJECT_NAME ${PROJECT_NAME})
set(CPACK_PROJECT_VERSION ${PROJECT_VERSION})
include(CPack)
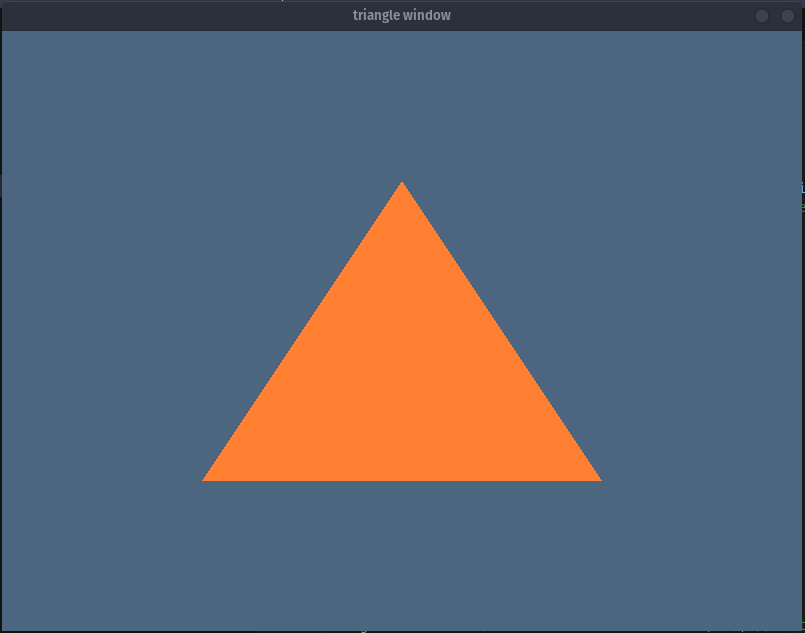
Results
Paste this code in the main.cpp file, press build and then run the file.
Subscribe to my newsletter
Read articles from Pratyush Soni directly inside your inbox. Subscribe to the newsletter, and don't miss out.
Written by

Pratyush Soni
Pratyush Soni
Game Developer | Programmer | Artist