Migrating VM's from Microsoft Hyper-V to ProxmoxVE
 Evan
Evan
I'd like to thank Hetman Software on YouTube! I followed their awesome tutorial (link here: https://www.youtube.com/watch?v=ZvpQCk-8NKU) as a guide.
So, why Proxmox?
Up until now, I've been using a Windows server with Hyper-V to run all my virtual machines. It worked fine, but lately, Proxmox has been catching my eye for a few reasons.
First of all, it can be used totally for free and it is an open-source project. That's a major plus for me. Along with that it has an engaged and active community as far as I can tell after reviewing YouTube videos and the forums. On top of that, Proxmox lets you cluster your servers and even migrate VMs while they're running. This means way less downtime and better fault tolerance, which is exactly what I'm looking for.
Networking bells and whistles can wait. Right now, my network setup is pretty basic. But down the line, I'm will explore Proxmox's support for VLANs and bonding (link aggregation).
Back up the VM
Let's start from the beginning. The first step is to back up the VM.
If your VM has snapshots, you need to merge the desired snapshot file (.avhdx) with the main .vhdx file. Alternatively, you can delete the snapshots in Hyper-V, which will merge them together. Once that's done, right-click on the VM in Hyper-V and choose "export".
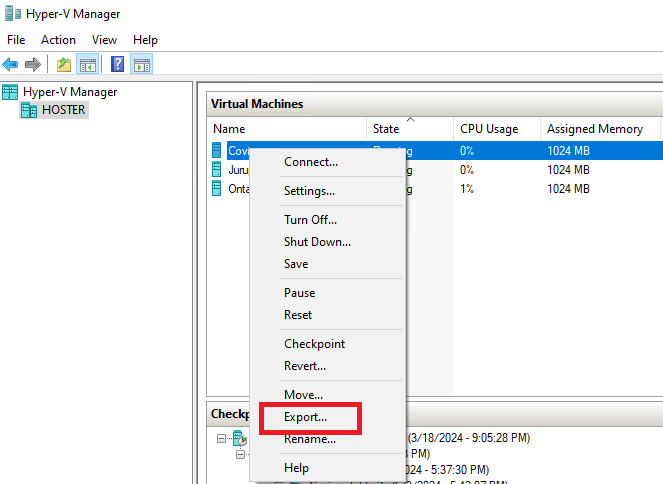
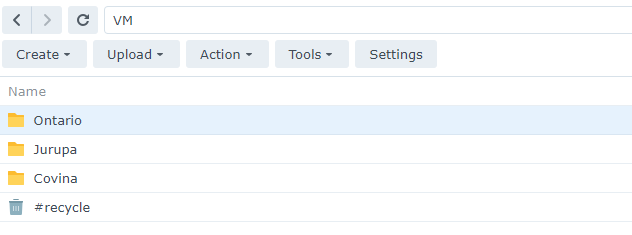
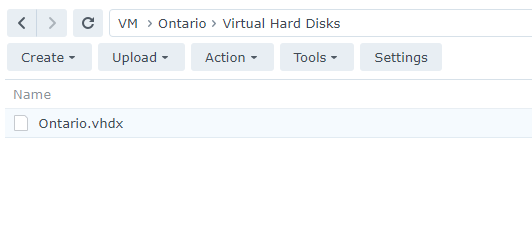
I exported my VM to my Synology NAS. This VM is a headless Debian 12 instance that hosts a Docker environment.
Transfer the .vhdx file to Proxmox
Now we need to transfer the .vhdx file to the local Proxmox volume. I used FileStation in DSM to transfer the file using SFTP, but you can use any FTP client to do this.
Remote connections in Synology DSM.
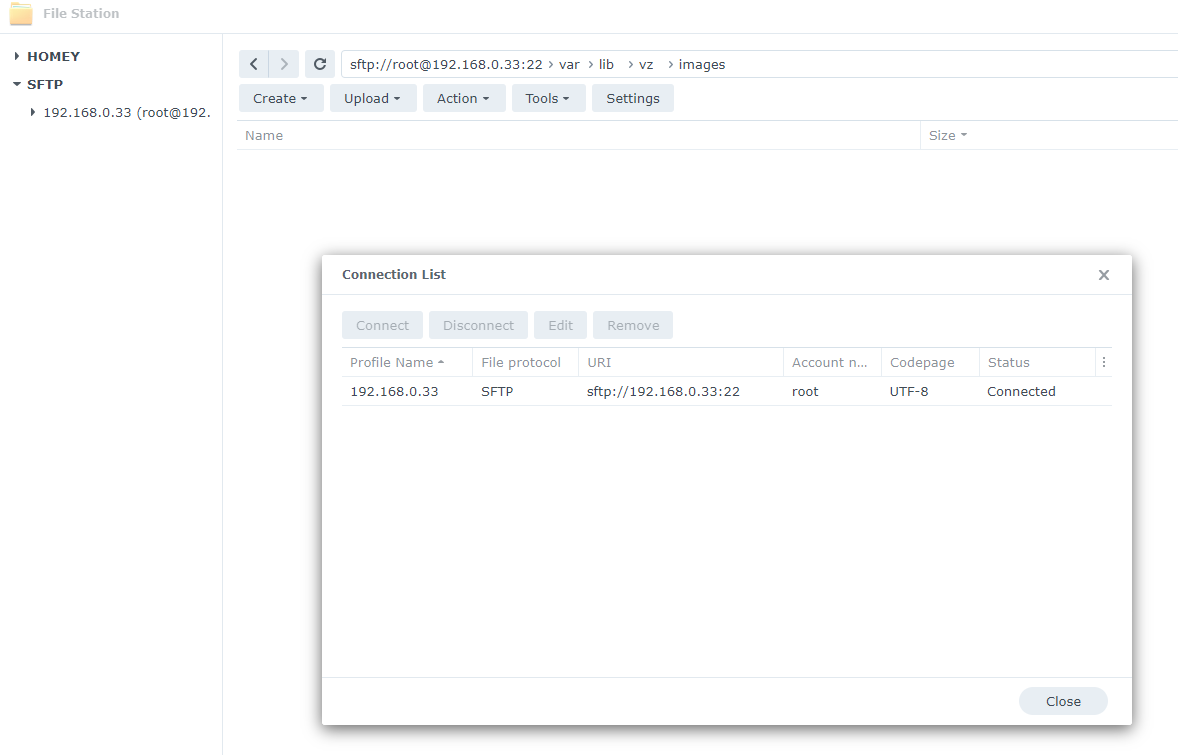
After the connection is made, in FileStation, select the .vhdx file and copy it to the the /var/lib/vz/images directory on the server.
Create a new VM in Proxmox
It's time to create a new virtual machine in Proxmox.
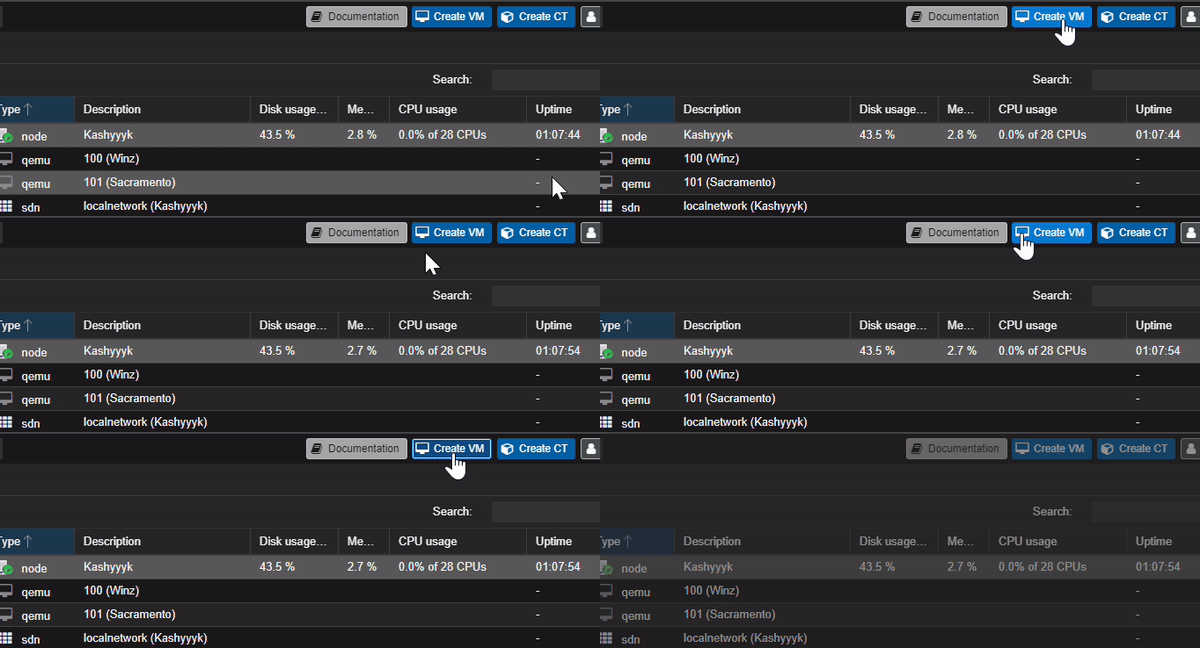
You do not need to select the installation media.
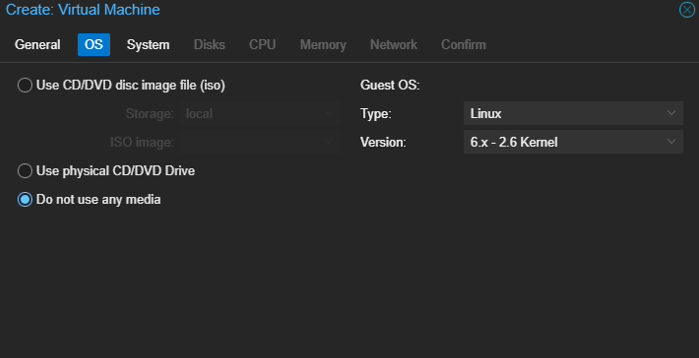
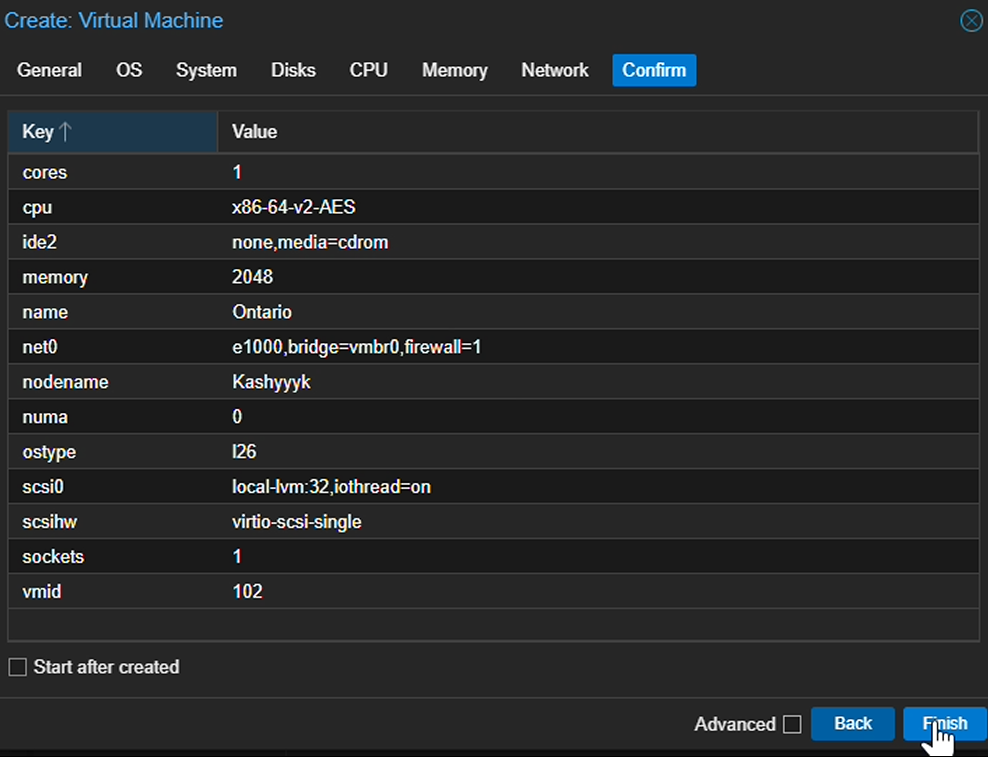
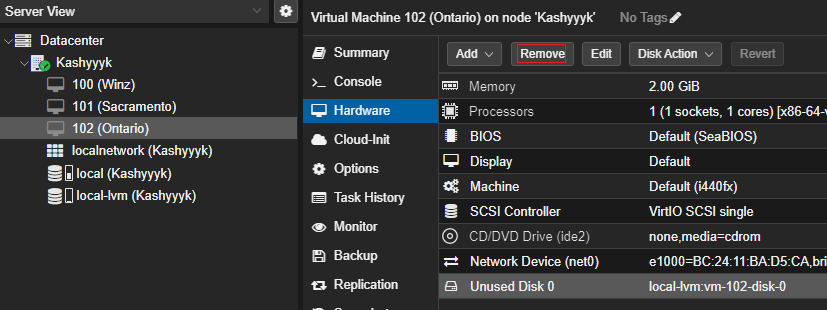
After the VM is created, select it and go to "Hardware", "Hard Disk", and then click on "Detach". Select the "Unused Disk 0" and click "Remove".

Convert the .vhdx to a .img file
Now we will need to convert the .vhdx file we imported earlier into a usable format for Proxmox. We can do this from the Proxmox shell. The utility we will use to do is this is called qemu-utils.
Run apt install qemu-utils. If you see this warning, it may seem like the utility failed to install.
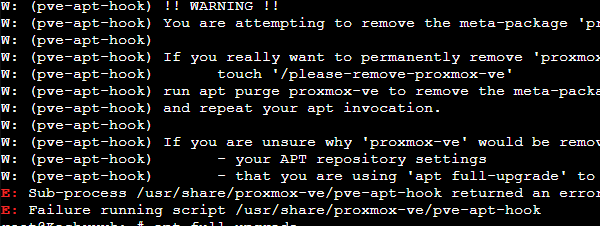
To verify, run which qemu-img. If which outputs the location the executable, then the utility has installed successfully.

Now run a command to convert the .vhdx to the .img. The format for this command is qemu-img convert -f vhdx -O raw /path/to/vhdx/file/ /path/to/img/file.
In my case it looked like this -
qemu-img convert -f vhdx -O raw /var/lib/vz/images/Ontario.vhdx /var/lib/vz/images/Ontario.img

Now we need to import the disk into the Proxmox storage directory. Replace the placeholder VM ID in the command below with the actual ID of your virtual machine. You can find the VM ID by navigating to the Proxmox web interface, selecting the desired VM, and looking at the numerical value on the left side of the VM's name.
qm importdisk 102 /var/lib/vz/images/Ontario.img local-lvm

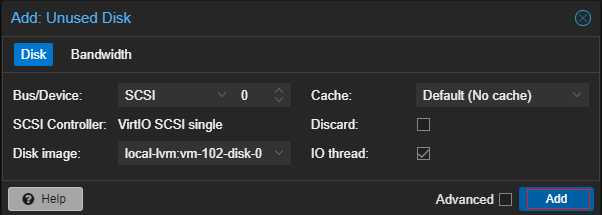
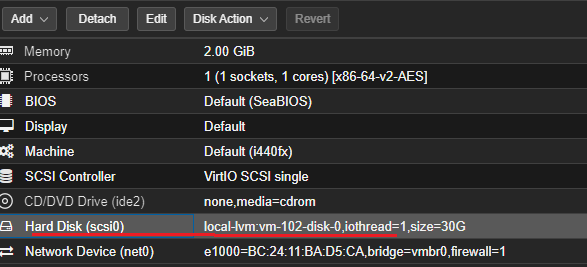
Go back to Proxmox, select the "Unused Disk 0" and click "Edit", then click "Add".

Run and test!
After adding the hard disk we can run the VM and check to make sure it is working properly
You may need to open the boot menu with the "ESC" key and select the correct boot device.
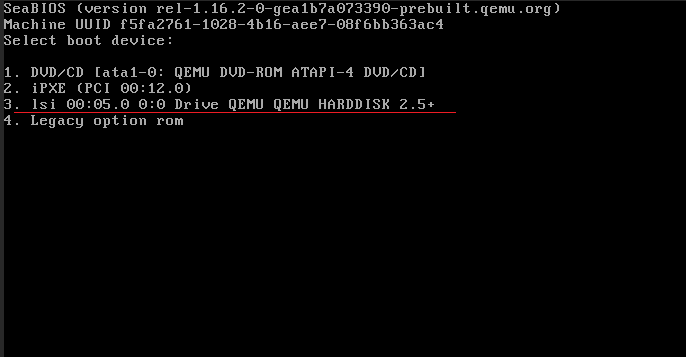
You can also do this from the Proxmox interface.

The end.
Subscribe to my newsletter
Read articles from Evan directly inside your inbox. Subscribe to the newsletter, and don't miss out.
Written by

Evan
Evan
Hi, I’m Evan — an engineer with a passion for automation, security, and building resilient cloud infrastructure. I spend a lot of time in the weeds solving real-world problems, whether that’s through client work or experiments in my homelab. This blog is where I document those lessons, not just to keep track of what I’ve learned, but to share practical insights that others in the field can apply too. My focus is on bridging the gap between security best practices and operational efficiency, using tools like Ansible, Docker, and AWS to make systems both secure and manageable. Whether you’re planning your infrastructure, hardening environments, or just learning the ropes, I hope these posts give you something useful to take with you. I’m always learning too, and this blog is as much about sharing the process as it is the results. Thanks for stopping by — let’s keep learning and building together.